Page 1 of 9 123456 ... LastLast
Results 1 to 10 of 82

Thread: MythTV HTPC

  1. #1

    Default MythTV HTPC


    Hey all. I figured that I've been lurking long enough, and that I should actually contribute something. Therefore, I have been taking pictures of my current project with the aim of making a worklog. The purpose of this project is to build a frontend for my networked media server. It is a Linux machine running the Mythbuntu operating system. This allows me to have all of my music, videos, etc on a remote backend accessible from simple machines hooked up to my TVs.

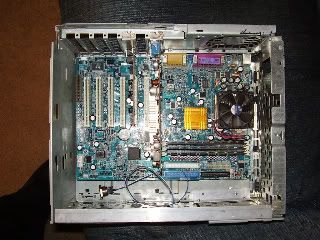
    This particular unit is the one for my living room TV. The challenge here is that I need to make it as small as possible (so that it doesn't intrude) - but at the same, I'm stuck using spare parts that I have around to keep cost down. This means a full ATX board, and non-slimline parts. Thankfully, I don't need an optical drive, so that cuts down on a lot of space.

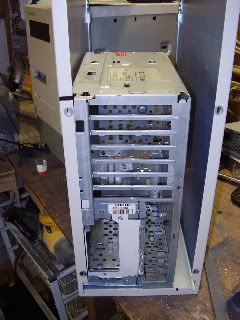
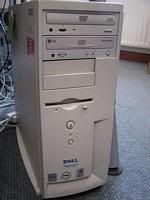
    Unfortunately, I do not have a picture of the case that I'm using parts from, as it was one I long ago tore apart. Here is a picture I found on google:
    It is an old Dell box that a lot of offices and universities used to use, which is why I like them: They're easy to find when they get thrown out.

    On to the project.

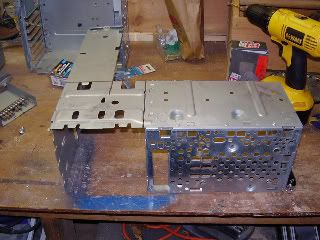
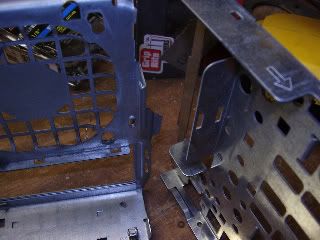
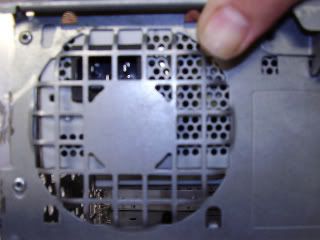
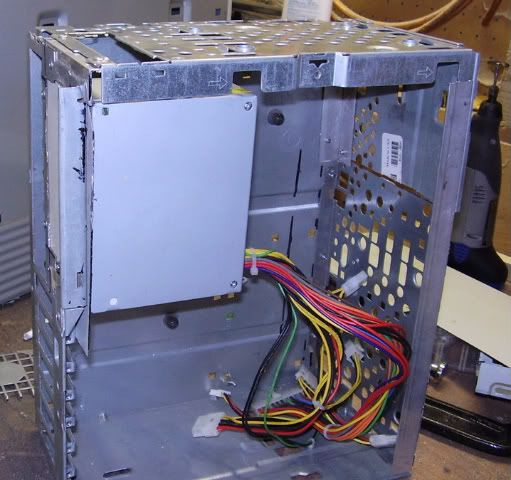
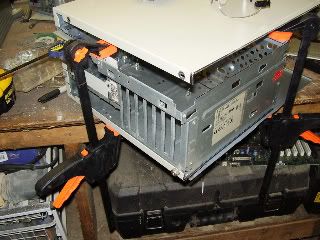
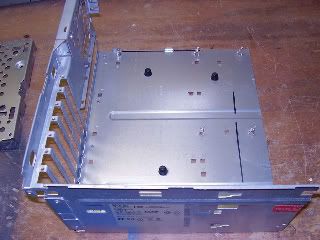
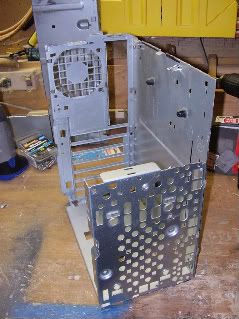
    I cut the internal section of the case down to make the tray for the motherboard.


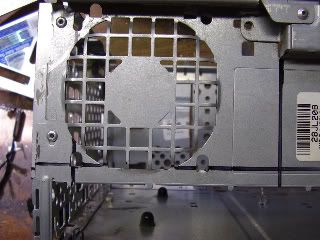
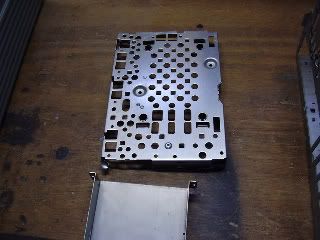
    I saved some other parts of that case and another, identical, one that I had lying around. These will be used for the other two sides of the case.


    Around this point, I remembered why I hate to clean my workspace between projects: I can't find anything. It took me about 20 minutes just to find my speed square.

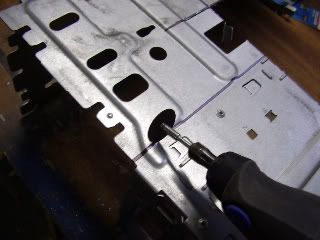
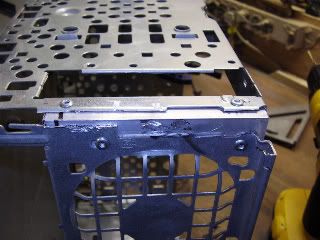
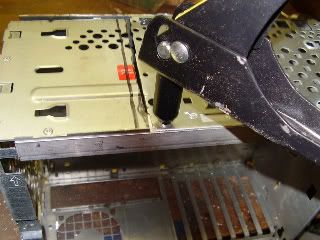
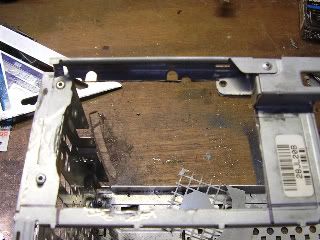
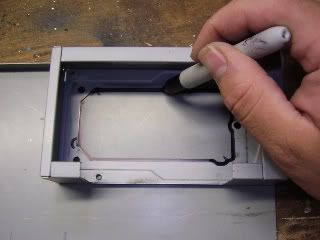
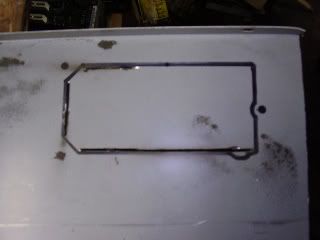
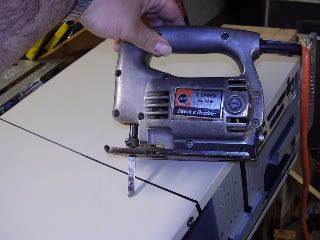
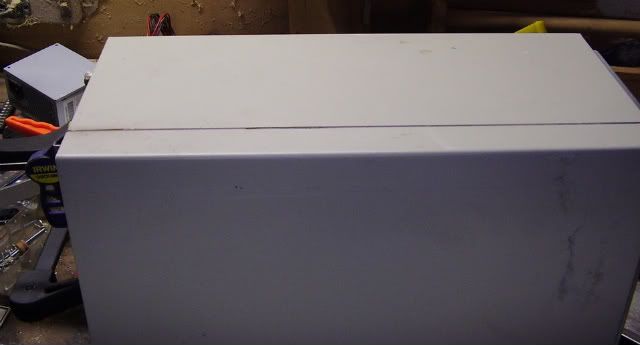
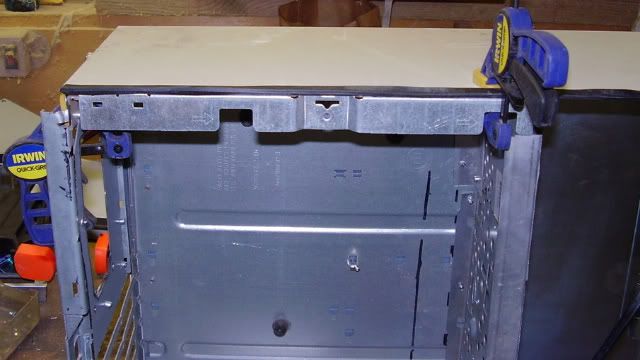
    Once I located it, it started lining up parts and mark them out for the sides.


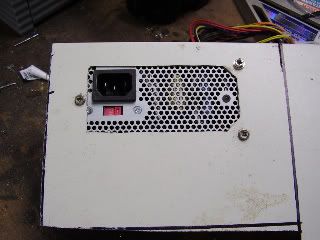
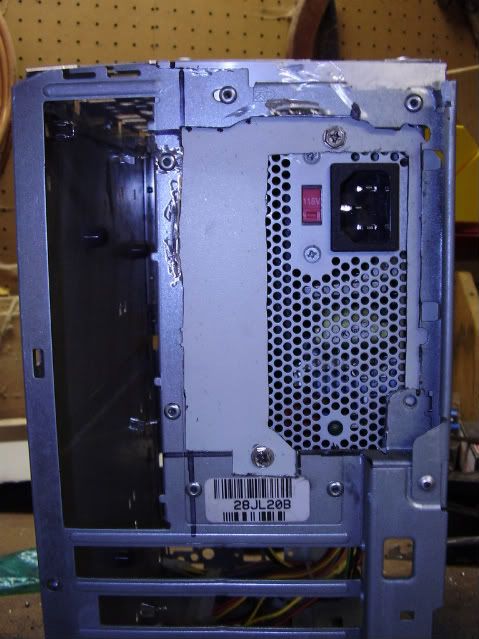
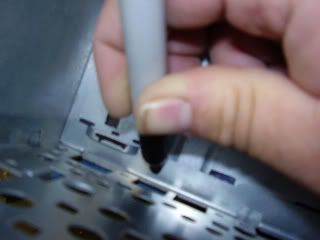
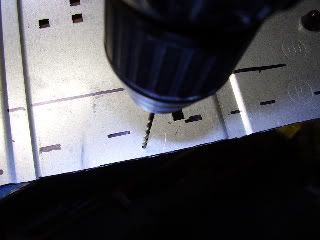
    Not being one for welding or such, I am a huge fan of pop rivets. They are an easy, secure and sturdy way to affix pieces of metal. Just drill, stick in a rivet, and crimp it down.


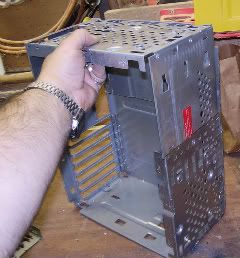
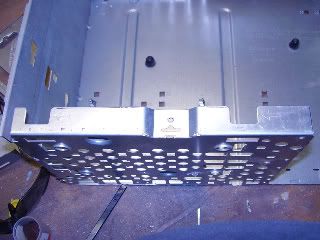
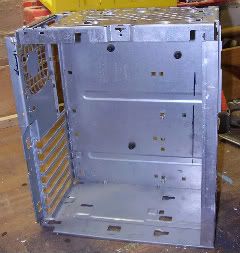
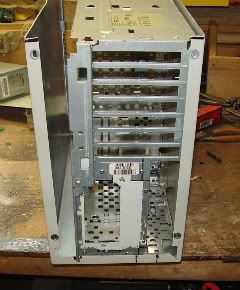
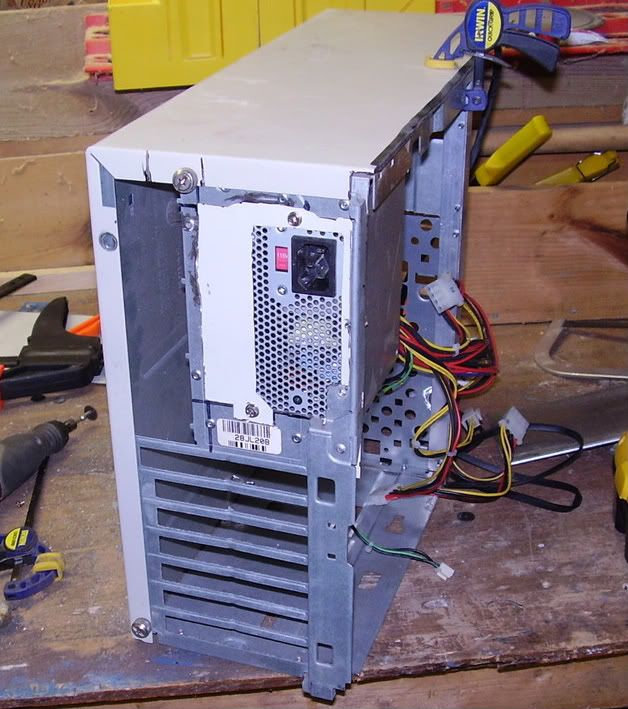
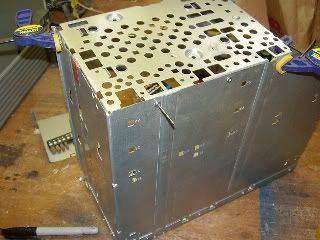
    At this point, I had two and a half sides. The next step was to put together the rest of this frame.

  2. #2

    Default Re: MythTV HTPC

    As mentioned before, I had leftover parts from an identical case, as well as the left-overs from the one I cut the tray from. This came in handy for this part.

    Side-note: When I work on a project, I rarely use plans aside from the vague ones that I have in my head. This leaves me a more organic approach to my creation that allows me to modify it as I go along. Case and point - this next step.

    Looking at the main chunk of the case I had left, I eye-balled a section that looked like it would be a perfect fit.


    So, a little mark and Dremel...


    ...And voila:


    Looks like it did work out pretty well.

    "Well," but not perfect. As you can see below, there were some tabs in the back corner by the PSU vent that were going to get in the way, and some along the top of the front side. These were going to have to go. Time for some more Dremeling...

    ,


    This required about an hour of trimming, filing and grinding, but I was able to remove those parts. Now, for the actual assembly. Something that I've used in a number of my projects is aluminum angle stock. It's available at Lowes, Home Depot, etc and is fairly cheap. Also, it's soft enough to cut with a back saw and miter box, but it's strong enough to support cases without adding a lot of weight.


    So, I used some of this to affix the back corner, as well as shore up the front. I mounted it up at the top so that I later have something to attach the side panel to. NOTE: If you notice at the top of this pic, it doesn't look like it lines up too well with the side of case. At this point, it didn't, but I added a piece of angle stock to the inside to pull those too parts together. I didn't think that needed an extra picture to illustrate.

    So there we have it: I have a box.


    It's not the prettiest box, but that's okay. I have more work to do. Among other things, there are some edges on the sides that need to be ground off, and some other parts cleaned up - but for now, I have the basic frame finished.

    Here it is with the mobo and PCI/AGP cards test fit:


    Next time I get a chance to work, I'm going to make the mount for the PSU, and possibly cut some holes in the front panel for the USB connections and a fan.

  3. #3
    Measure once, curse twice nevermind1534's Avatar
    Join Date
    Feb 2008
    Location
    Detroit, Michigan
    Posts
    3,245

    Default Re: MythTV HTPC

    That's got a fecesload of PCI slots. Good job on the case.

  4. #4
    Anodized Enigma's Avatar
    Join Date
    Oct 2007
    Posts
    75

    Default Re: MythTV HTPC

    This looking out to be a kicker, nice job so far =)

  5. #5

    Default Re: MythTV HTPC

    Well, isn't that disappointing...I guess that crash earlier today made them have to restore a backup. I guess when I get a chance, I will set about re-typing my update I did this morning...

  6. #6

    Default Re: MythTV HTPC

    Okay, let's try this again - although I warn you: The absolute genius of my original post is lost to the ages. It was chock full of handy tips and tricks that would have inspired a new age of modders. But alas, it was not to be. So, back to it, then.

    I started in on the back panel for the power supply. As you can see here, there is a grate for the fan in the original case, but this section doesn't have an opening for the power cord.


    Standard procedure applies here: Mark, Dremel and modify.


    ...and....


    ...All gone.

    Now that I have a large, gaping hole - I need to make it a smaller, purpose-driven hole. I took the bracket from the PSU's original case and marked out the opening and mounting holes I would need on a blank piece of sheet stock.


    Round about this time, the battery went dead in my Dremel. One of these days, I need to get around to buying a corded one. (I love this one, but the dead battery thing gets old after a while.)


    So, since this wasn't going anywhere for a while, I figured that I would pop off to Lowes and grab some more cutting wheels. I like to use the reinforced type for my work. They cost more - but they absolutely burn through sheet metal and they last far longer.

    When I got back, it was a simple mater of finishing the cut and test mounting the PSU:


    Since that fit, I trimmed the panel down and installed it in the case. Again, it's not pretty, but we haven't reached the evening wear portion of the show just yet. (It's times like these that I wish I could just skip to the body putty and primer paint portion of the project.)


    Next time I get a to work, I'm going to trim off all of the outer parts that aren't supposed to be there and begin working on the outer shell. Also, when I get to the side panel, there will be a 120mm fan installed next to the PSU. This is mainly because I want an exhaust fan there to offset the equation of small case + old parts = high heat.


    More to follow next time I get some free work time.

  7. #7
    Like a Lightning Bolt in Your Cheerios! Drum Thumper's Avatar
    Join Date
    Jan 2007
    Location
    Montana
    Posts
    4,522

    Default Re: MythTV HTPC

    /subscribe & +rep--what are you planning on using for a capture card?
    Quote Originally Posted by artoodeeto View Post
    aw heck guys. We're modders. Let's just build our own, shall we?

    DrumThumper.net || The Brewing Art ||
    My Flickr Stream

  8. #8

    Default Re: MythTV HTPC

    Quote Originally Posted by DrumThumper View Post
    /subscribe & +rep--what are you planning on using for a capture card?
    Actually, this is just a front end, so I won't need a capture card in it. My backend is running a pcHDTV 5500.

  9. #9

    Default Re: MythTV HTPC

    It appears that I constantly find more time to work than I thought I'd have. The latest step was a little clean-up and some more fabrication.

    The case, as mentioned before, had a lot of "sticky-outie" bits that I needed to grind off. No pictures of that, as I figure you all know what a bit of metal flange looks like, and how you'd use a Dremel to take it off. (That, and none of the pictures looked that good...)

    That was honestly all I had planned to do, but I decided to start working on the shell for the case. I didn't think to take pictures of it before hand, but I had this massive old (old) server case sitting around - it even had a turbo button on it for crissakes - that I decided to hack up for this part.


    I set the case in there to get a rough size estimate to cut on. I always cut way over what I need, and then grind/trim to custom fit. (Always easier to make something smaller than it is to make it larger.) After marking it, It was time to rip it down. Behold my grandfather's jig saw!


    He gave me it when I was a kid, and it still works wonderfully. I think that it's around 40 years old at this point.

    Here we go, all ripped down:


    I also figured that I would drill, tap and test fit some thumb screws:


    Here's some of that trimming to custom fit I was talking about:


    Once I had one side trimmed down for height (I'm leaving the length for now while I plan the front) I marked out the top to trim it for width. My plan here is to make the top and the one side a single piece for ease. This may change.


    Here is where I left off. It's rough cut, and I eye-balled out some U-channel to clean the edge up a bit.


    That's it for now. Next step is to make the access-panel side of the case, and then start planning out the bezel. Thanks for following along!

  10. #10

    Default Re: MythTV HTPC

    Round about this time, the battery went dead in my Dremel. One of these days, I need to get around to buying a corded one. (I love this one, but the dead battery thing gets old after a while.)
    I was damn near prophetic. I tried to do some work last night, and either my battery or the charger smoked. So...now I have to buy a new one. (Since stores don't carry batteries for them around here, and they're pretty expensive from Dremel direct.)

Posting Permissions

  • You may not post new threads
  • You may not post replies
  • You may not post attachments
  • You may not edit your posts
  •