Nice touch with the hand print on the top of the case. Looks great.


Nice touch with the hand print on the top of the case. Looks great.


dude that looooooks freeking sweet!
one of the first horror films i ever watched! still one of my fav's
Mary had a little lamb. It bumped into a pylon. Ten thousand volts went up its arse and turned its wool to nylon!
Obviously, I'm a bit of a fan as well.Originally Posted by XcOM

Current situation update: I currently am finishing up the graveyard fence (getting it glued, painted and installed.) I have a few more white LEDs and some red EL wire on order. I don't have a lot of room behind the mobo tray, and I'm still trying to get that panel lit. That's really the last major thing I have left to do. After that, it's touch-up and final assembly. Which is good, because I have just over a week left.

a week before what???
good to hear i will like this on when its done
The 40th anniversary is Oct 1, next Thursday. I know, it's a totally self-imposed deadline, but I'd like to have it done by then.
ah ok got ya
good luck and gods speed..
well flash es speed anyway
Back again!
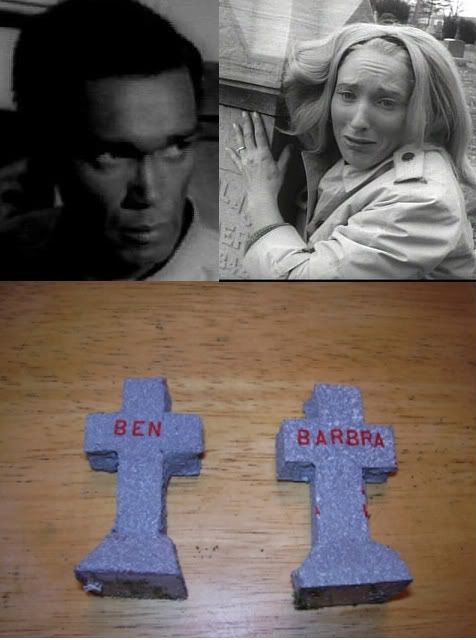
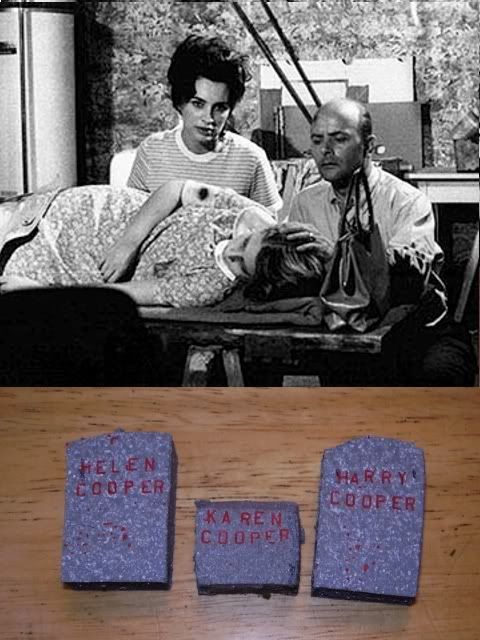
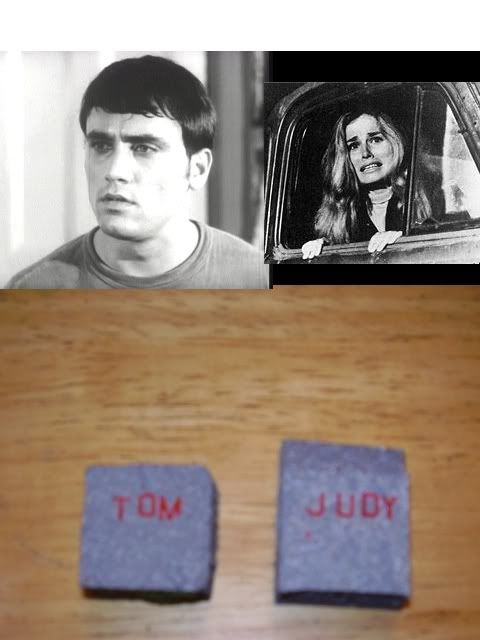
I finished up the main tombstones for the graveyard. I might make a few more blank ones if I feel that I need to fill some space, but these are the important ones. Since the lettering I used doesnt come in different fonts, I tried to print them slightly askew and with extra spots of red to give them a horror-font feel. Without further adieu, I present the family to you:
I may add one for Johnny, but Im not sure. Hes important to the plot, but not a very important character.
Ive also done some more work on the side panels.
Much like the top, I wasnt very happy with the paint on the side panel, so I sanded it down a bit and then went over it with some window cleaner. (Sanding with 1500 grit sandpaper really gives it a soft touch, but it leaves a lot of dust behind that you cant easily see but will screw up the paint.)
It doesnt look much different in this picture, but trust me its a vast improvement. Go back and look at the before and afters of the top for comparison.
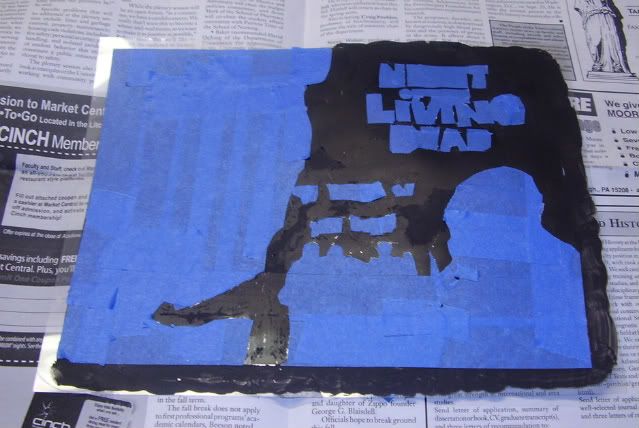
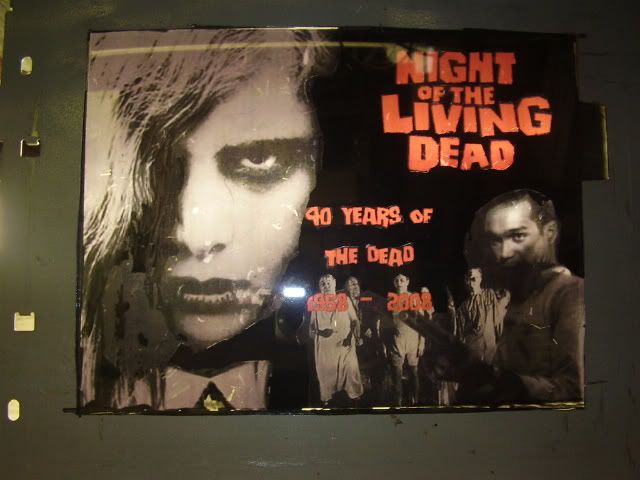
On the other side, I messed around with the picture window a bit more. As I touched base on before, even the black areas were letting through too much light, and I was going to need to do some painting on it to cover it up.
The picture is actually two transparencies one black and white, one in color. At first, I tried to hand-paint the B&W one, but my brush-strokes showed up ones there was light behind it. So, I went to plan B.
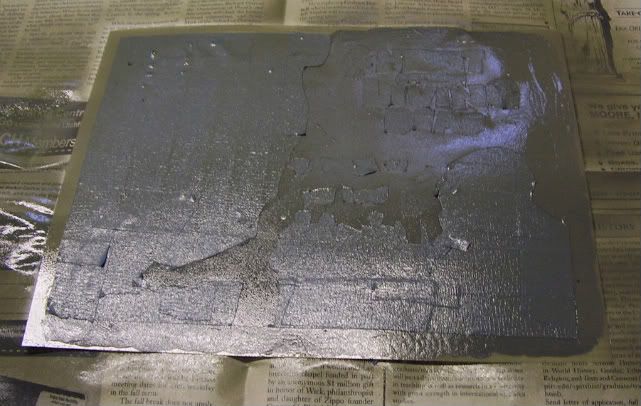
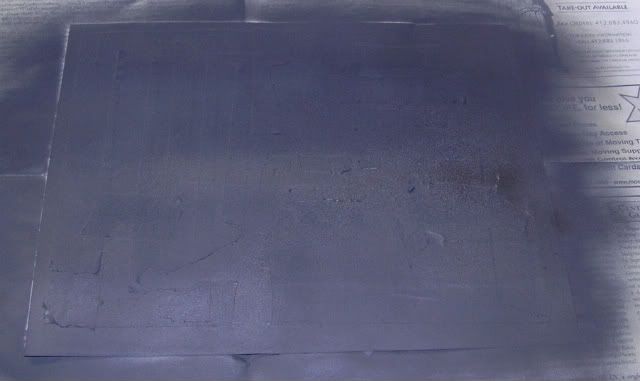
Using painters tape and my carpet blade (My Xacto knife has been missing since college, and I got pretty good with this blade instead) I masked off all the important let-light-through parts, then it was prime and paint time:
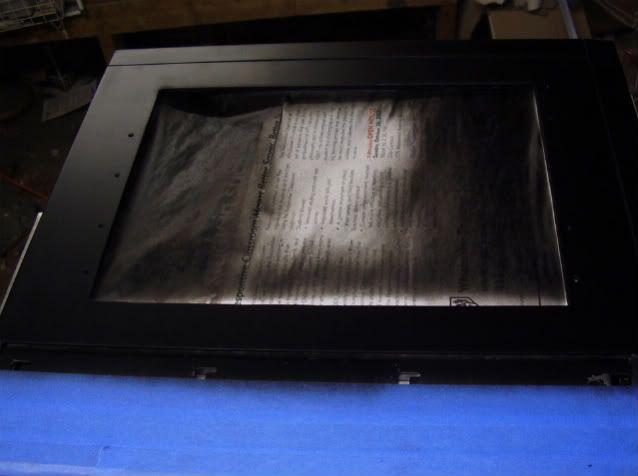
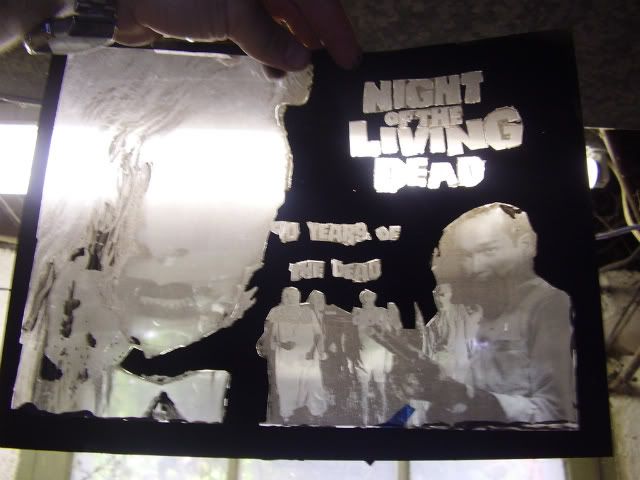
Here it is, held up to the light, afterwards:
As you can see, this is much better. Yes, I realize that some of the transparent areas look pretty beat up. I will be reprinting the color layer before final install. This one was the work copy.
So now, I just have to hope that the lights I ordered will finally get the job done on this.
very nice...
lovely work
Well...they didn't. The "red" wire that the site says looks like this:
...actually turned out to be a very dim pink. At least it was only eight bucks, or else I might be pretty damn pissed off. As is, I'm still very disappointed.
On the flip side, I think that I found a solution to my problem, and early tests confirm it. Tonight or tomorrow, I will put it together and get some pics up.
sweet
pitty bout the wire but only eight bucks
good luck
 Posting Permissions

 Reply With Quote