MOAR!!!its wicked dude!


MOAR!!!
is that a 120.9 raddy on your case, or are you just happy to see me?
METO V.1
METO V.2
METO V.3
PC-Beto
Project M8 [WIP]

Yes, I'm still alive. After the LAN, I kinda went a bit backwards and disassembled the case again
to re-do some things that didn't quite work the first time. I'm spending a lot more time in the cabling department
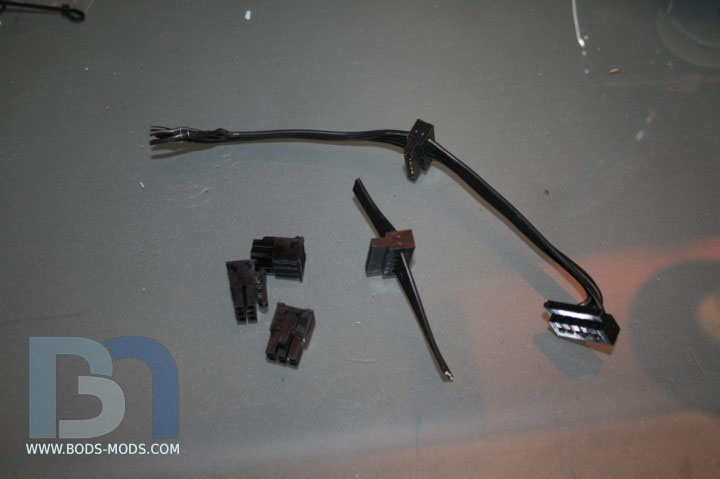
this time. I didn't like how the SATA cables came out so I'm completely remaking them using white wires.
I'm also using these shorter pass-through connectors, but only one at the end of each cable.
These make it easy to swap out the wires. Just pry the back cover off.
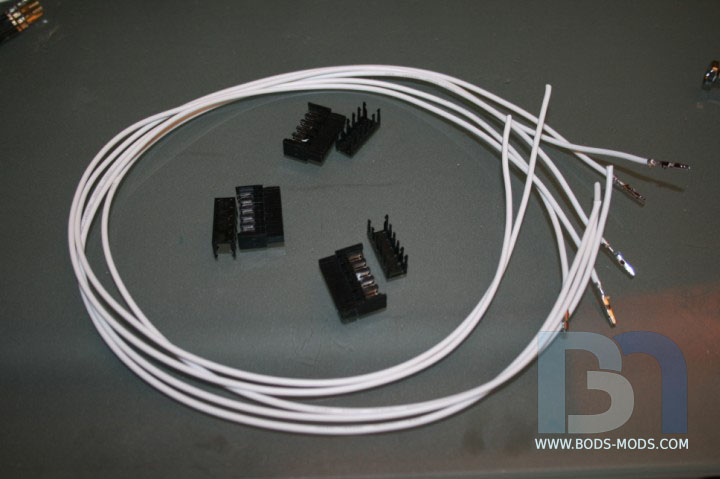
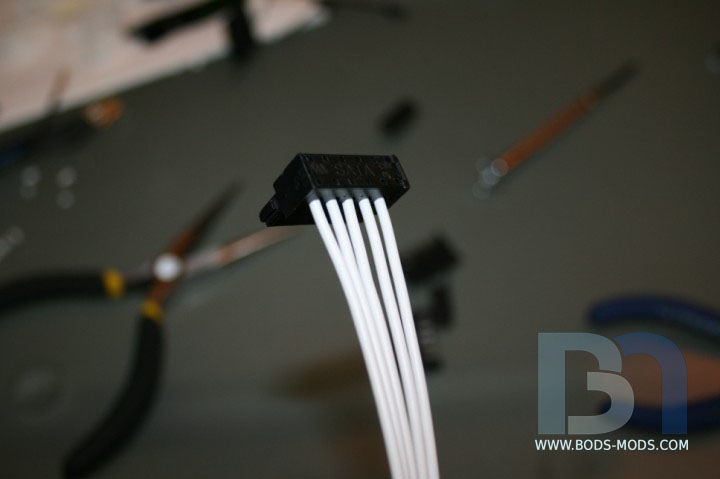
I cut the white wires to length and soldered the pins on.
Then pressed each wire into their slots and put the cover back on.
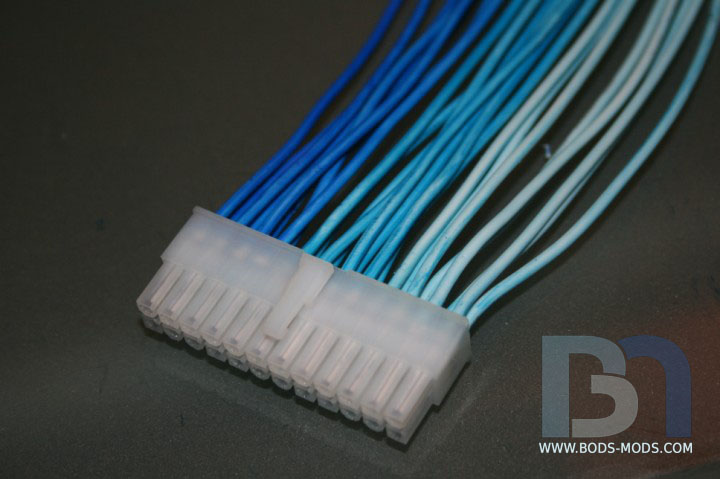
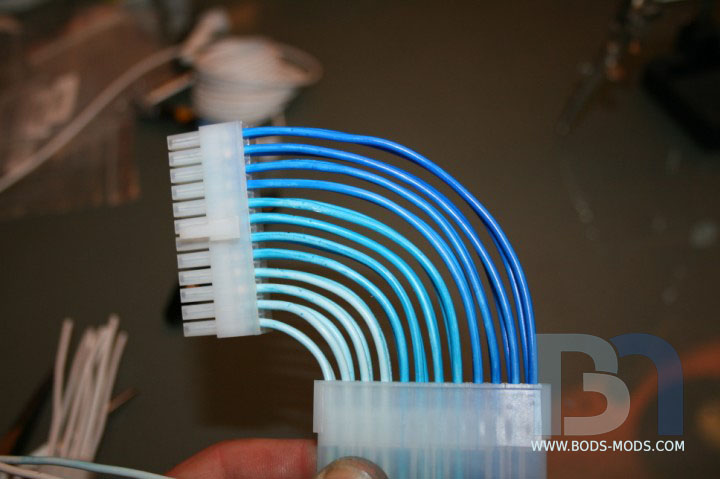
For the ATX cables, I wanted a different effect than sleeving. Something that would match the case theme, and pass through
the floor. So I'm making an extension with all white wires that I'm coloring blue, to match all three shades of the coolant.
Using the female side of the ATX connector, I adjusted the wires til they created a smooth 90° curve.
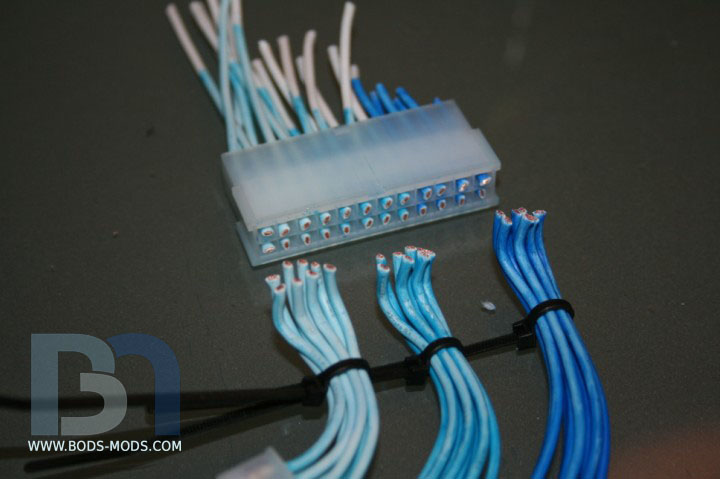
Then after allowing for additional length needed to pass through the floor, I temporarily tied them together to make my cuts.
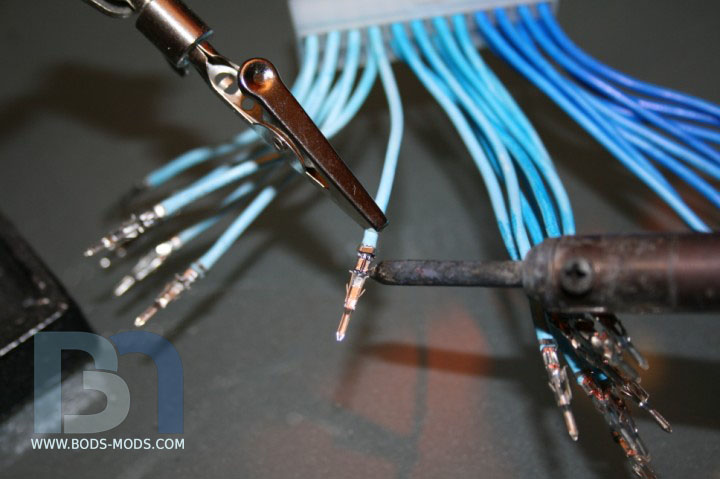
Once they were all cut to length, I soldered the pins on.
But before I put the connector on, I'll need to feed the wires through the floor, and I can't do that until I finish
up some other things first. 'Til next time!
Honey Roasted Peanuts Ingredients: Salt; Artificial honey roasting agents; Pressed peanut sweepings.

wicked cable work mate!
Originally Posted by Drum Thumper


Very nice work on the cables, I love the ATX connector, very cool, reminds me of Sniipe Dogg's latest mod on Bit-Tech.
Project: Elegant-Li *NEW*
Project: Alpha FINISHED
Project: LEXA Revival FINISHED
Project: LEXA FINISHED Bit-Tech MOTM Nominee October 08

dig it. can't wait to see the cables installed.
Every passing hour brings the Solar System forty-three thousand miles closer to Globular Cluster M13 in Hercules and still there are some misfits who insist that there is no such thing as progress.
Kurt Vonnegut - Sirens of Titan
Thanks guys!
Yes, his ATX cables are very nice. I was originally going to do the same thing! So I'm glad I decided to do mine a bit differently.
Honey Roasted Peanuts Ingredients: Salt; Artificial honey roasting agents; Pressed peanut sweepings.
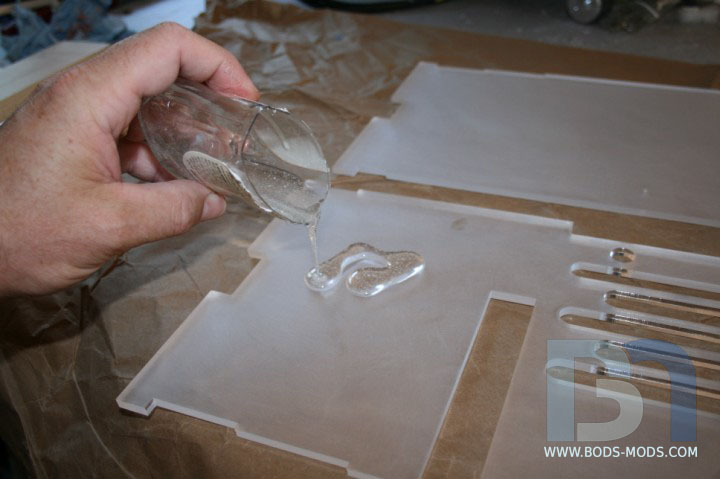
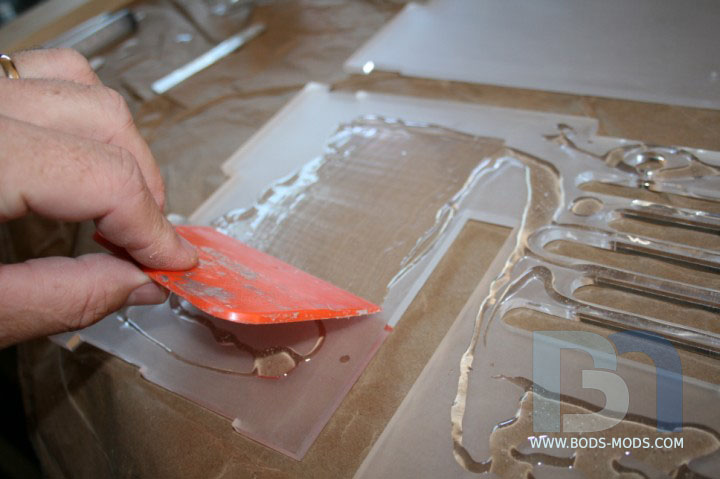
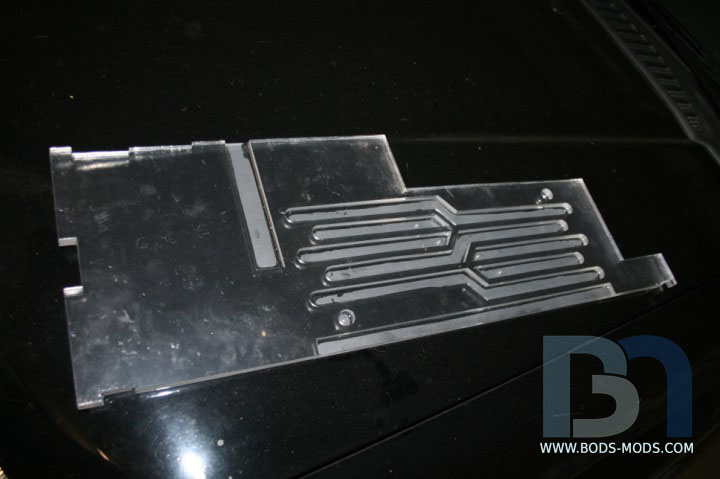
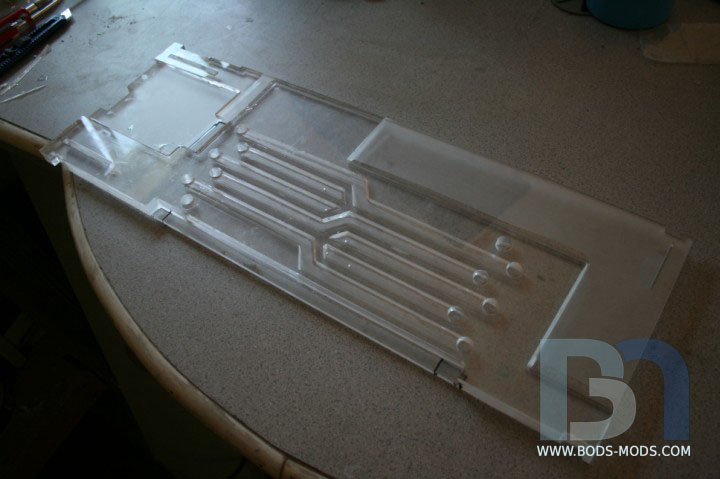
Wanted to show some in-progress shots of the new floor. This time I used a 2-part epoxy and got a completely bubble-free result. Check it out:
After mixing in a small container, I poured it onto the first piece. In order to promote adhesion, I lightly sanded
the surfaces with my orbital sander.
Spreading out the epoxy with a squeegie
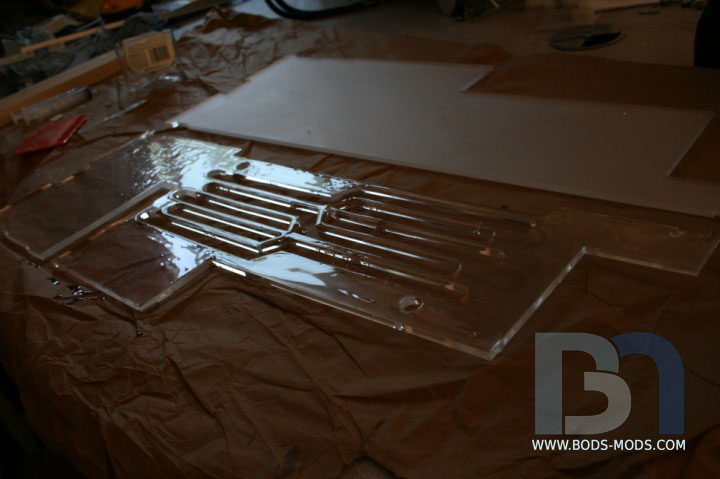
Full coverage! I let it sit for a few minutes to let the epoxy flow out (this particular epoxy had a 45minute work time)
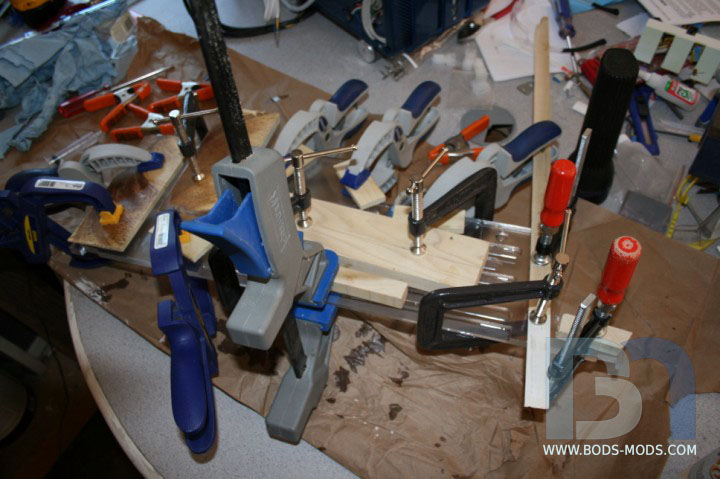
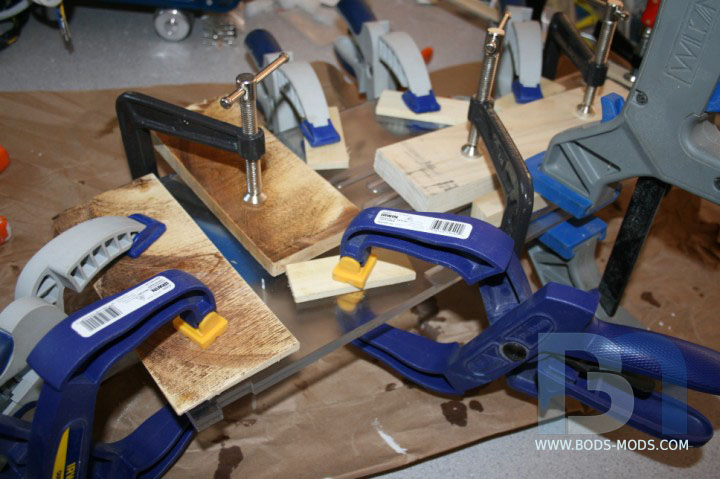
Out came the clamps. I found that I couldn't use my smaller spring clamps because they were too strong, leaving a dry
spot at the pressure point. So I opted for the lighter plastic clamps with some wood scraps to even out the clamping force.
Bottom and center piece glued:
And the final part. Completely clear with no bubbles.
After the gluing, I cleaned it up a lot, removing drips and smoothing out the edges. I drilled cabling and mounting
screw holes, cut notches here and there, getting a perfect fit. All that's left is paint and polish (to get rid of any fingerprints
on the top) and I can finally get back to installation.
Honey Roasted Peanuts Ingredients: Salt; Artificial honey roasting agents; Pressed peanut sweepings.

Very Nice.


nice work!
Arctic Cat * Maximum Security * Cribbage Board * Rockin Case * Armor Redux
Tempest SXR * Power House * Red Comet * ICHIWZ * Acrylic Headphone Hook
Continuing sponsorship support from PCBoard.ca
Yep, looks great my friend, I really can't wait to see this completely together.
Project: Elegant-Li *NEW*
Project: Alpha FINISHED
Project: LEXA Revival FINISHED
Project: LEXA FINISHED Bit-Tech MOTM Nominee October 08
 Posting Permissions

 Reply With Quote