Jolly's Tech Bench 2010
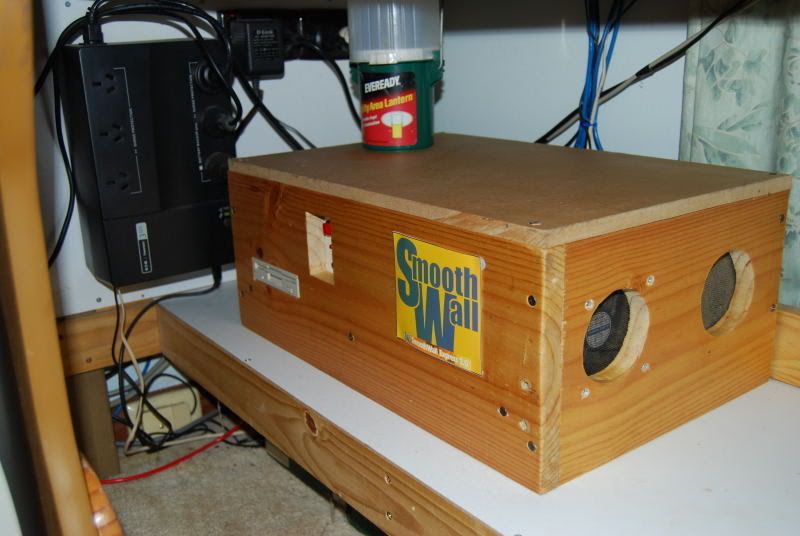
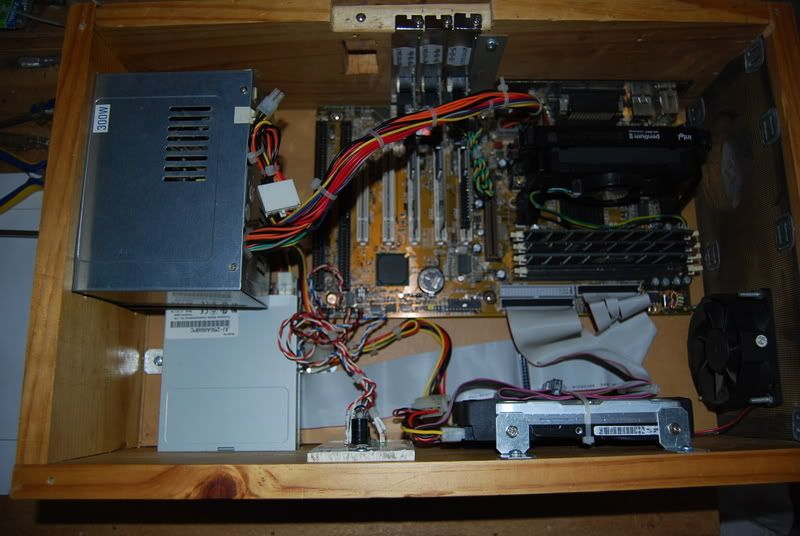
This is going to be a Scratch Build - Total Recycle of an Old Project had a few years back and originally was one of my first SmoothWall Firewalls,
(made build in a simple wooden case )
The Old
I am going to make from the Old and Recycle some of the Wood Case to make the New Jolly's Tech bench, for general Testing and Benching in my Workshop Garage
Also will be Incorporating some NMC style to it even though I wasnt in the Competition as I was one of the Competition Judge;s,
First Anniversary NMC Themed Case Mod Contest
Official NMC Contest Web Page - Rules and Information
I just needed something to do, kinda getting to Quiet and bored round here so, with a little Time up my sleeve and No Money for Real Case Modding
The only outlay here is for some Paint, as everything else is from scraps left over in garage from other previous Mods!
Materials List
The Old wood case, and extra wood (already have)
Some wood Screws (already have)
Some Plexi (left over pieces from The Sled Project)
HDD cage/CD-DVD drive cage ( left over from old case)
Spray Paint Cans Matt Black x 2 - Purple x1 - Sandpaper (cost $15.00AU)
Spray Clear Coat Satin x 1.5cans(already Have)
Recycling at it's Best!
This Project however has been Entered in the Case Modding Showdown 2010
Hosted by NewModCity.com
CONTEST RULES & GENERAL IFO
#1 Update 21st Jan 2010
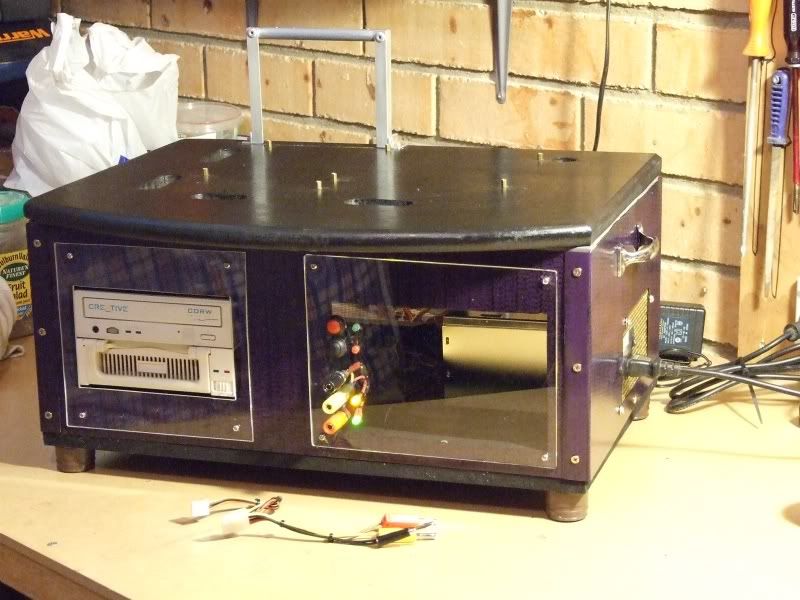
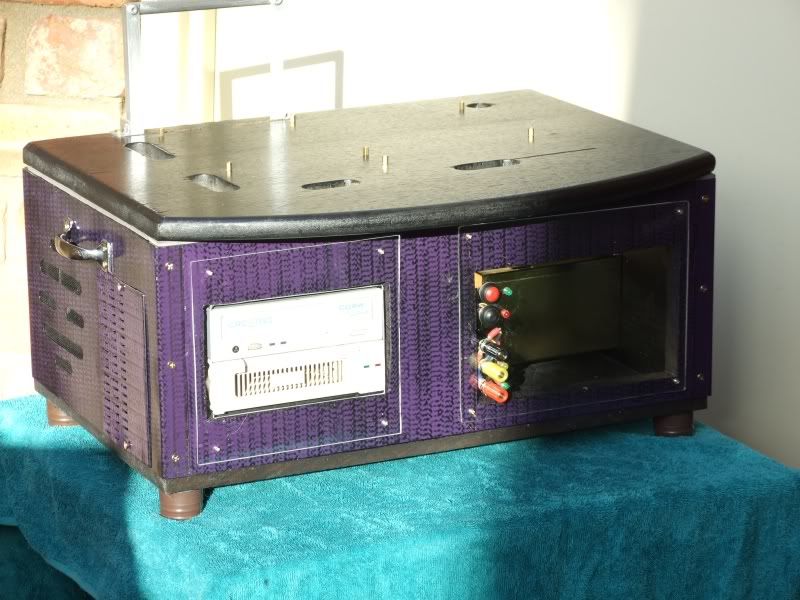
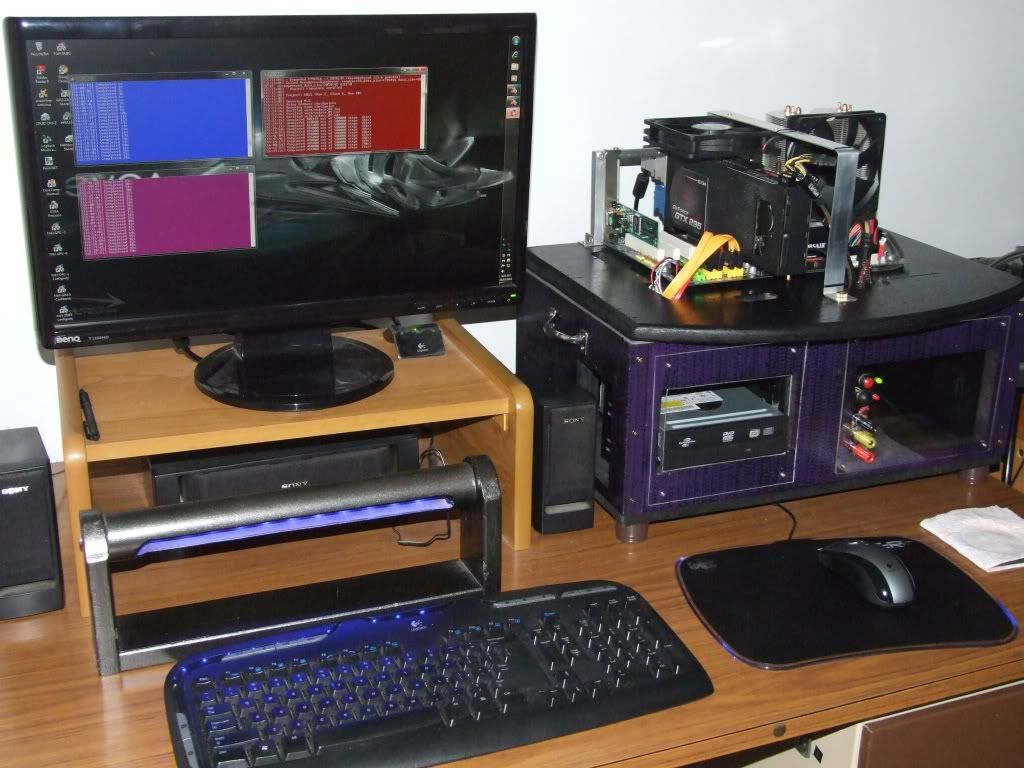
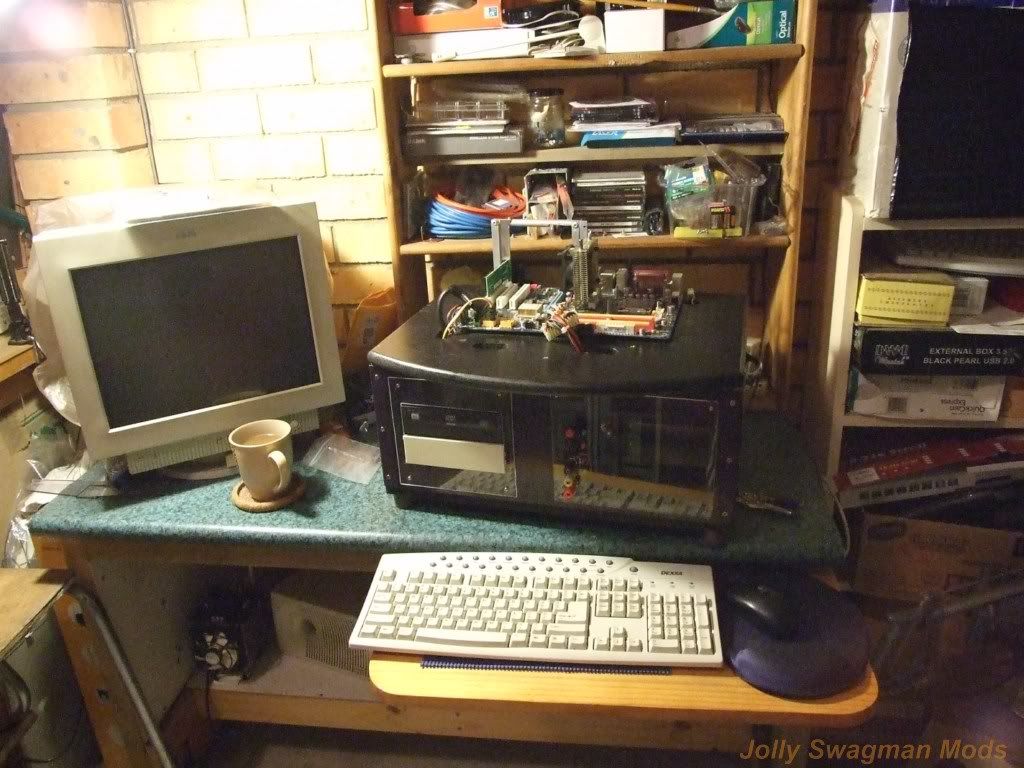
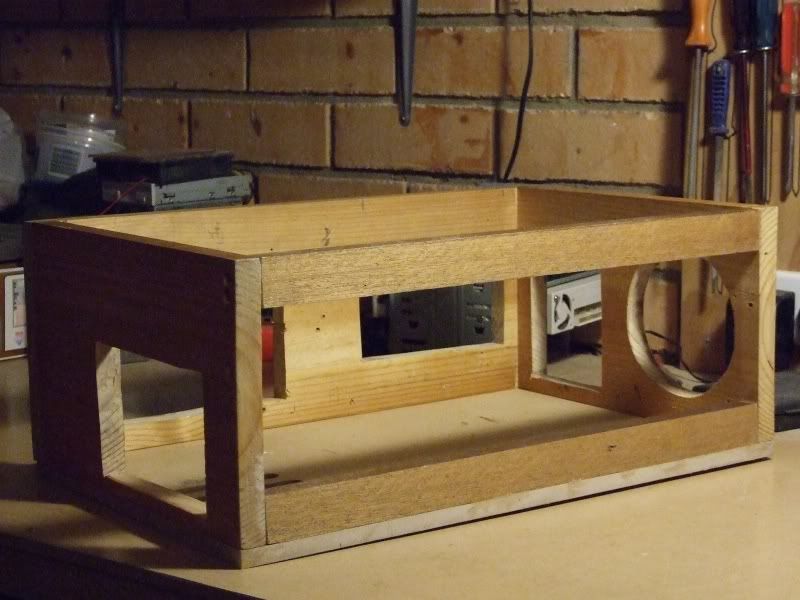
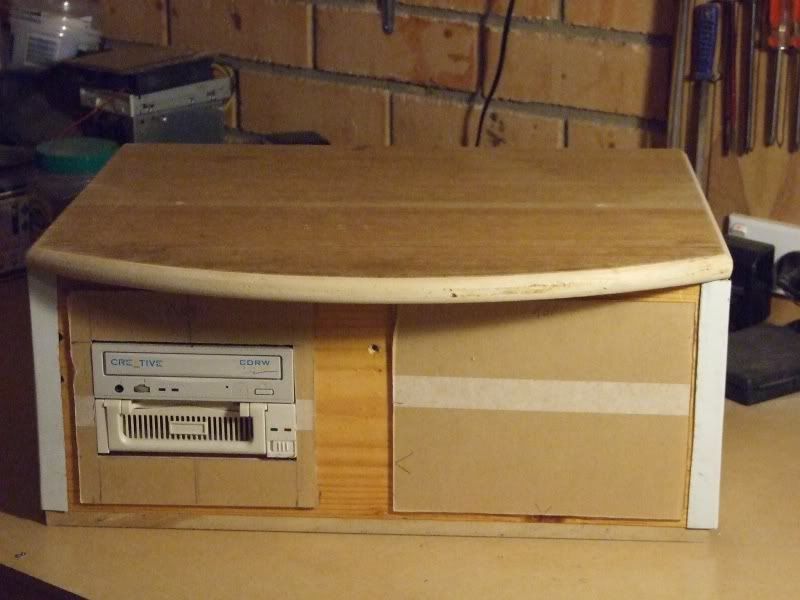
So I Have Started on the Recycle/Revamp of the old Wooden Case to be Now used as Jolly's Tech-Bench 2010,
First I pulled the Back off and the base that housed the Motherboard + HDD ( Had already previously been Removed and stored)
Now the Old Top has become the Base and added 2 Rails Across the Back Top & Bottom
Made 120mm Intake Opening for PSU Air intake on Bottom Base Plate
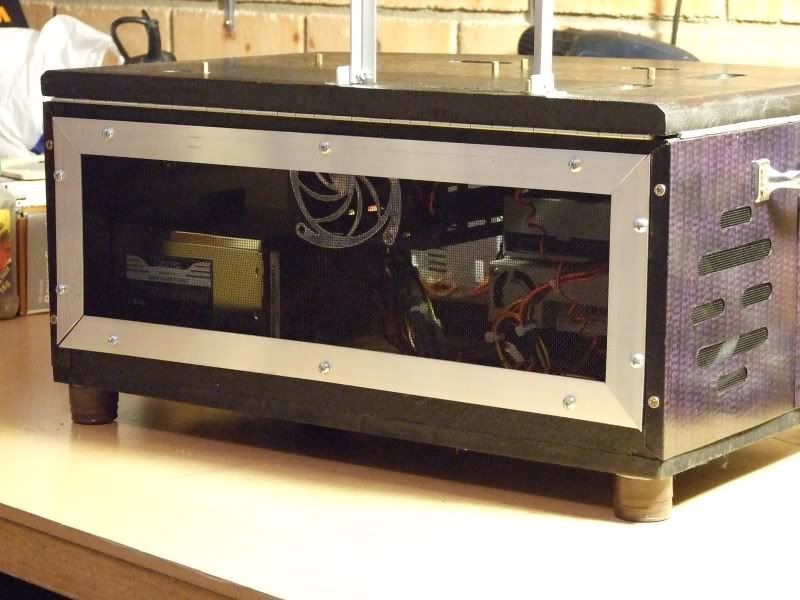
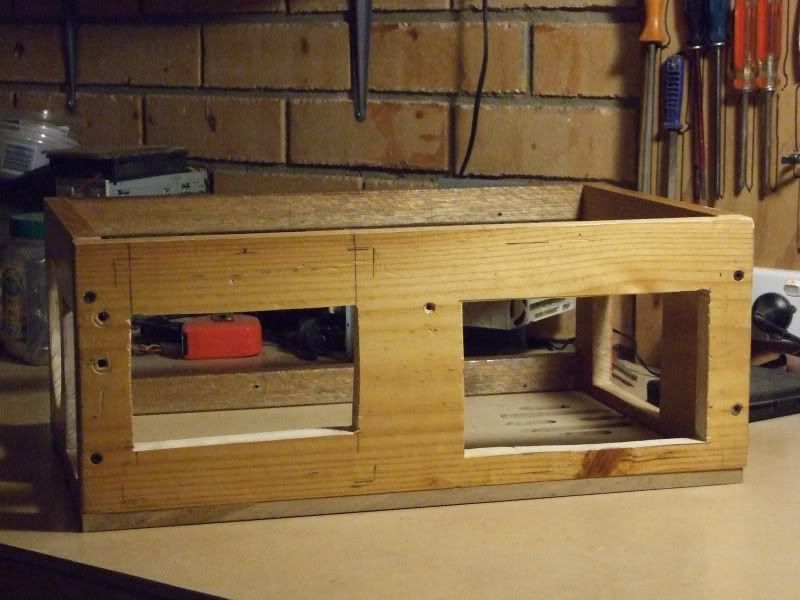
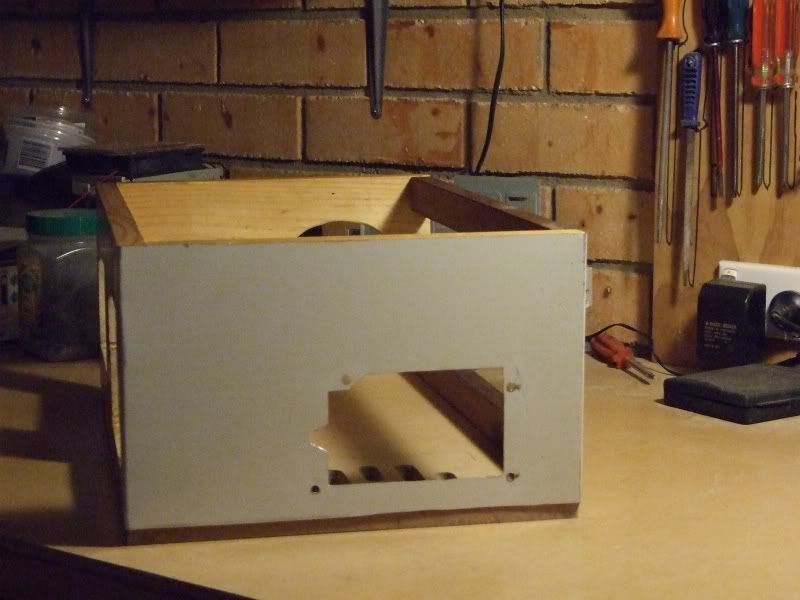
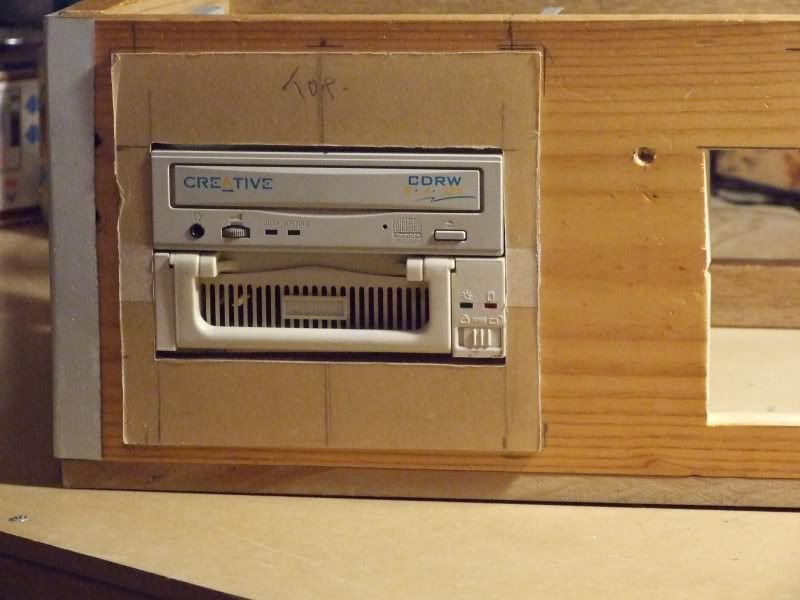
Cut out CD Drive /Removable HDD Caddy Bay and Front Window Cutout (Plexi Panels will go on these two areas)
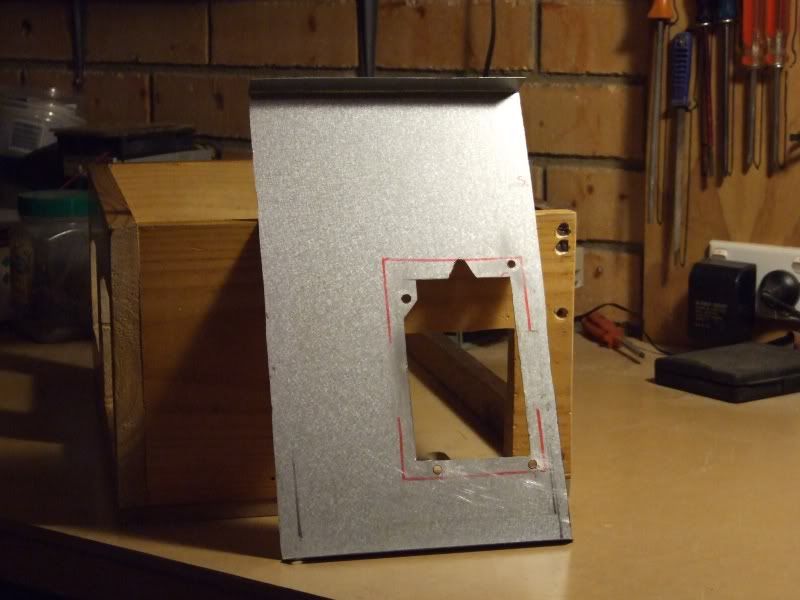
Made Right Side Panel with Mounting Cutout for PSU (Recycled from old Case panels)
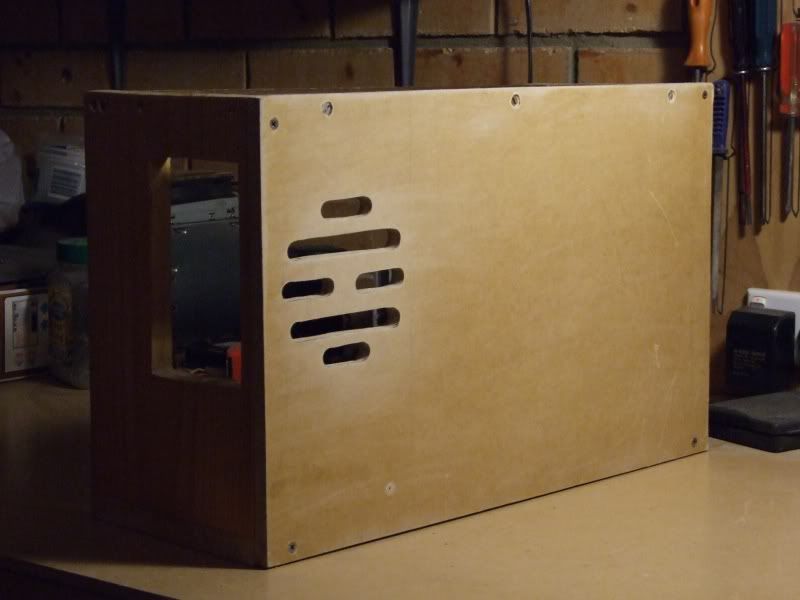
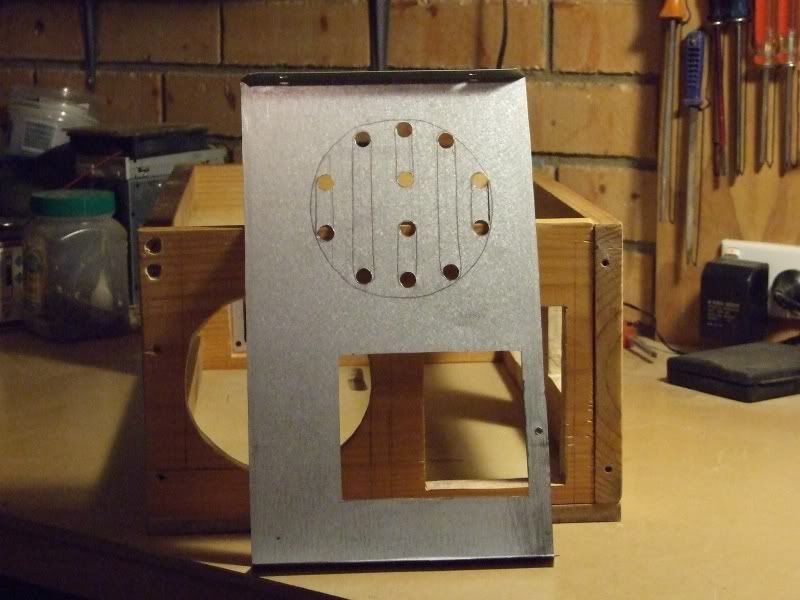
Made Left Side Panel with 120mm Intake vent and Inspection Opening ( for getting access to CD Drive Cage)
Also cut 120mm hole (was 80mm before) and access slot in wooden case side.
Made Plexi Cover Panel for CD Drive/HDD Caddy Bay
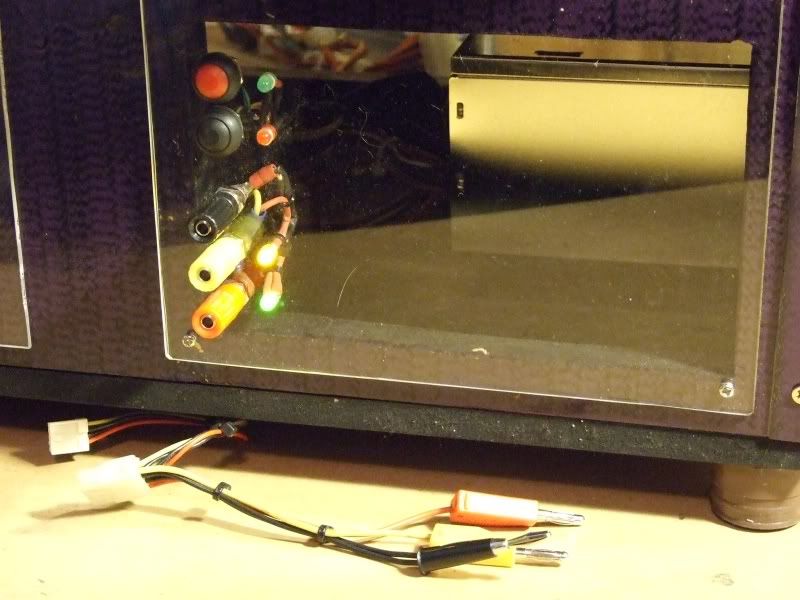
Cut Top Deck which will also be hinged at rear, and Front Plexi Window Panel ( will also have PWR/RST SW and LED.s PWR/HDD activity ect on it)
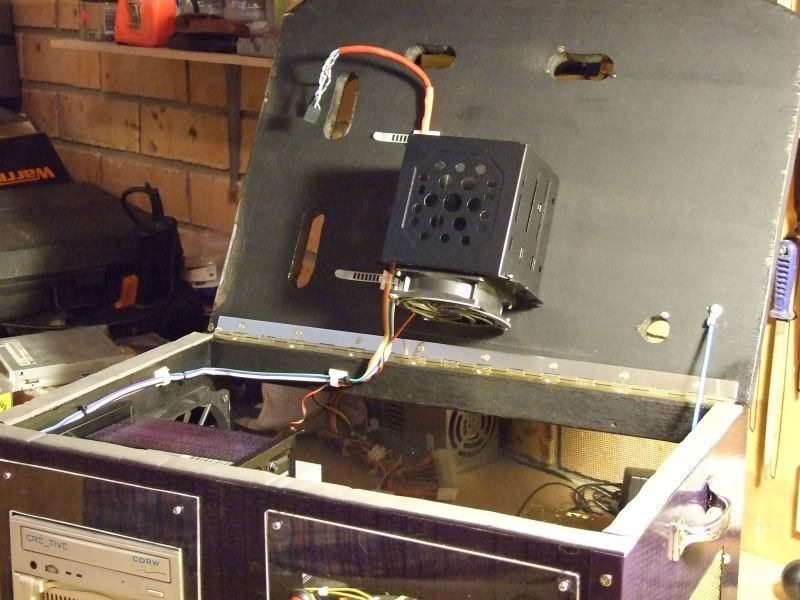
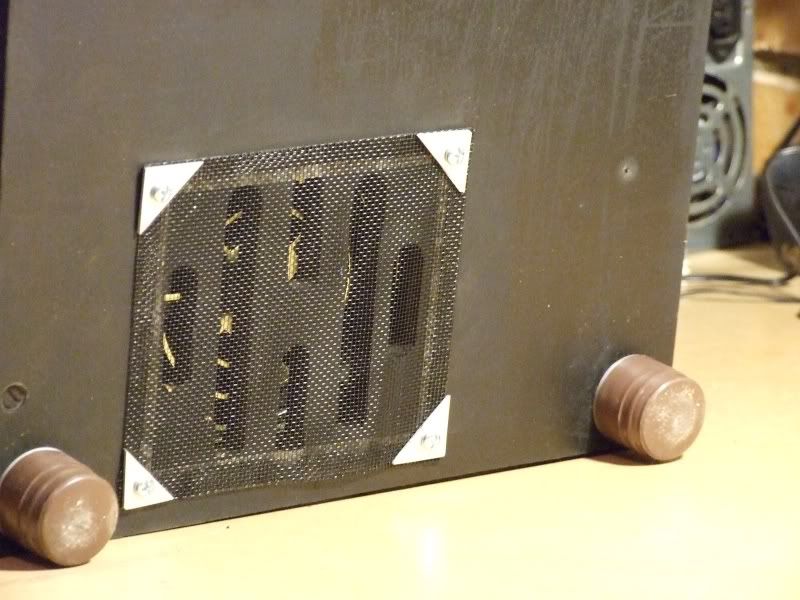
Made HDD Drive Bay with 80mm Cooling Fan Plate
---------------------------------------------------
Things to Do
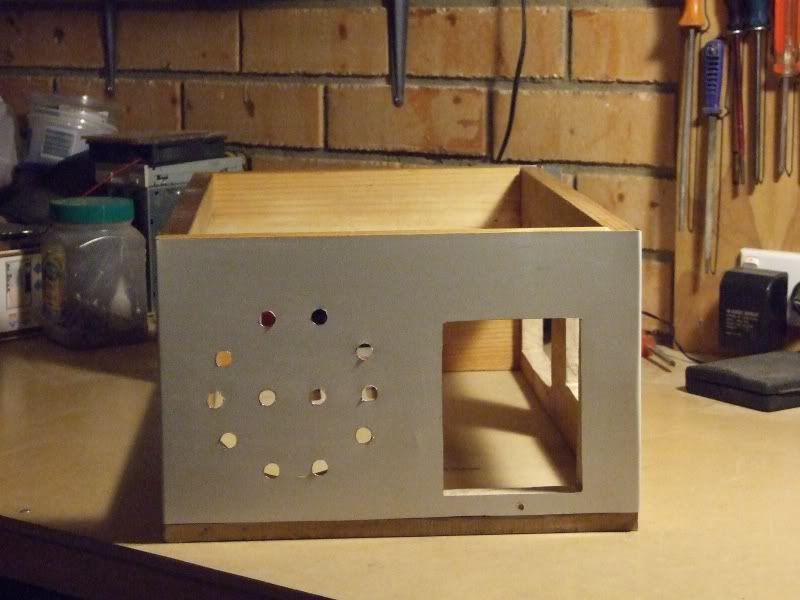
Finish cutting Side Panel slots in 120mm Side Intake vent
Cut Cable Management Slots in Top Deck for M/B access
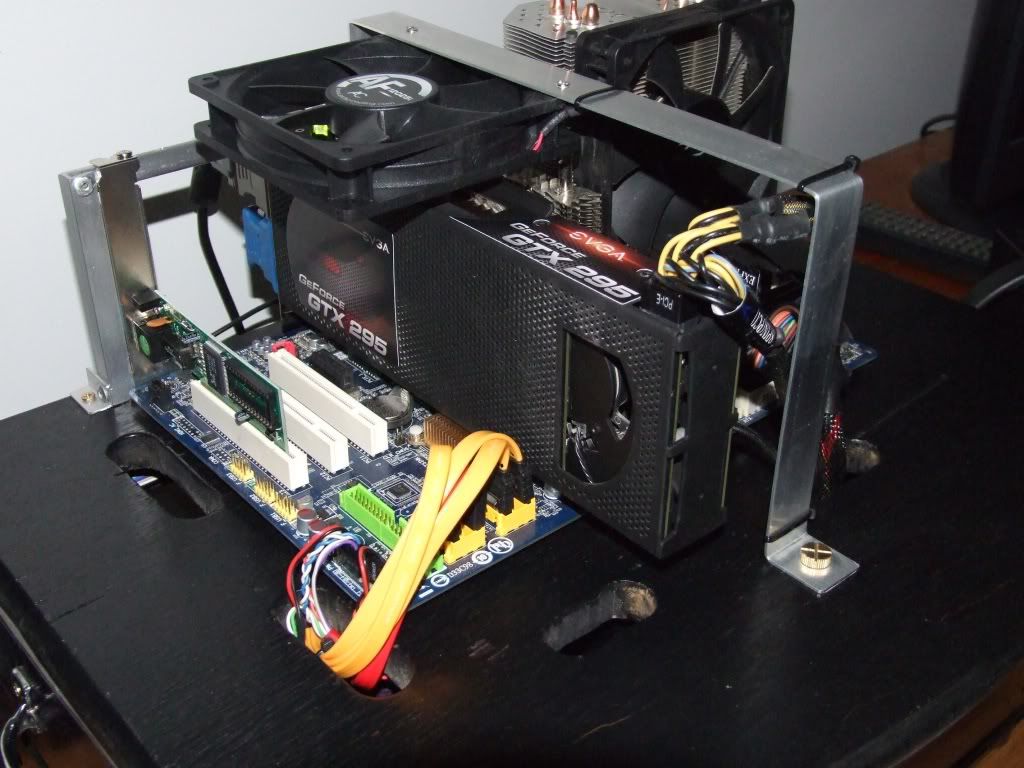
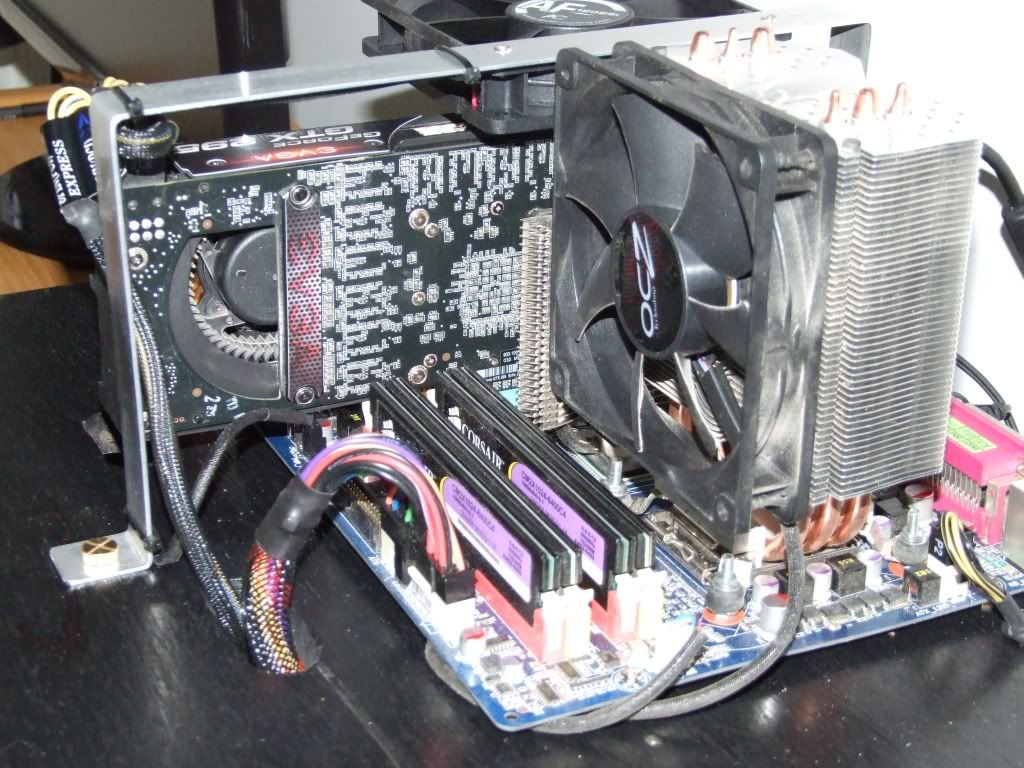
Make Mounting for M/B PCI Brackets ( GPU ect)
Sand and fill old holes
Paint main Frame and Side Panels, also Top Deck (Special Paint effects)
Paint CD Drive Bay Cage and HDD Drive Bay Cage
Mount Rubber Feet to Base
NOTE - May Have a Little Hold Up as my Power Drill Blew up :bang head
Has lasted me quite a good time 10yrs so guess is time for New one,
but will have to wait couple weeks maybe, as NO Money at this time for New One!
Time Spent 10hrs
Money Spent = $15.00AU (spray paint cans x3, sandpaper, non-slip matt)
#2 Update 22nd Jan 2010
Finished off Cutting slots in Side Panel 120mmFan intake,
Made side Panel inspection Cover,
Finished Drilling and Cutting Slots in Top Deck for Cable Routing,
Made strengthening Bracket for Drive cage, added 10mm alu angle for mounting to main frame,
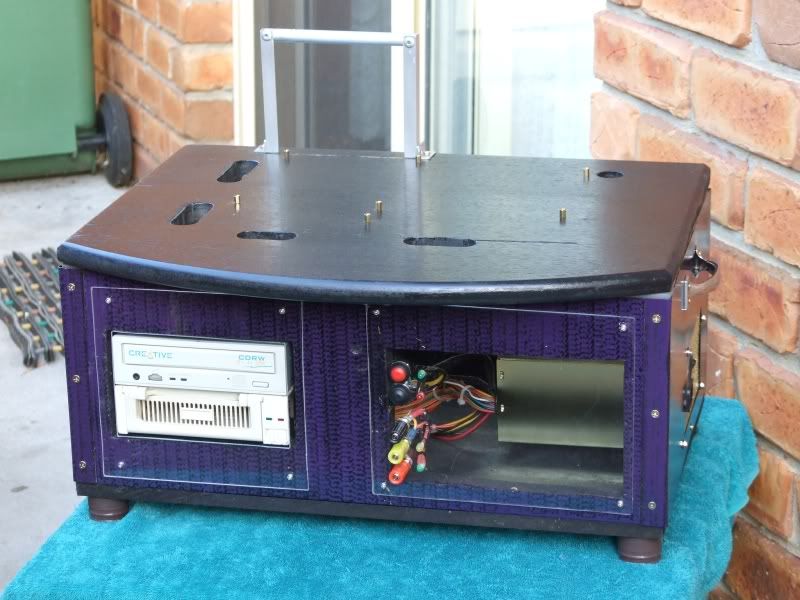
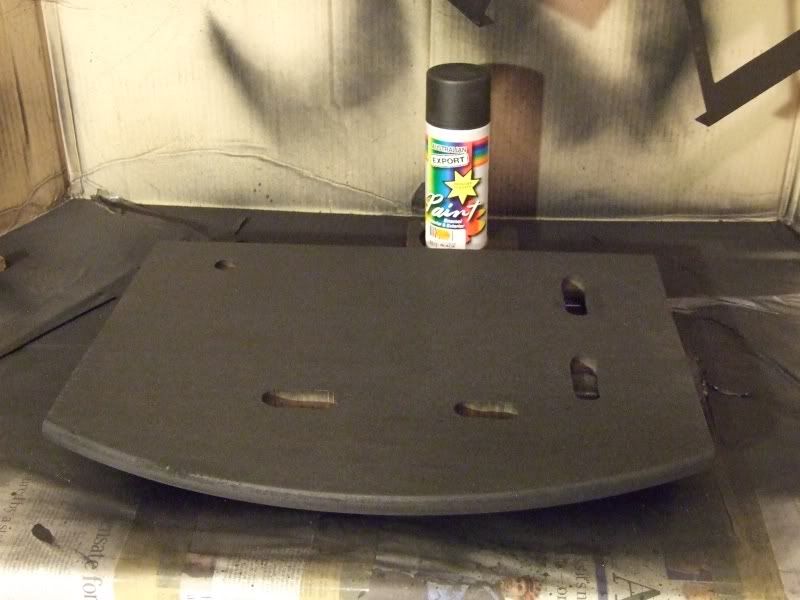
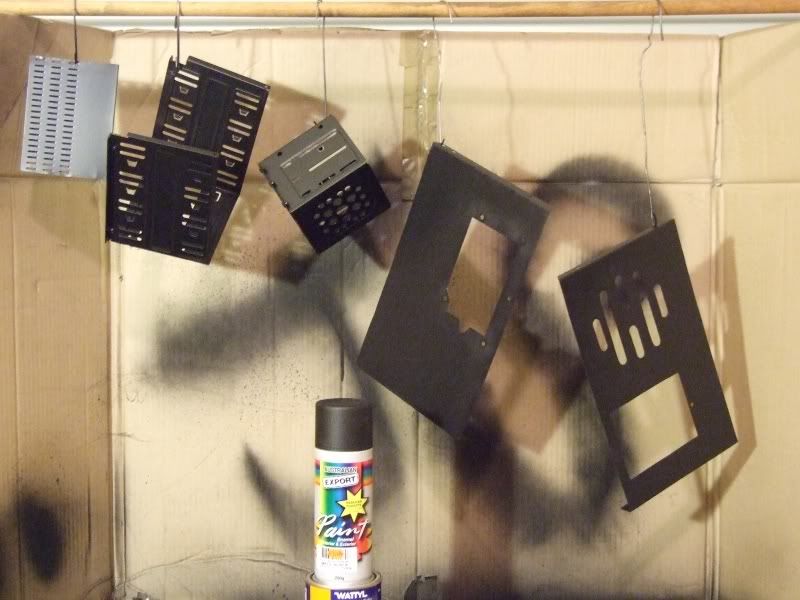
Gave everything its first Base Coat of Matt Black Paint
Top Deck Painted Base Coat
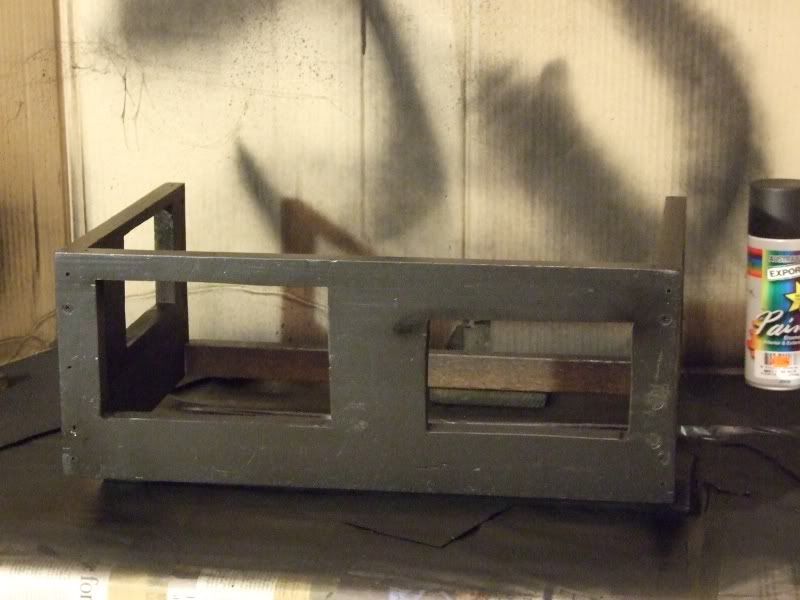
Main Frame Painted Base Coat
Drive Cages & Side Panels Painted Base Coat
Things To Do
Make Mounting for M/B PCI Brackets ( GPU ect)
Second Coat Paint and special Effects
Mount Rubber Feet to Base ( need to get these)
Mount M/B Standoffs
PWR + RS Switches (need to get)
HDD + PWR LED (have these)
Time Spent 6hrs
Money Spent = $.00
--------------------
Total Money Spent =$15.00AU
#3 Update 24 Jan 2010
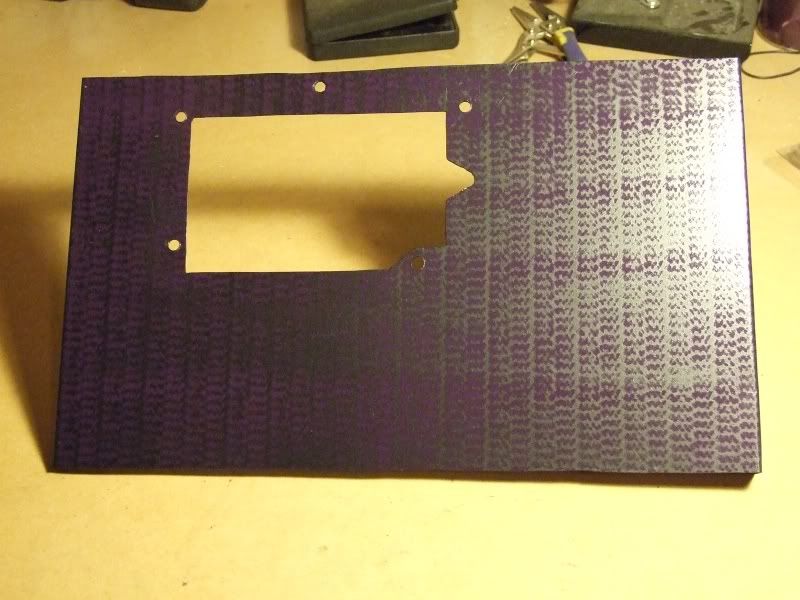
Here are some Pics of the Paint effect I am using on the Side Panels
Side Panel for PSU Mount
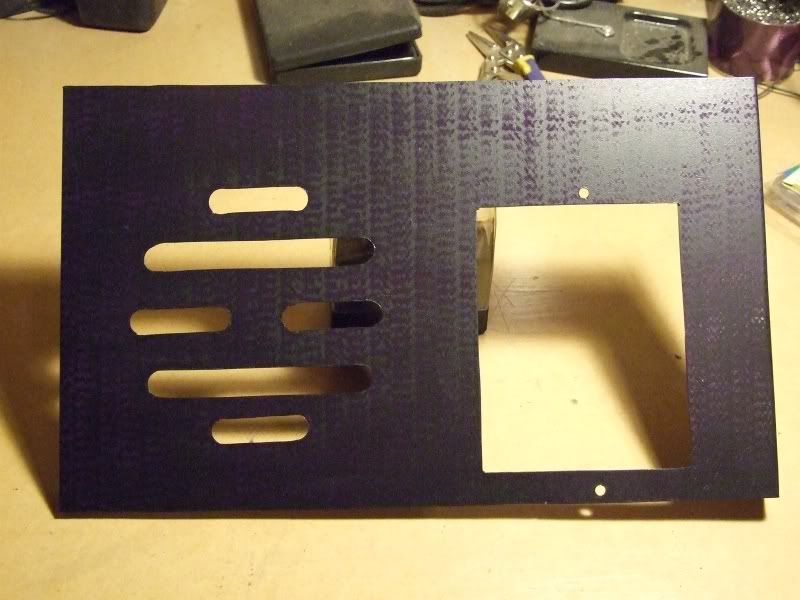
Side Panel 120mm Fan intake and inspection Panel
Inspection Panel
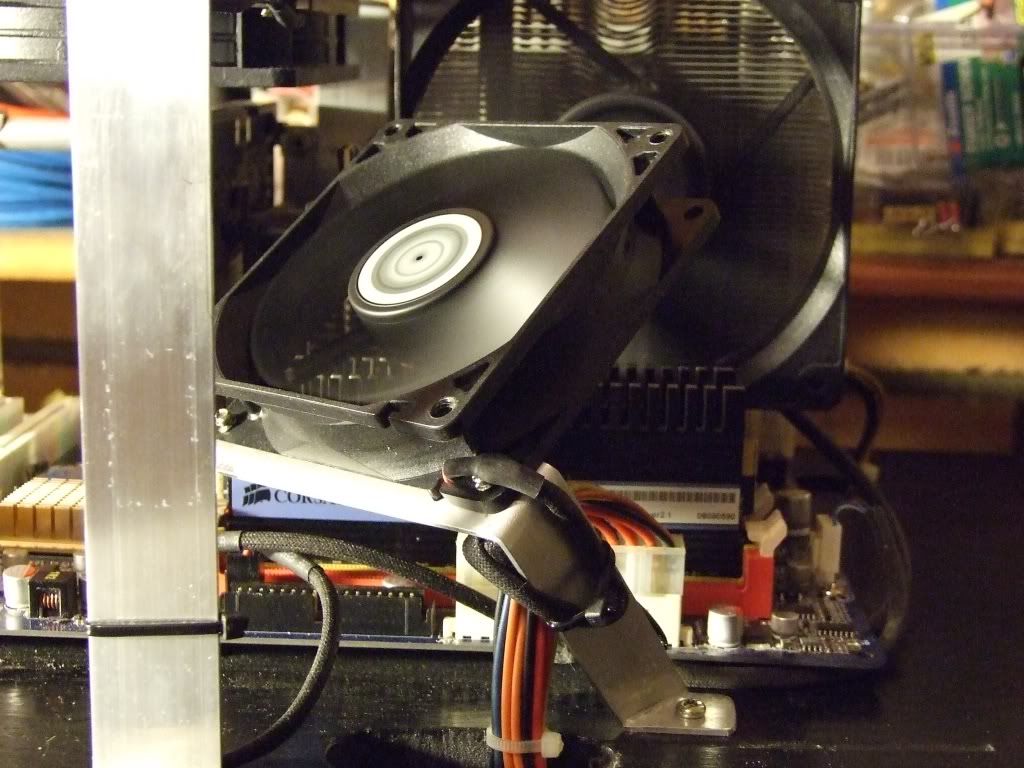
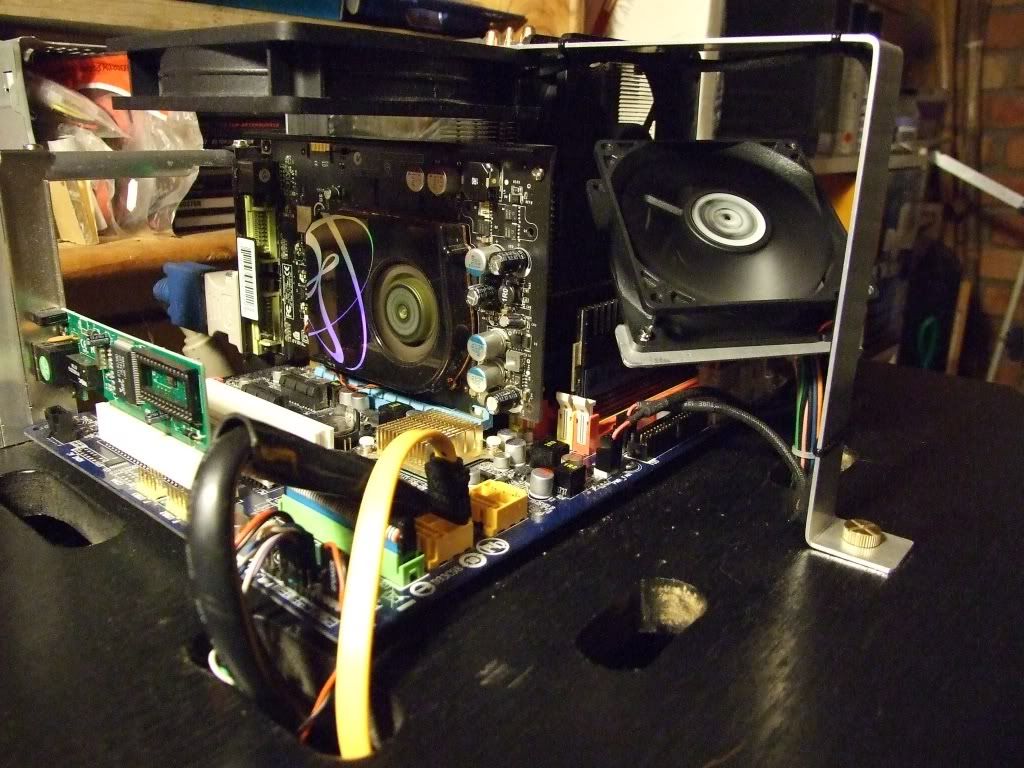
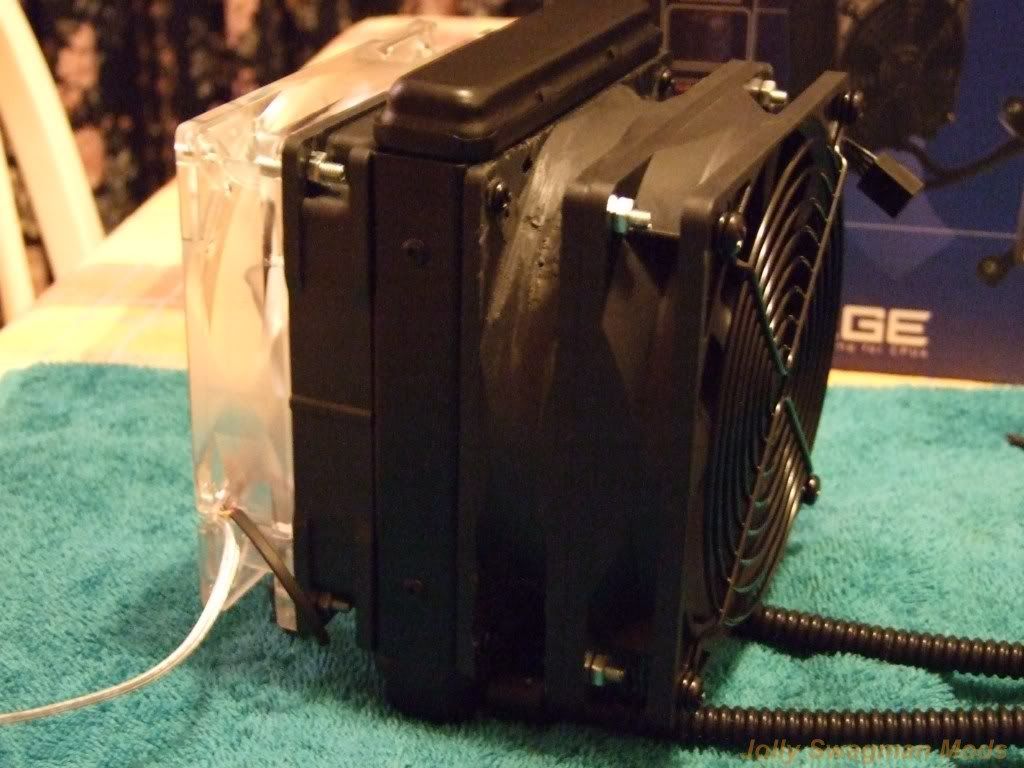
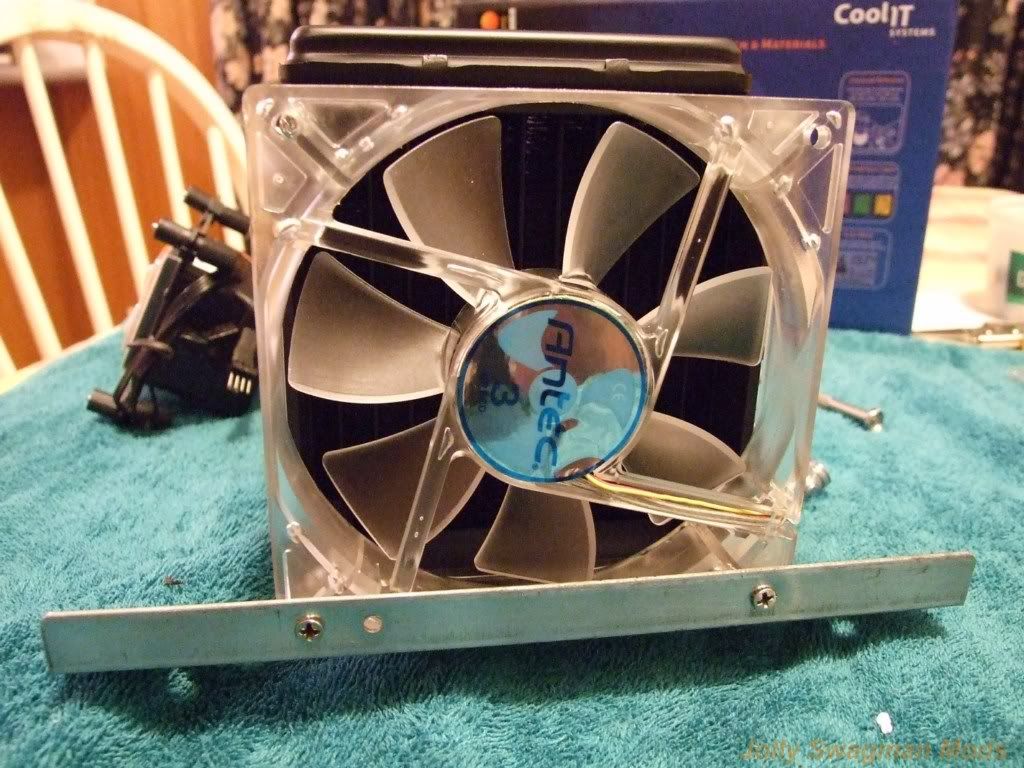
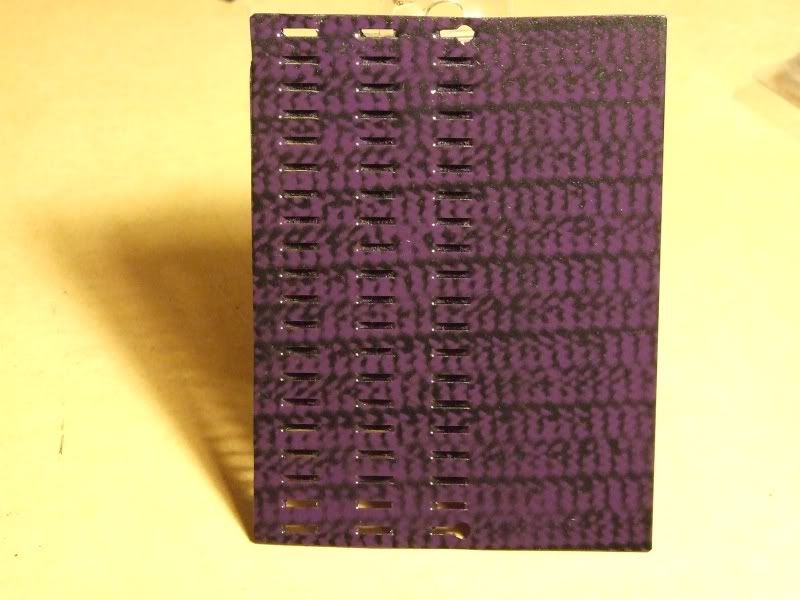
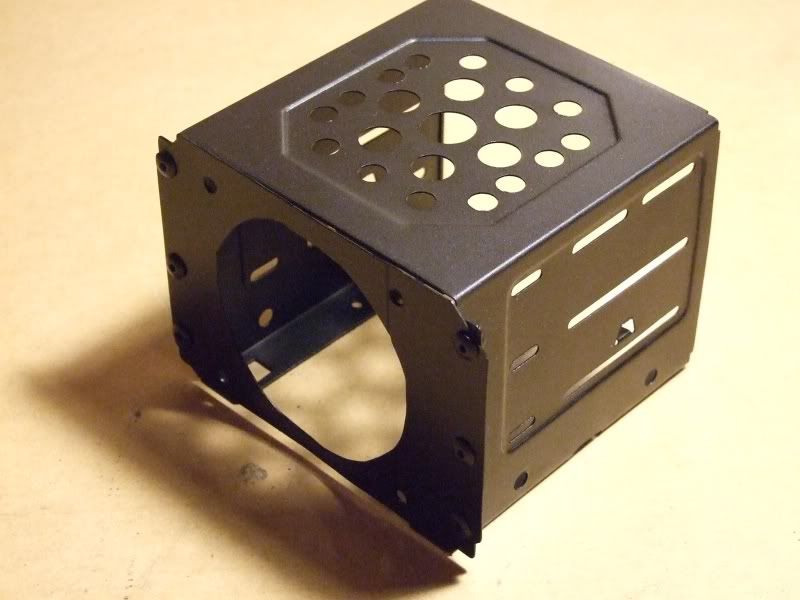
Also have made plate to go on HDD Cage to hold 80mm Cooling Fan
HDD Cage with 80mm fan holder
Just small update still have to do second coat Main Frame and Top Deck and Special effect to Front of Main Frame, then Mount Side panels.
The Main Frame and Top Deck will also get Clear Estapol Clear Coat along with the HDD Cage and Drive Bay Cage
Time Spent = 3hrs
Money Spent $0
----------------------
Total Money Spent = $15.00AU
Other To Do,s
Make Mounting for M/B PCI Brackets ( GPU ect)
Mount Rubber Feet to Base ( need to get these)
Mount M/B Standoffs
PWR + RS Switches (need to get)
HDD + PWR LED (have these)
Also need to Get M/B Header plugs and leads for PWR/RST and HDD/PWR Leds.
Having trouble tracking down the Headers, if anyone has some spare or know where can get much appreciated!
So stay Tuned as More to come soon!

 Reply With Quote