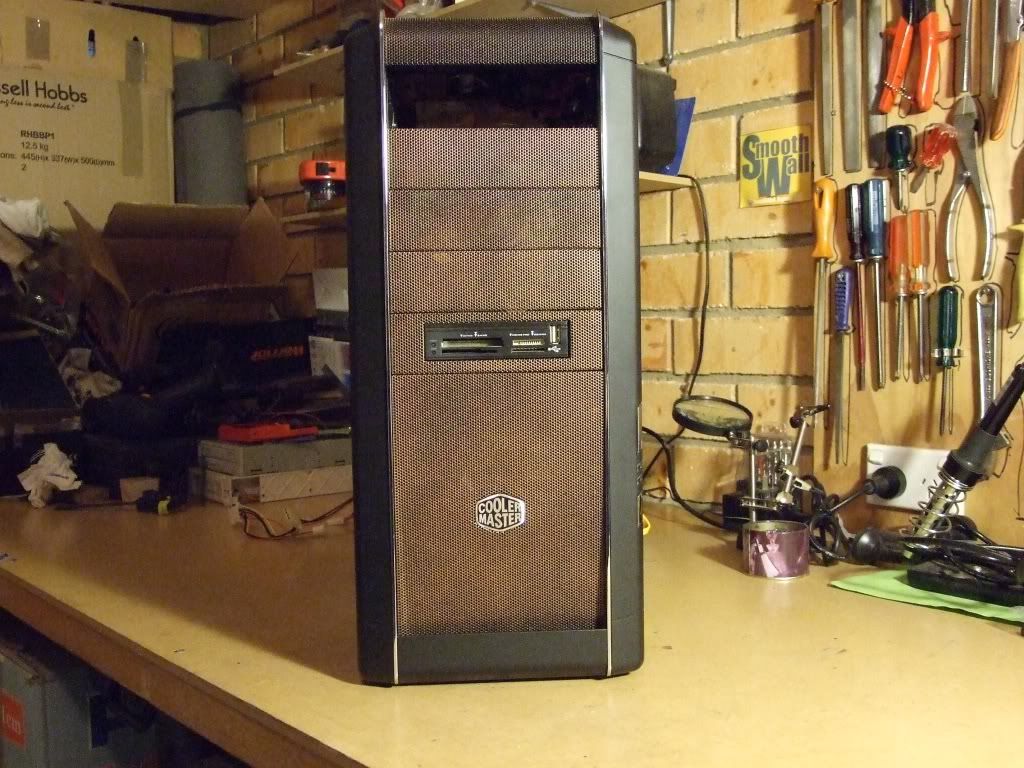
Jolly's CM-690 Case - Acentos de Cobre
Another Case Mod by Jolly-Swagman
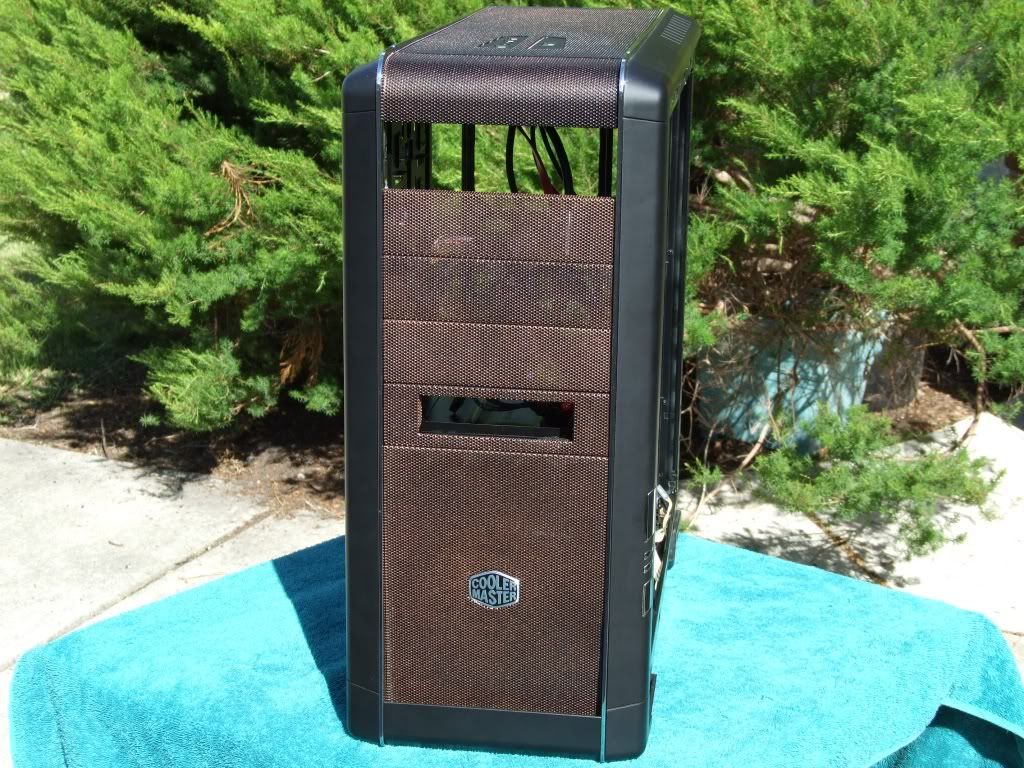
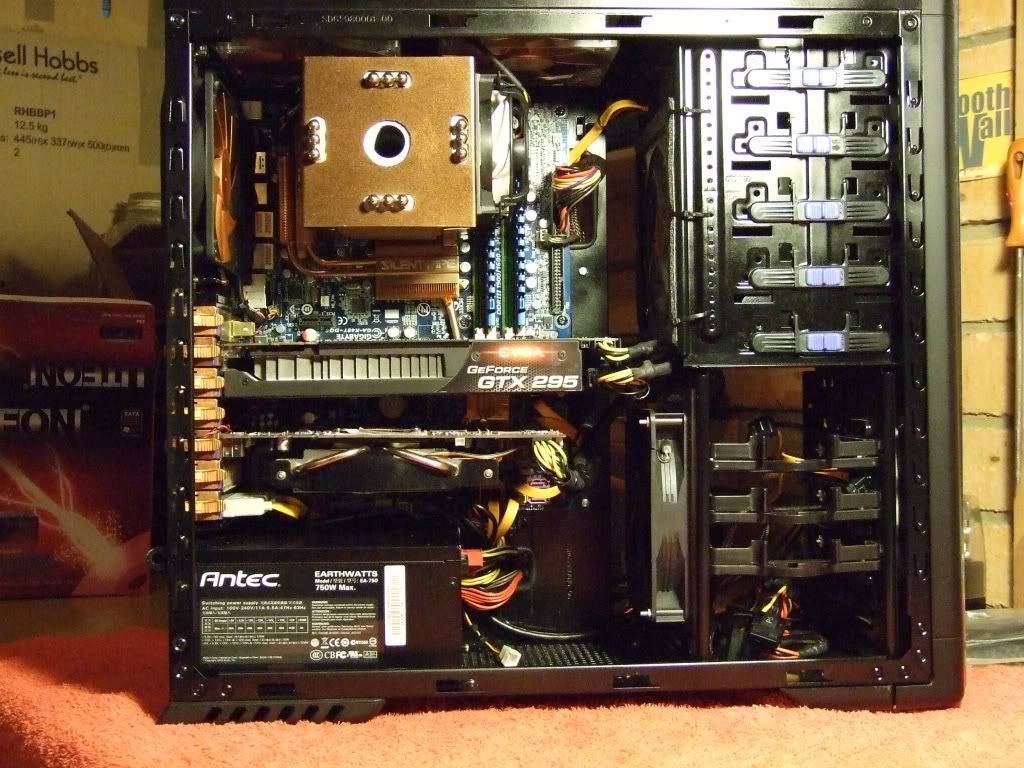
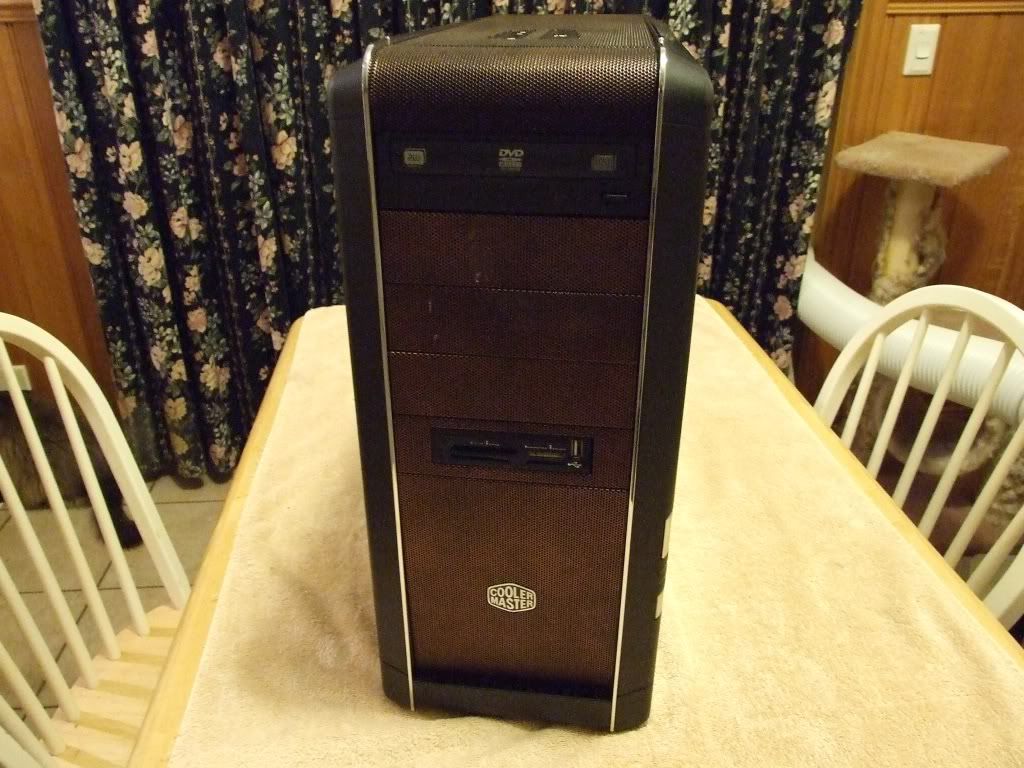
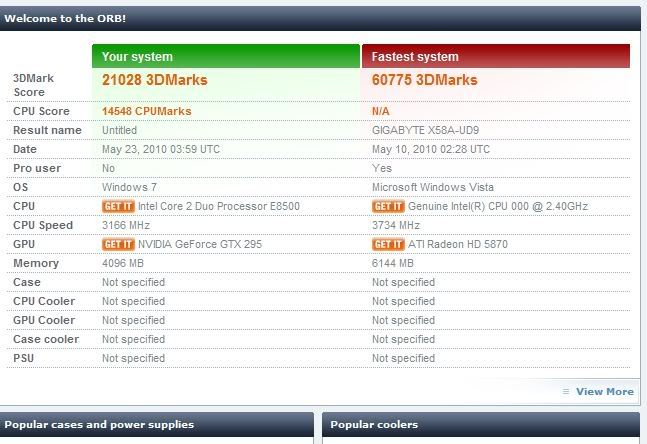
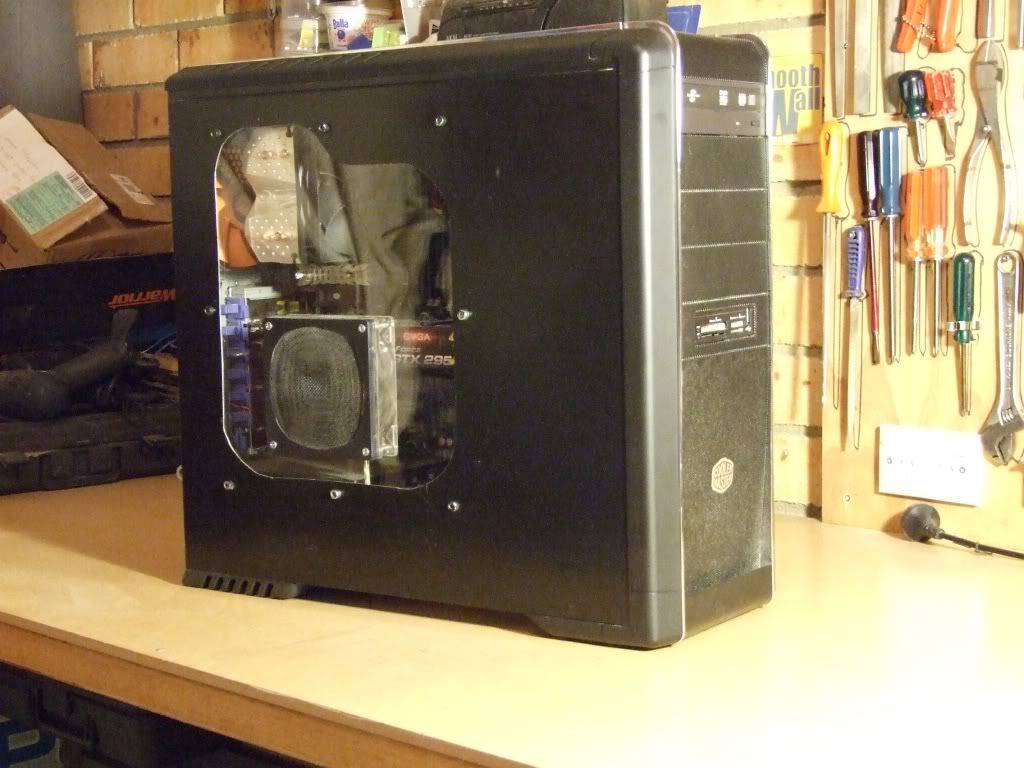
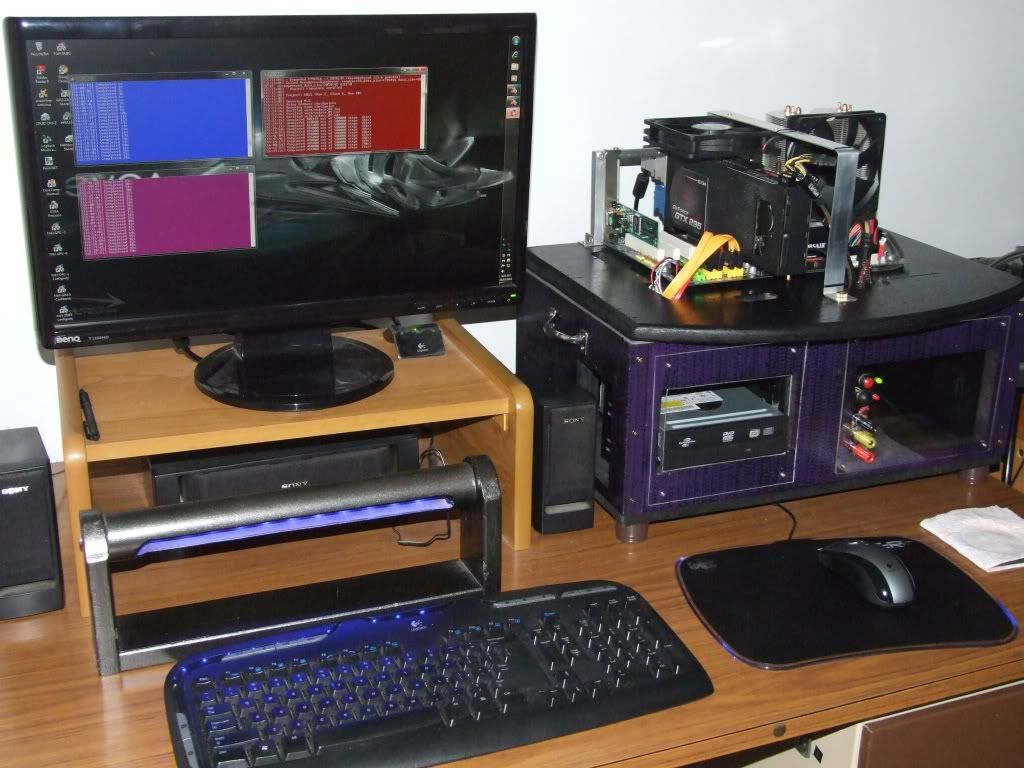
Well its been 3 years now since I got this CM-890 Case, and with its current hardware configuration has served me well,
But alas its time to move Forward and Update both the Case and some of the Hardware,
Current Rig Specs
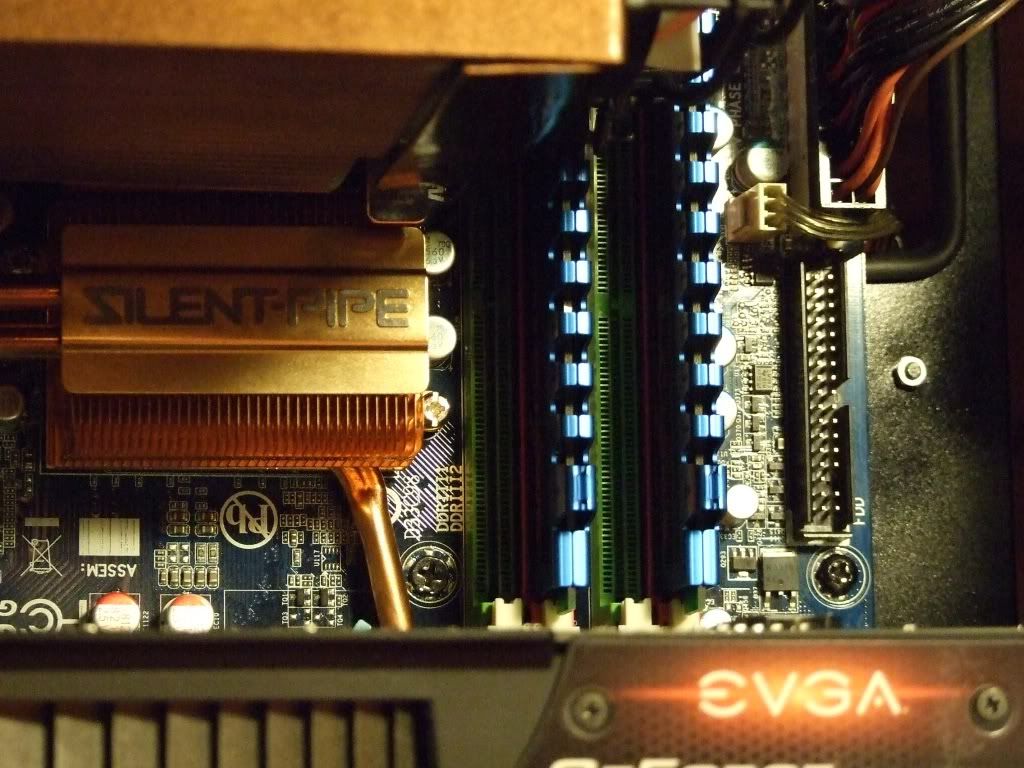
Mobo = GA-P35-DS3L
CPU = Q6600 GO @ 3.2GHZ
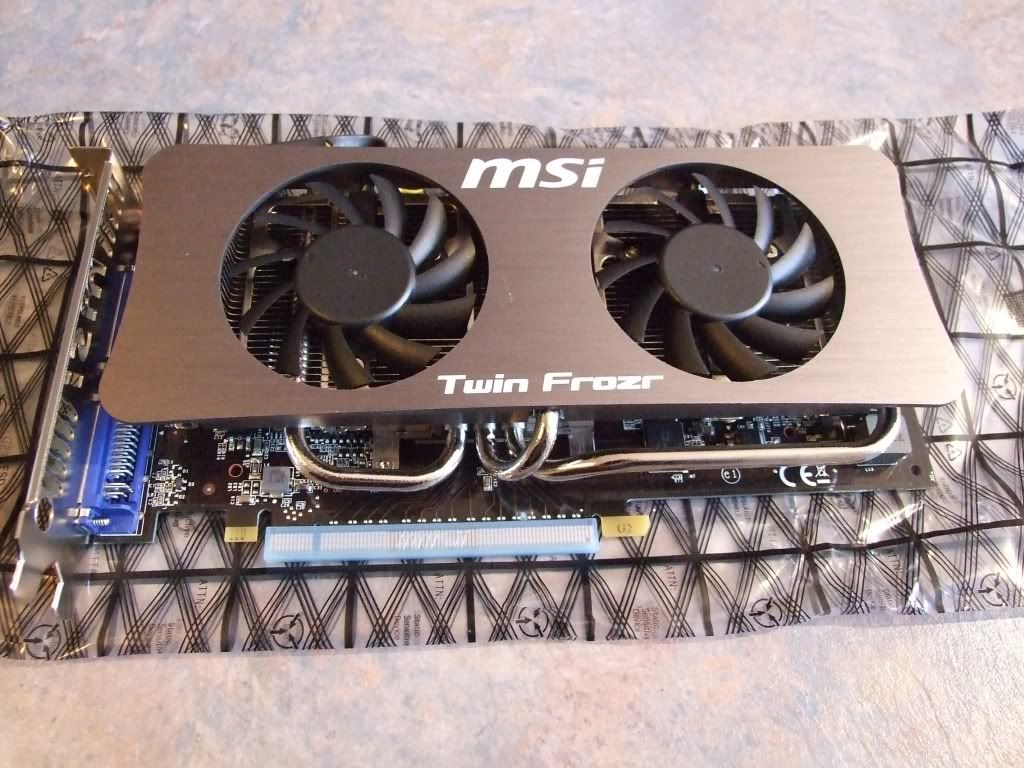
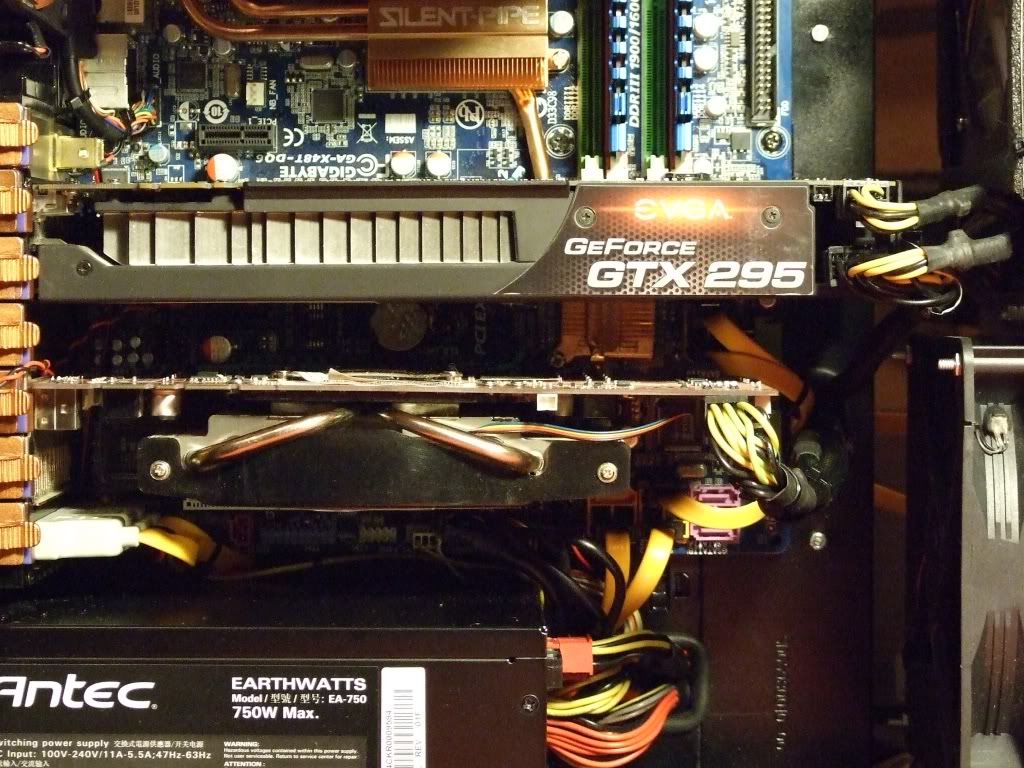
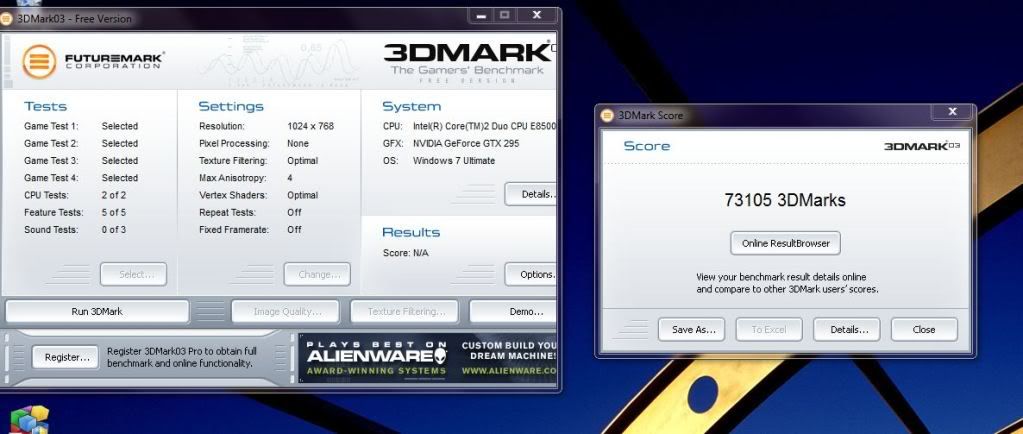
GPU = EVGA GTX-295
RAM DDR2 = 4 Gig XMS2 6400 4-4-4-12
Optical = Liteon DVD-RW Lightscribe
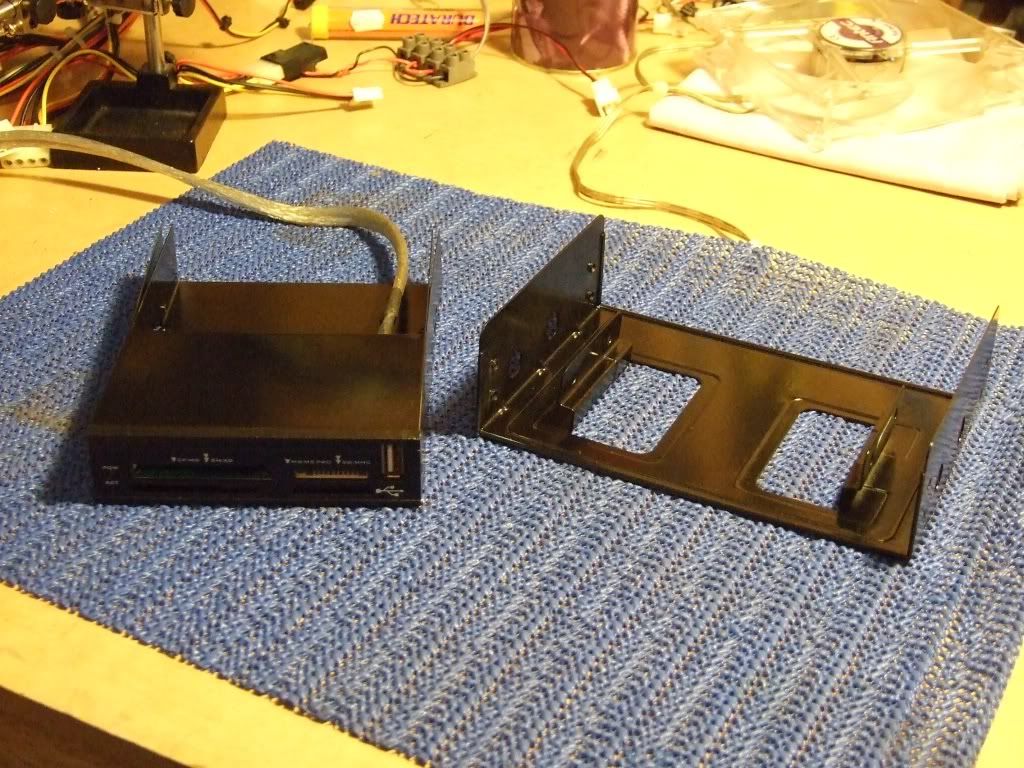
Multi CardReader
HDD,s + 2 x 250GB Sata + 320GB sata
The Plan
First I will be transferring all the current hardware to Jolly's Tech bench 2010 so all can be still used as functioning PC, while work is being done to CM-690
Then the CM-690 will get a new lease of life Transformation, to include New Paint Work,
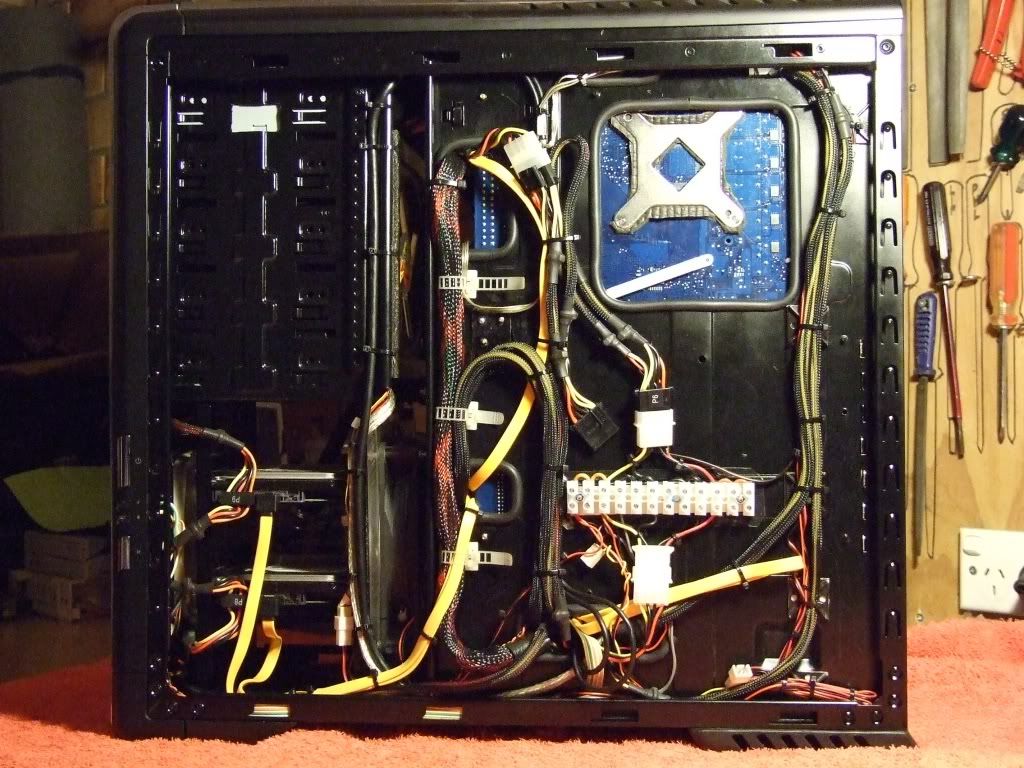
Both inside and out, Modded for better Cable management see below in current state.
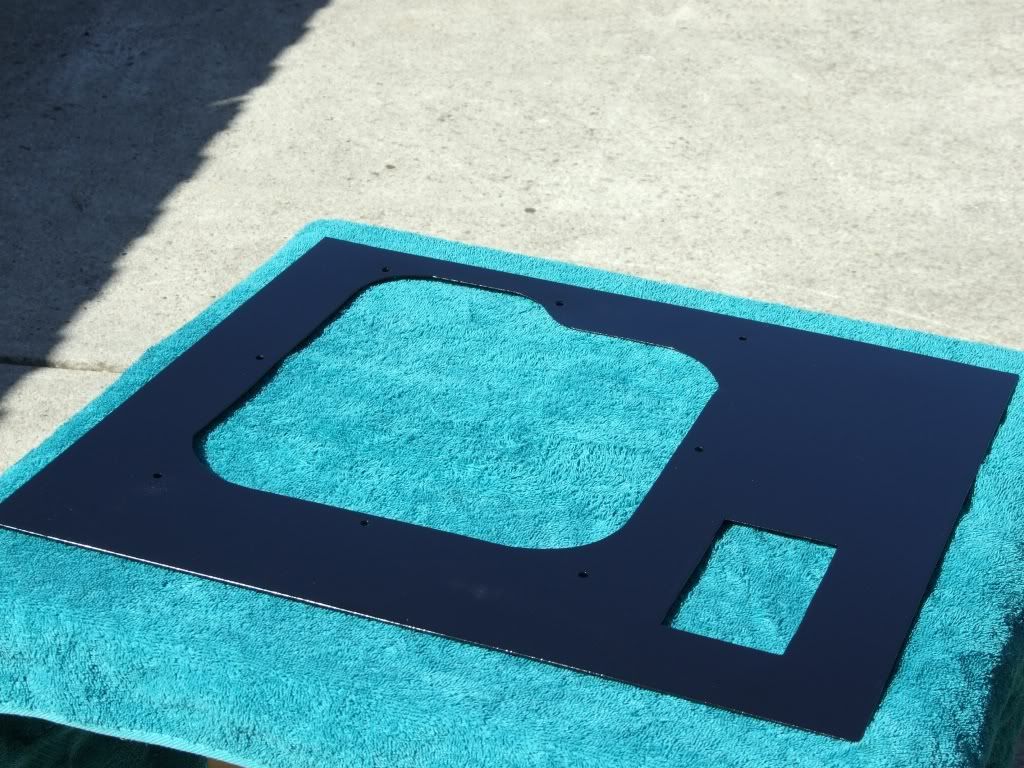
The Inside will be Modded for better Cable management adding /enlarging Mobo Tray cable slots for rear cable entry, and the the inside will get re-painted in Matt Back with Satin Clear coat for protection, after of course the prep work and re-undercoating,
The main panel frames Outside Case, still not sure whether staying with the Black or maybe the Gun Metal like I did on the P4 Case Makeover (Undecided make even be different Colour all together ?)
The Hardware Change list
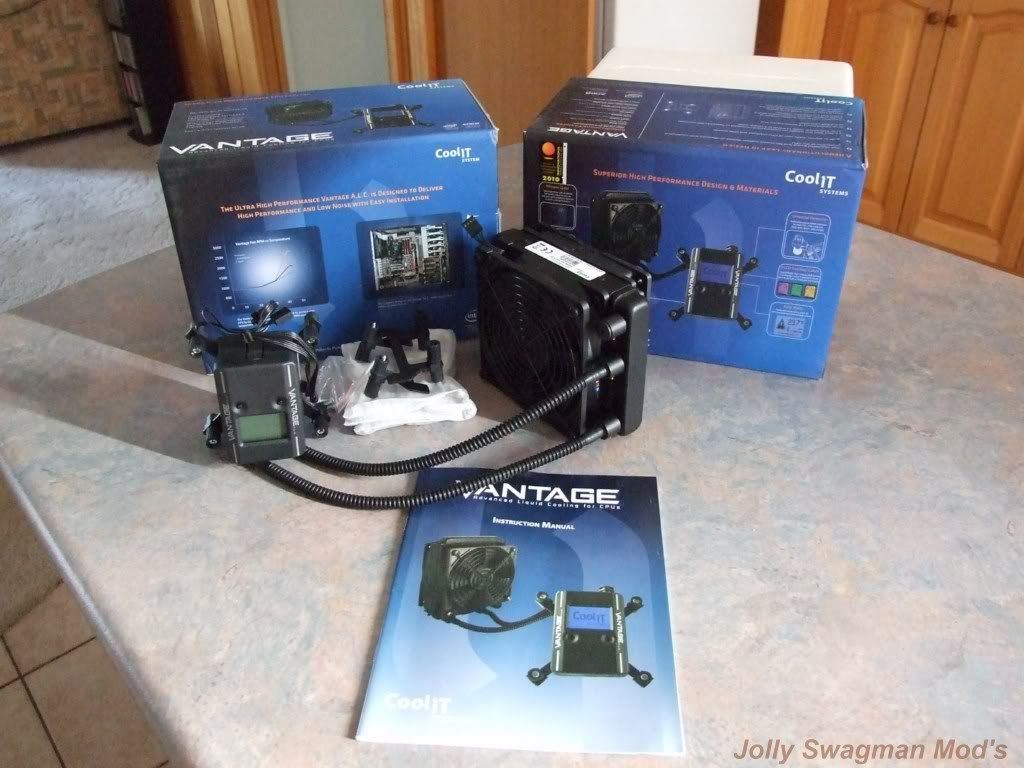
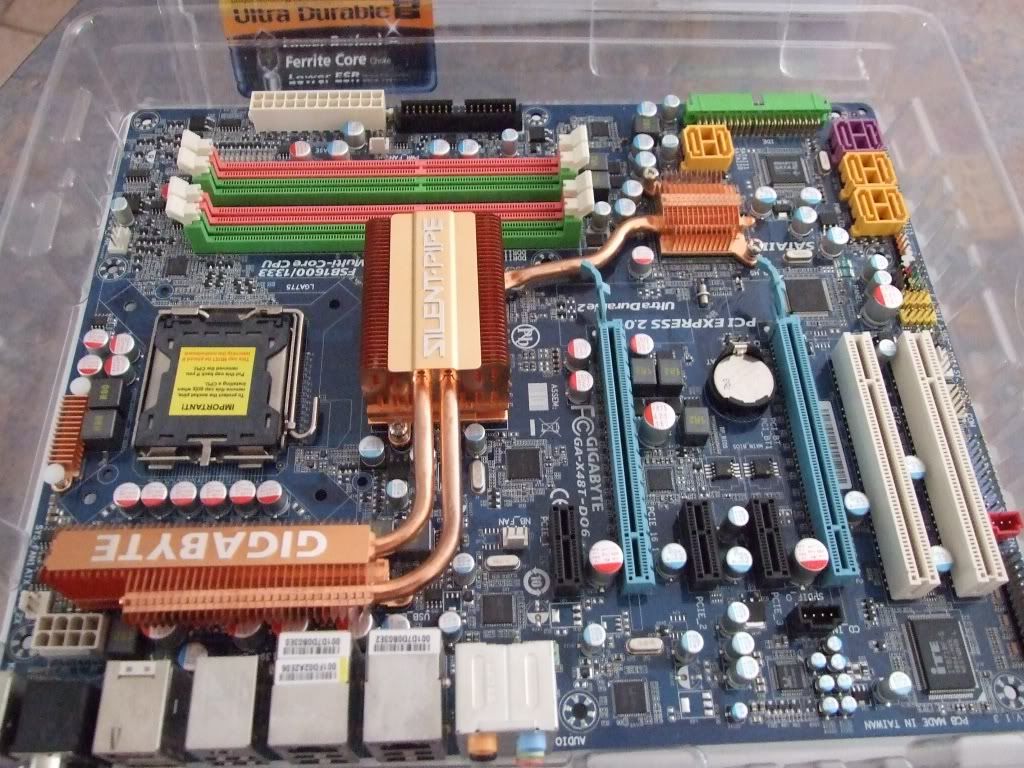
Motherboard = Gigabyte X48T-DQ6
CPU = E8500 EO 3.16GHZ
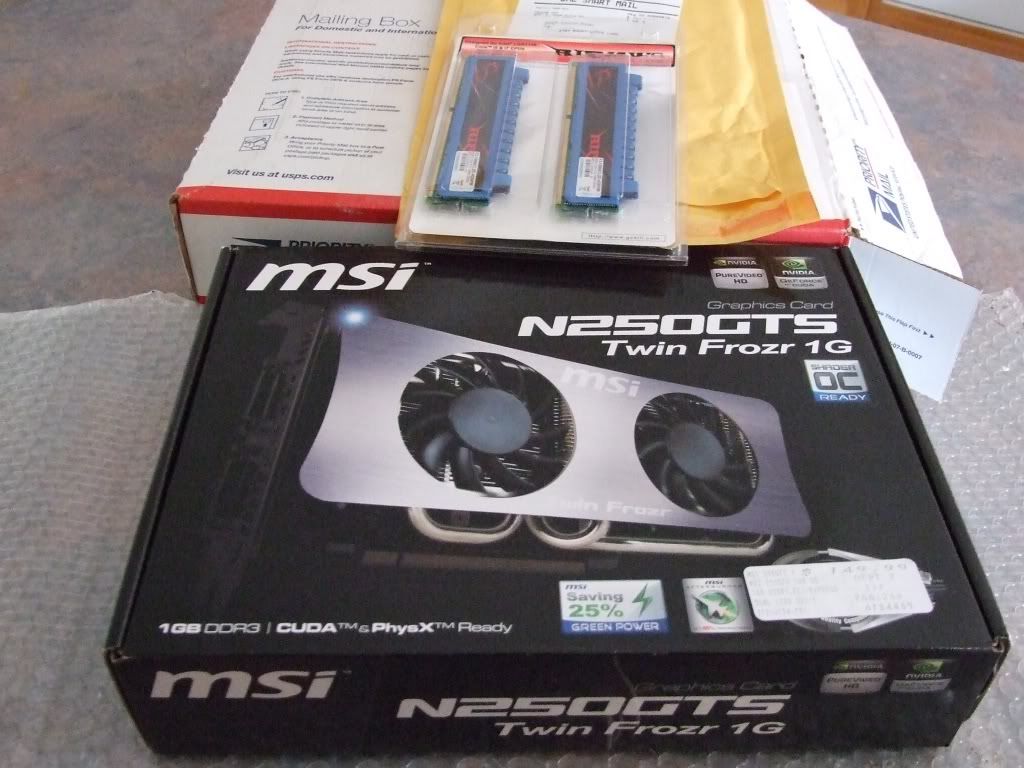
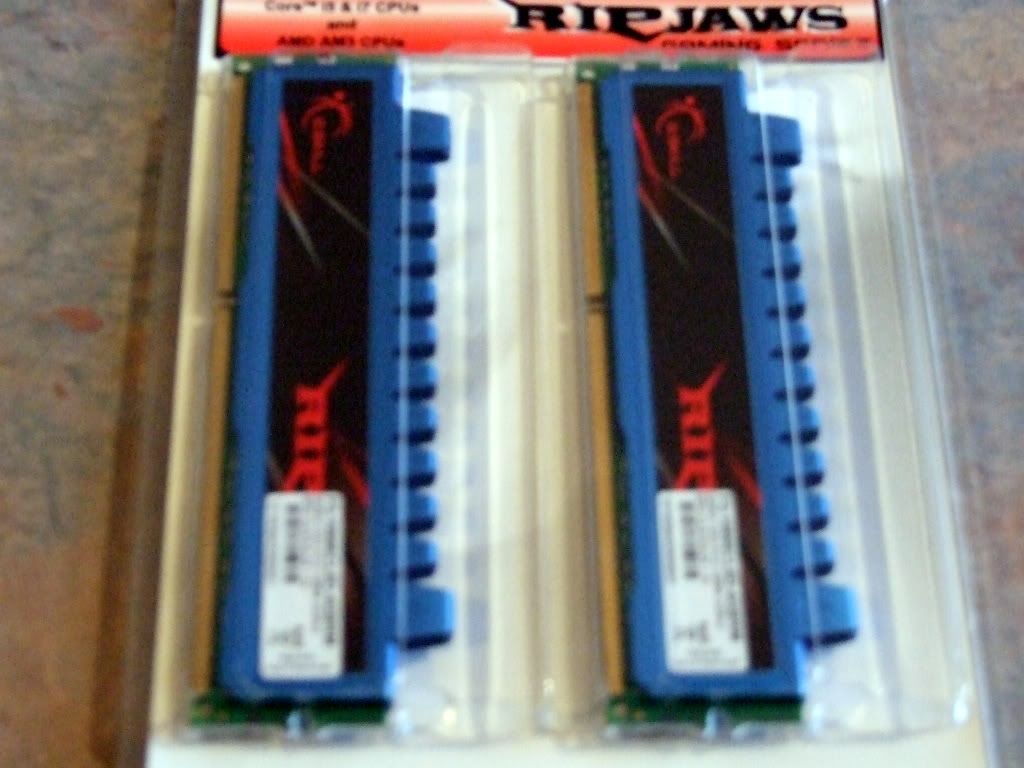
DDR3 Ram = ??????? (still need to get)
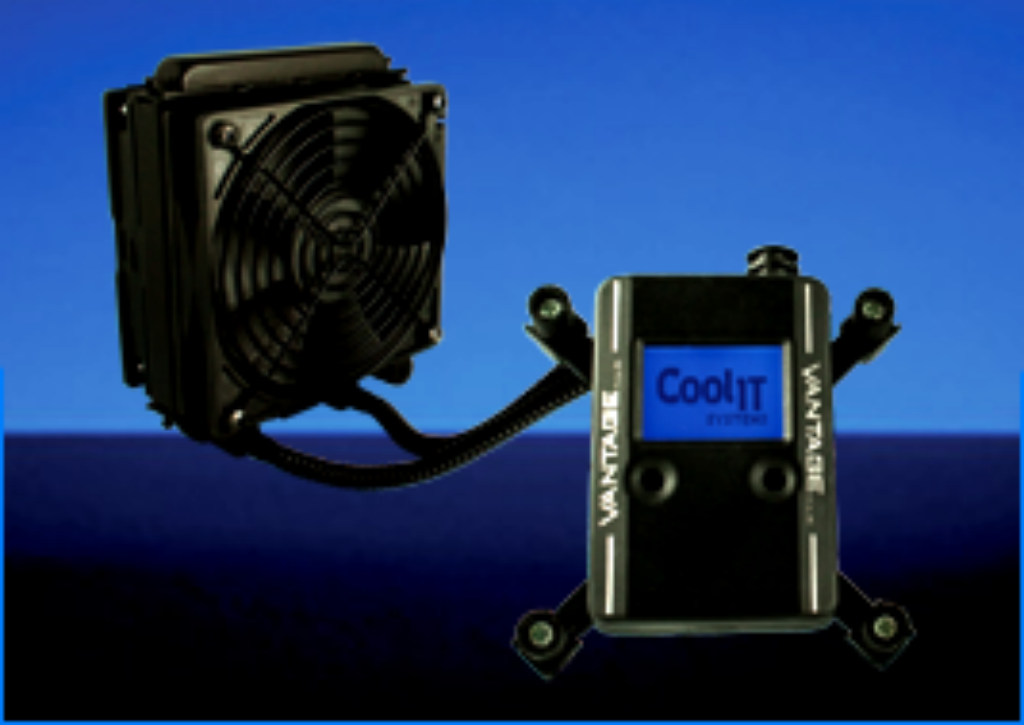
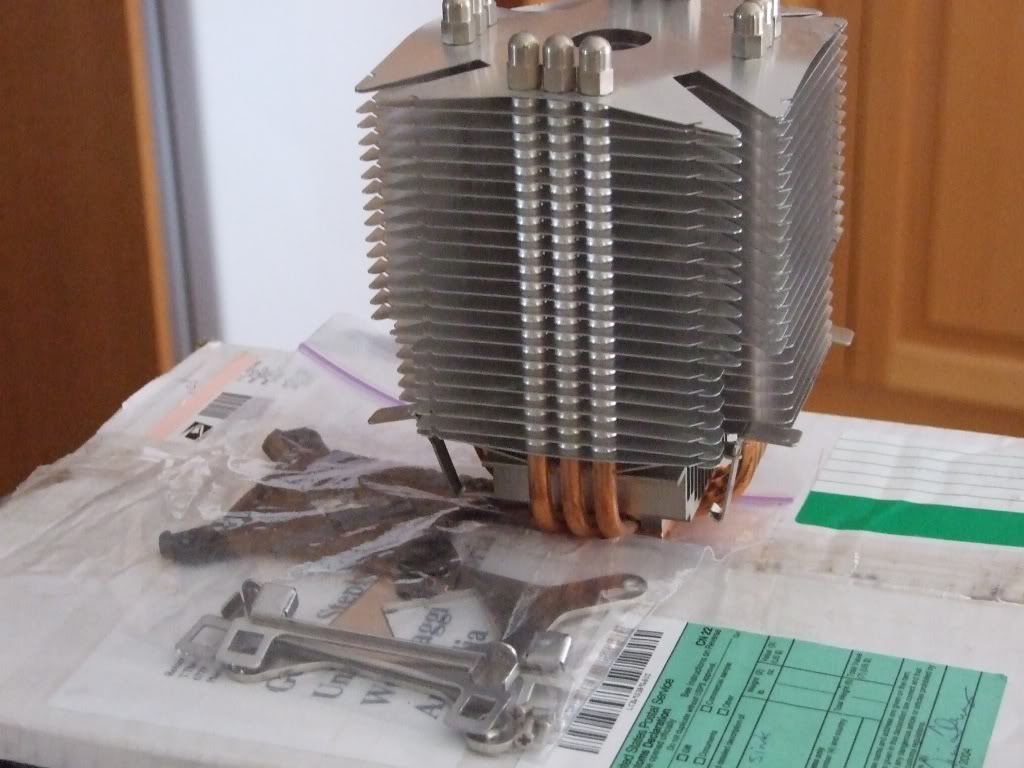
CPU HSF = Scythe Ninja
will also be still using current
GPU = EVGA GTX-295
DVD-RW Drive = Liteon Lightscribe
3.5 Multi CardReader
Scythe Ninja HSF
Gigabyte X48T-DQ6 Mobo
This will Start within the next week or so and will need to get the DDR3 Ram before Hardware goes into Revamped CM-690 Case!
Update #2 18 March 2010
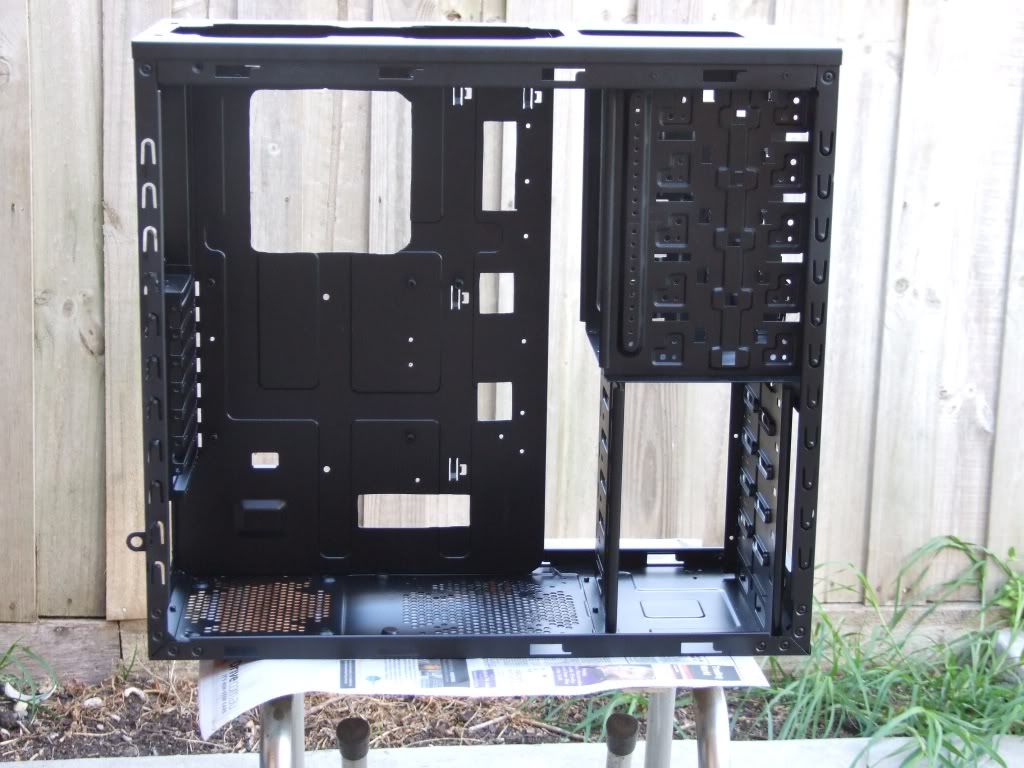
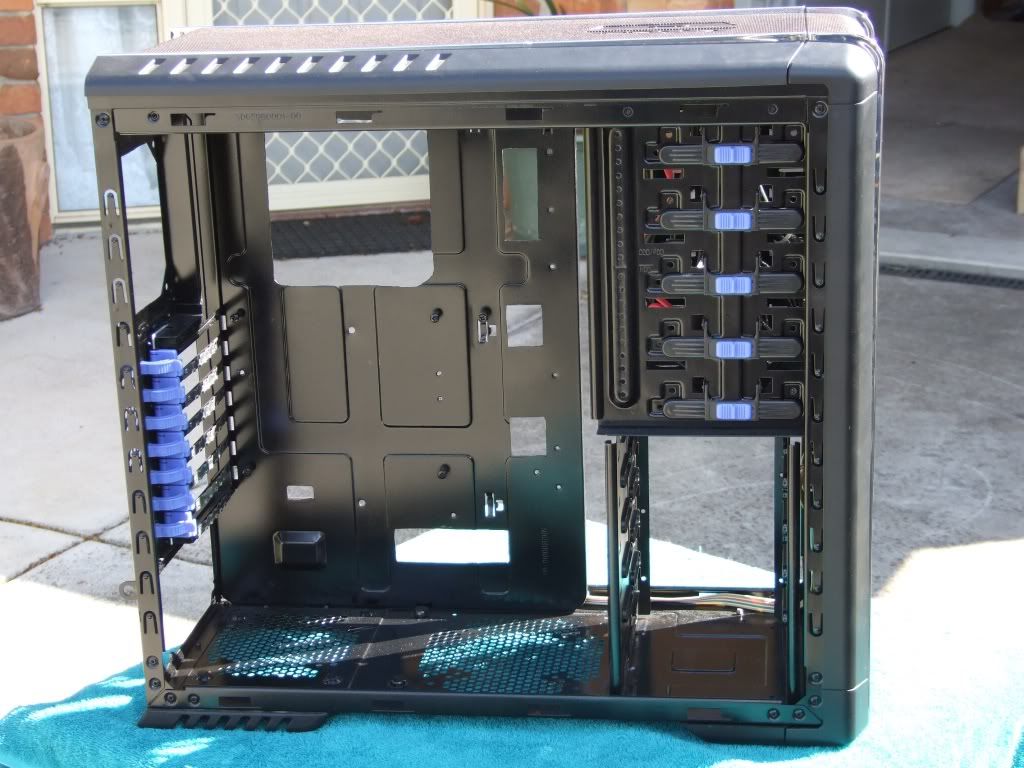
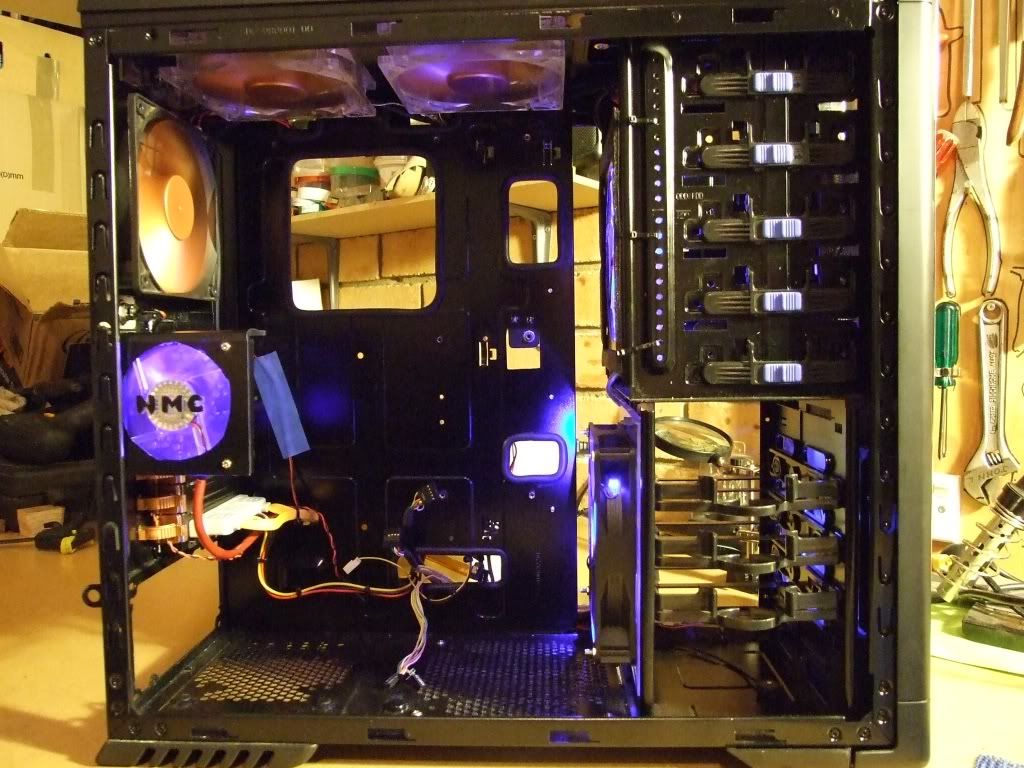
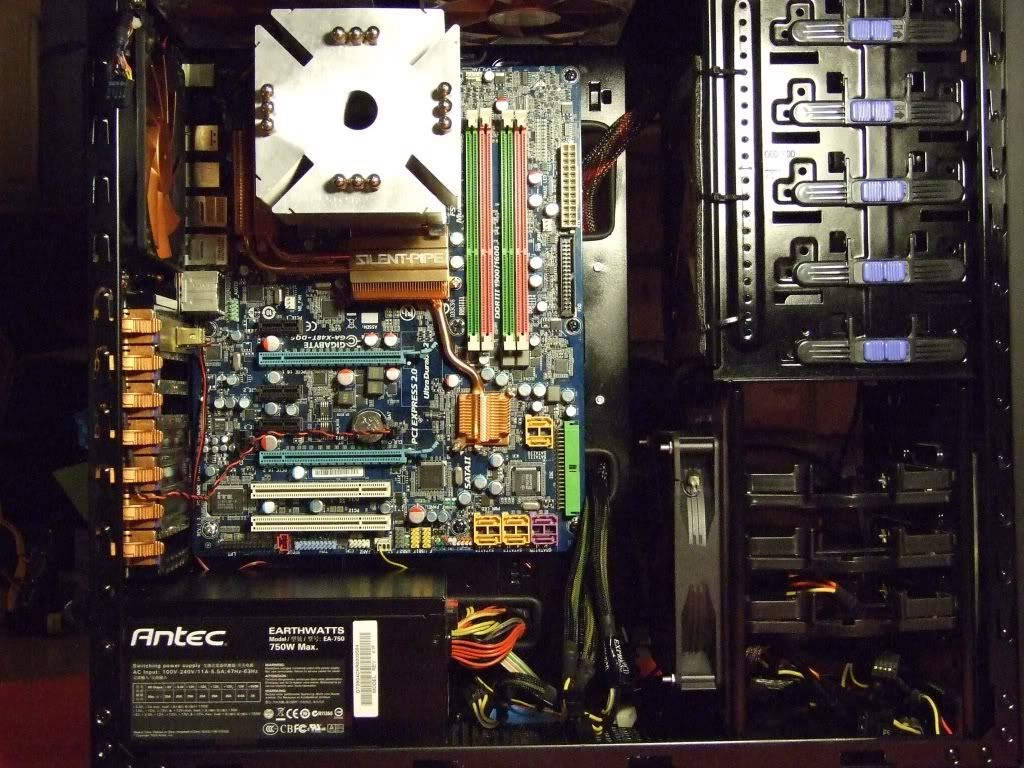
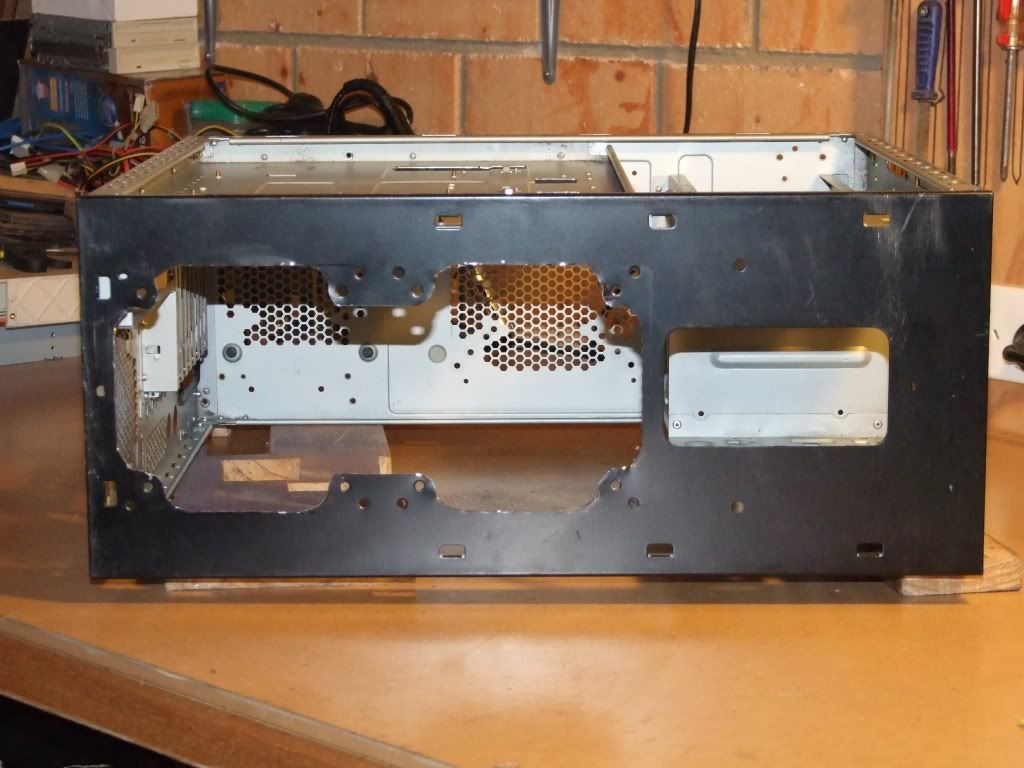
Started on the CM-690, first Removed Hardware -HDD's GPU - Motherboard - PSU from Rig,
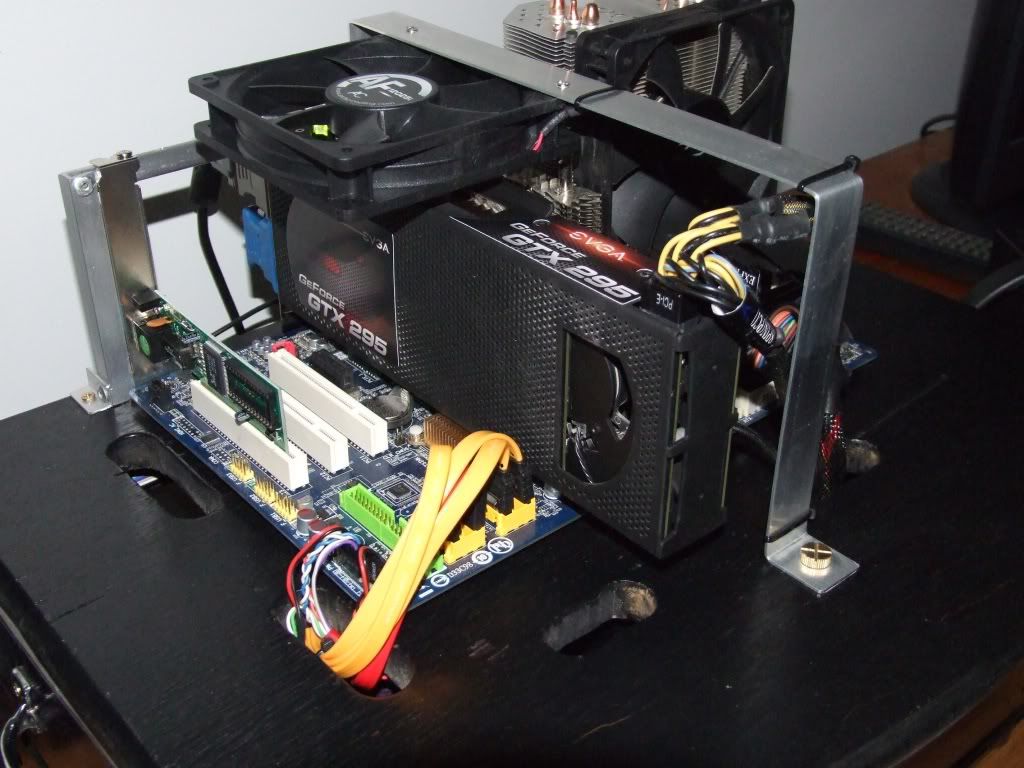
Then also added A cooling gantry to Jolly's Tech Bench2010 to help aide in cooling GPU ect.
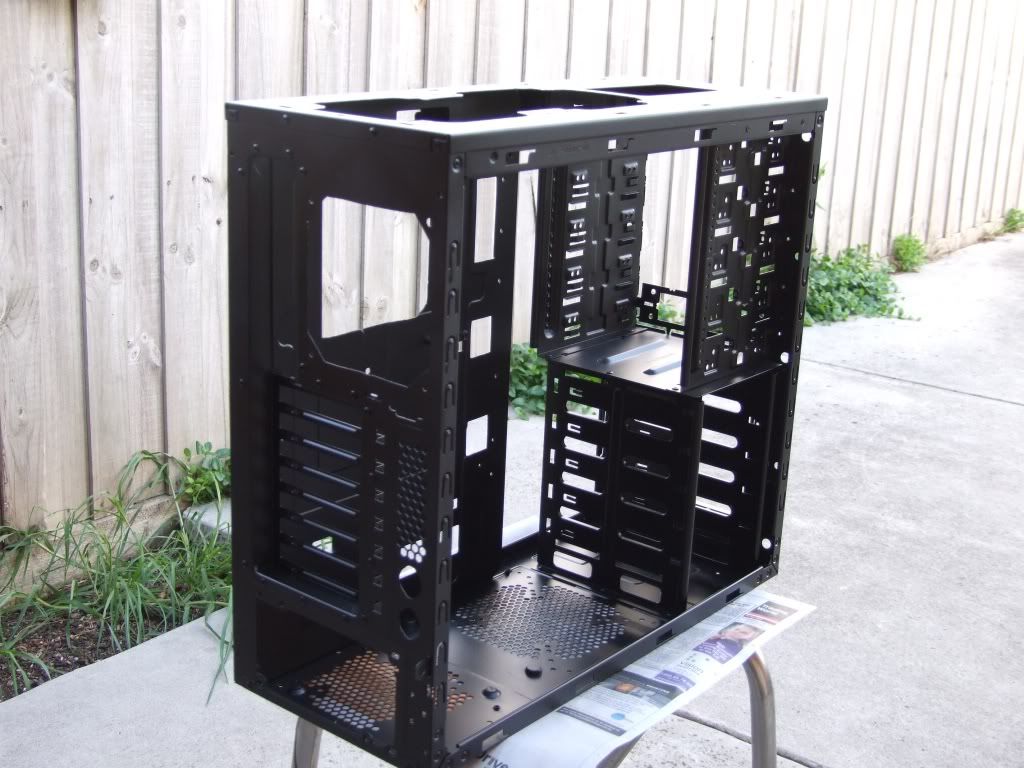
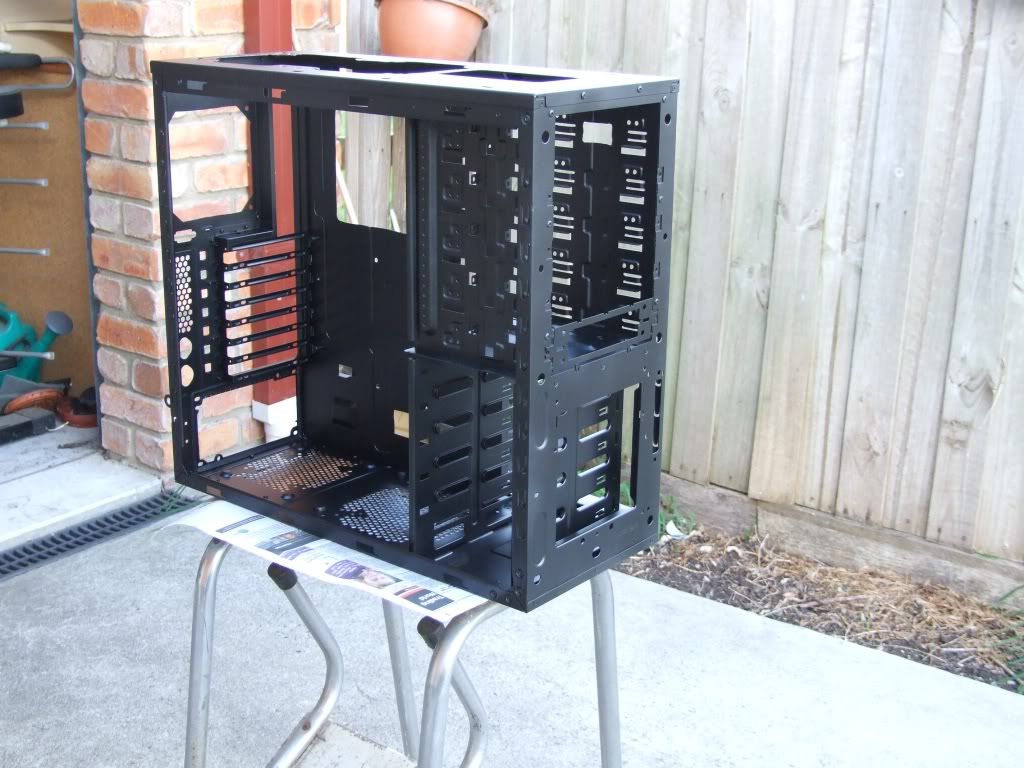
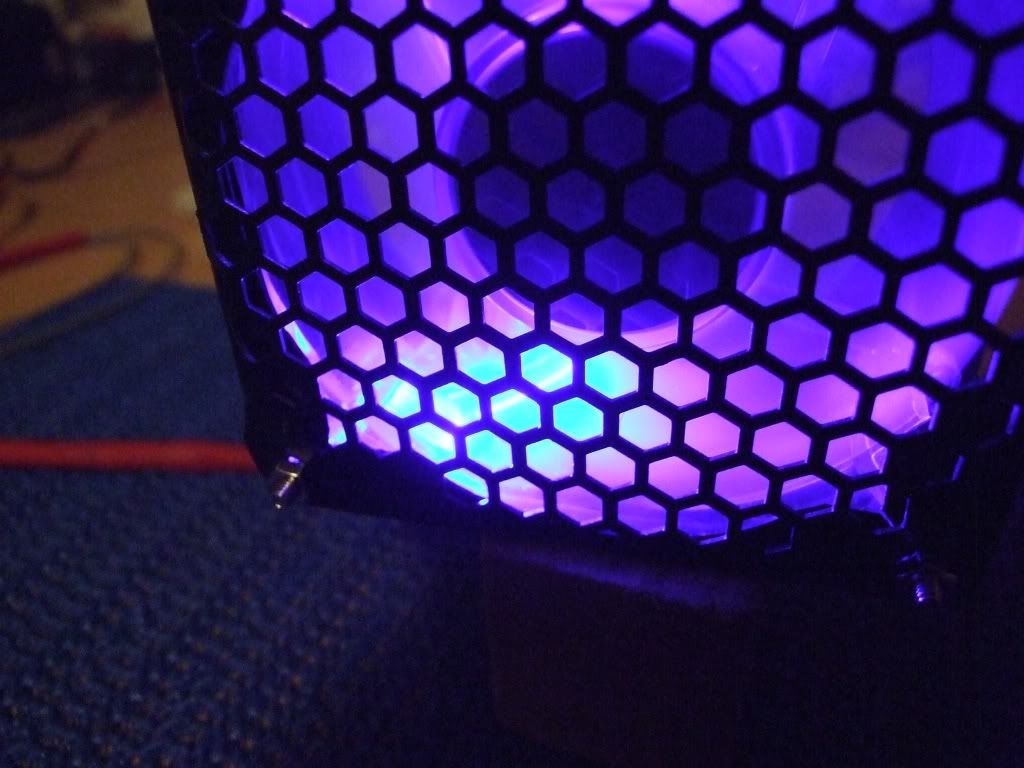
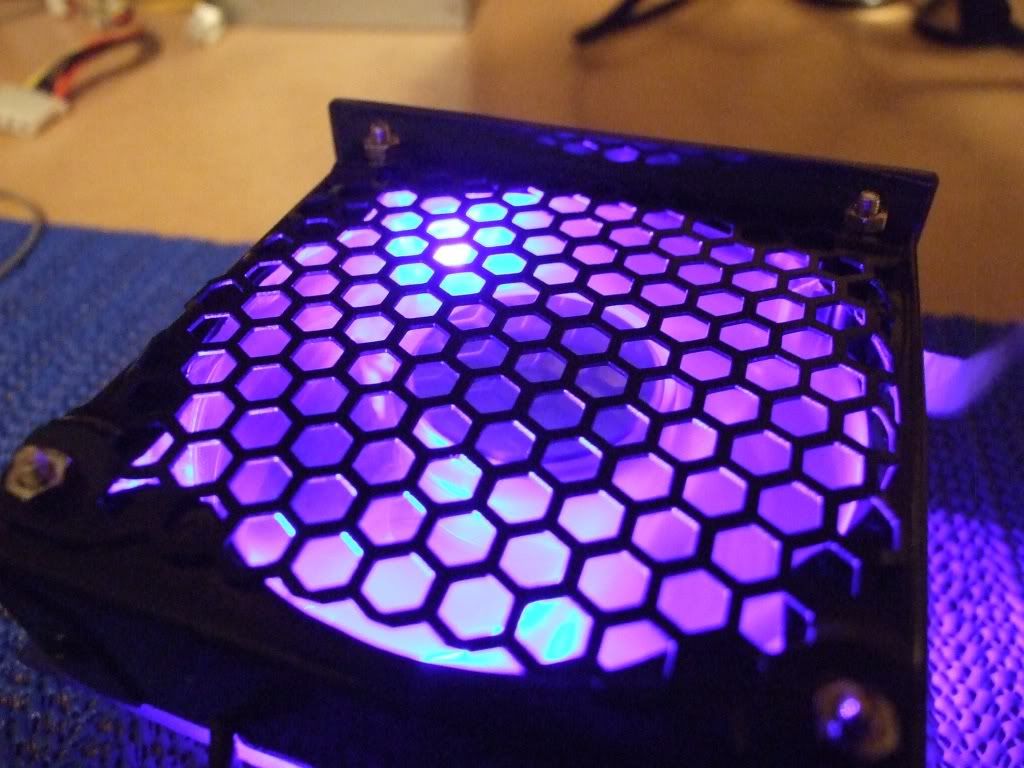
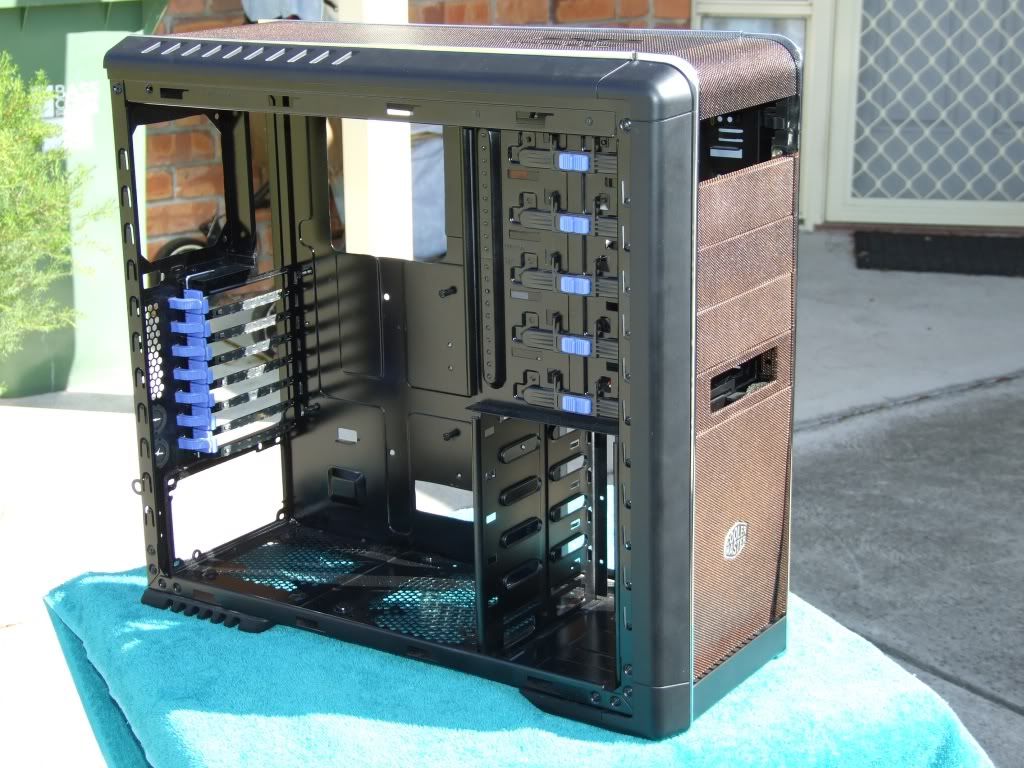
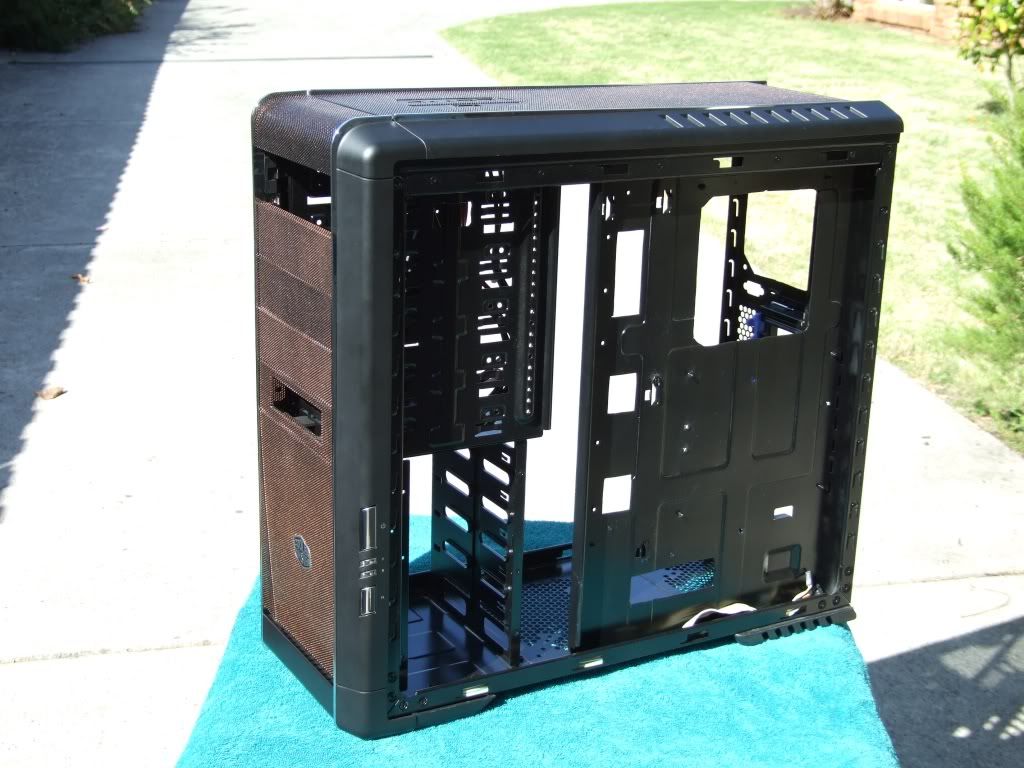
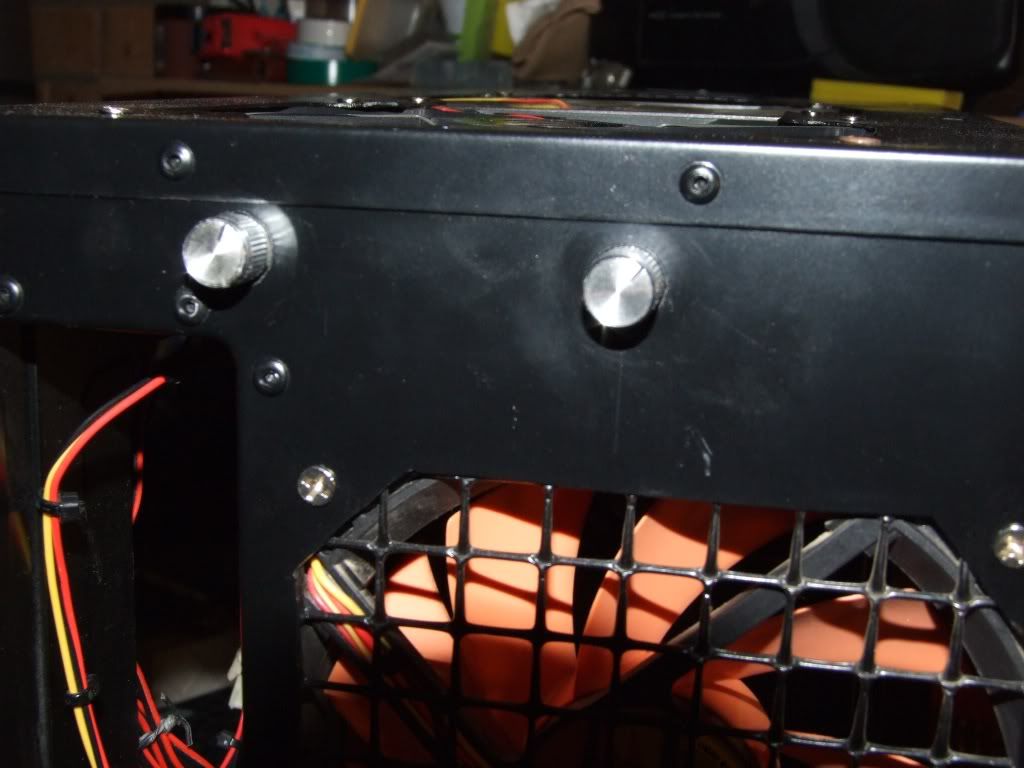
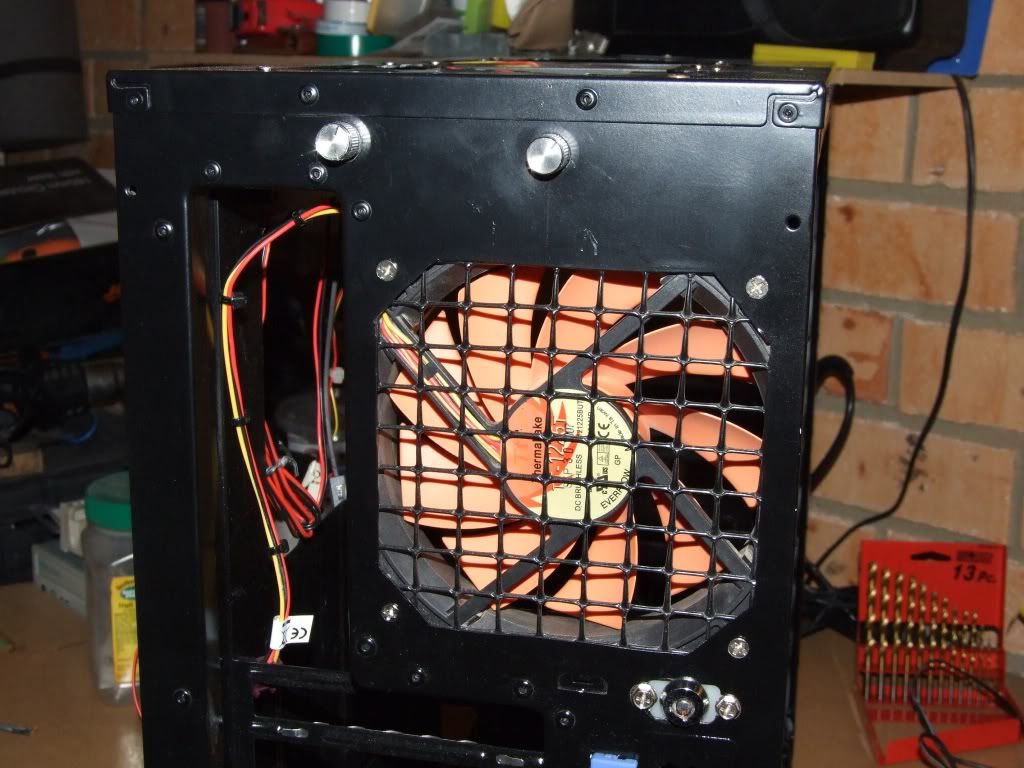
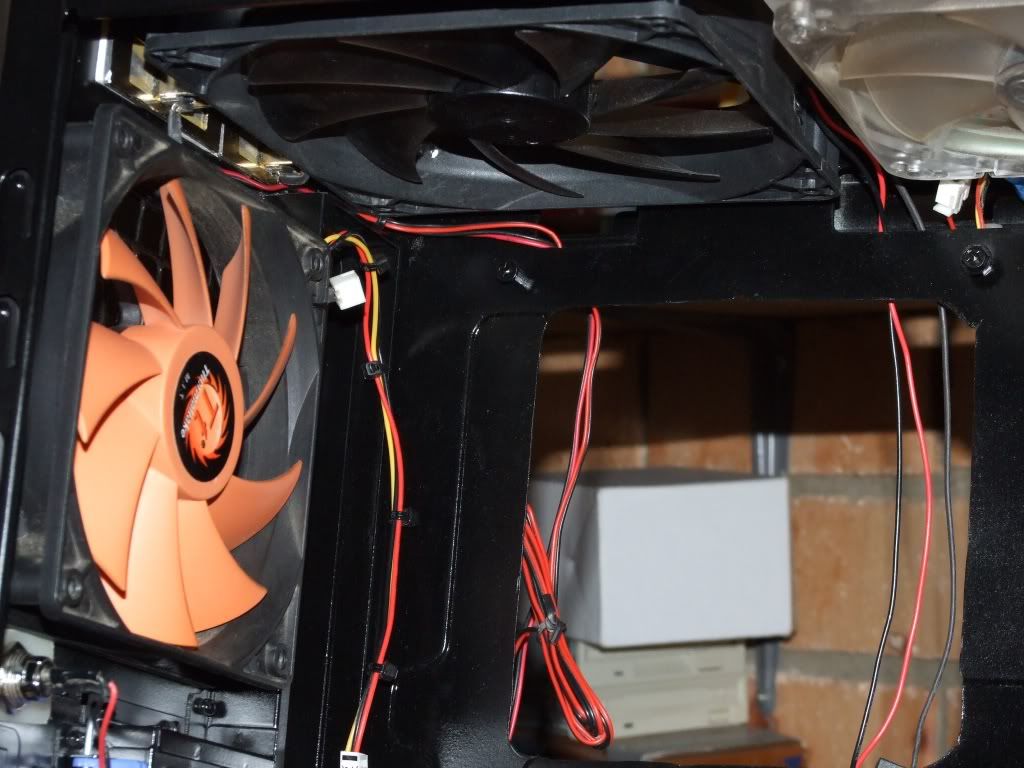
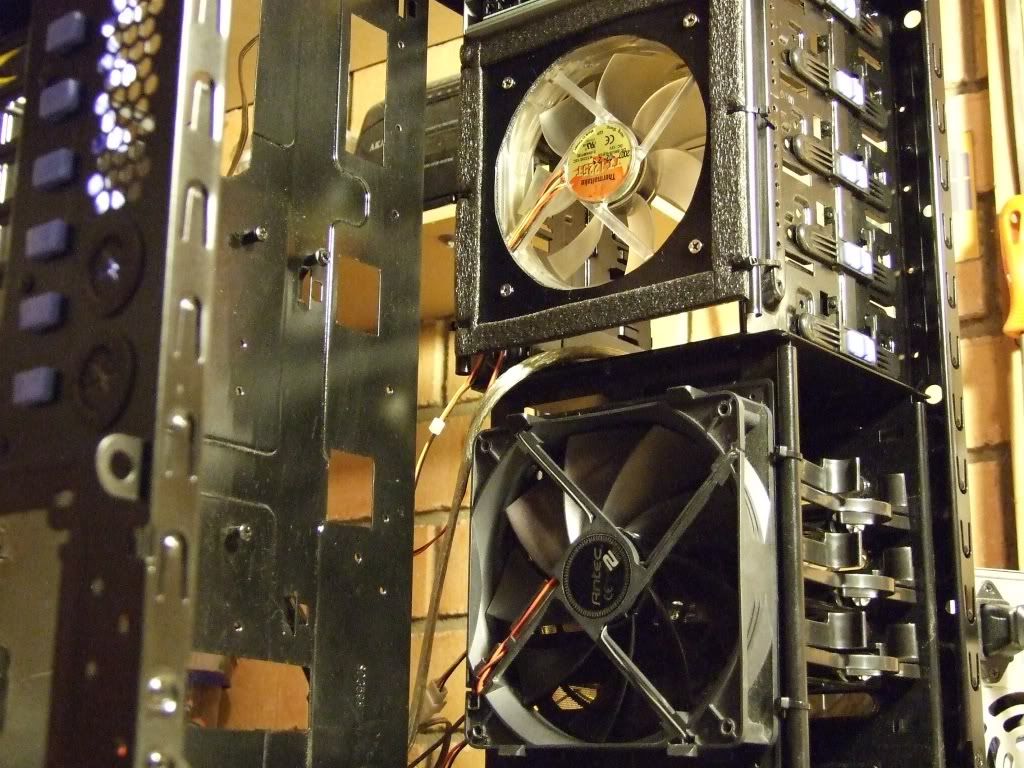
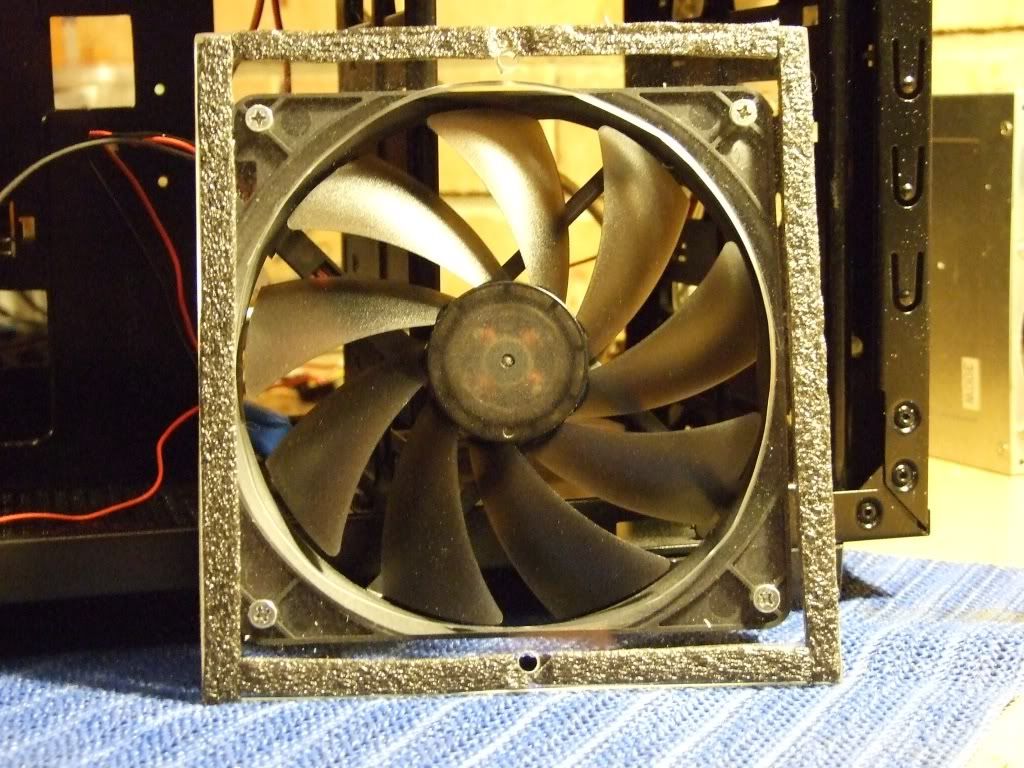
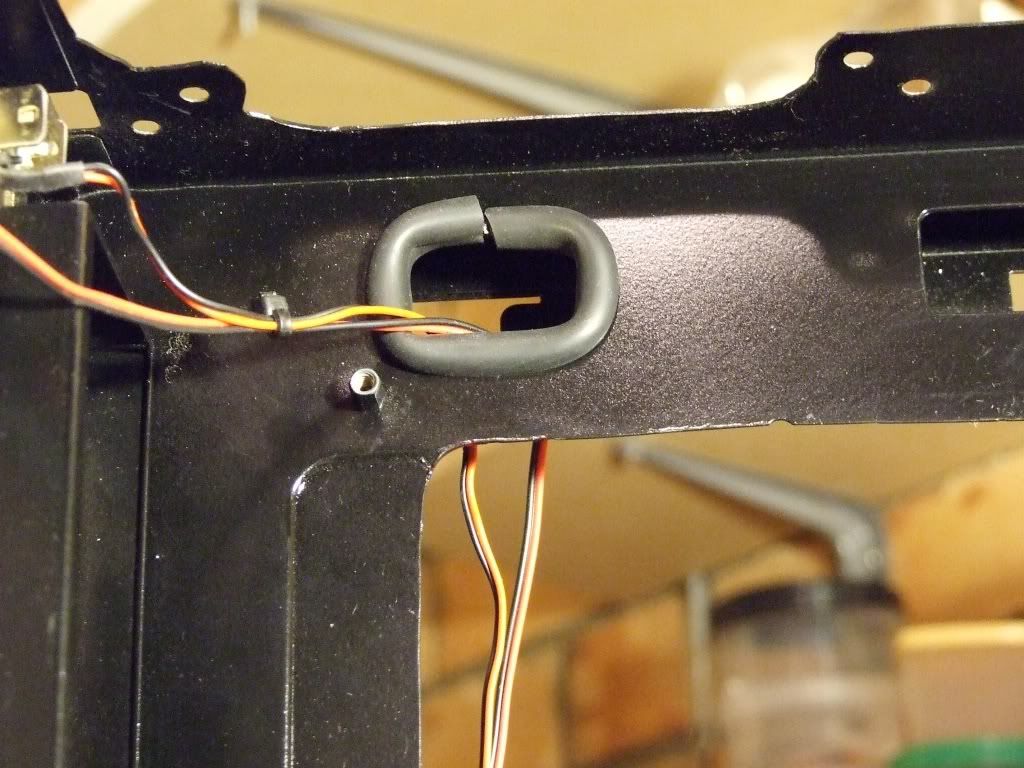
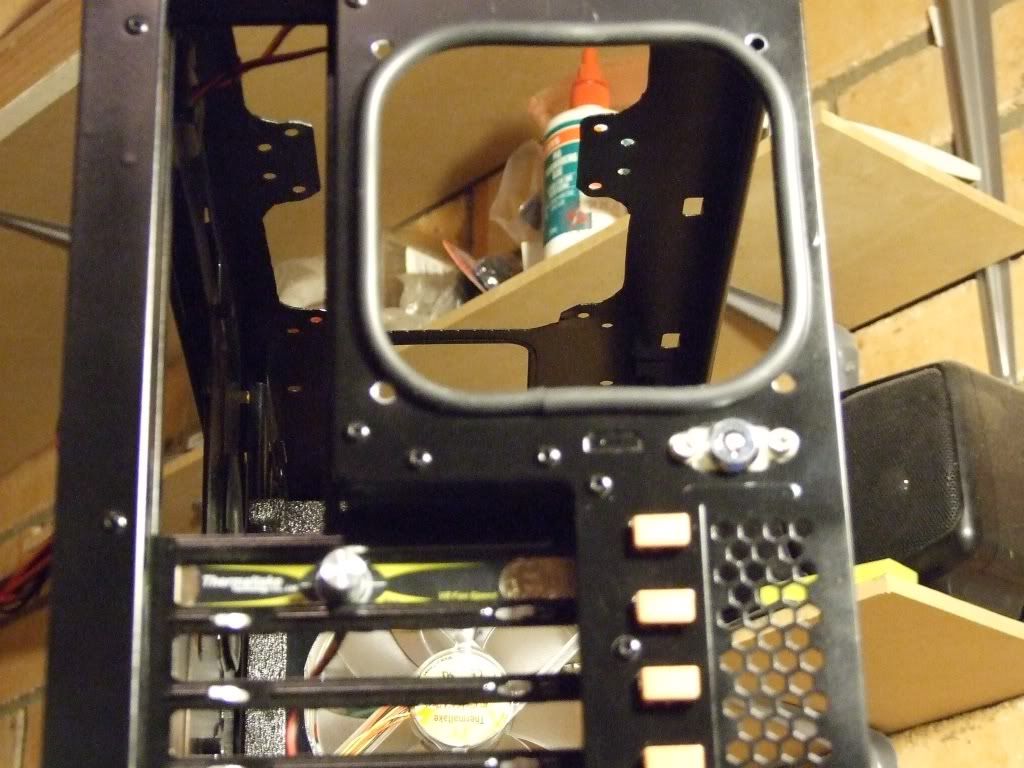
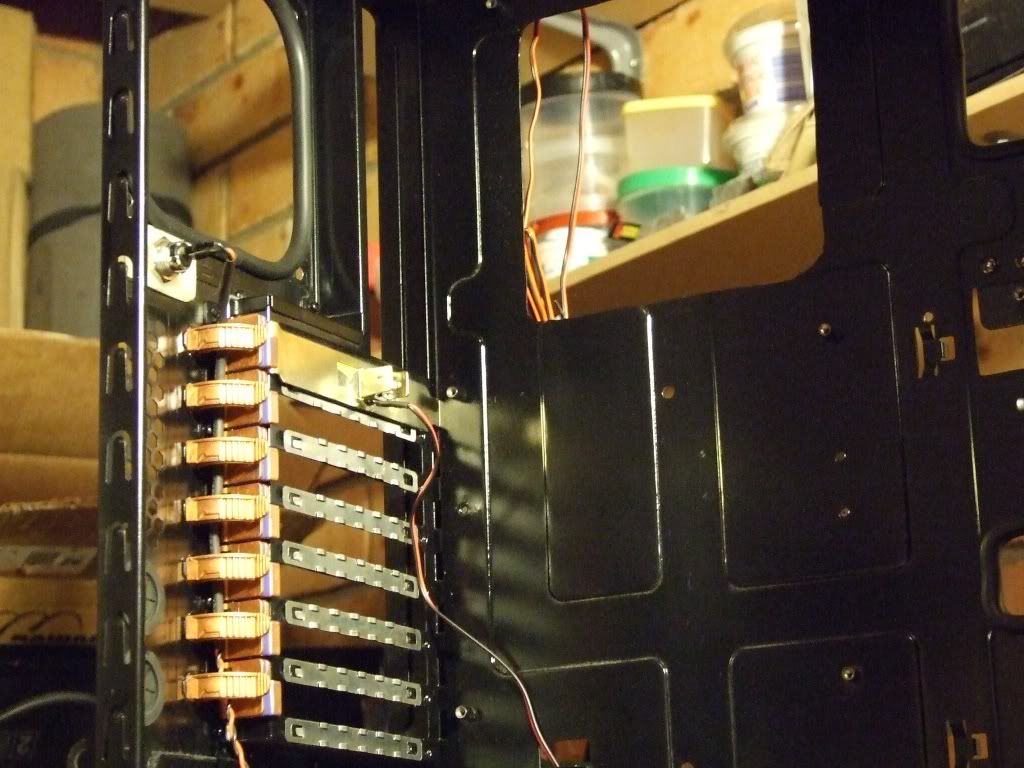
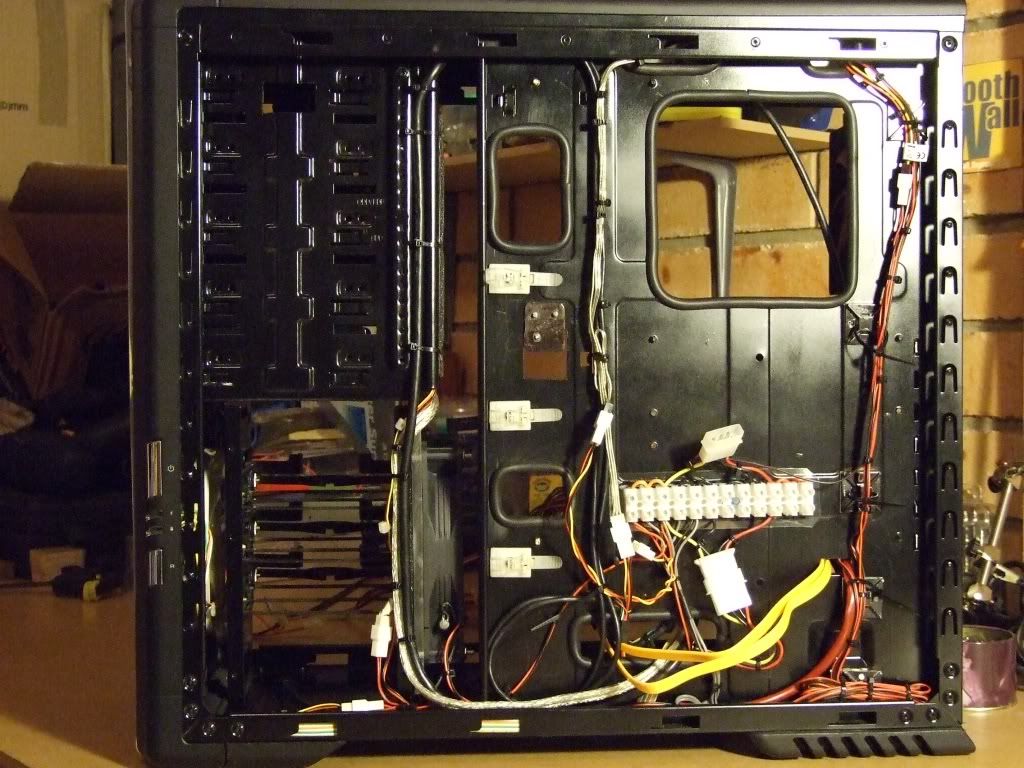
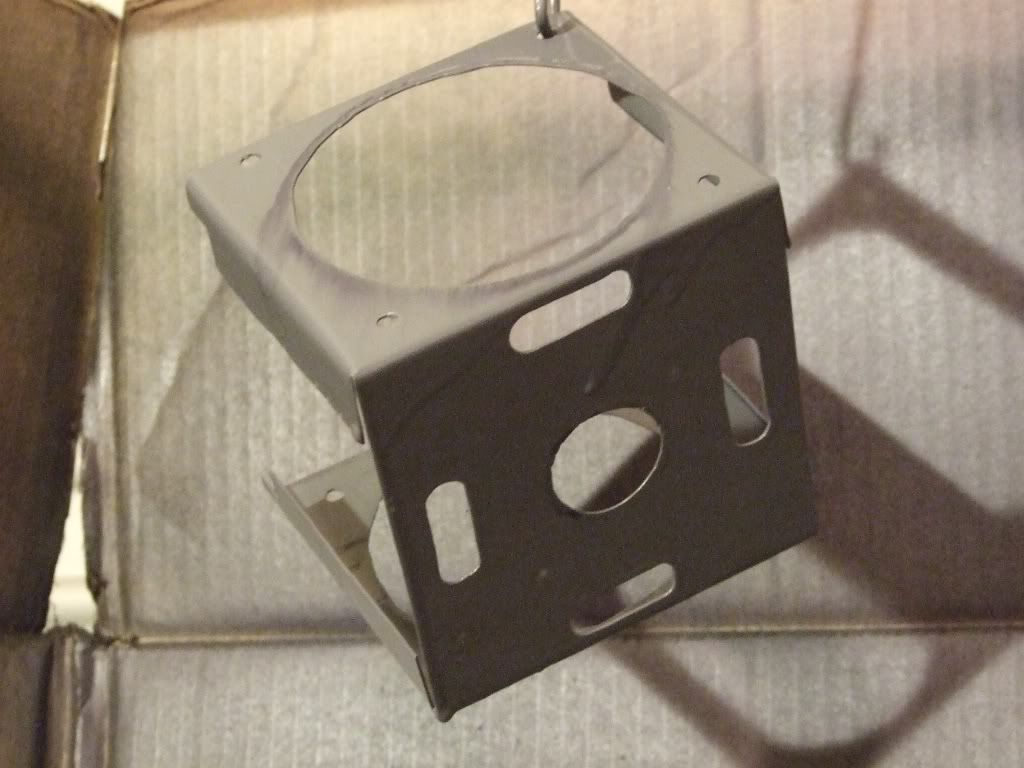
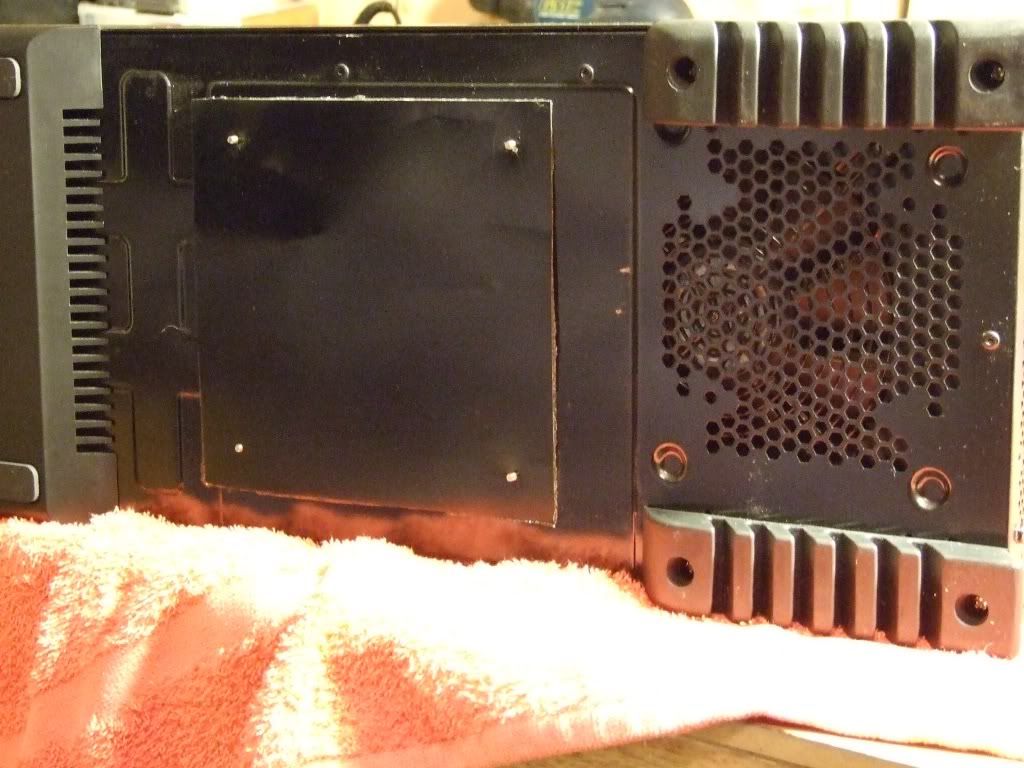
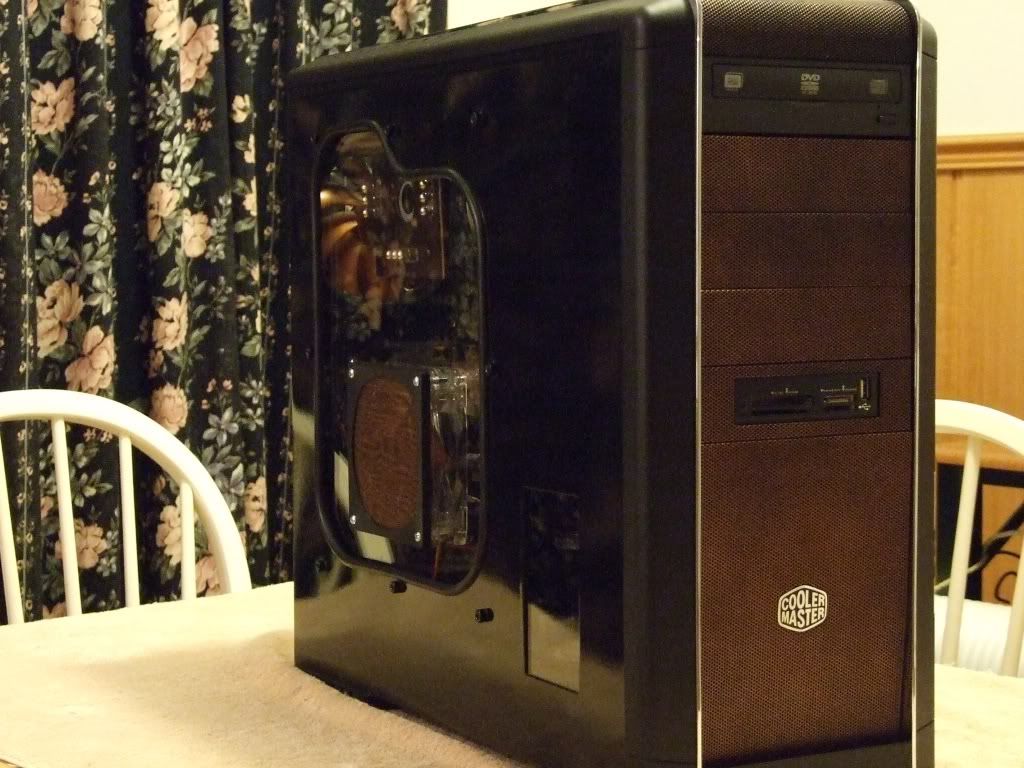
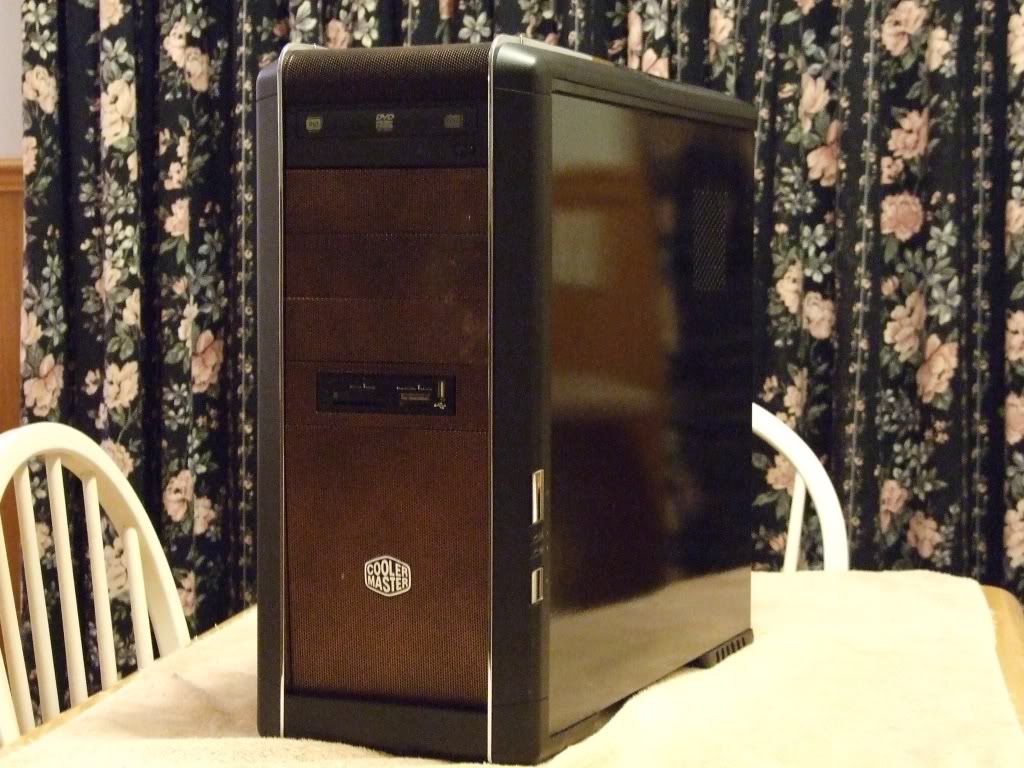
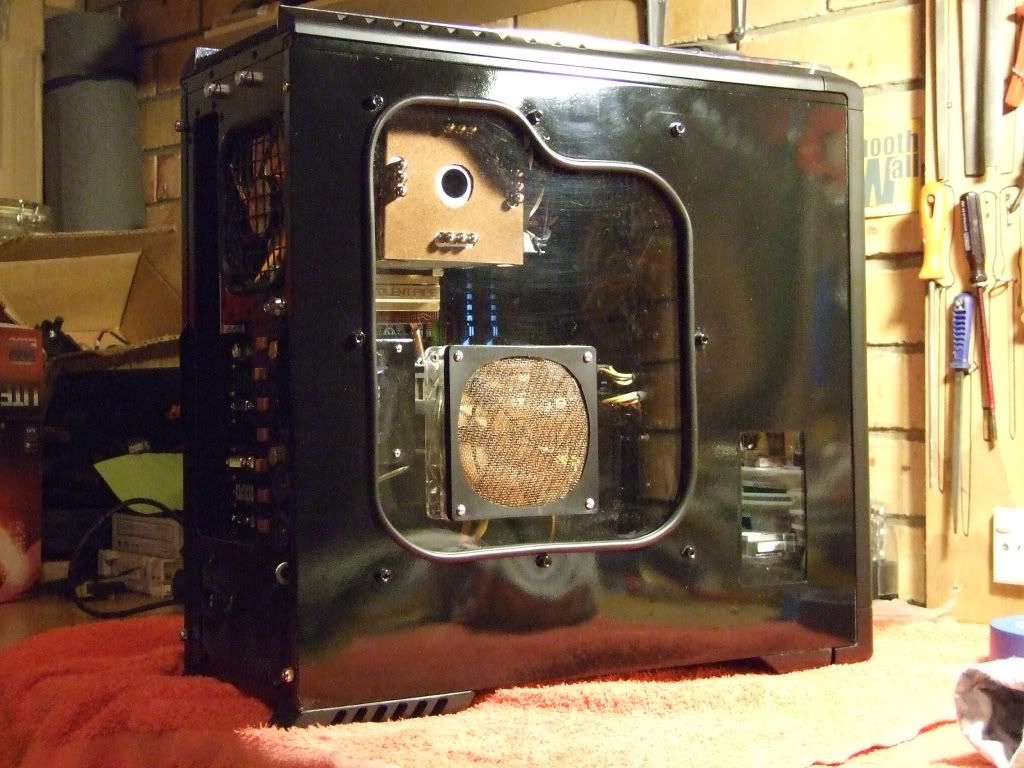
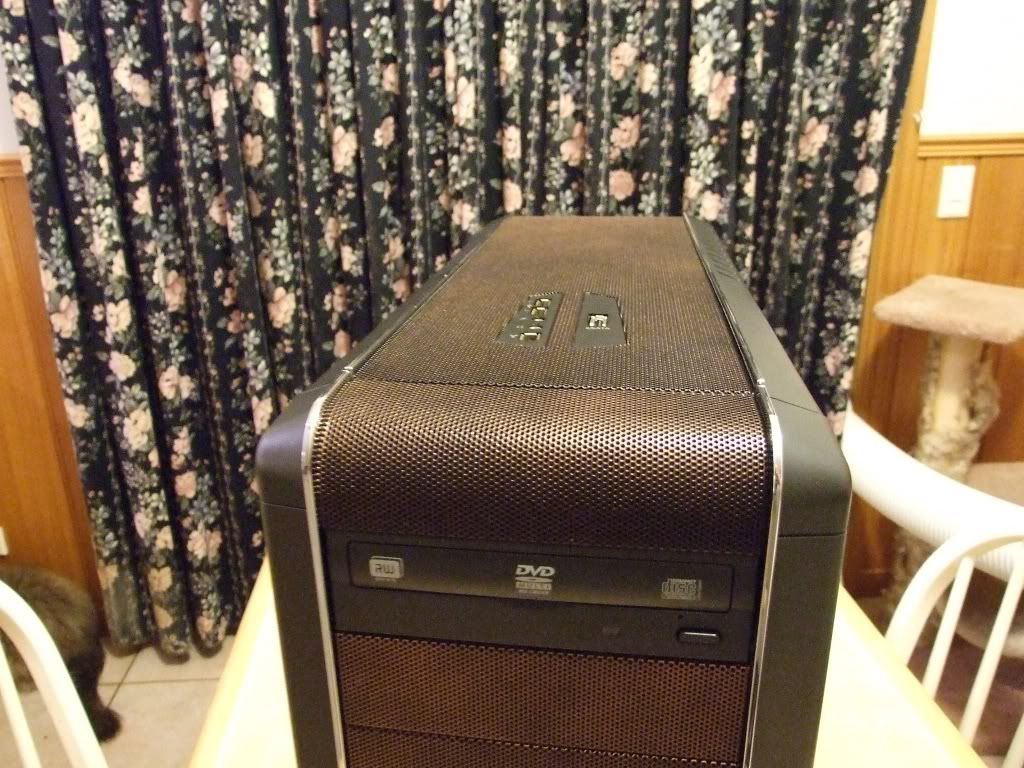
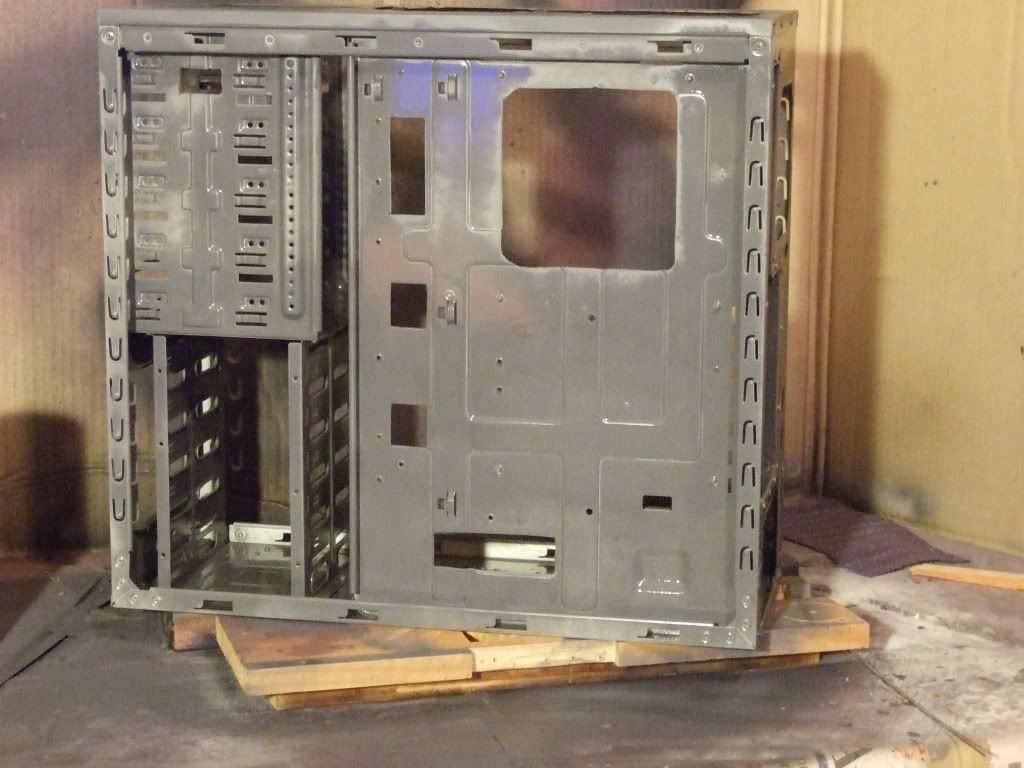
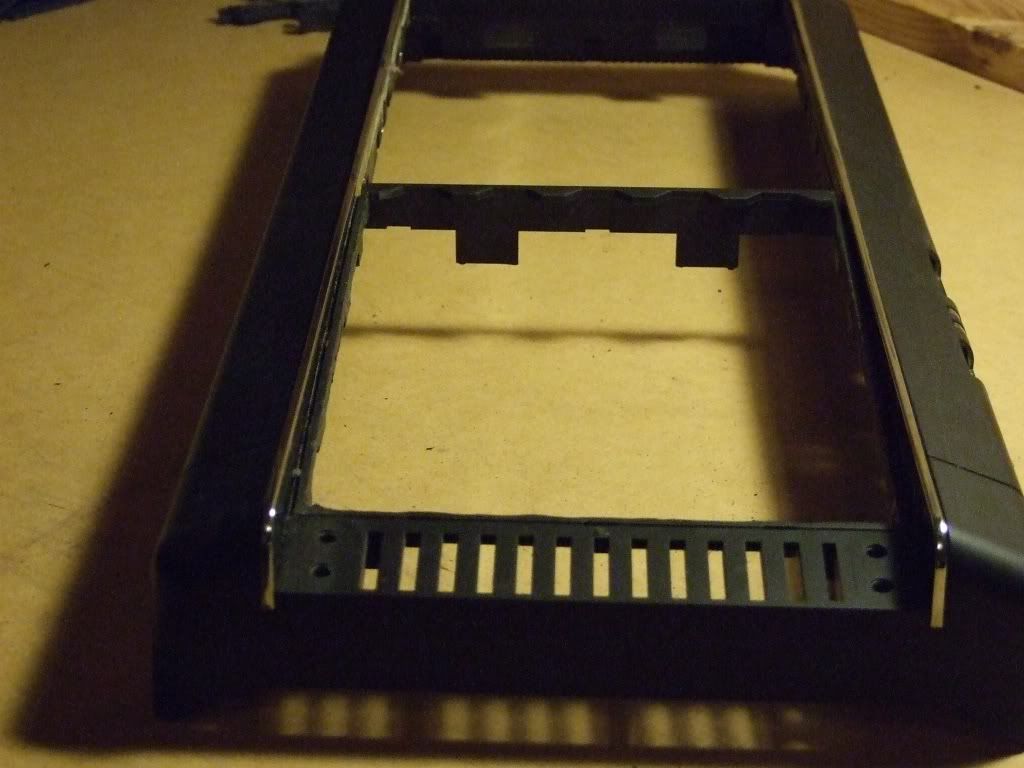
The CM-690
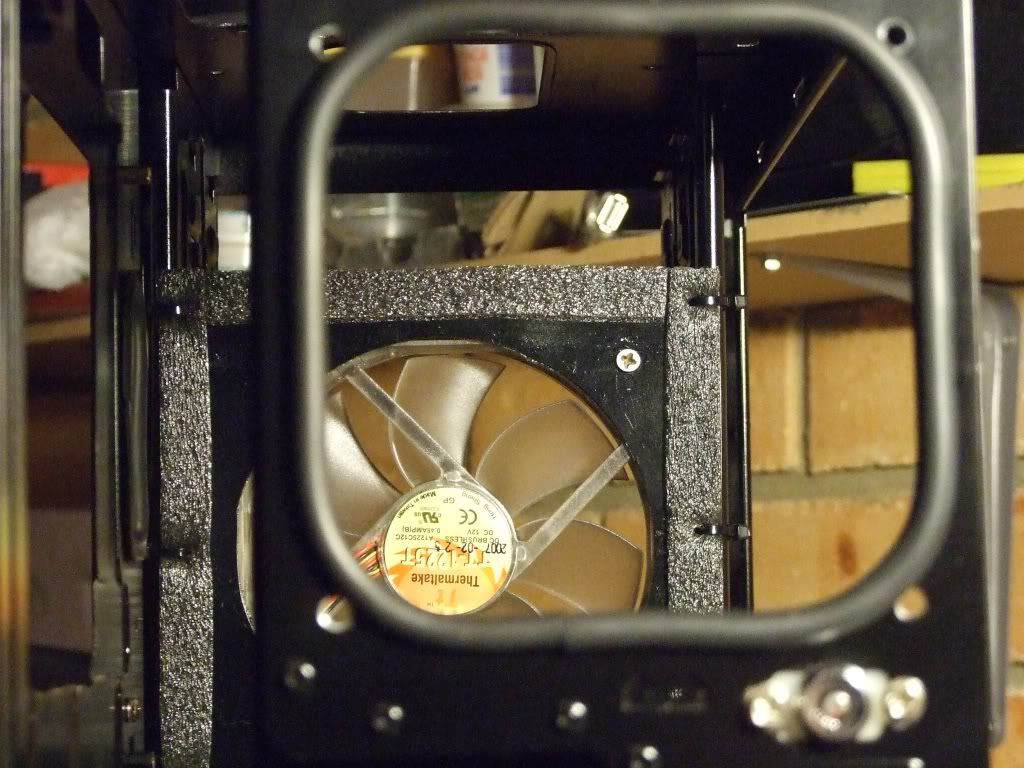
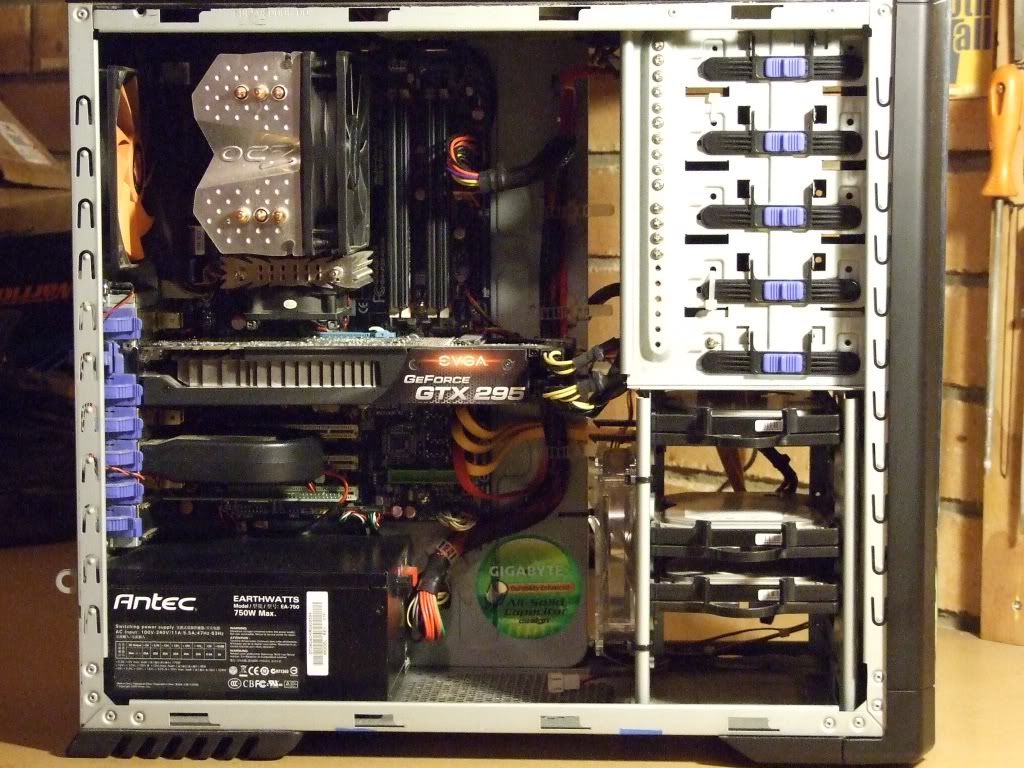
Inside CM690
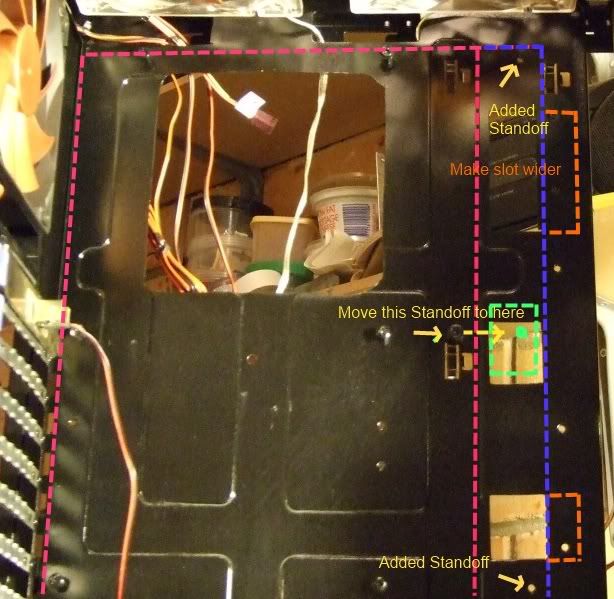
The Rear Cable Management
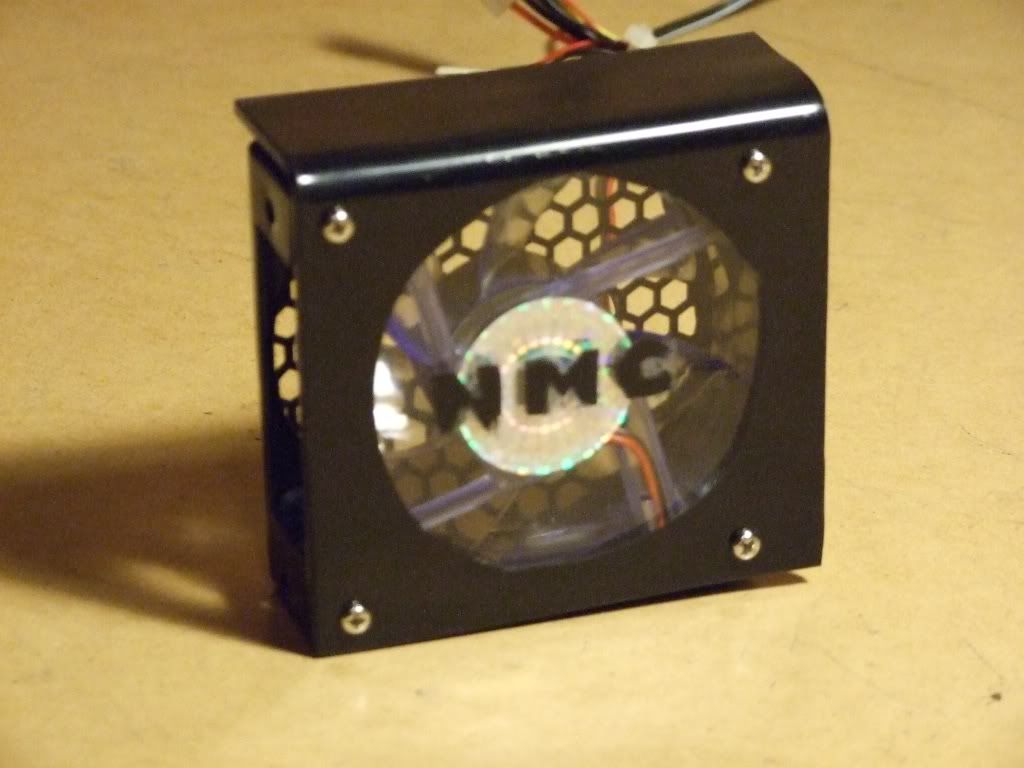
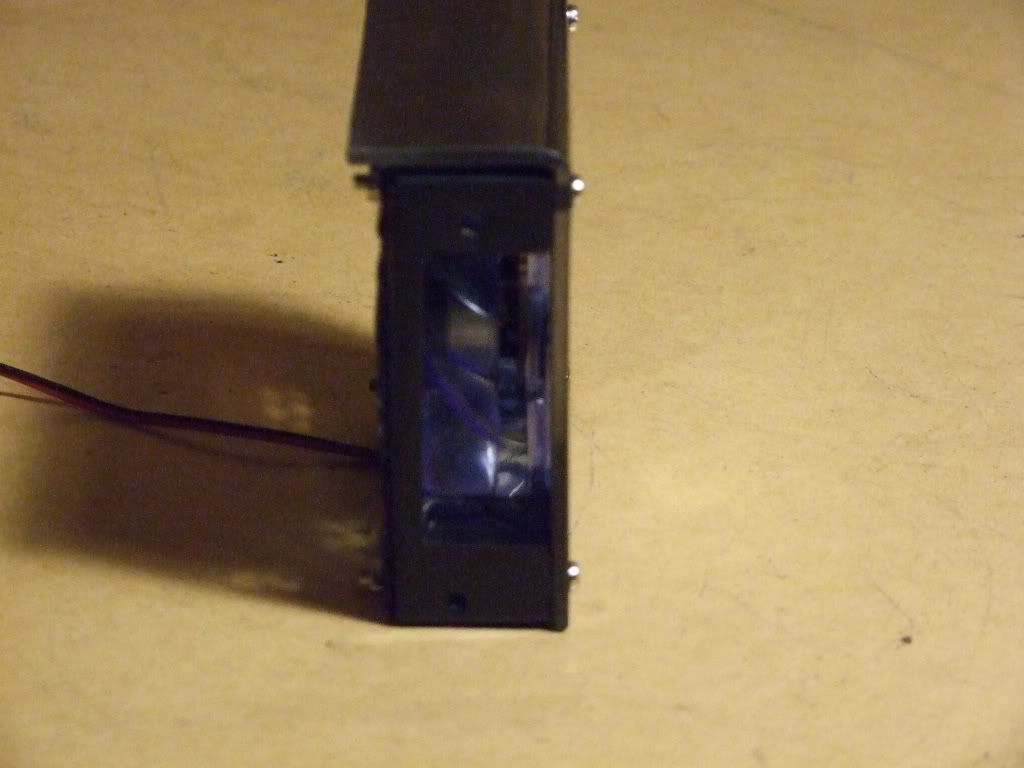
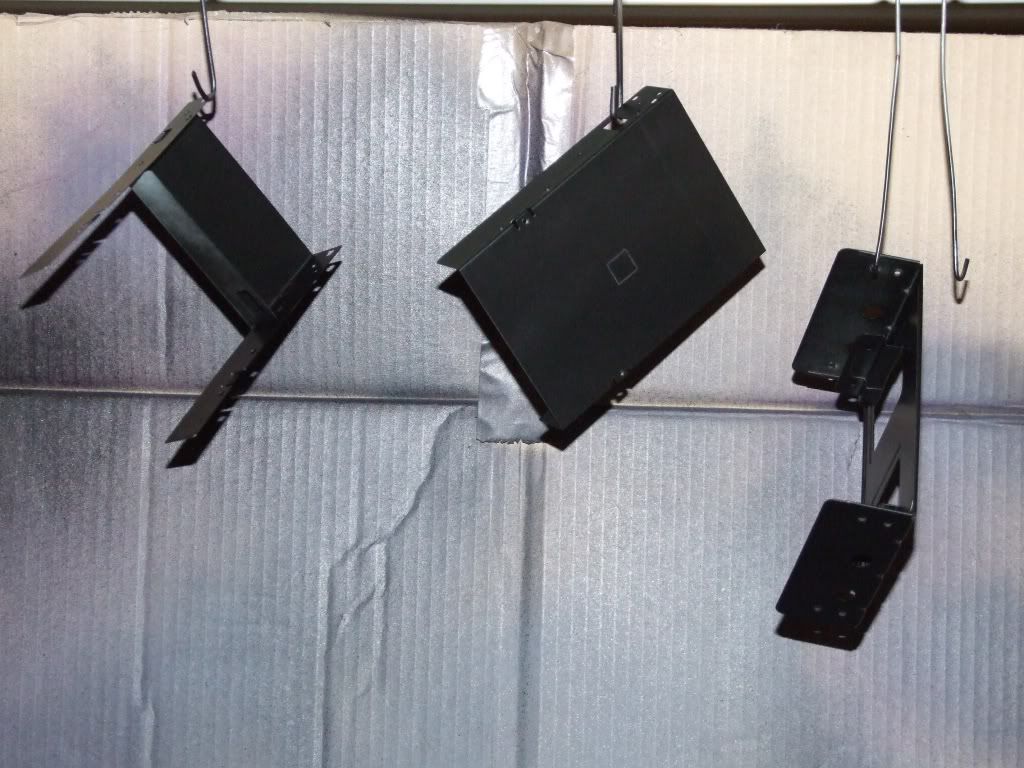
Installed new cooling gantry and Hardware into JTB 2010
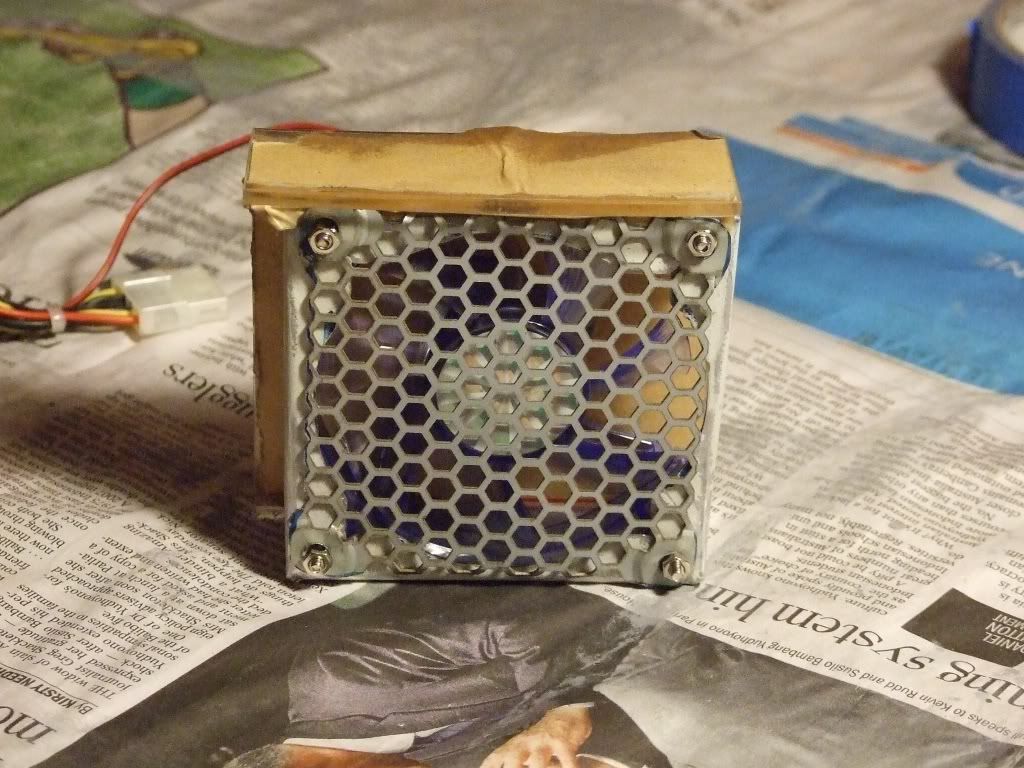
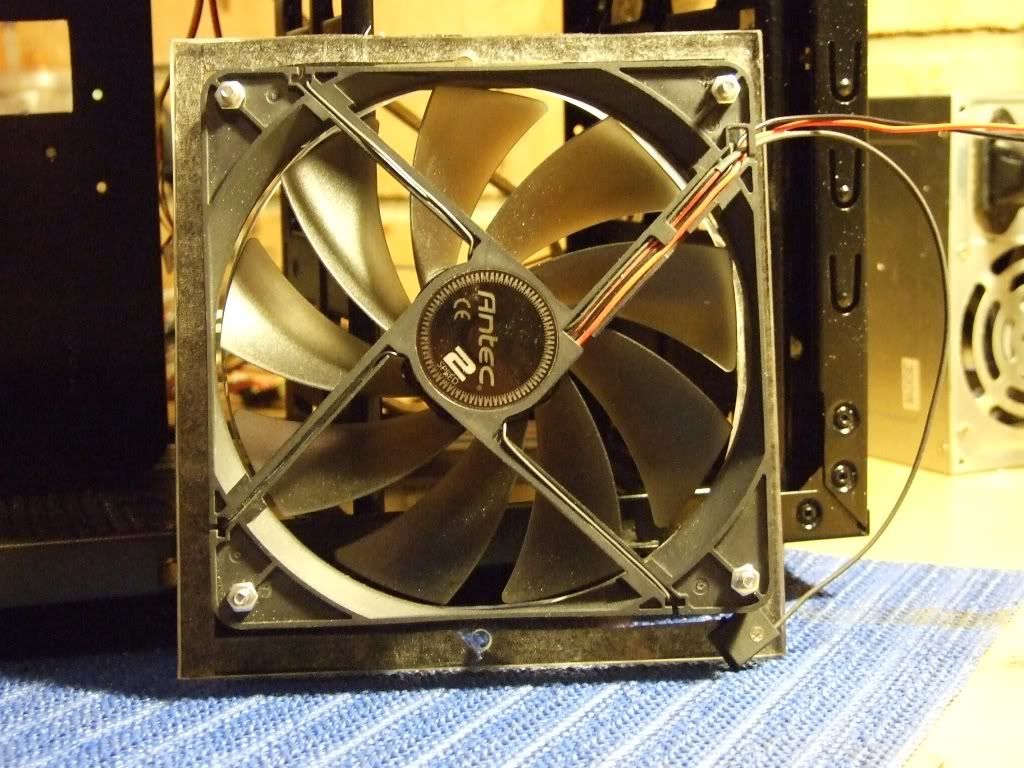
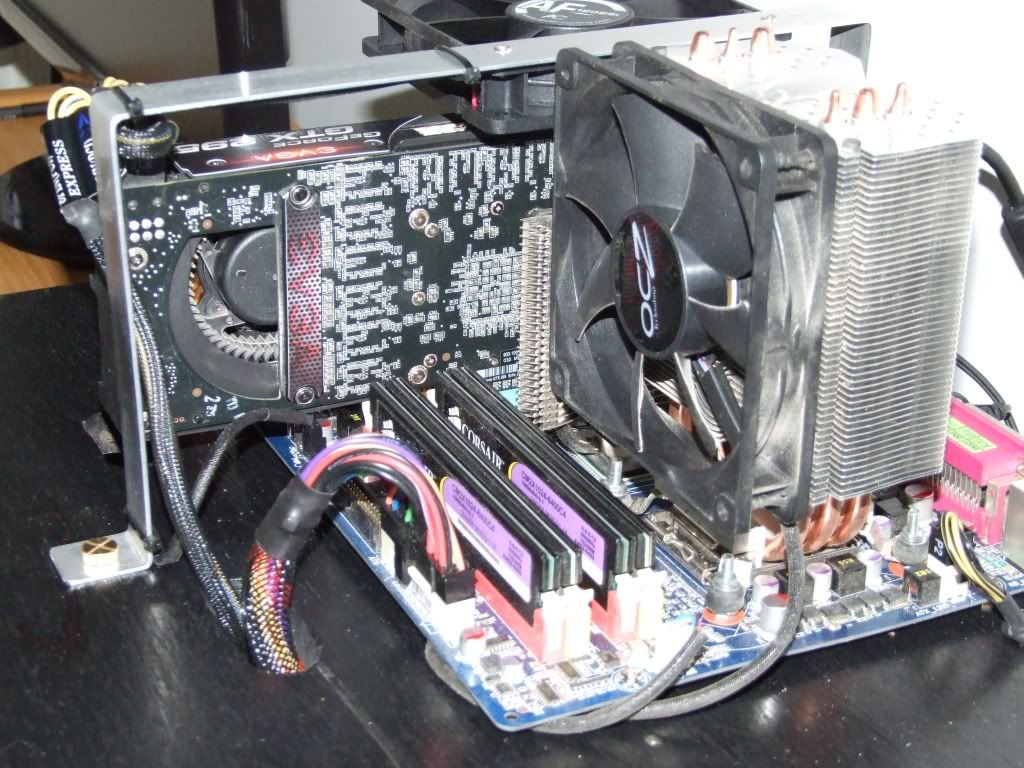
Vendetta 2 HSF View
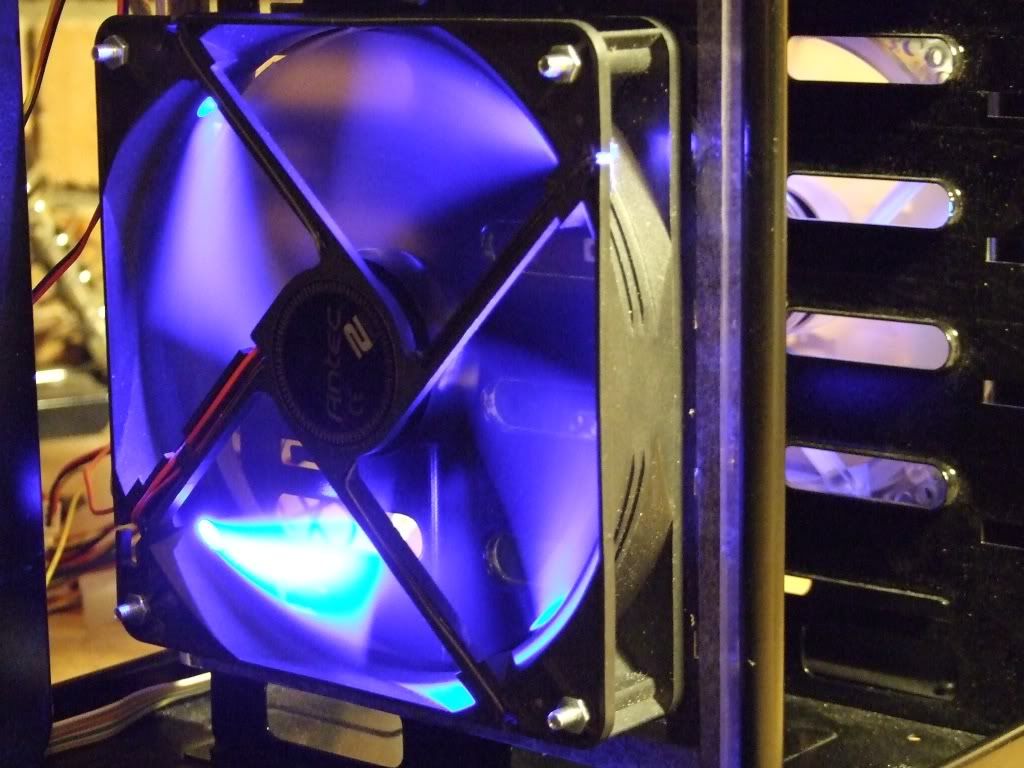
Back up Running and Folding again on Jolly's desk
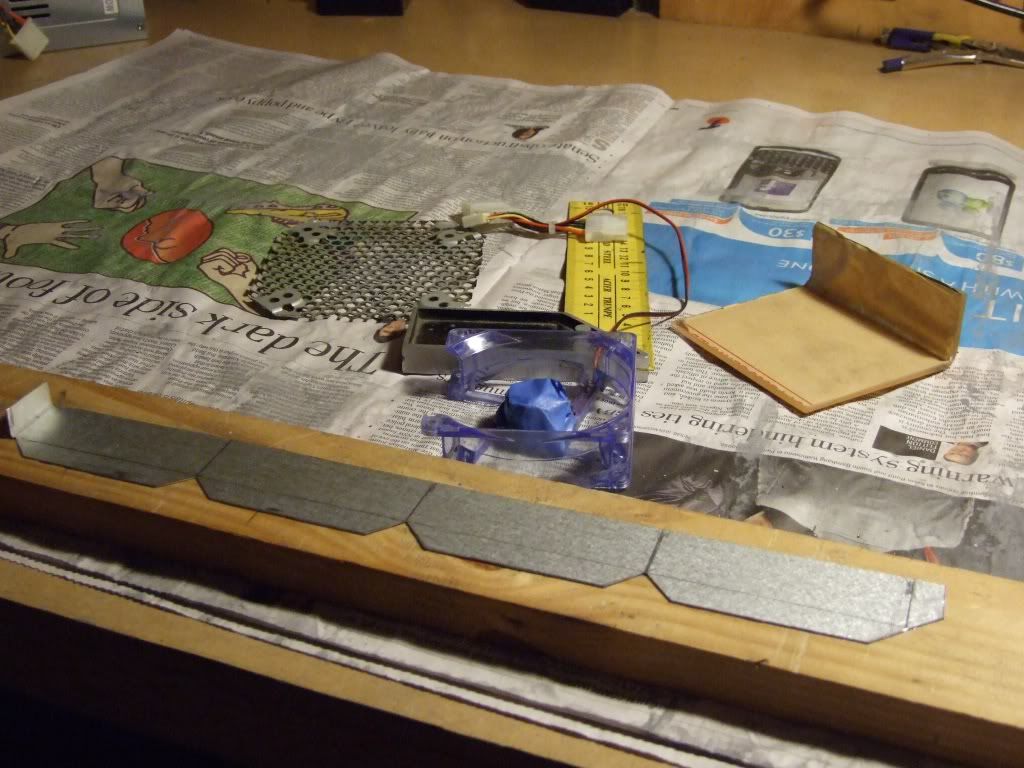
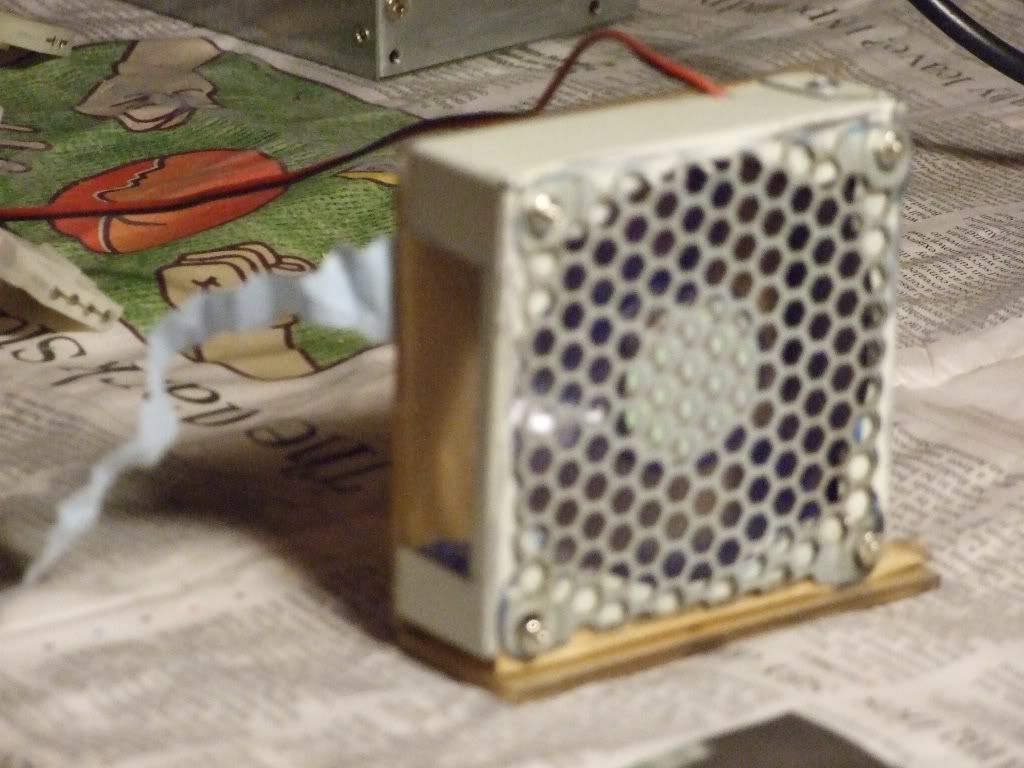
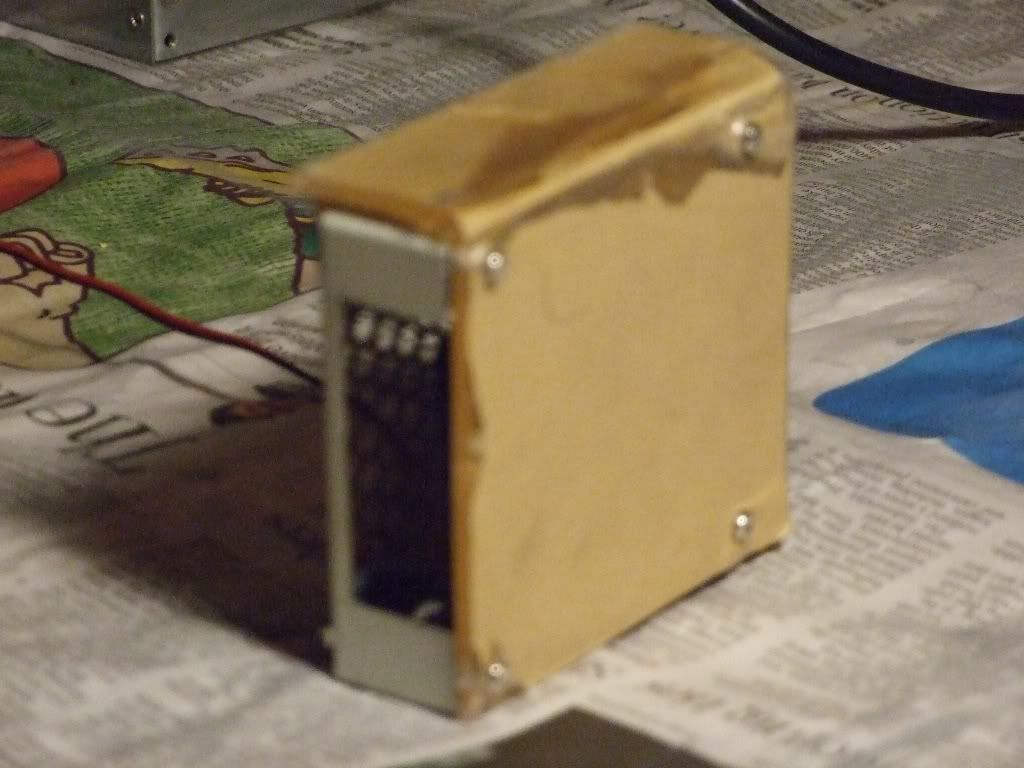
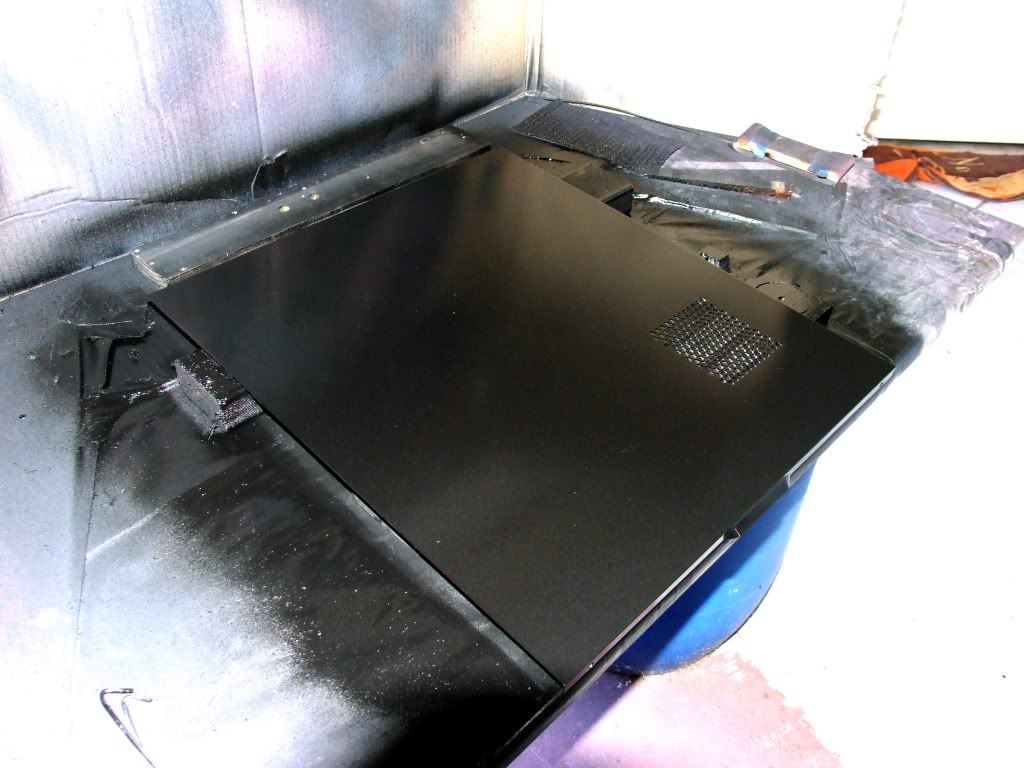
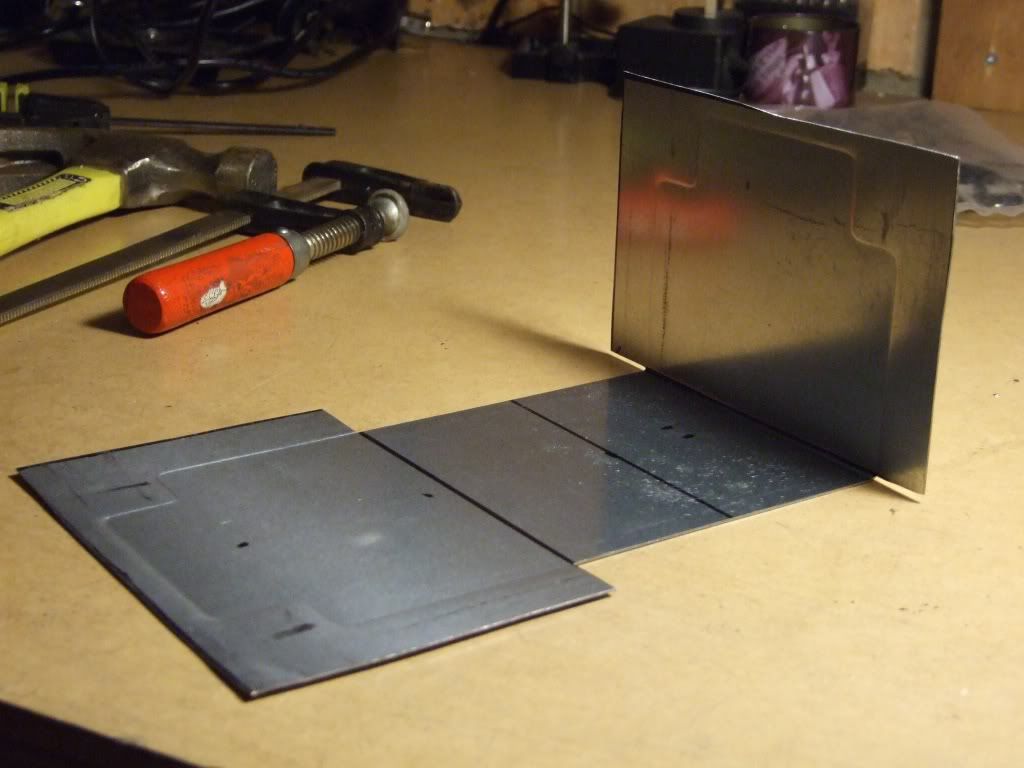
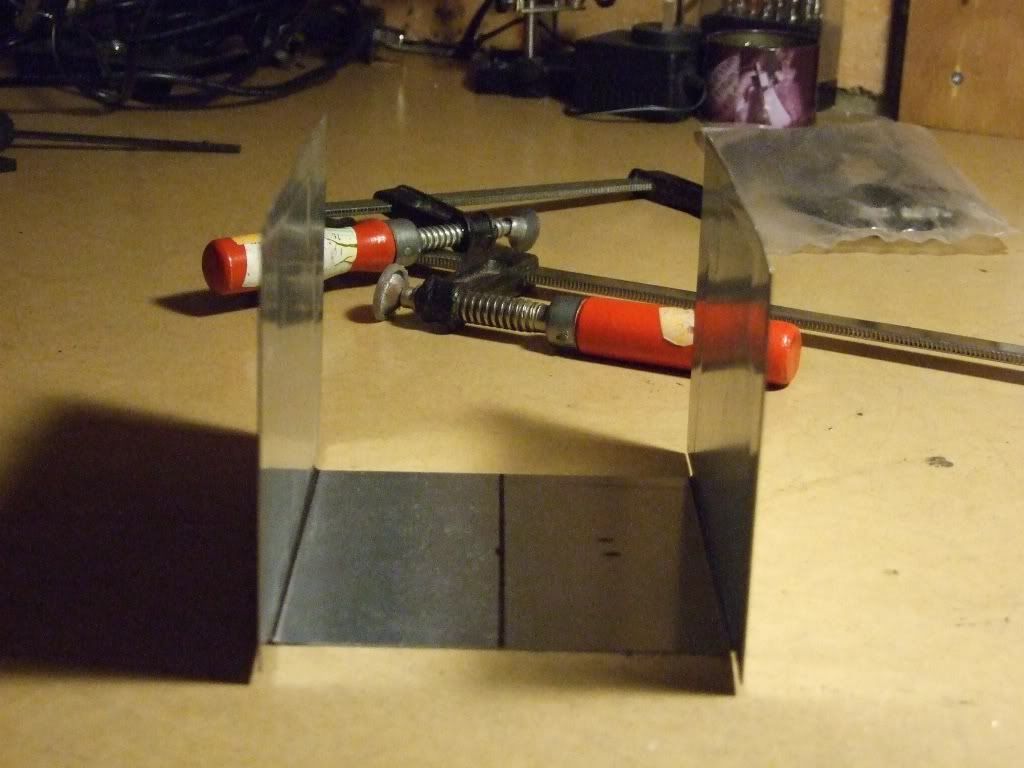
Now I am in the Process of stripping down the rest of CM-690, fans front bezel switches ect, getting ready to do some more Cable management modding and prep for Primmer Undercoat
Update #3 - Fri 19 March 2010
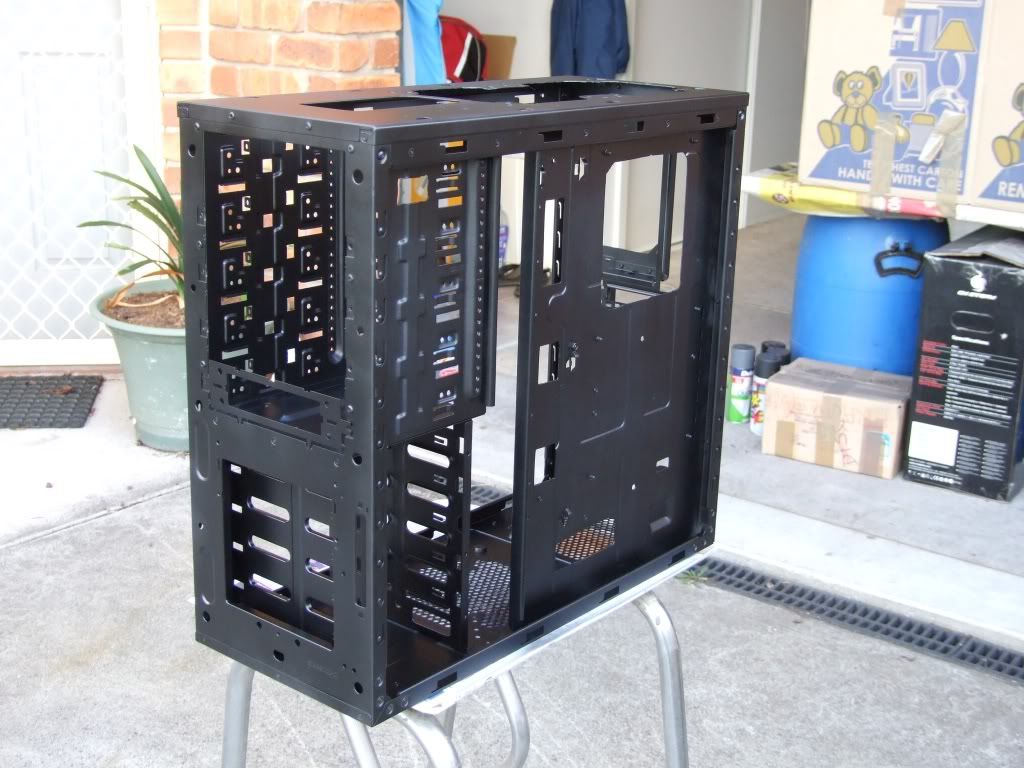
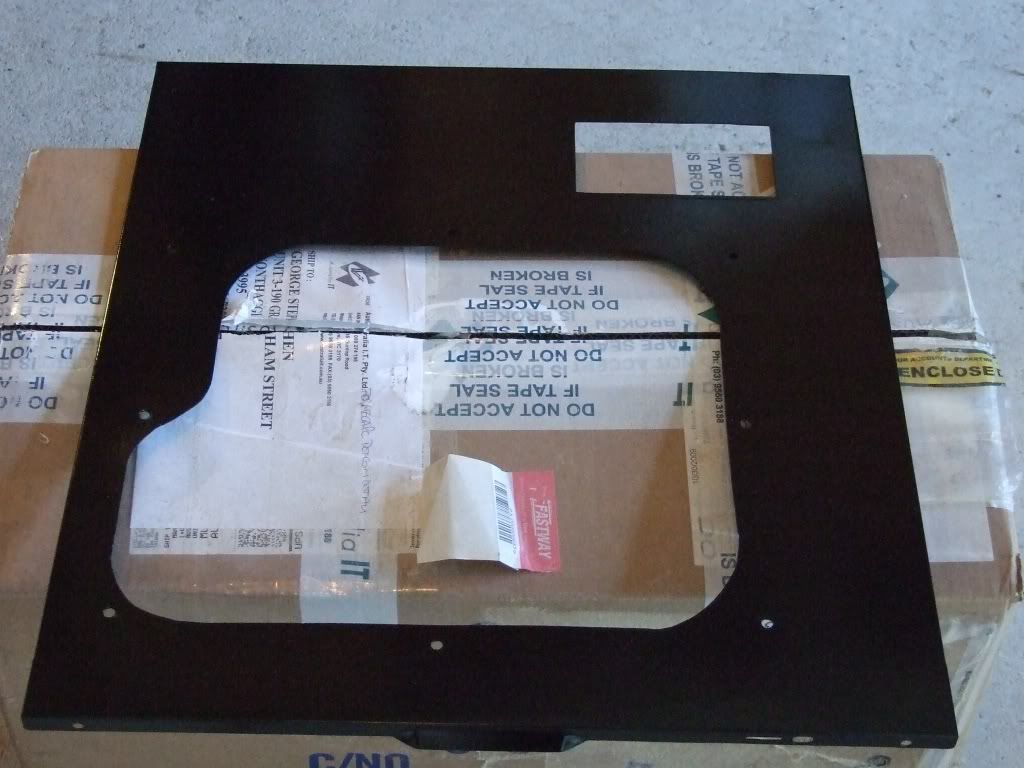
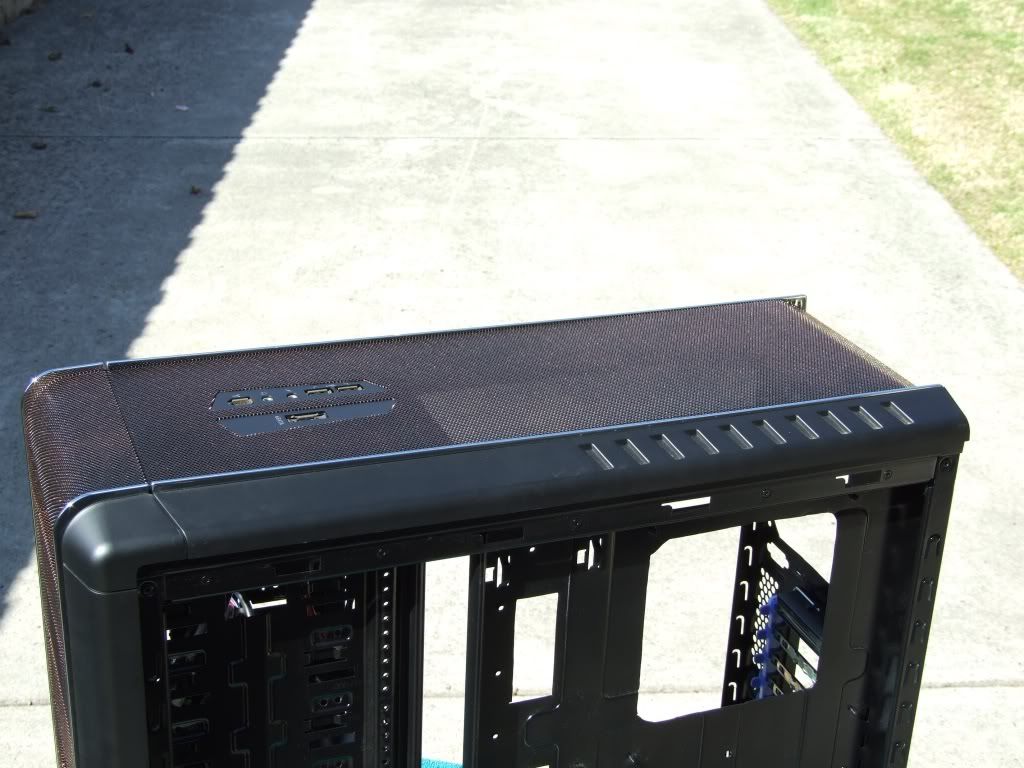
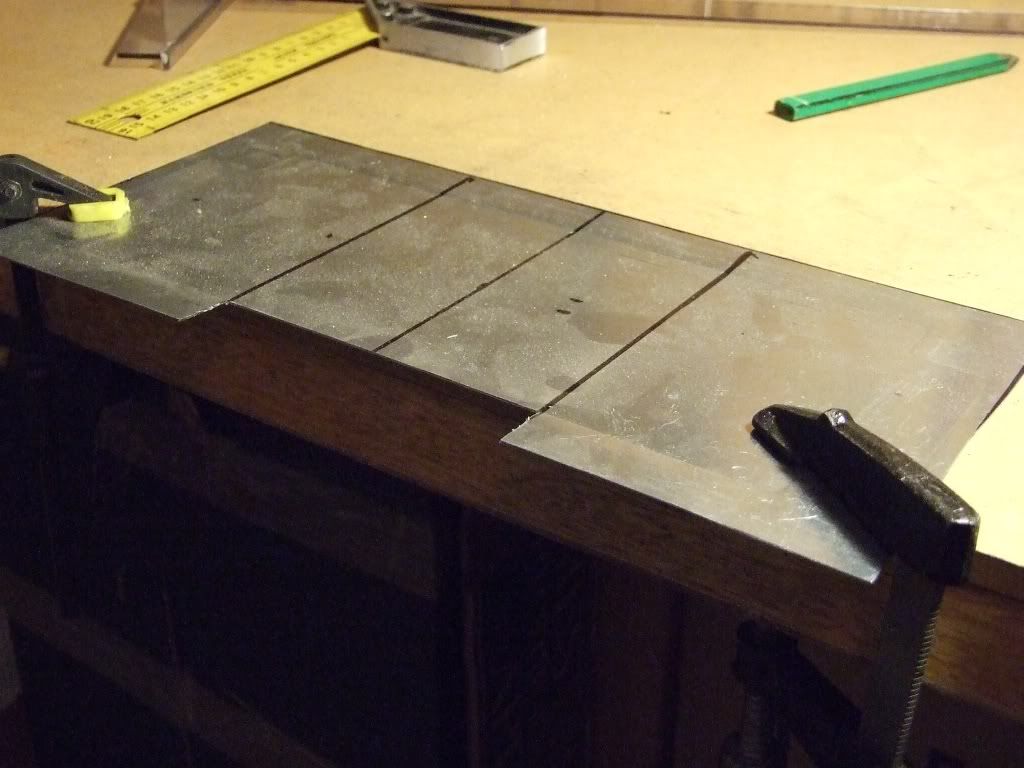
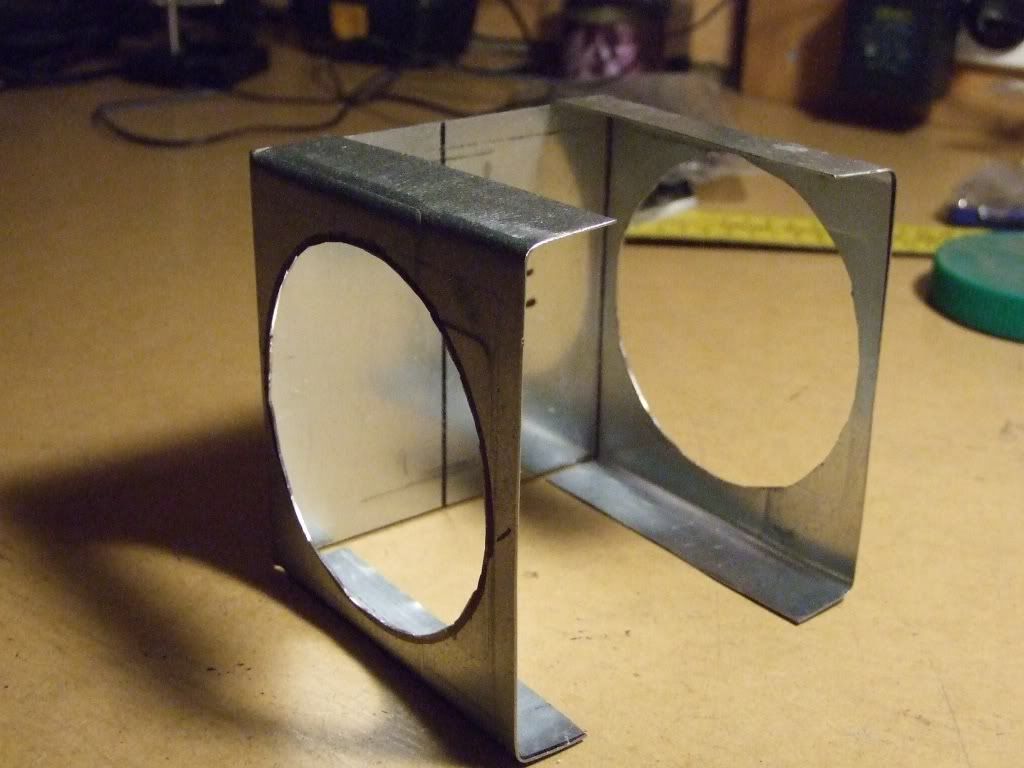
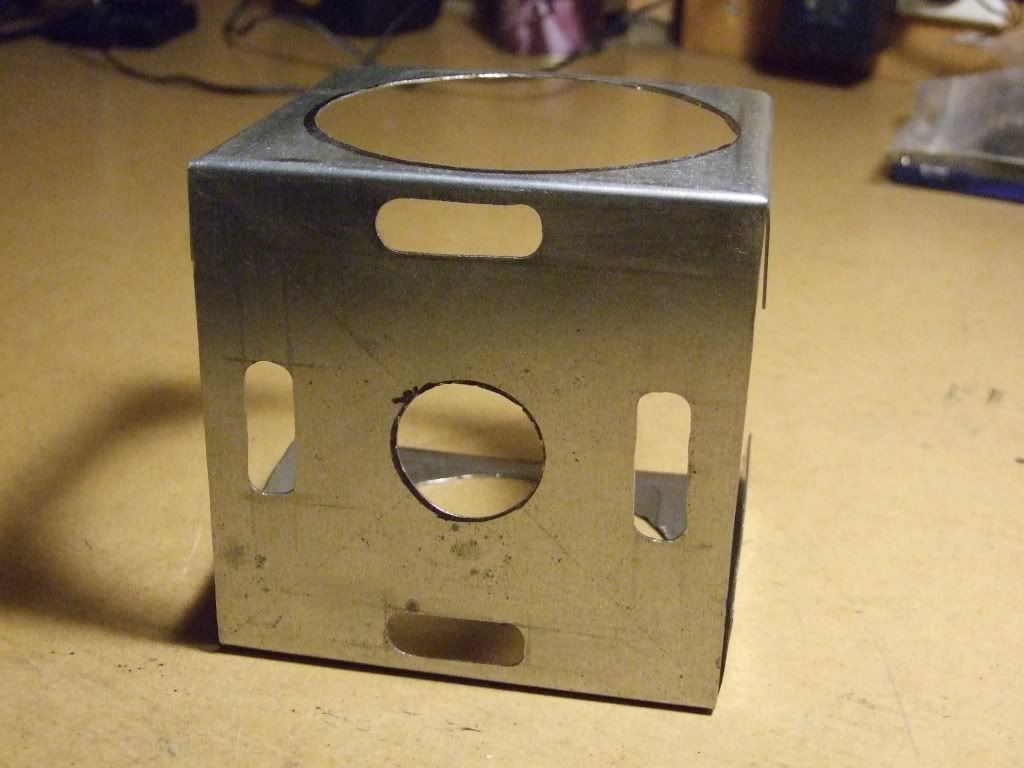
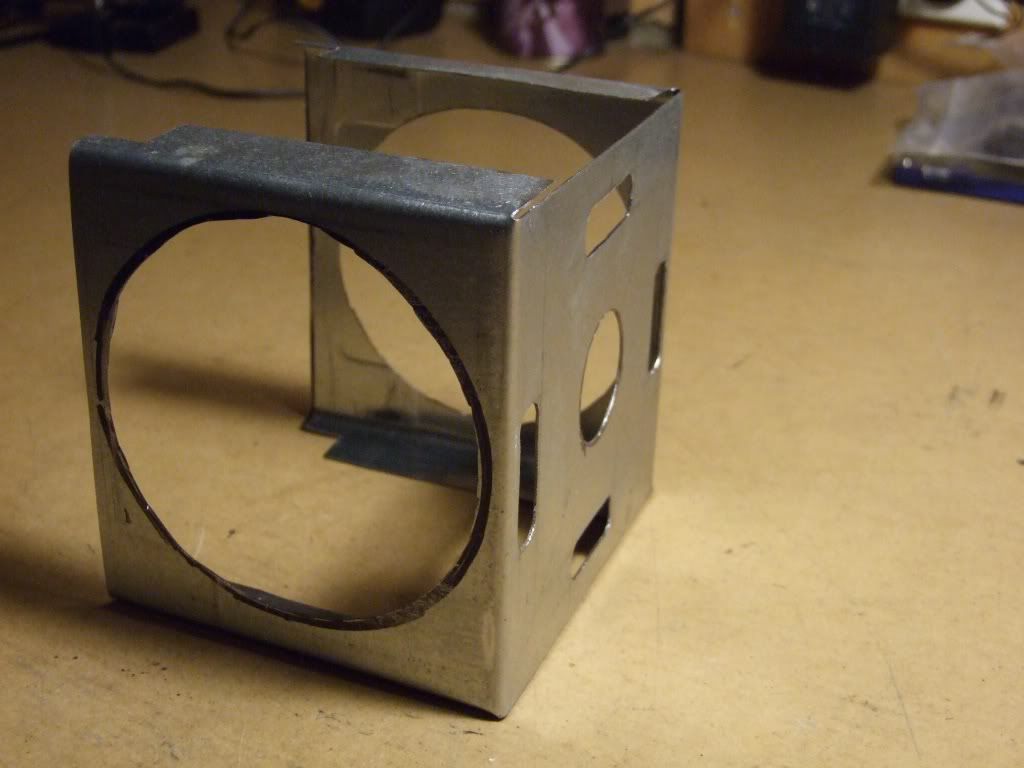
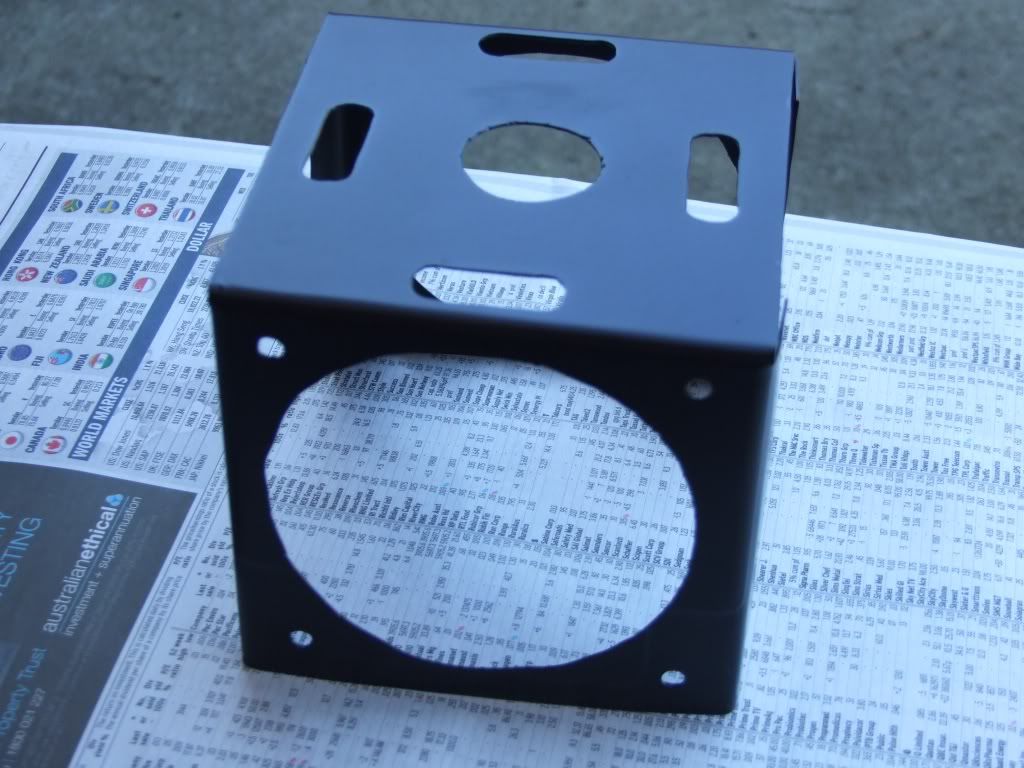
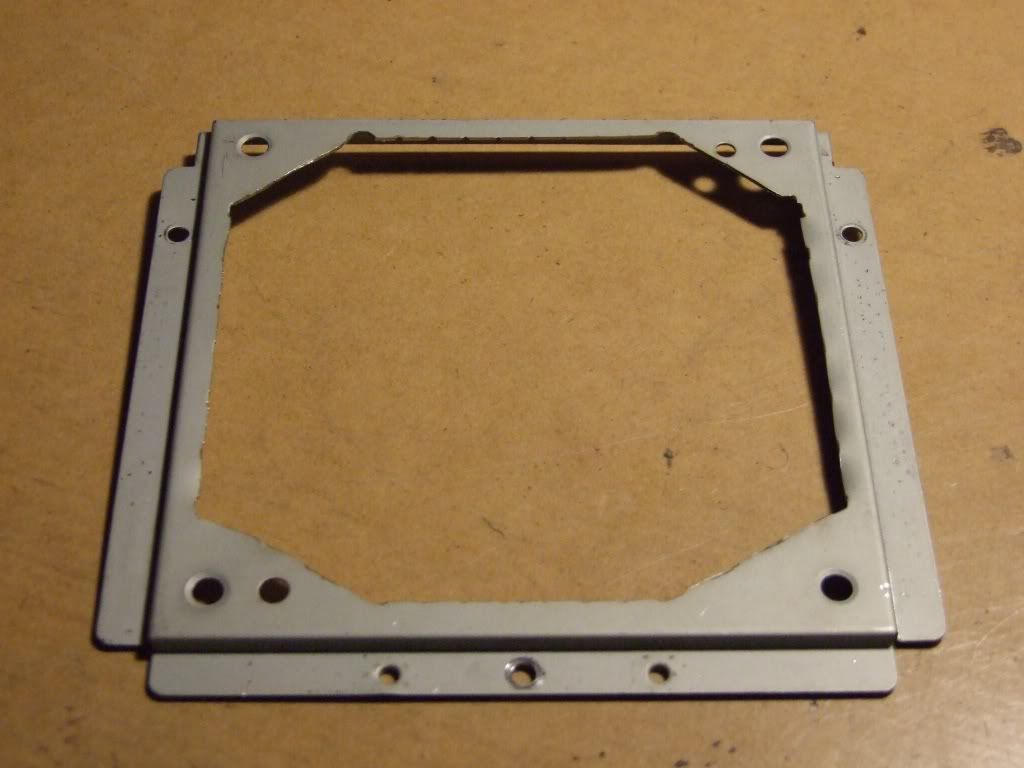
Today finished off cutting Cable Management holes/slots widened on some existing also cut more from top 2x 120/140 Fan grill area, and removed Rear exhaust fan grill.
Cut-outs
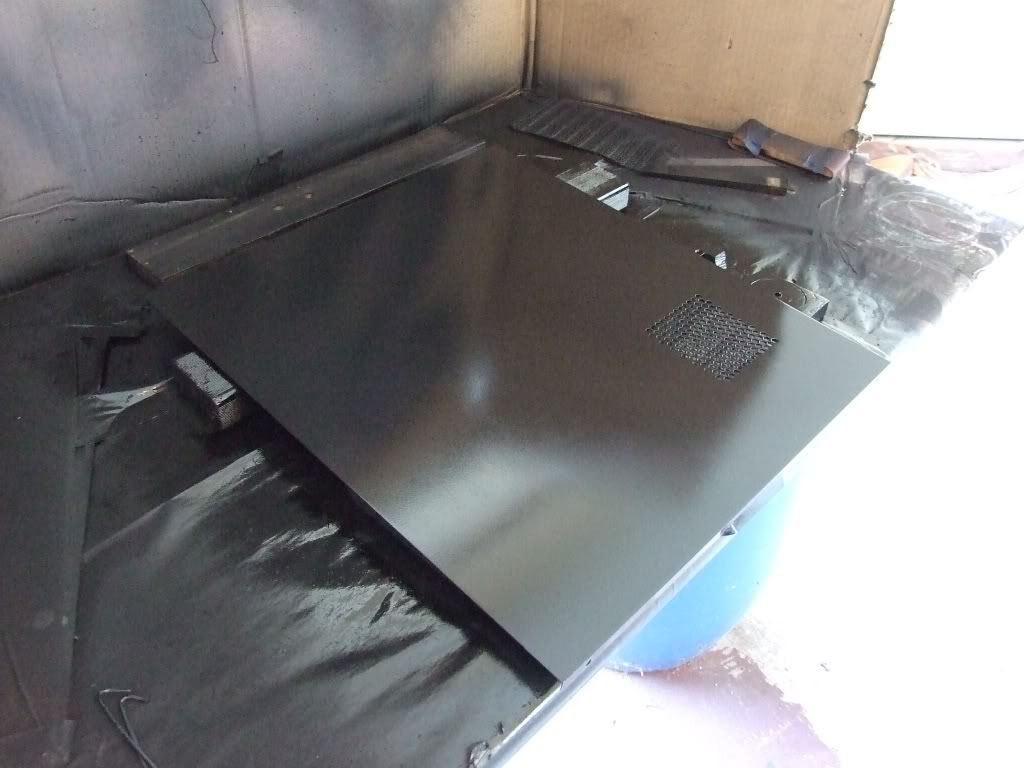
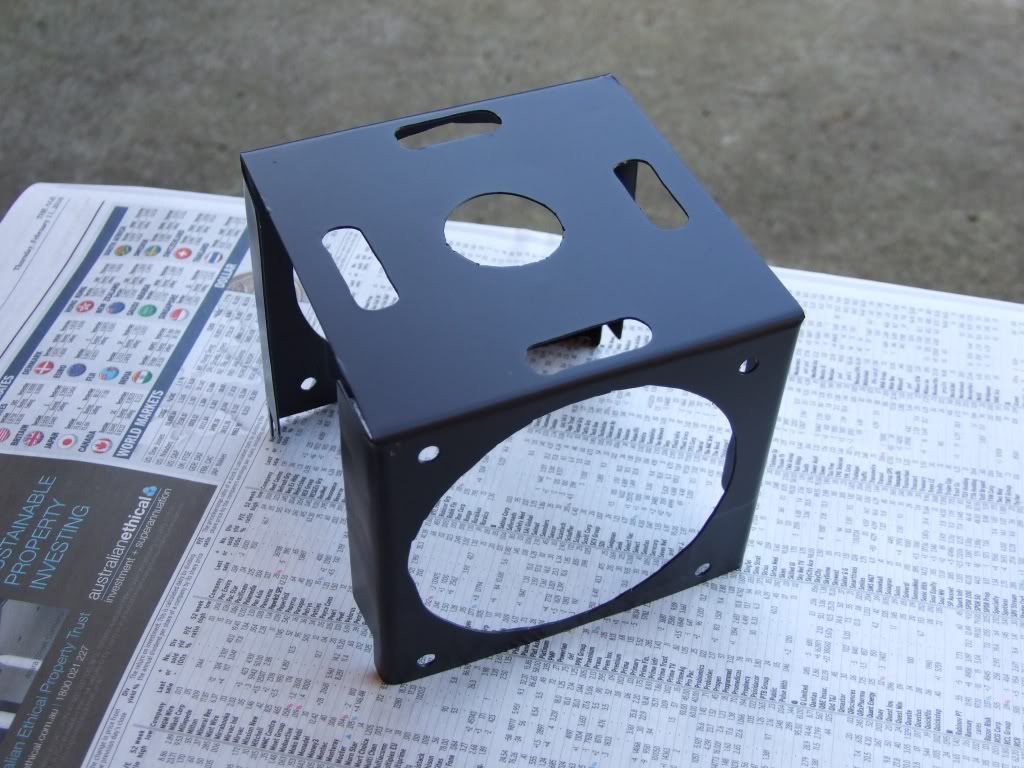
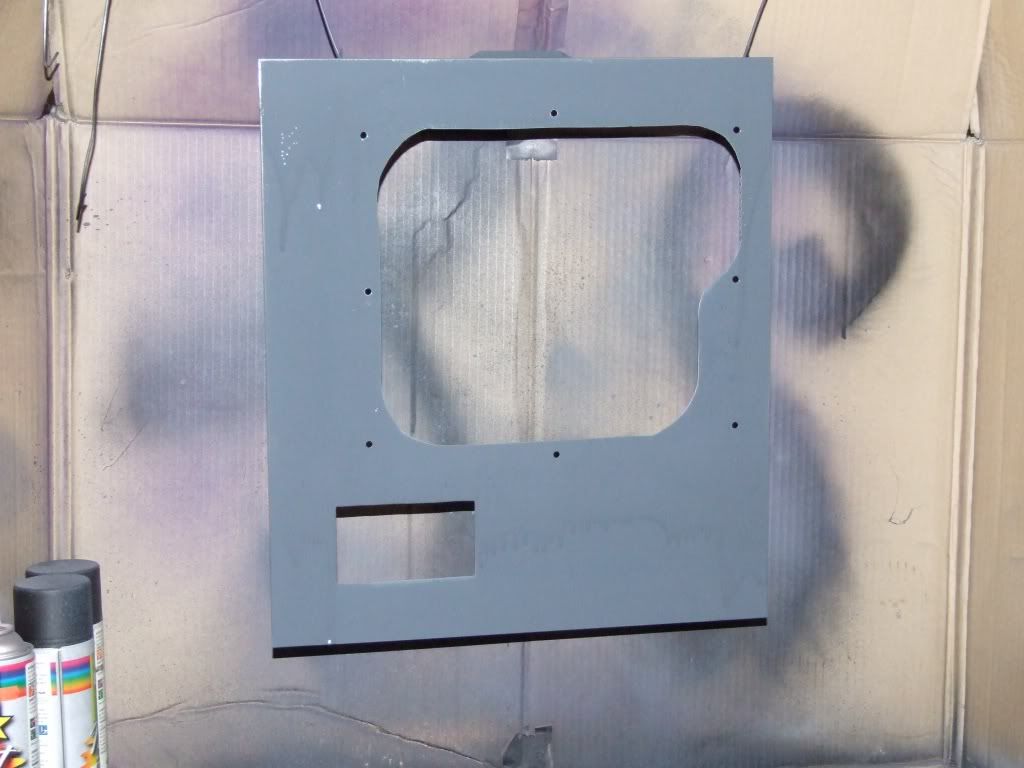
Also prepped for Primer coat
Primer Coat done
Update #4 Sat 20 March
Today I did a little more work on a few things to the Revamp of the CM-690 Case, not a lot as have had bit of a headache all Day!
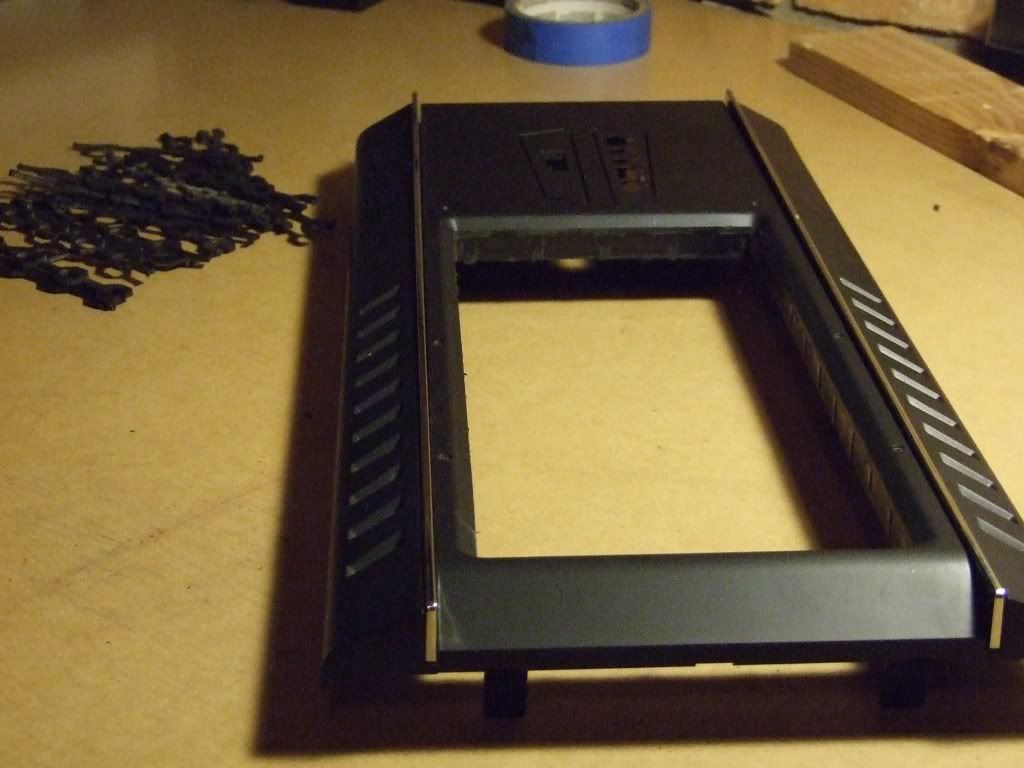
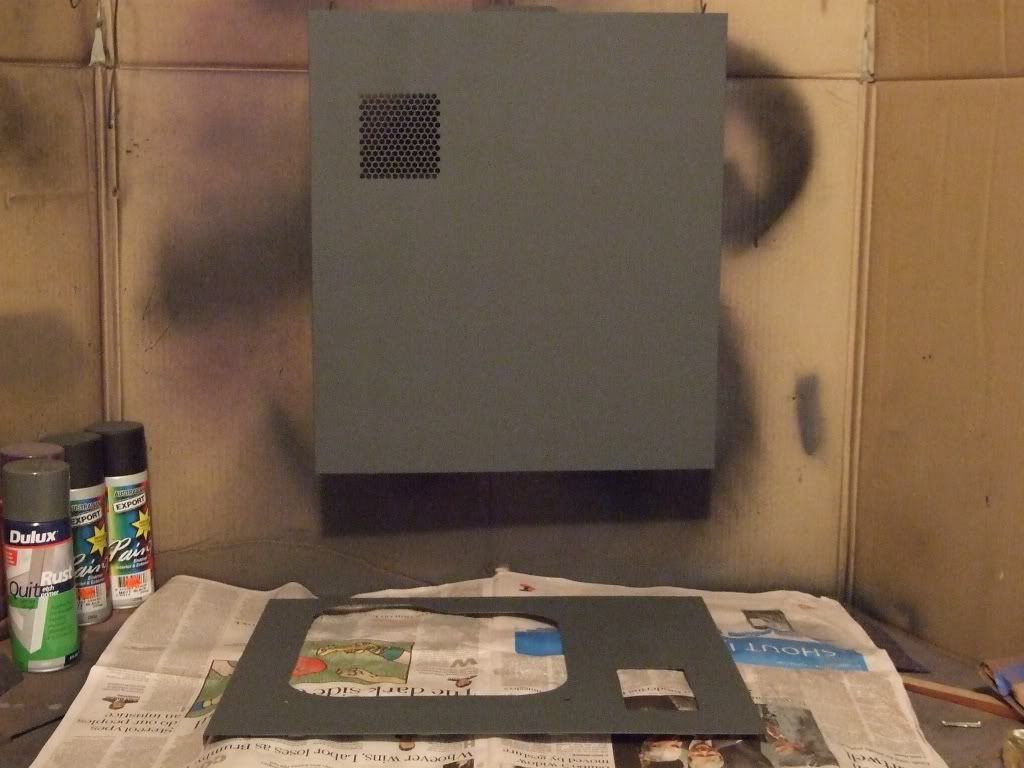
First up I removed the top I/O ports and the Top perforated Grill, Dam thing nearly took forever getting it off too!
Then cut away the Top Bezel Plastic Honeycomb Grill area, as this causes fan buffering and that in turn leads to noise, will now be also better for air flow too!
Top Bezel
Them I also did the same with the Front Bezel, this one came out allot easier than the Top did.
Front Bezel
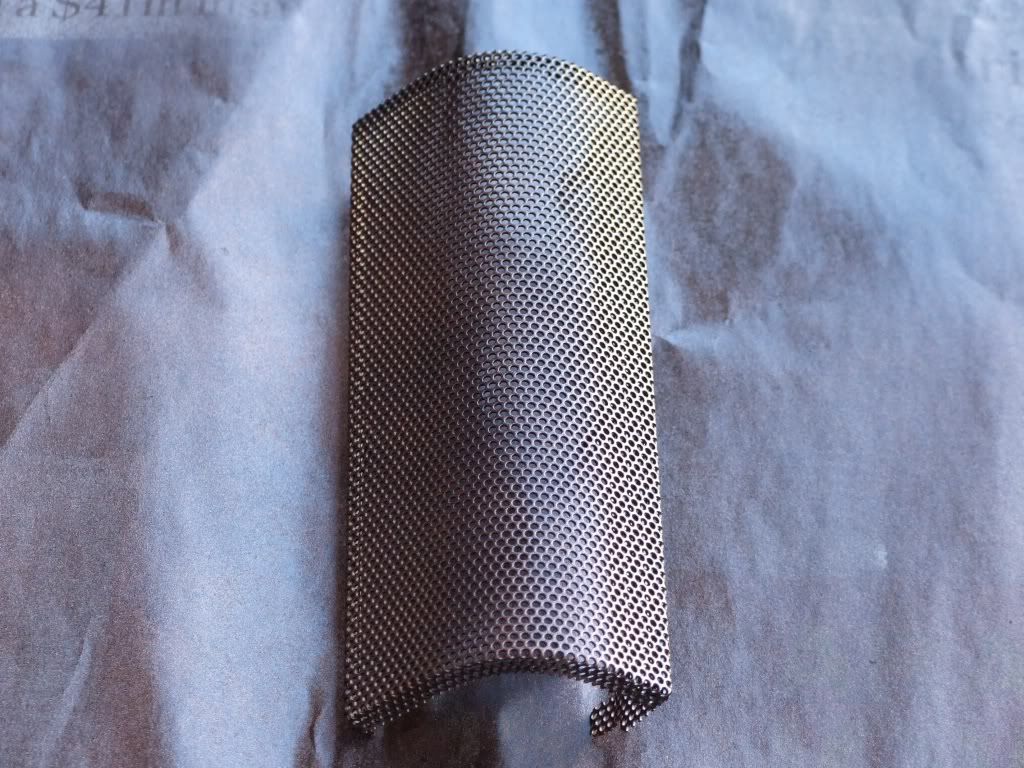
Also cut away the mesh grill on the front intake fan holder, too!
Fan Holder
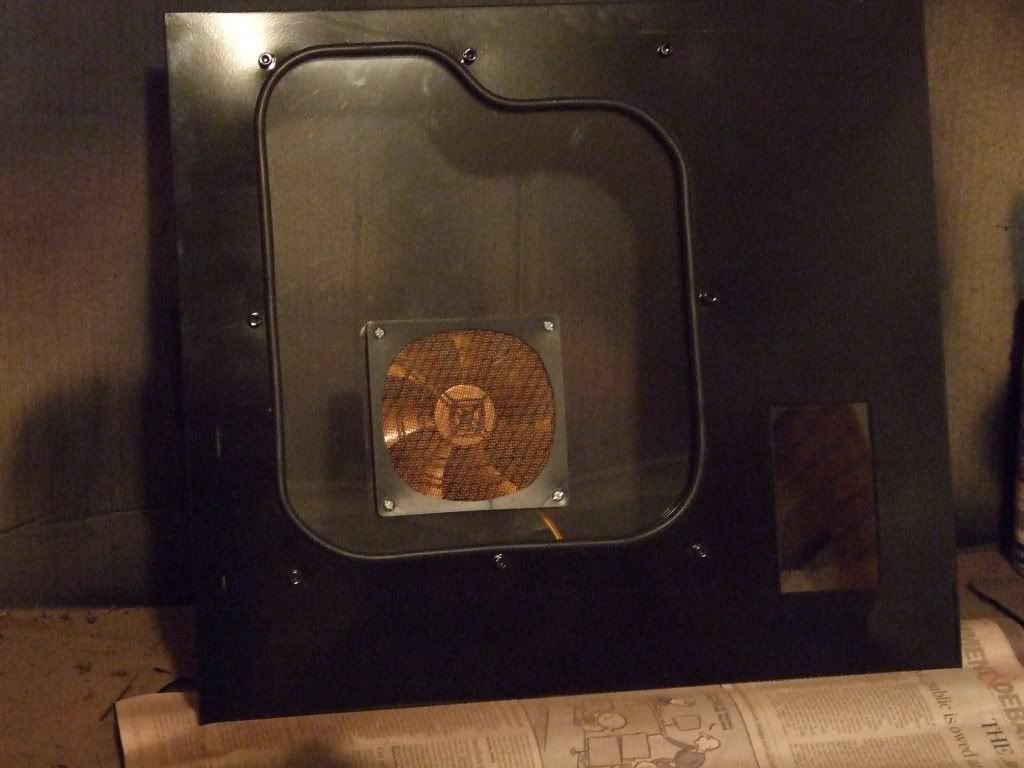
Then got down to doing some alterations to the Side Window Panel, with the Addition of another small Window to the Bottom right where the HDD's are.
The after a sanding down, did the first Primer Undercoat,
Dam Spray Can was playing up too, think is nearly empty as started coming out thin and made some runs, but this is easily fixed once dry, just sand back and Re-Undercoat
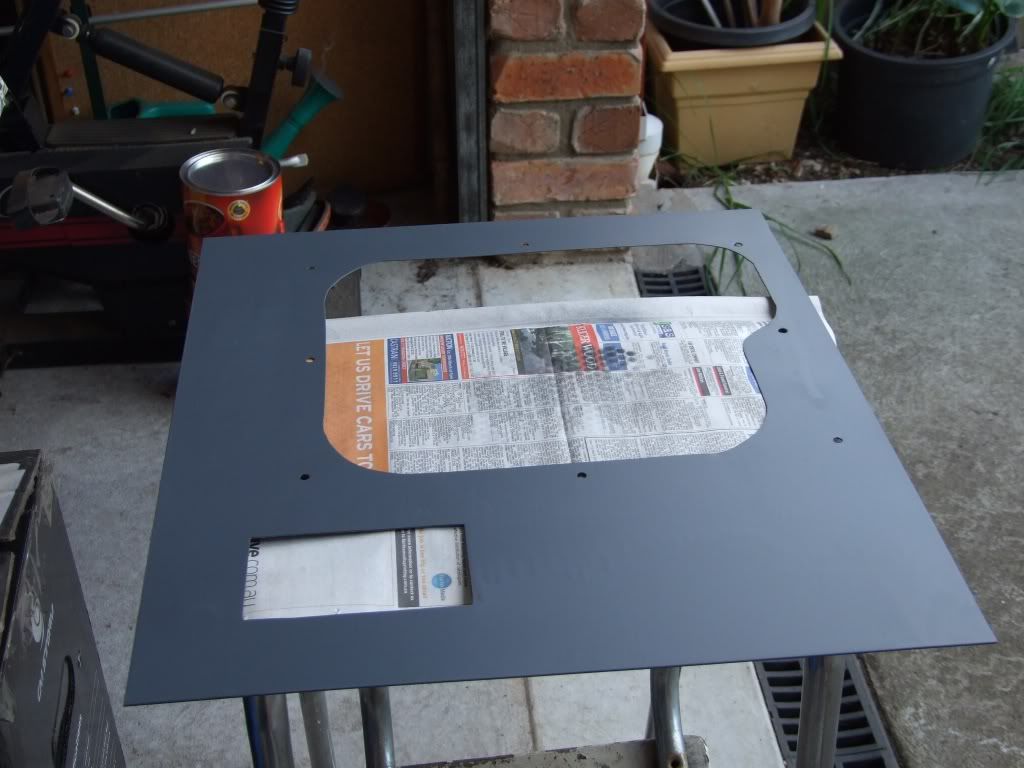
Window Side Panel
The other Side Panel has also been Sanded back ready to Undercoat, when I get some more on Monday
Update #5 Sun 21 March
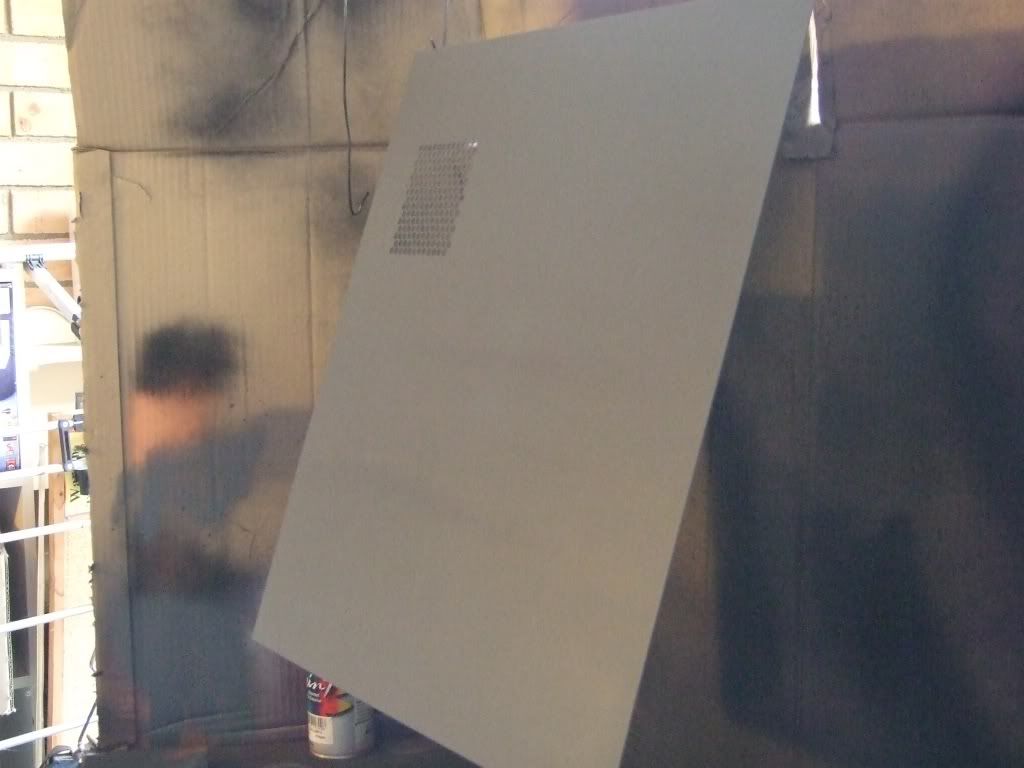
Today just re-sanded Side Panels with P1000 wet-n-dry paper, and applied second coat of Primer, all nice and smooth now!
Side Panel's 2nd Primer Coat
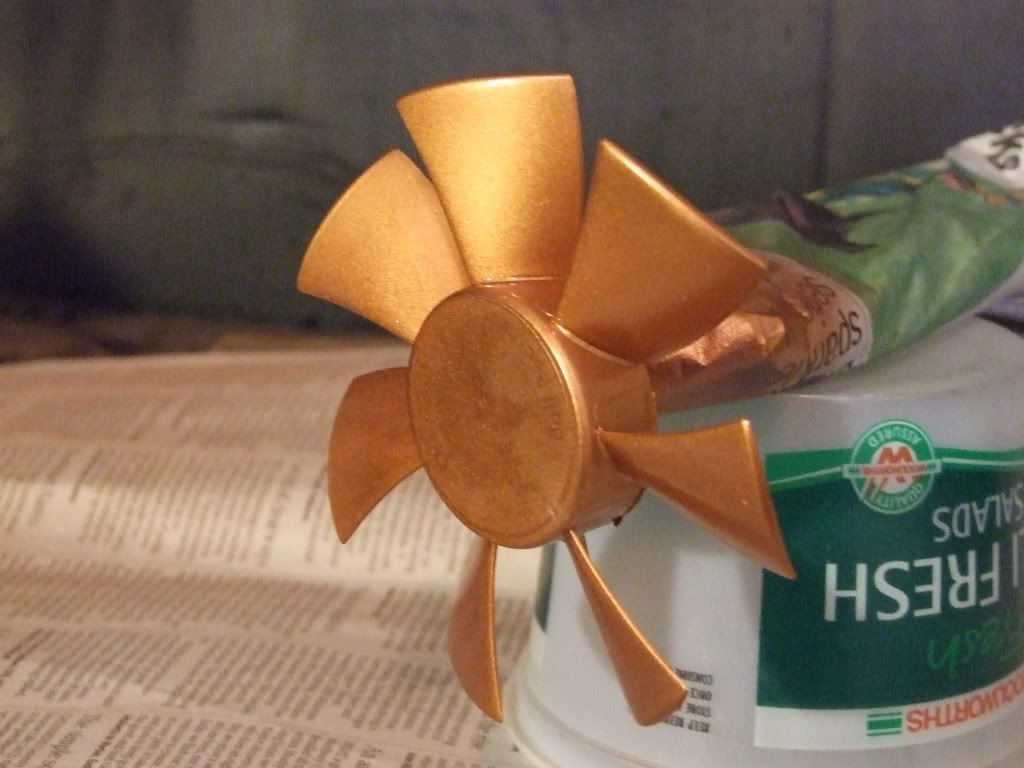
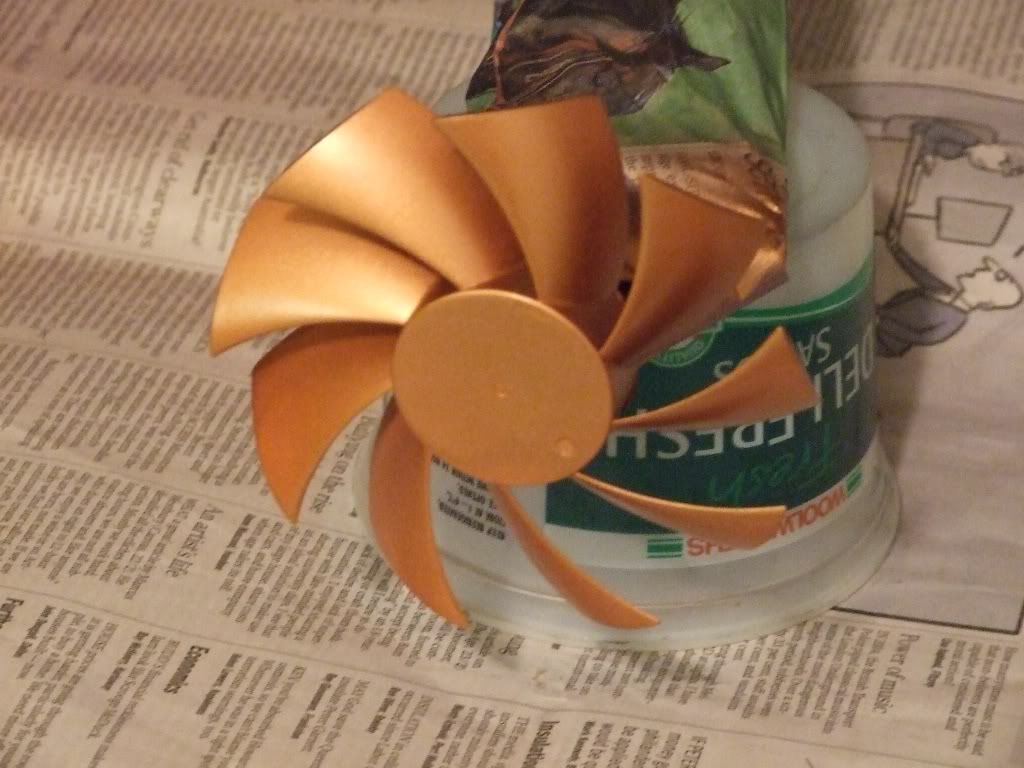
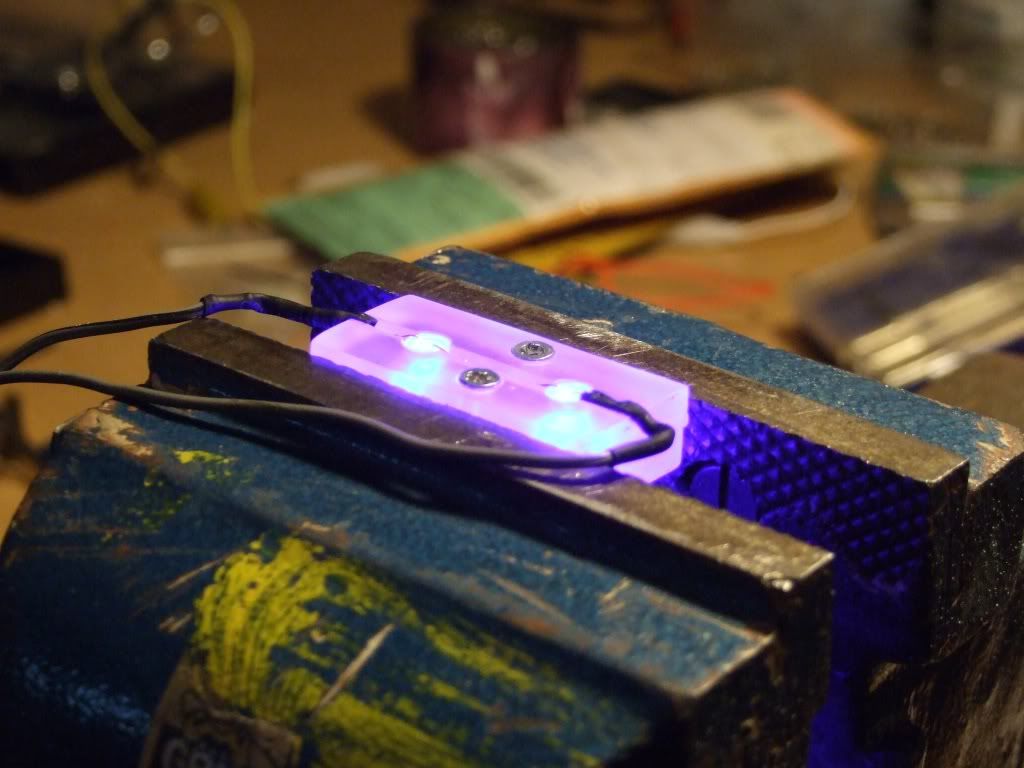
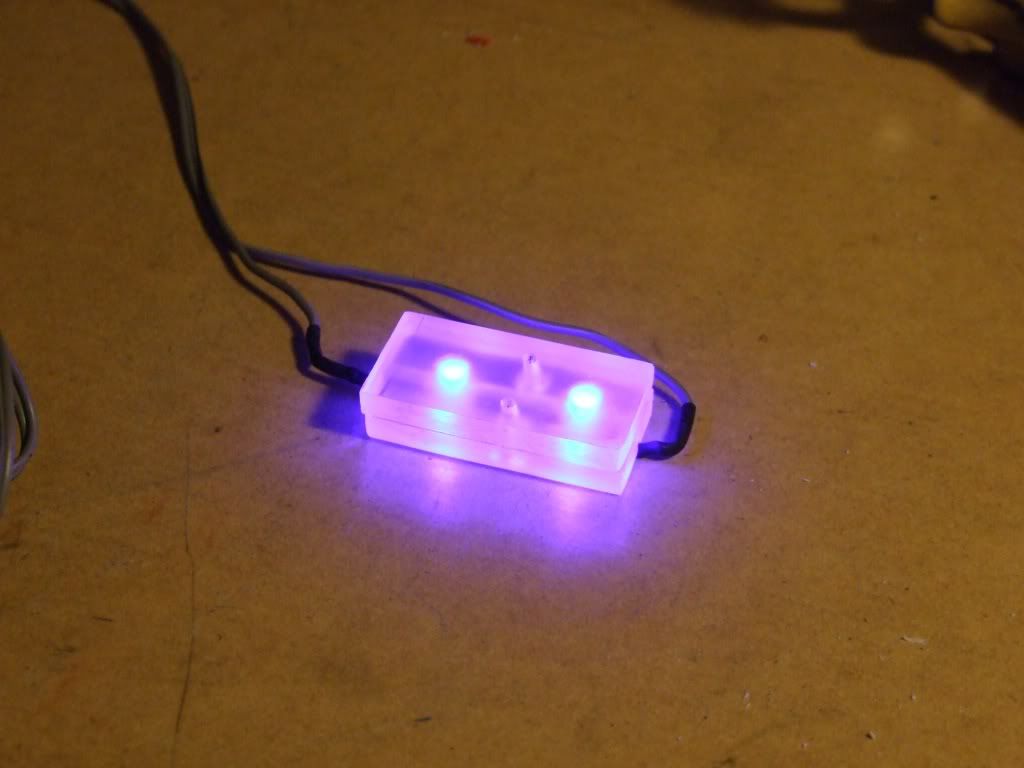
Have also be toying with some ideas as to what I,m going to do with the Front and top Bezels covers/ grill areas.
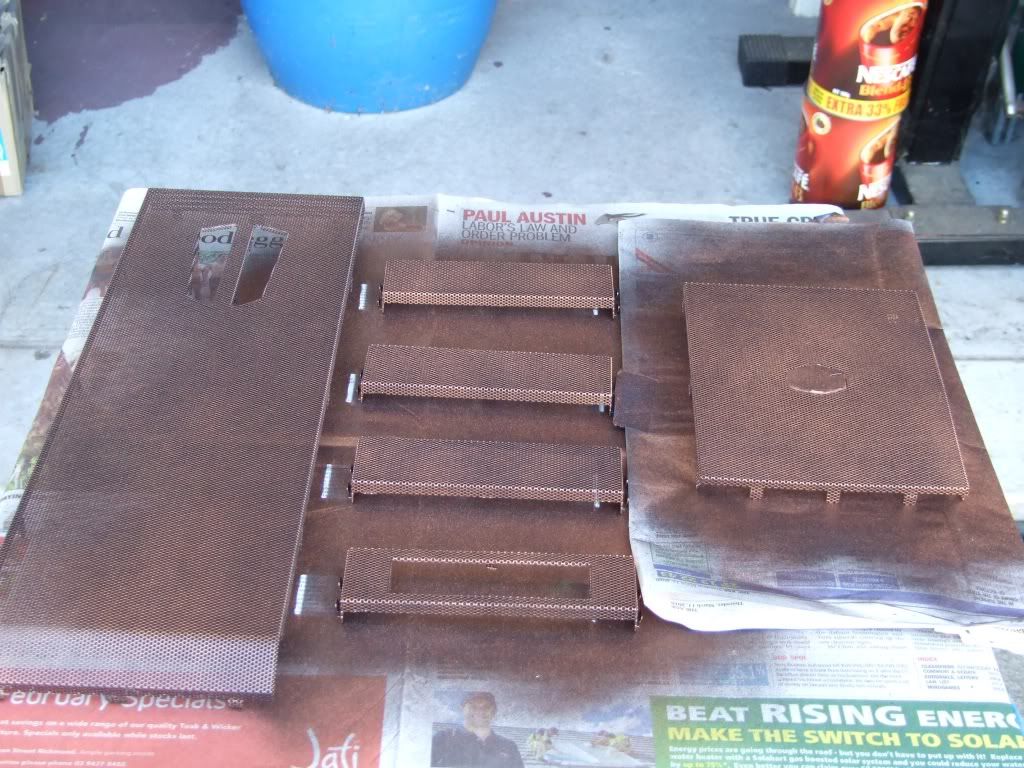
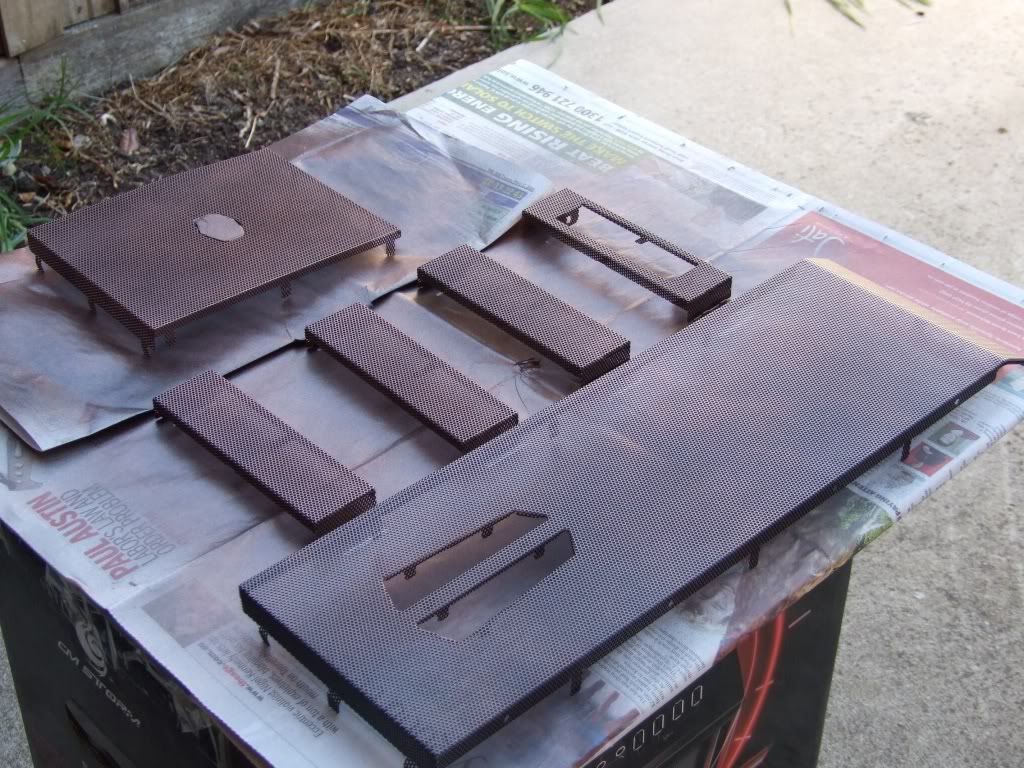
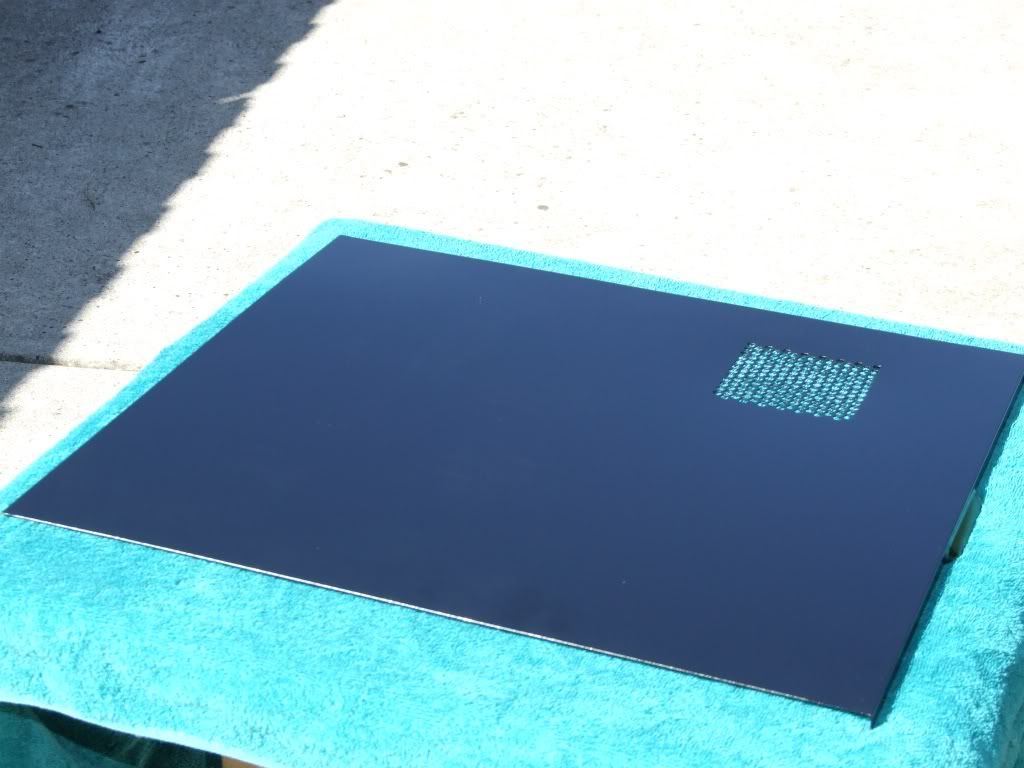
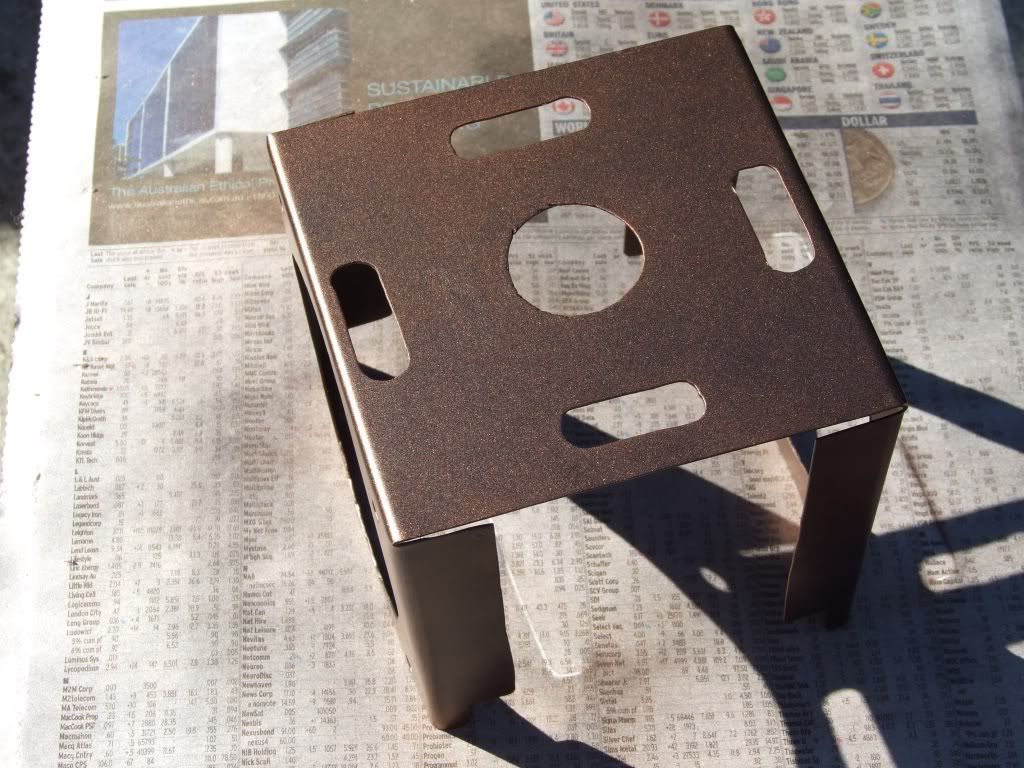
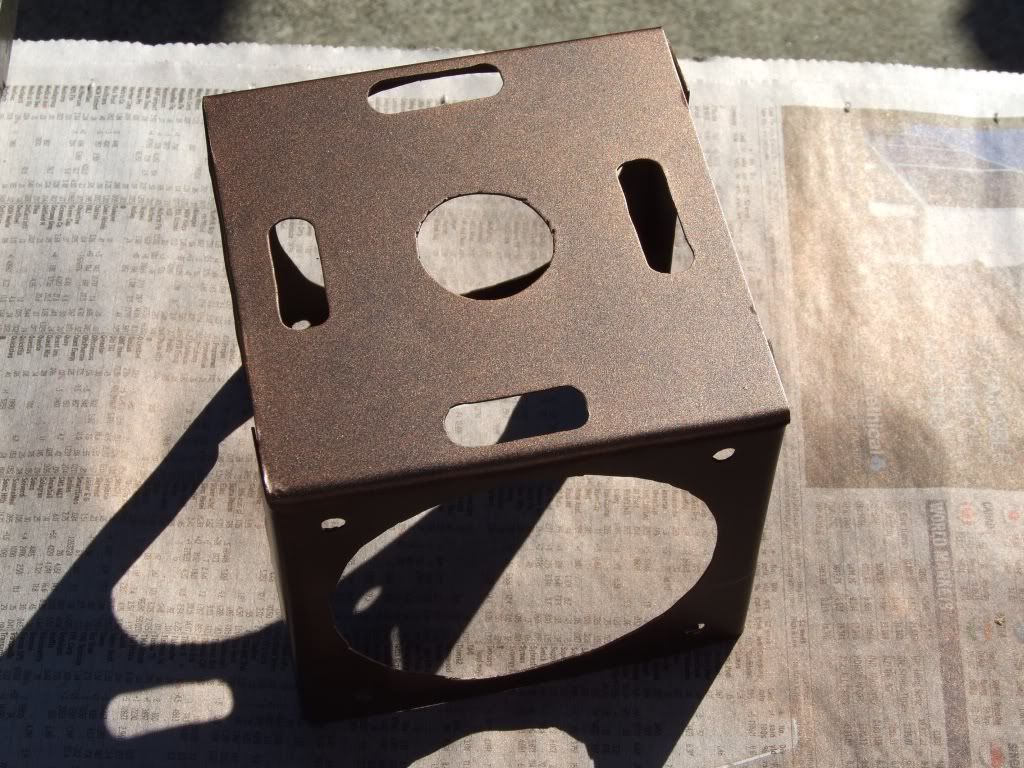
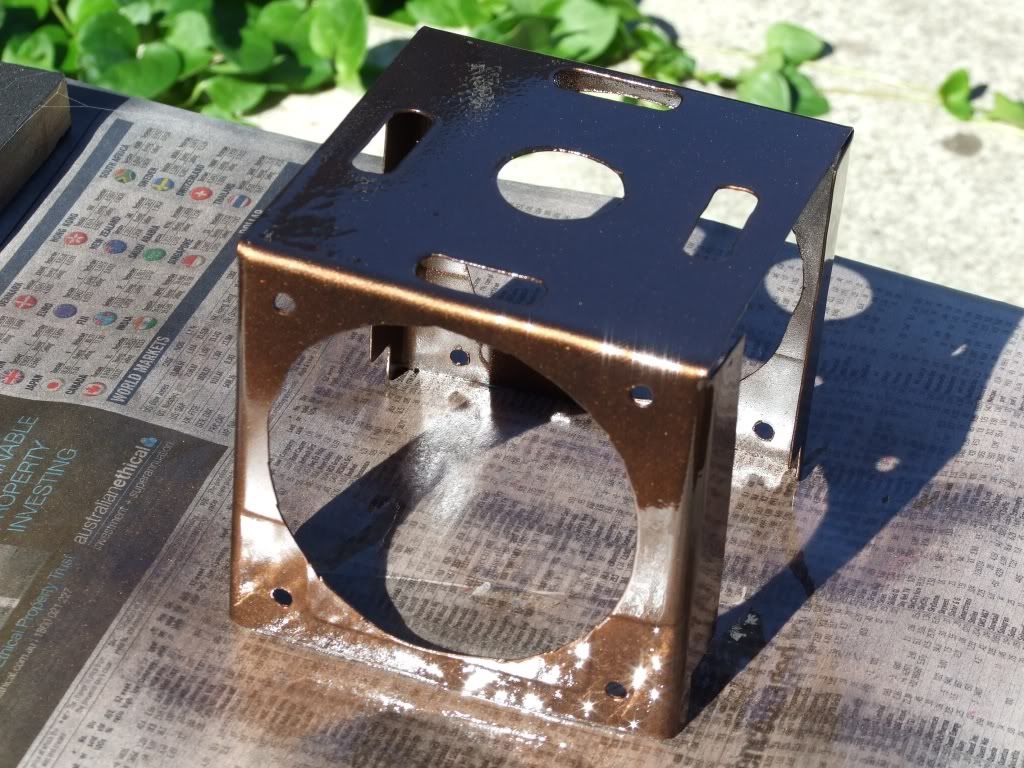
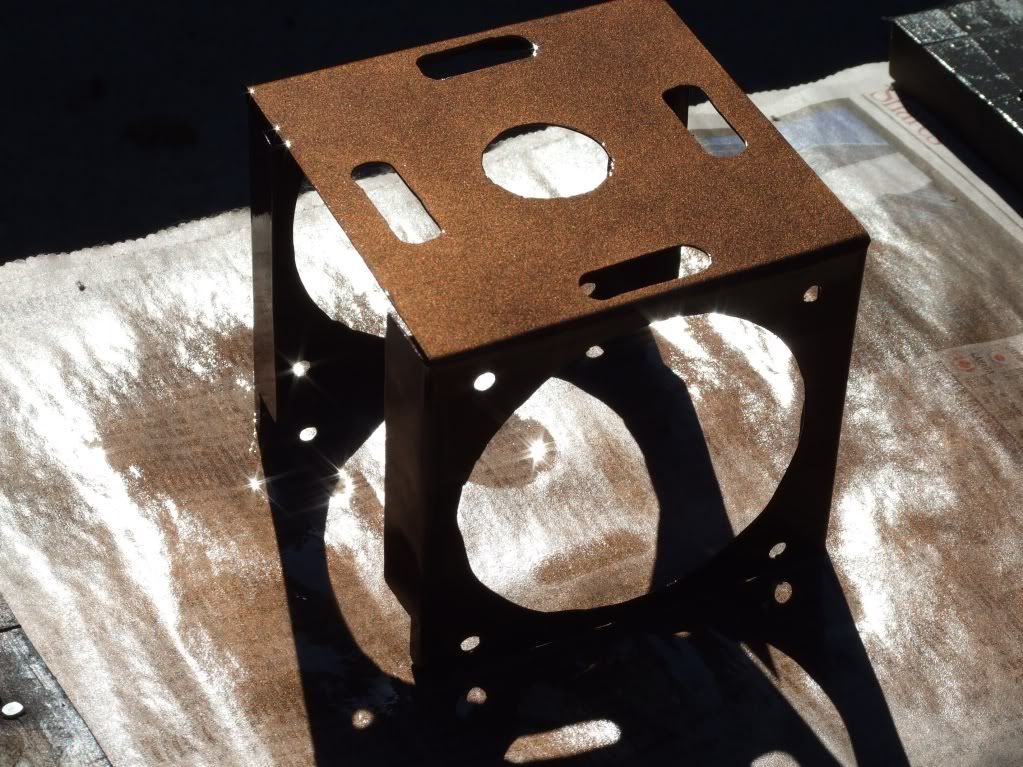
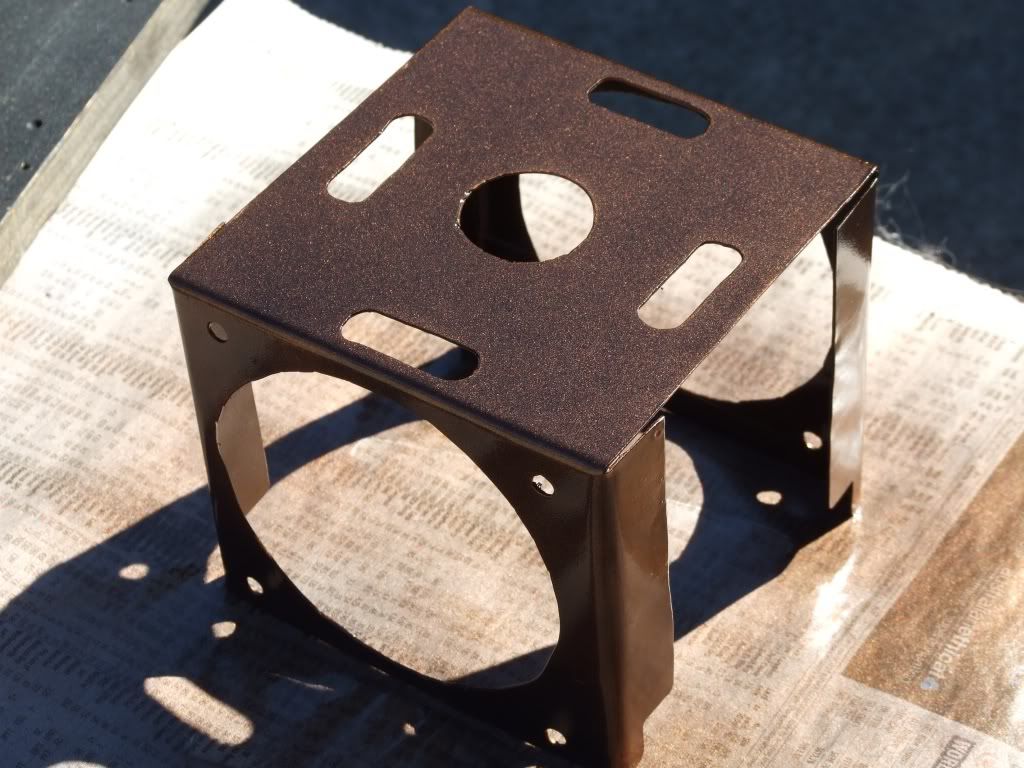
Below is one sample I have in mind - Black base coat - with 2 light (@ 30cm distance) passover with Copper Metallic Paint
Colour Sample-1
Its only an idea so let me know what you think,, still not sure myself
Actually looks better in person especially at different angles, if you know what I mean!
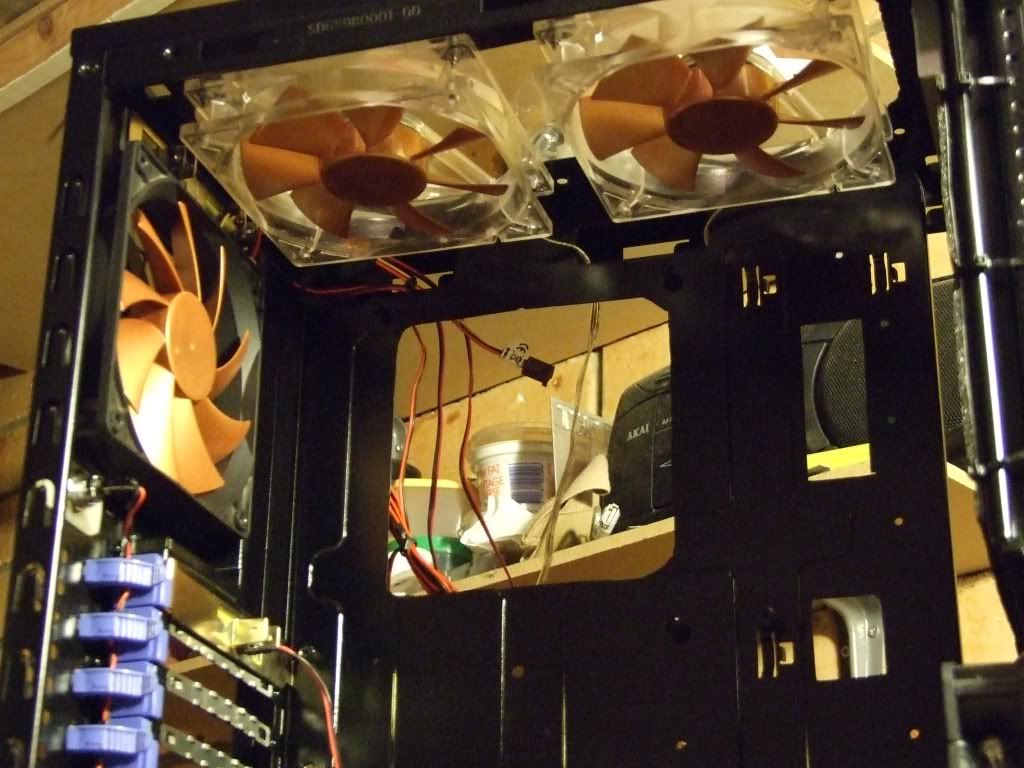
Stay Tuned for more to come soon!


 Reply With Quote