Dude, I was looking for your number yesterday but couldn't find it. Give me a call tomorrow after 7:00 if you have some time.


Dude, I was looking for your number yesterday but couldn't find it. Give me a call tomorrow after 7:00 if you have some time.


7 my time or yours? lol
Arctic Cat * Maximum Security * Cribbage Board * Rockin Case * Armor Redux
Tempest SXR * Power House * Red Comet * ICHIWZ * Acrylic Headphone Hook
Continuing sponsorship support from PCBoard.ca
We're in the same time zone. I'm in Ohio.
ok, will do
Arctic Cat * Maximum Security * Cribbage Board * Rockin Case * Armor Redux
Tempest SXR * Power House * Red Comet * ICHIWZ * Acrylic Headphone Hook
Continuing sponsorship support from PCBoard.ca
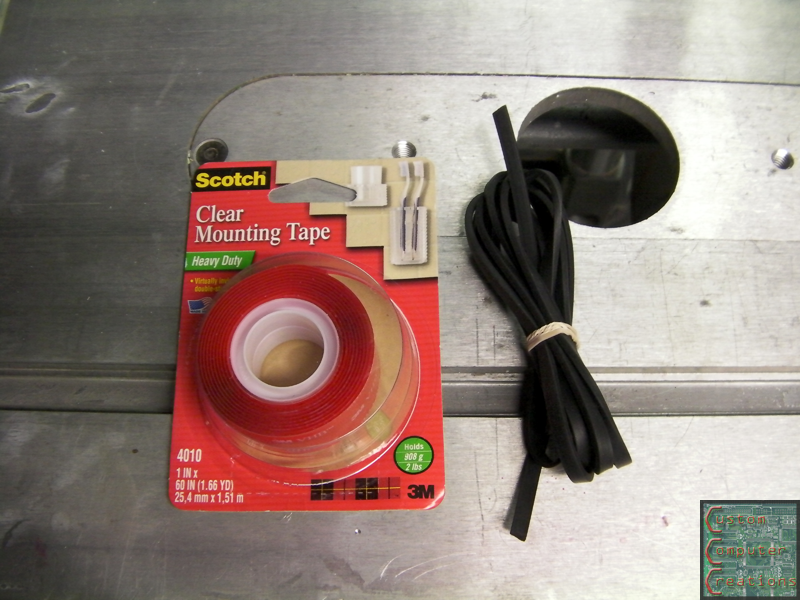
I'll be posting an update shortly, I just wanted to add that MNPC Tech has helped out with some 3M mounting tape and u-channel edge molding for the window! Thanks Bill!
Arctic Cat * Maximum Security * Cribbage Board * Rockin Case * Armor Redux
Tempest SXR * Power House * Red Comet * ICHIWZ * Acrylic Headphone Hook
Continuing sponsorship support from PCBoard.ca
OK so update time, finally
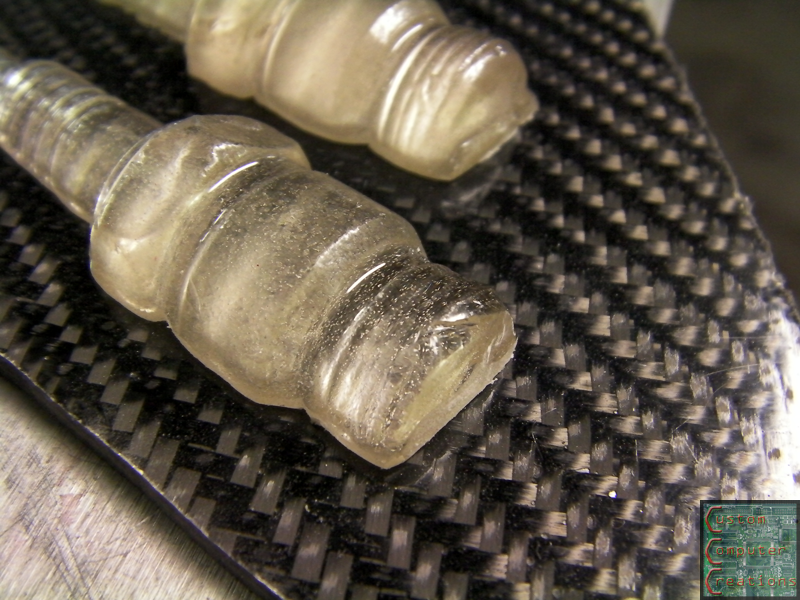
I started off by finishing the sanding and filing on the edged of the spark plugs, and trimming them down to size. The tops were not needed, as the plug boots will be covering them anyways.
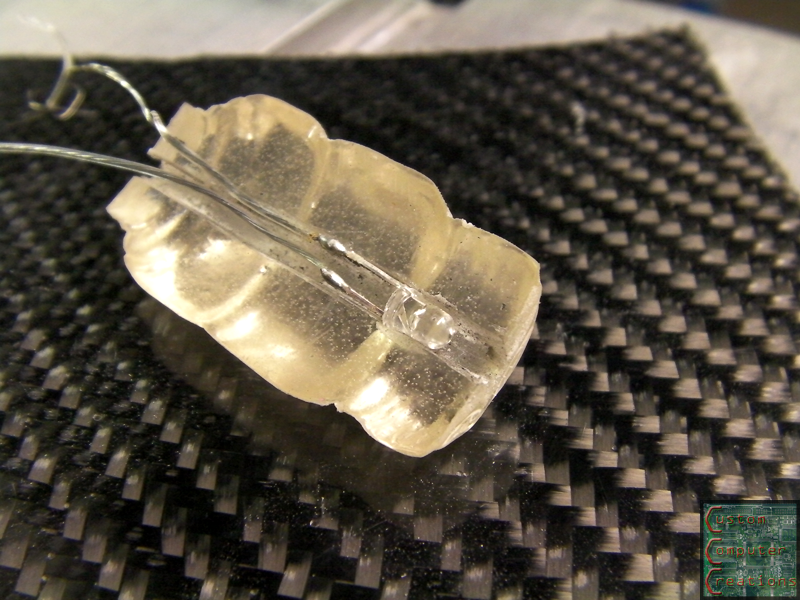
I then used my Dremel to cut a channel into the backside. This channel will hold a 3mm blue LED, and the wiring will run out the top and into the plug cap, as shown.
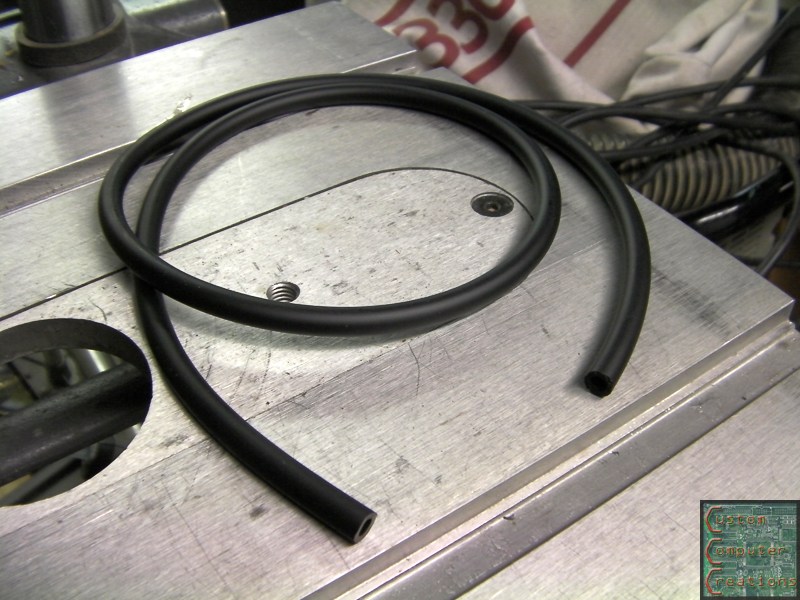
Next I got some 1/4" black fuel line. This will be the plug wires, and the wiring for the LEDs will be run through this as well.
It fits nicely into the cap
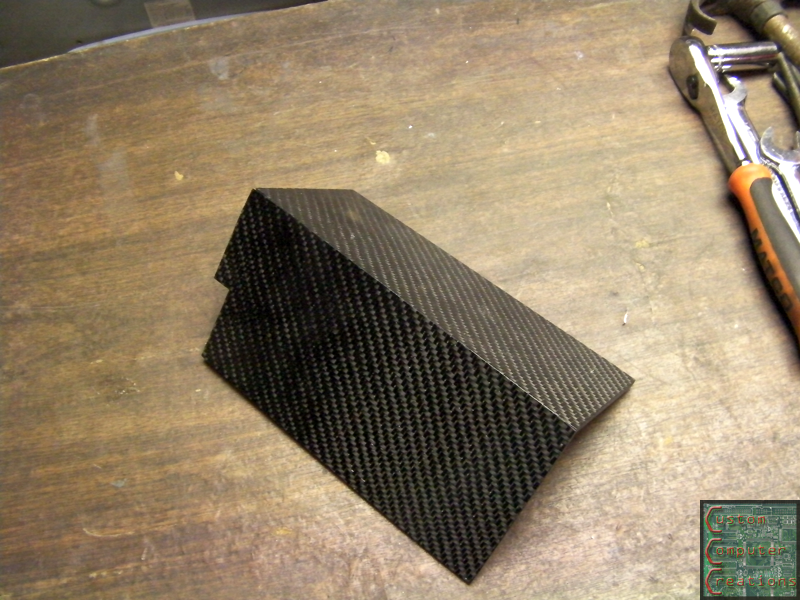
Now I needed to make something to hide the PSU wiring mess that will reside behind the PSU where the second drive cage was removed. I made this carbon fiber piece for my Tempest SXR mod, and will do something similar, but nicer.
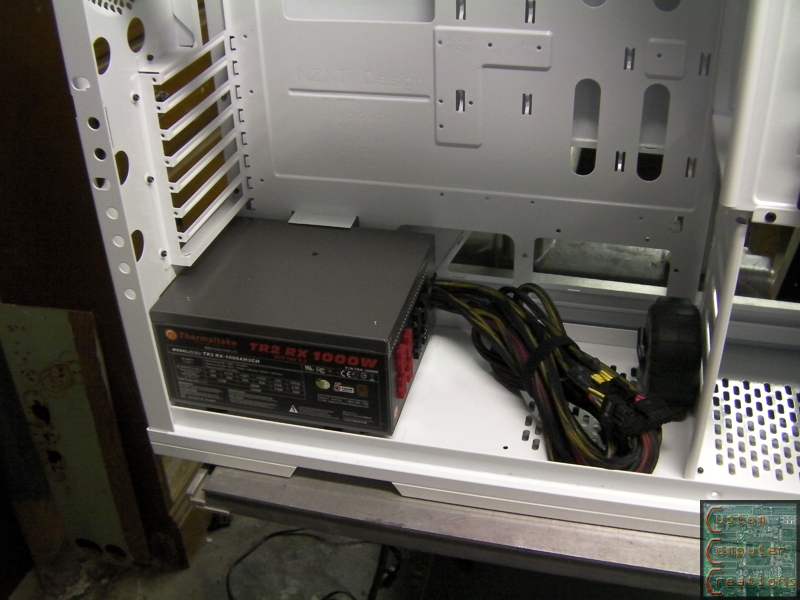
Here's the PSU installed, and the bundled wiring will need to be hidden for aesthetics
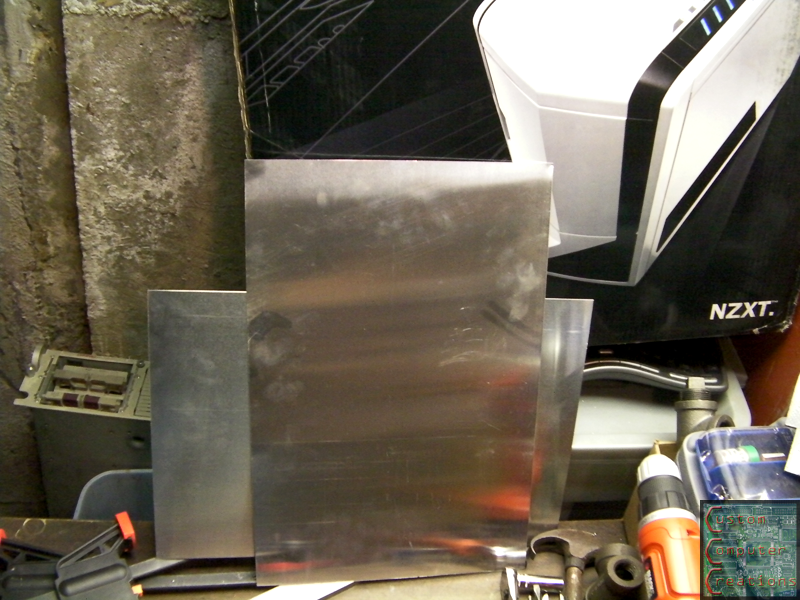
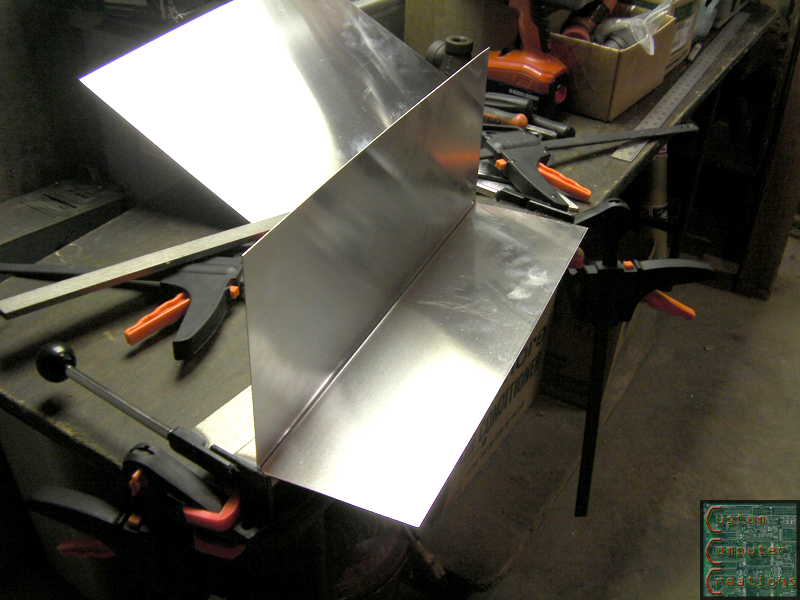
I've got approximately 15" in length, 7" on the horizontal leg and 4" on the vertical. I got 2 sheets of aluminum, 18" x 12". I marked 7" from one end and made a line, then bent the sheets on my metal brake.
These will be used as an inner and outer mold. I've got some Rexco Formula Five release wax and Partall PVA mold release on the way for these. This way I'll lay up a few sheets of carbon fabric with resin, and clamp it between these two mold halves to get a nice consistent single piece, then I'll just trim and sand as needed.
That's it for now!
Arctic Cat * Maximum Security * Cribbage Board * Rockin Case * Armor Redux
Tempest SXR * Power House * Red Comet * ICHIWZ * Acrylic Headphone Hook
Continuing sponsorship support from PCBoard.ca

lol, hopefully this time it doesn't go crooked when you're not looking
seriously nice work!
yea that other one I made from 2 pieces, and I think I didn't sand one of them quite straight
Doing it this way will ensure a nice straight part
Arctic Cat * Maximum Security * Cribbage Board * Rockin Case * Armor Redux
Tempest SXR * Power House * Red Comet * ICHIWZ * Acrylic Headphone Hook
Continuing sponsorship support from PCBoard.ca

Sponsor, progress & CF woooo.
my 1st scratch case made july 2008 (finding my feet)
Air Cube prototype (fin jan 2009) (still finding my feet)
Air Cube v2 now with added cpc stack (fin aug 2010) (getting better)
Project Stealthlow (fin sep 2011) (much improvement)
Lean and Green - modular dual PC scratch build - Paused
Midlag Crisis
Originally Posted by Waynio

I just checked the UPS tracking, my mold release stuff should be here Tuesday, so expect another update next week!
Arctic Cat * Maximum Security * Cribbage Board * Rockin Case * Armor Redux
Tempest SXR * Power House * Red Comet * ICHIWZ * Acrylic Headphone Hook
Continuing sponsorship support from PCBoard.ca
 Posting Permissions


 Reply With Quote