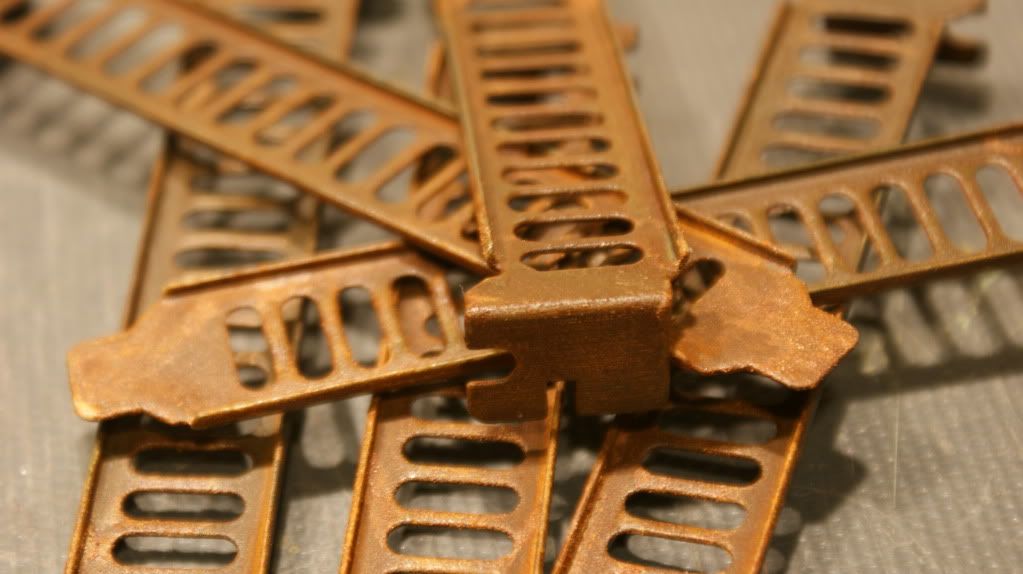
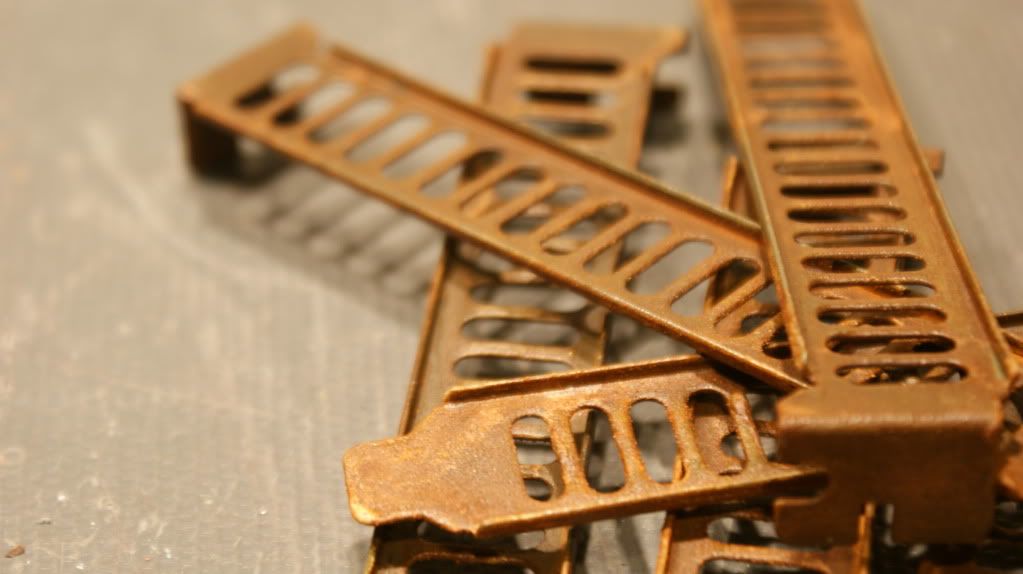
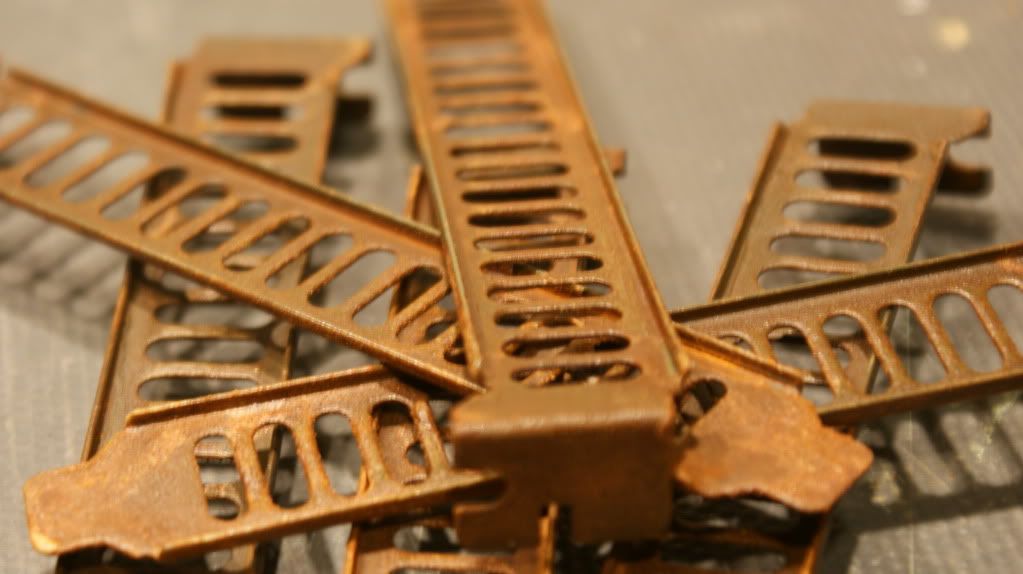
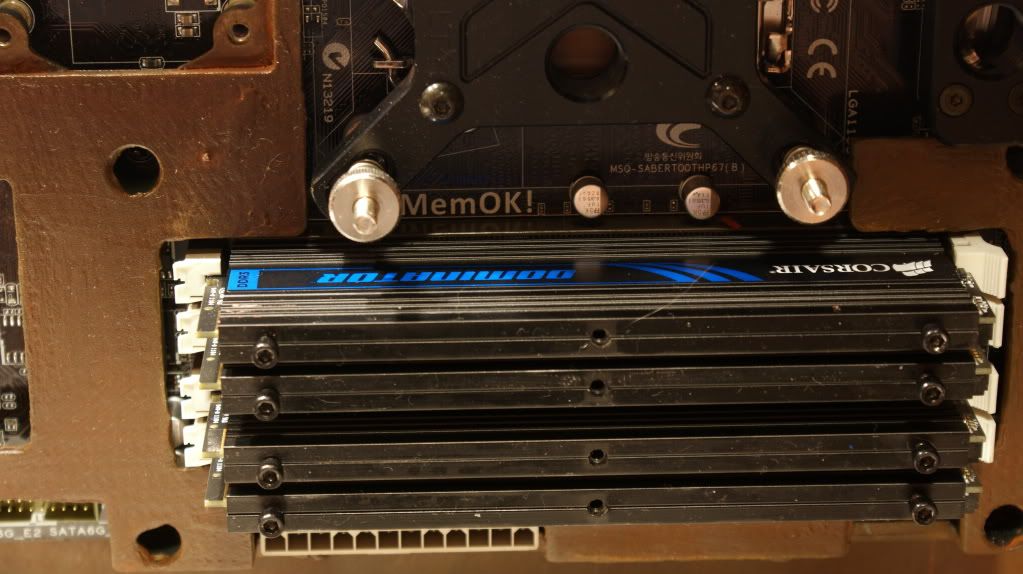
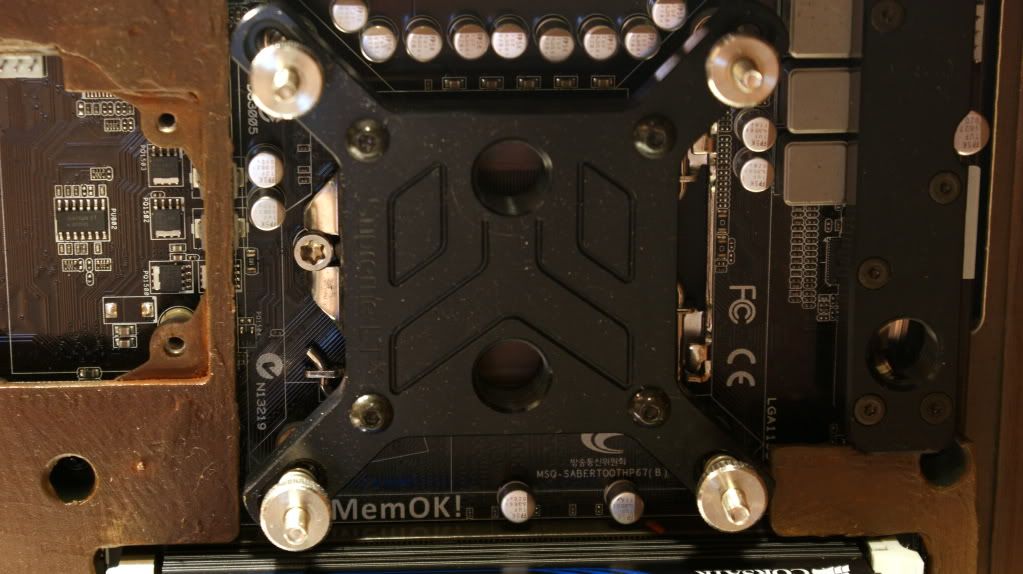
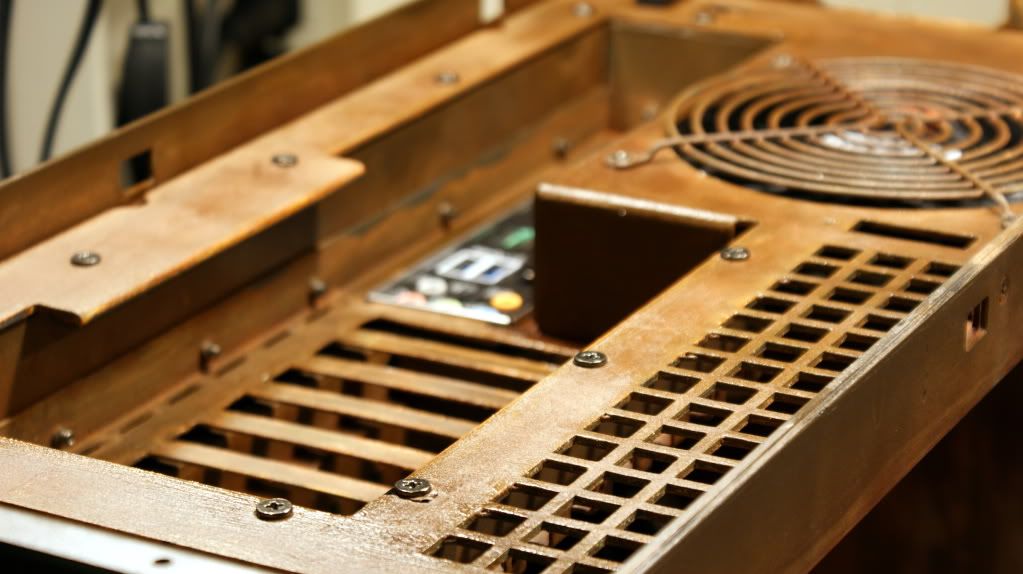
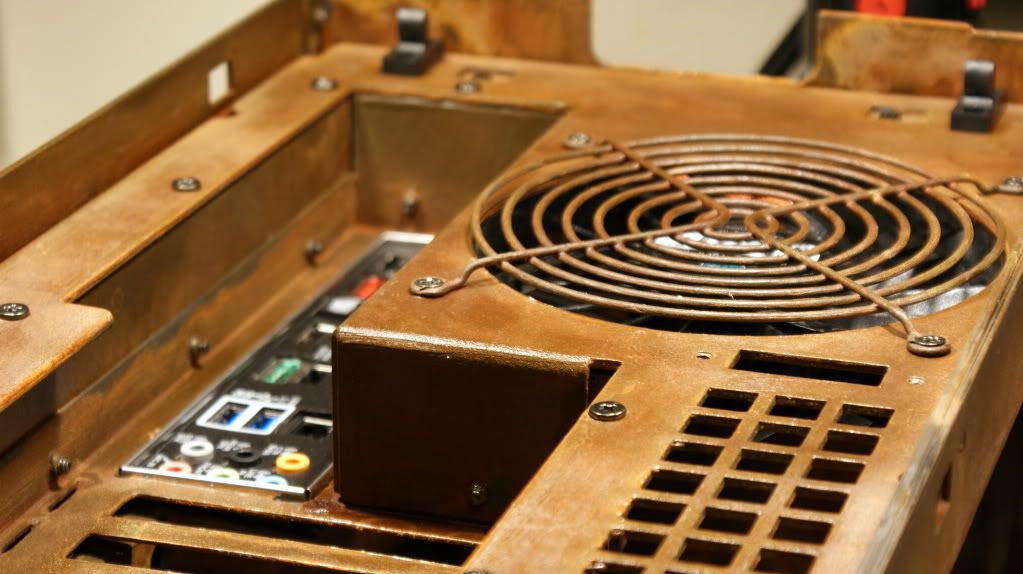
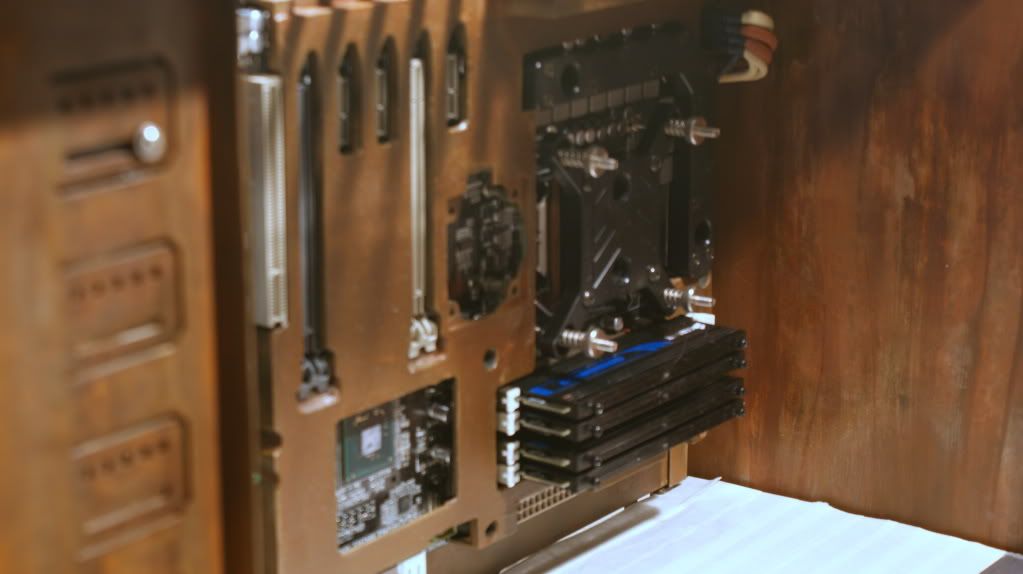
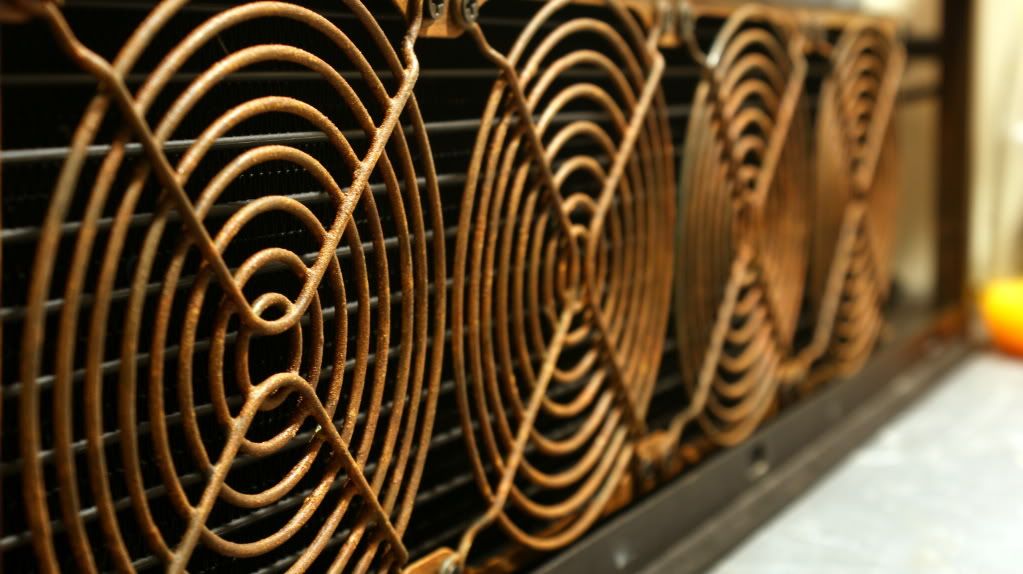
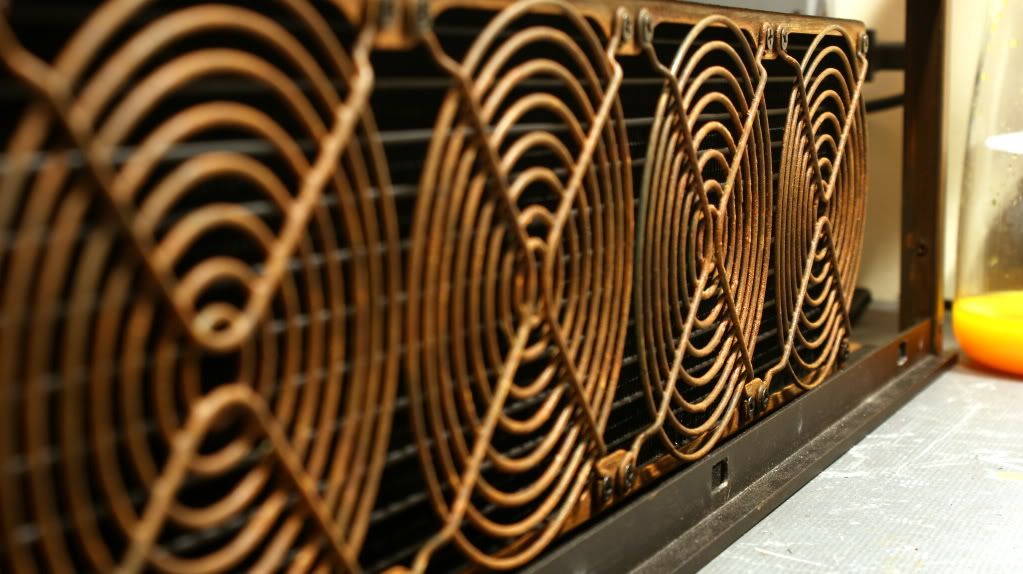
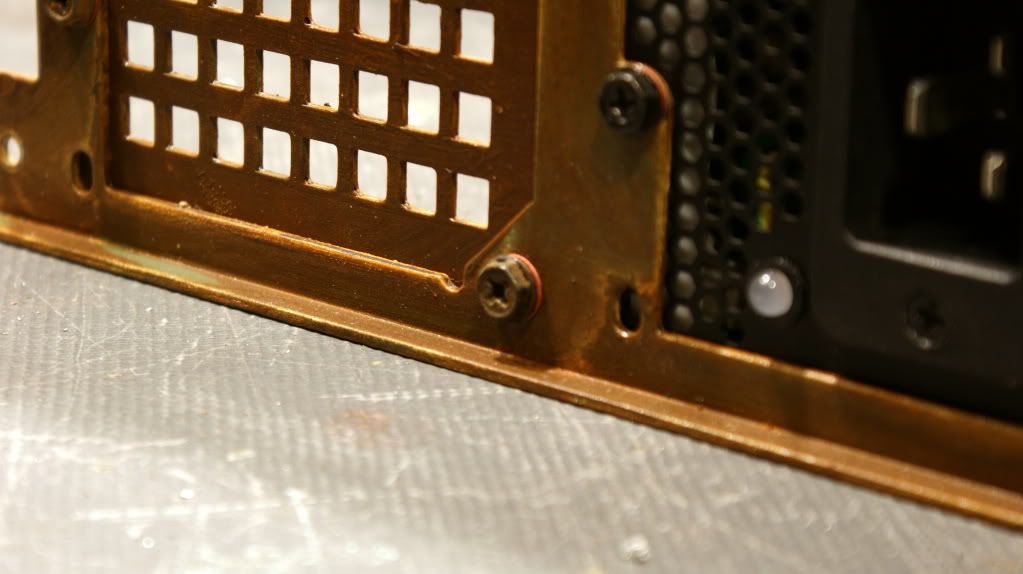
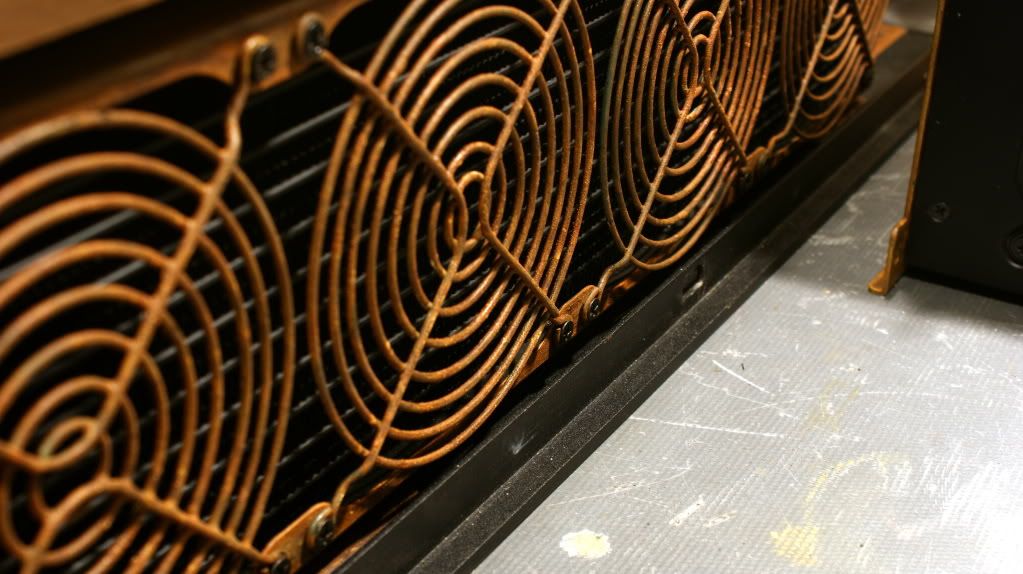
that thermal armour looks all kinds of awesome right now


 Re: Project: Steampunk'd TJ11
that thermal armour looks all kinds of awesome right now
Re: Project: Steampunk'd TJ11
Highly looking forward to see how this one comes out Mate. I never seen you do a Mod yet that wasn't amazing and im sure this one will be also. And leather now that's Unique Mate. Great job. We all know how hard it is to find any materiel or technique that is Unique nowadays.
Will be watching as always
MybadOmen

 Re: Project: Steampunk'd TJ11
Thanks!Originally Posted by Stonerboy779

Thanks man! Means a lot to me.
 Re: Project: Steampunk'd TJ11
I love the finish on the motherboard thermal plate! It's awesome!
In the pipeline: PRO-49776
Re: Project: Steampunk'd TJ11
Thanks bud!
Re: Project: Steampunk'd TJ11
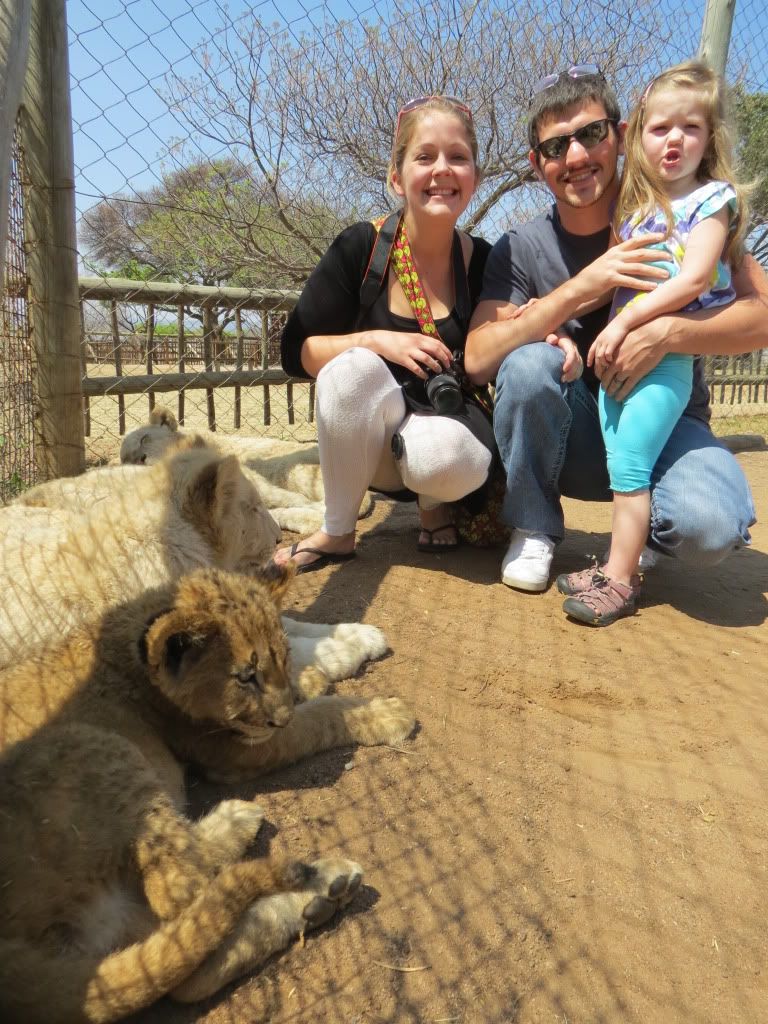
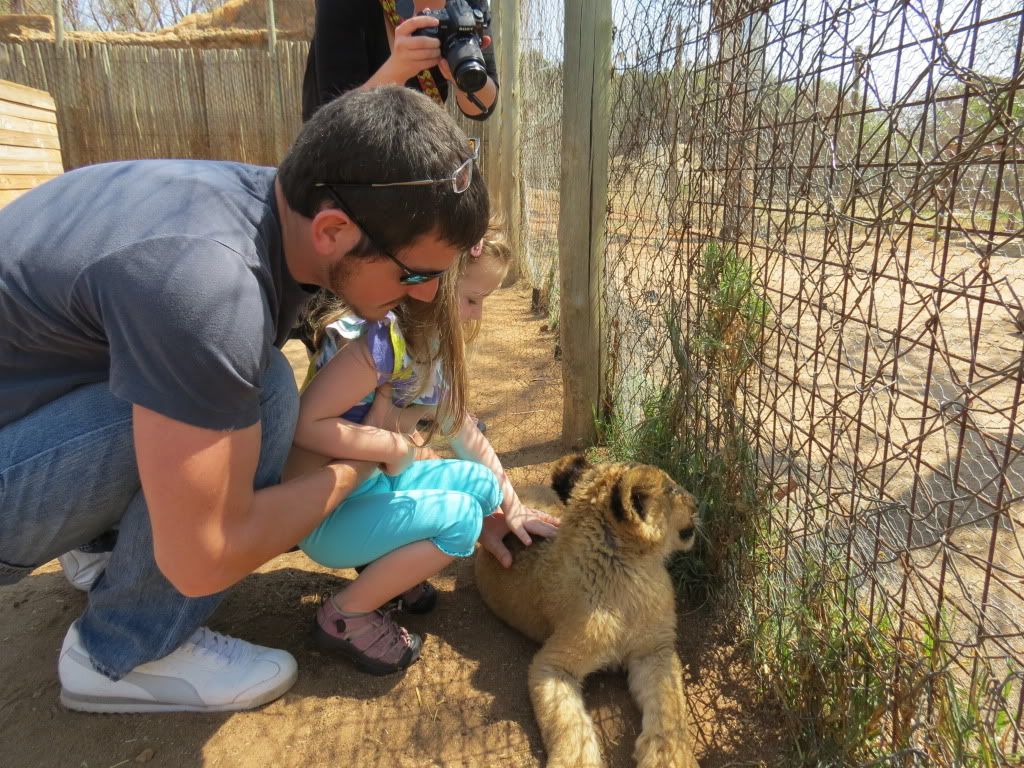
Sorry for the delay in updates. We took a trip to South Africa for some medical appointments last week. Got to do a ton of things down there including visiting a Lion Park!! Was pretty cool to be able to pet some lion cubs.
On with the modding!
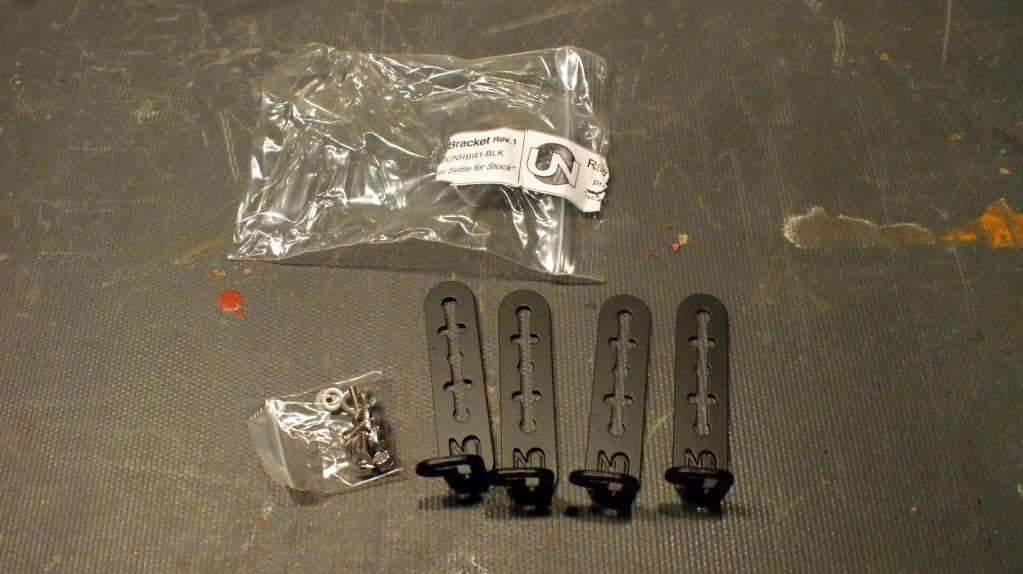
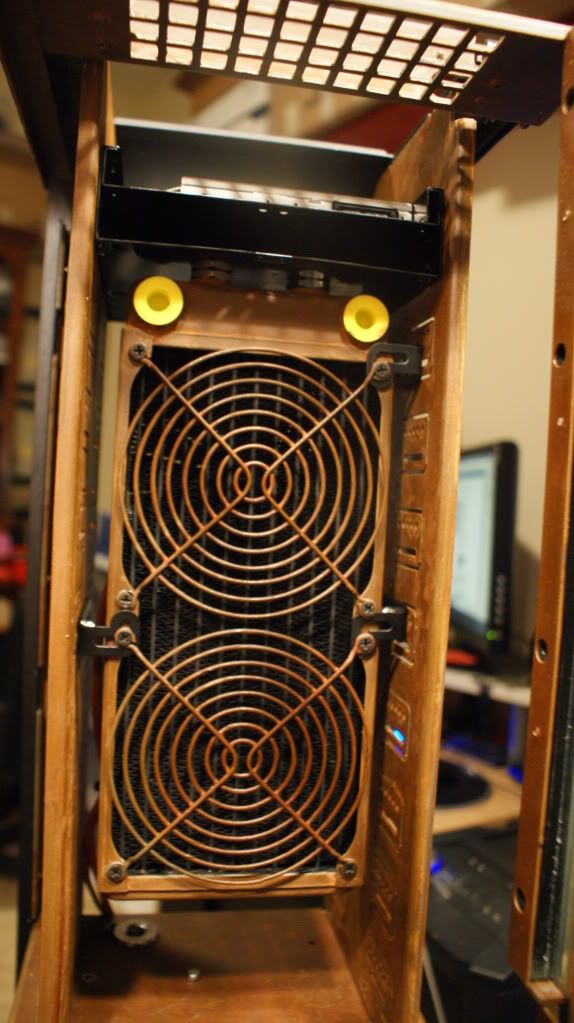
I picked up some UN Radiator mounting brackets which are so freaking awesome. They allow you to mount a radiator in your 5.25" bays.
And here it is.
Above it I put the Silverstone Slim DVD drive bay. The rad is touching it because I have to have enough room below the rad to put the pumps.
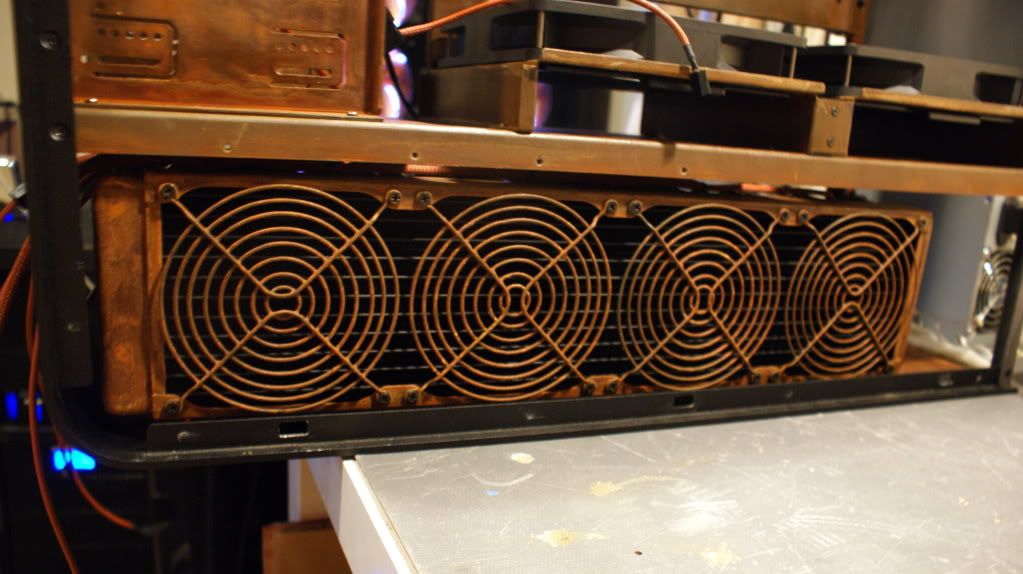
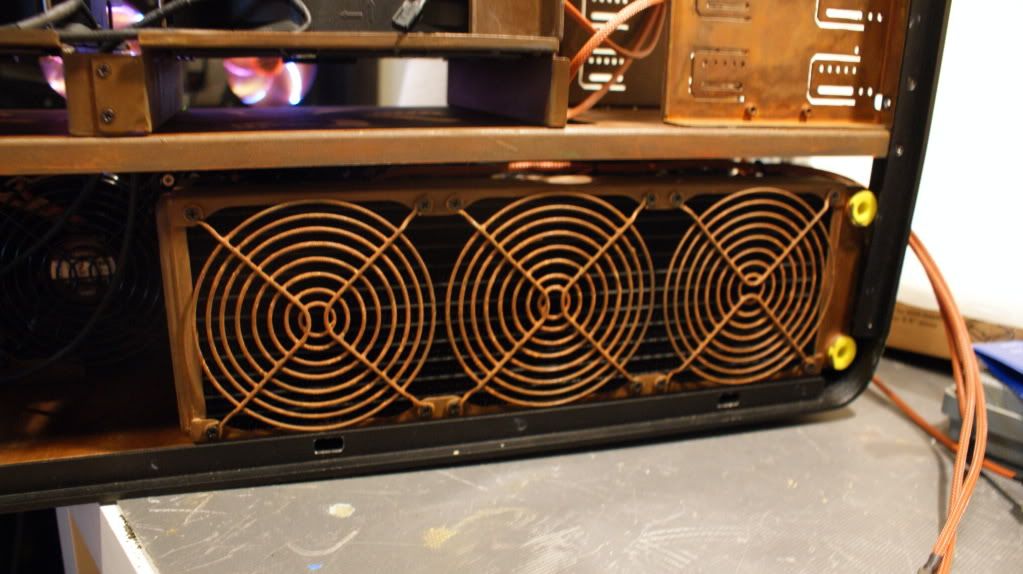
I decided to install all the rads to see how everything would fit. Here is the 4x120
A surprise will be going in this vacant spot
And the 3x120
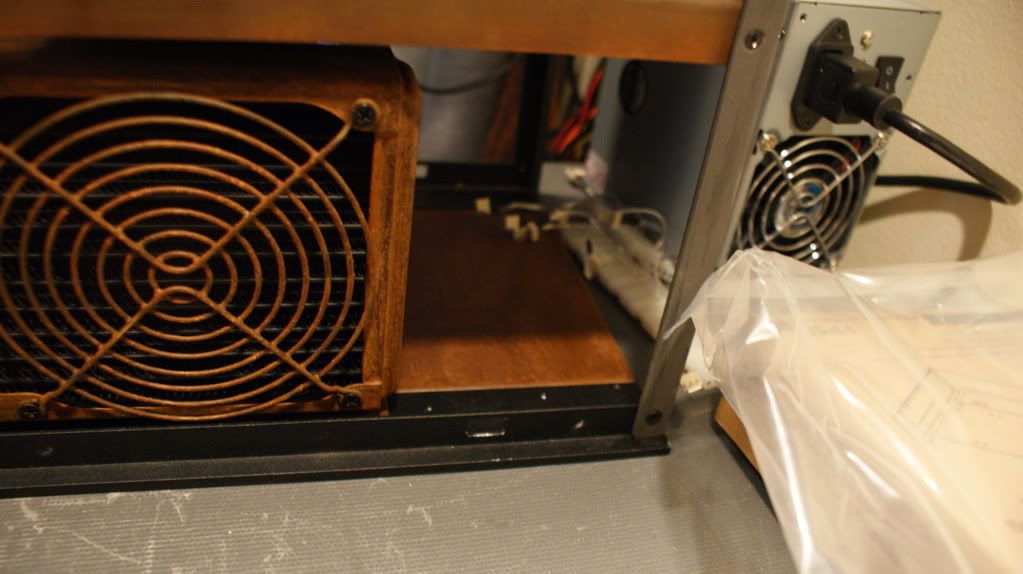
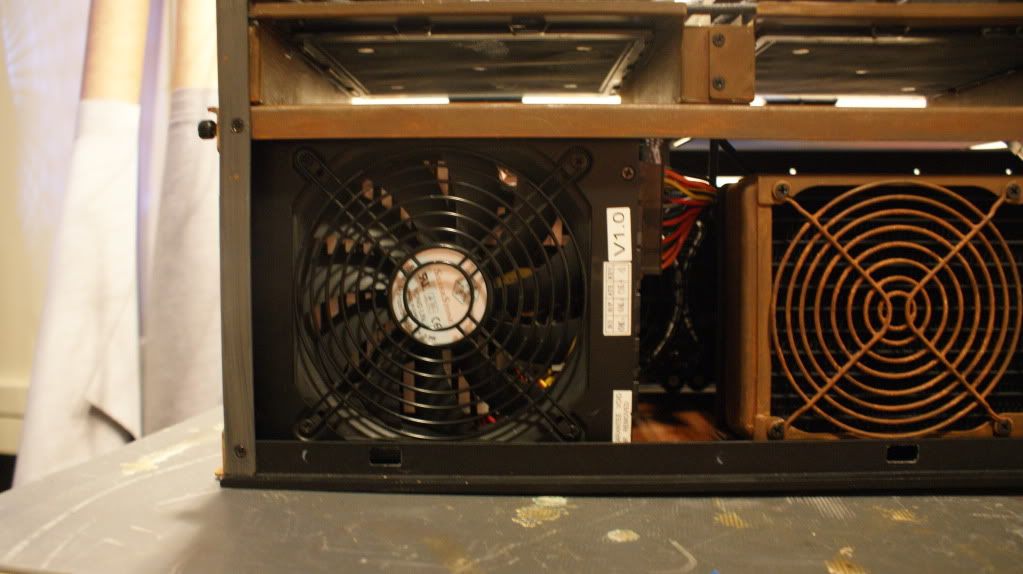
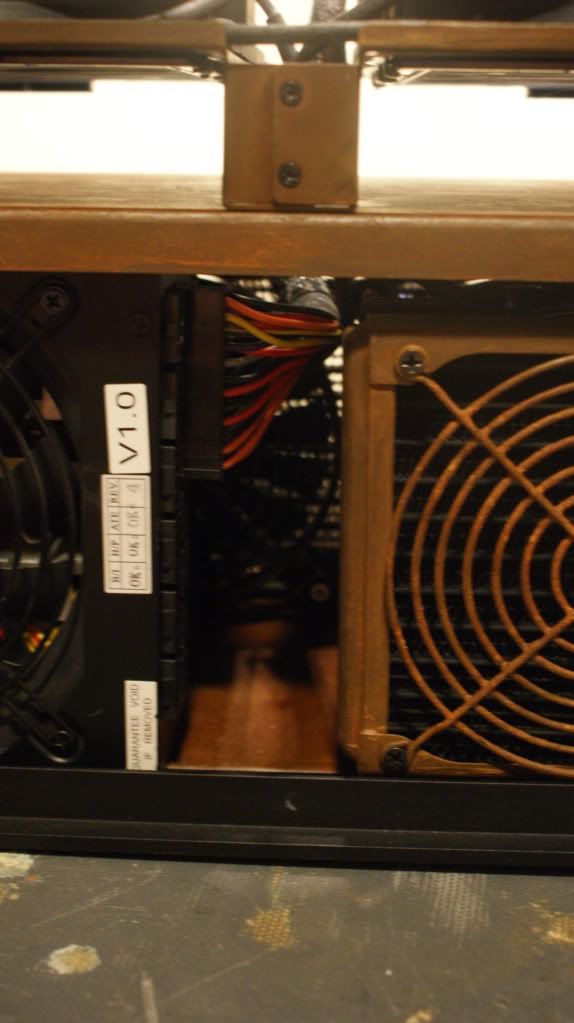
Installed the PSU to make sure I had enough clearance for the connectors.
Indeed. There is enough room!
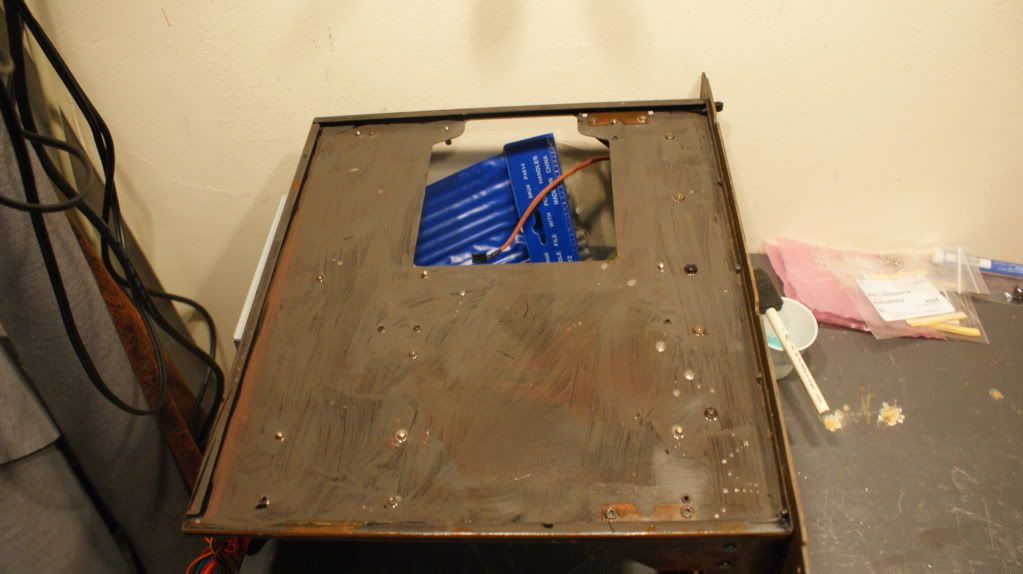
Somehow I forgot to do the rust effect to the back of the mobo tray so that is going on right now. Once its done I can clear coat it and it will be good to go.
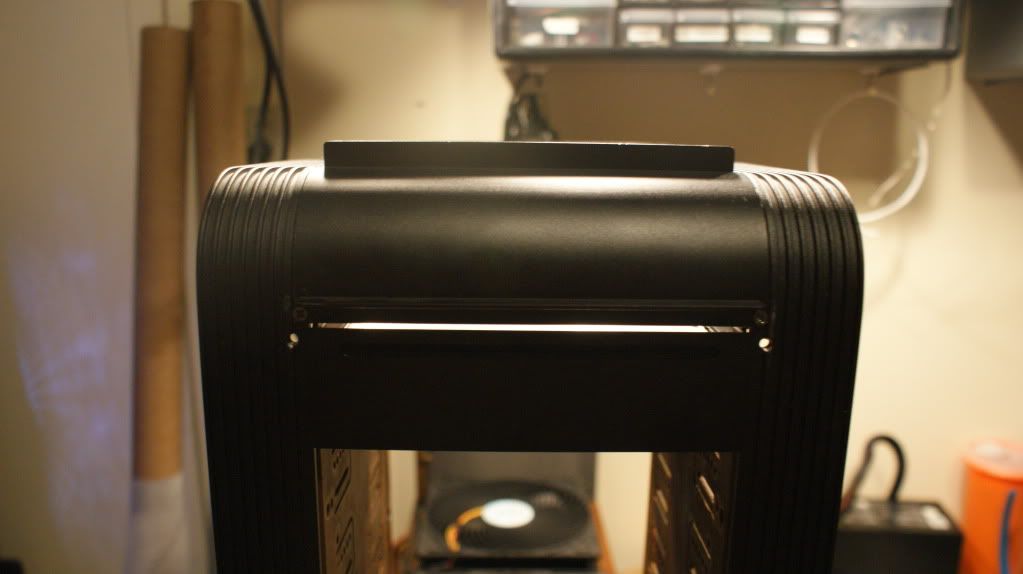
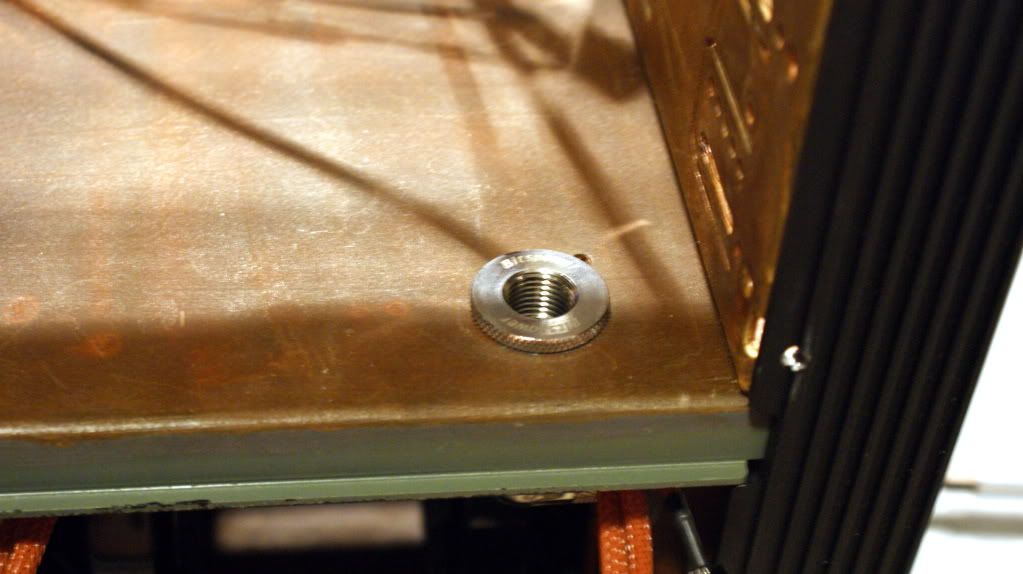
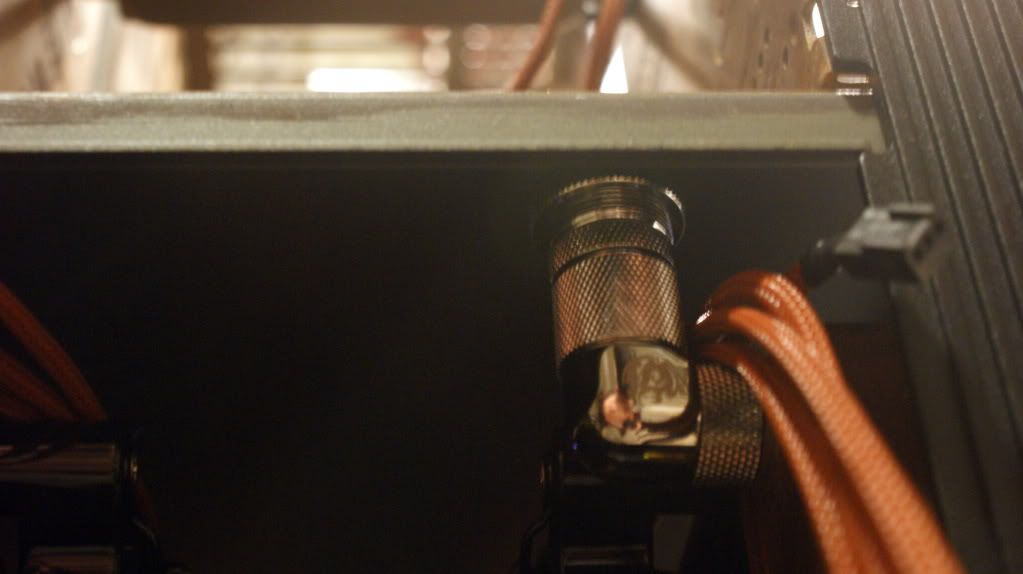
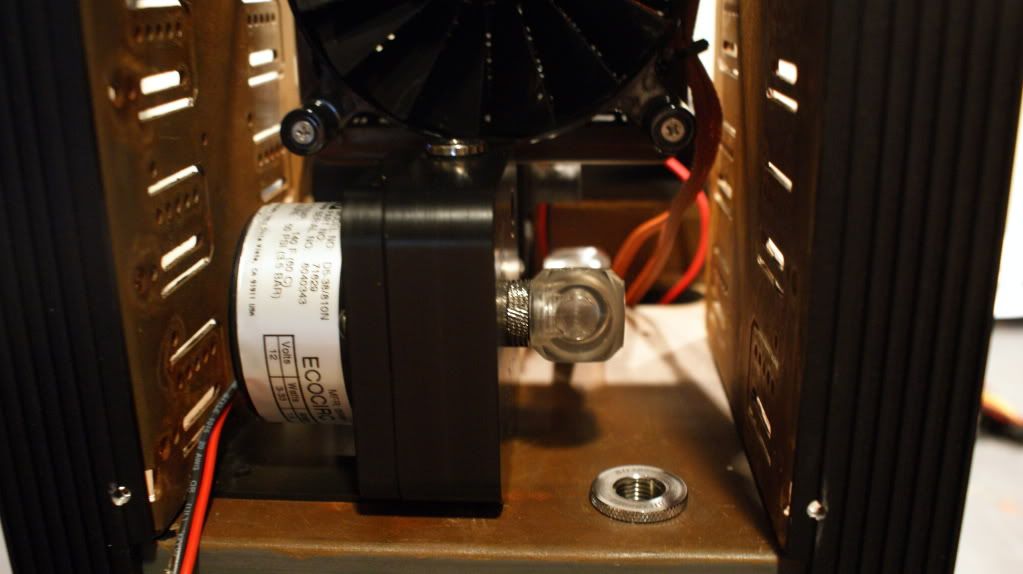
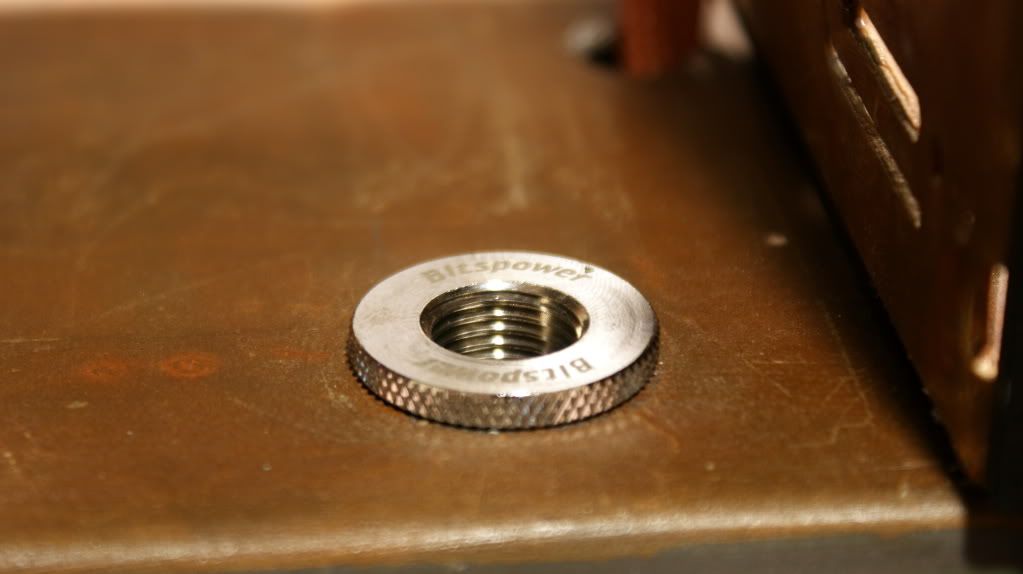
I've been doing lots and lots of thinking on how I am going to run the loop. I figured that I need to bring the loop through the midplate twice but I didn't want you to be able to see it the second time. So I measured and drilled a hole above the 4x120 rad and connected it with a Bitspower D-Plug for now. I ordered a 25mm extension to go there.
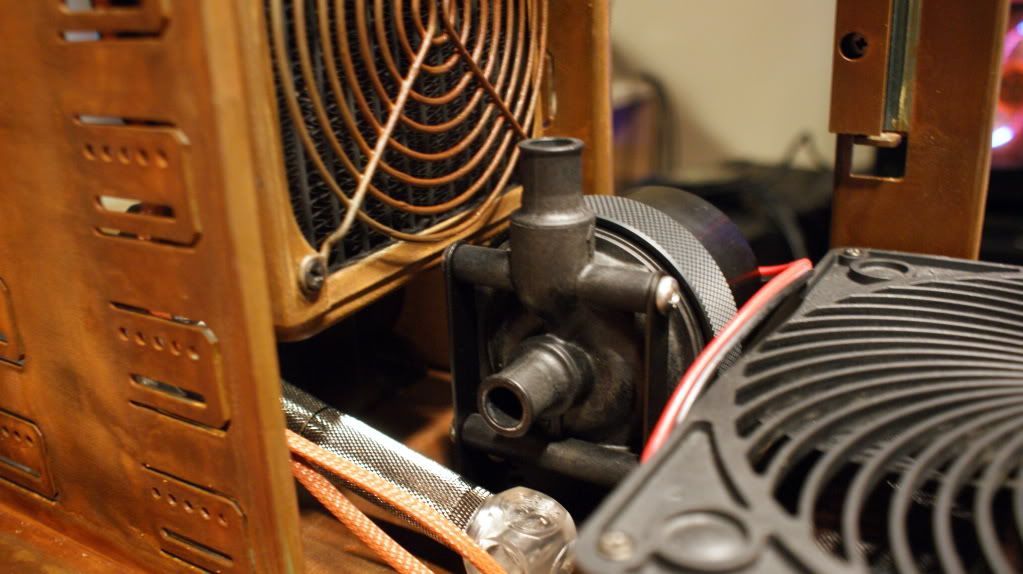
And here you can see where the pumps will be. I measured and the Bitspower dual D5 pump top should fit under it. If not, I ordered a second EK D5 pump top and ill connect them together using some 90 degree fittings and extensions.
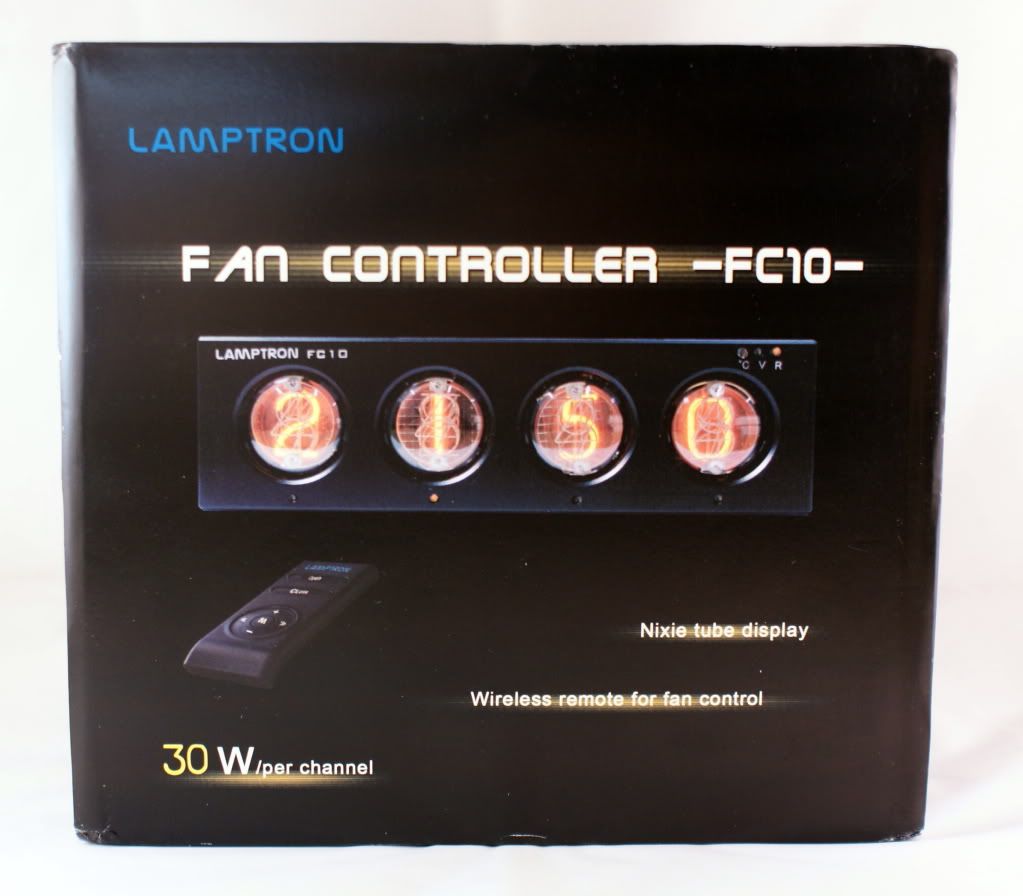
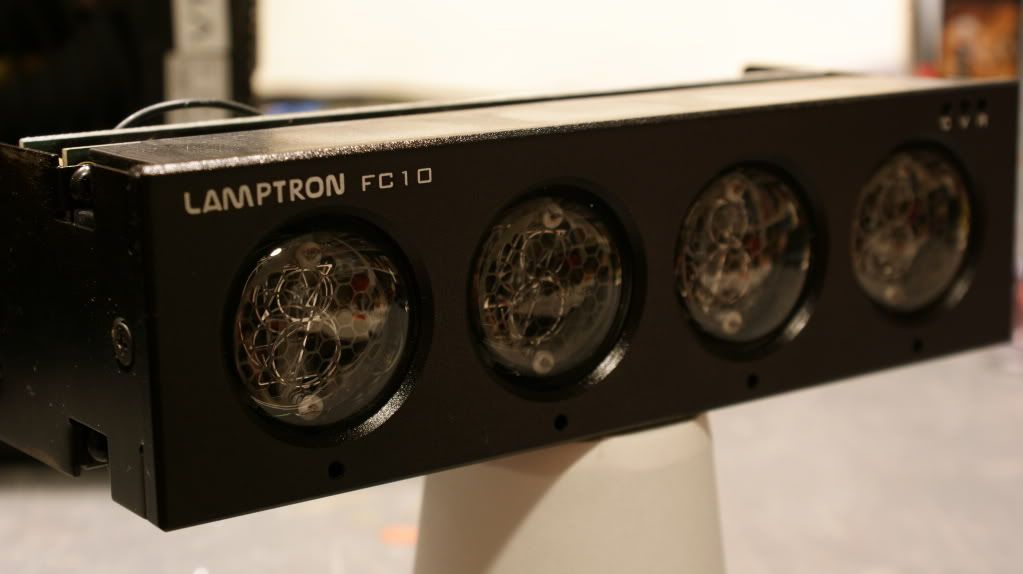
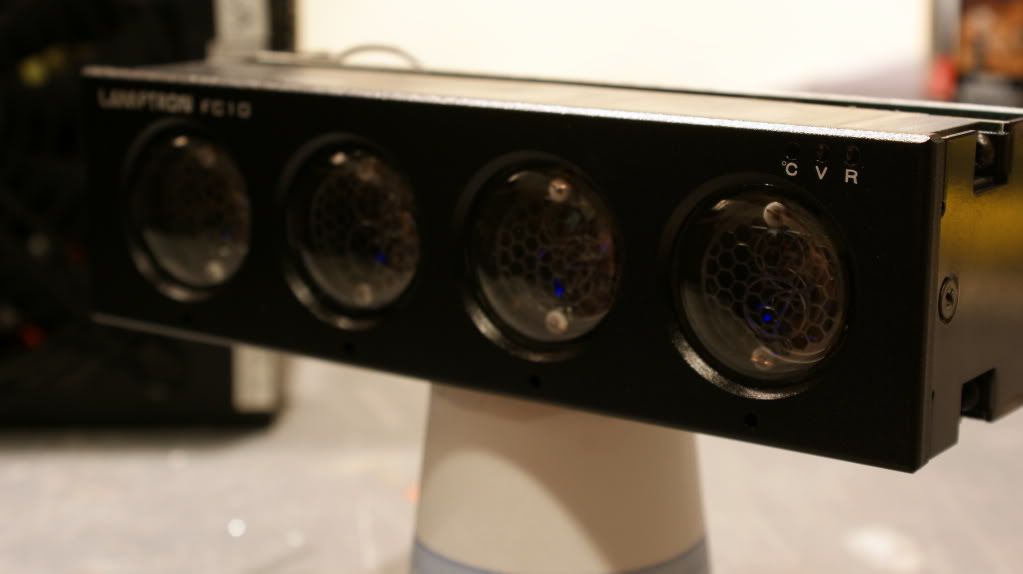
I received my Lamptron FC10 too! I'll be doing a review on it soon.
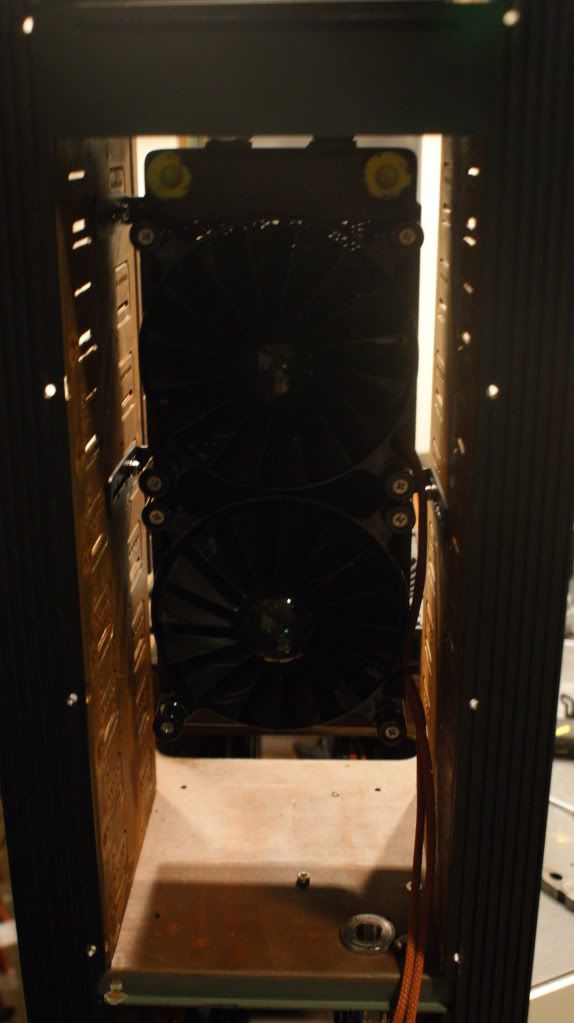
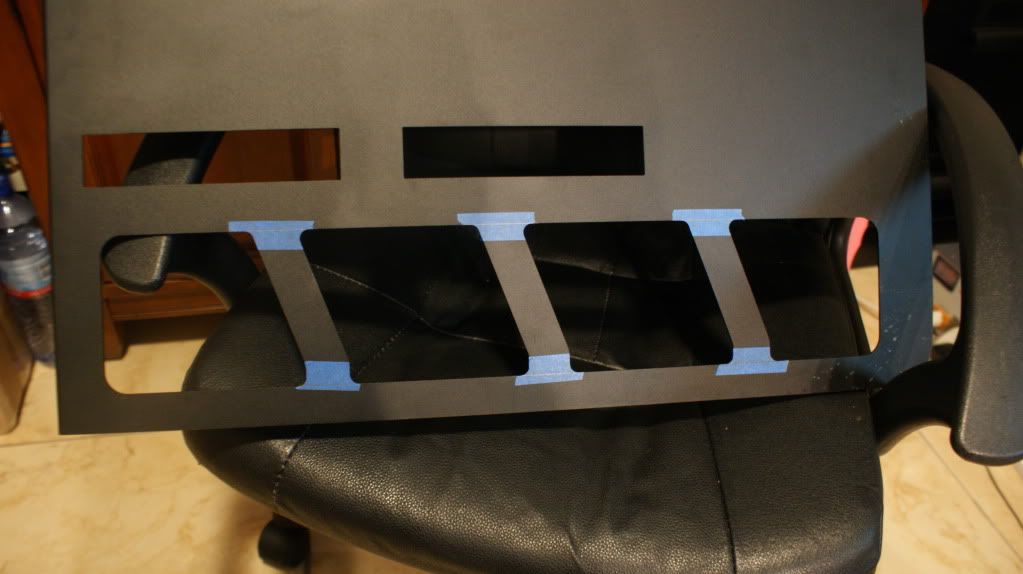
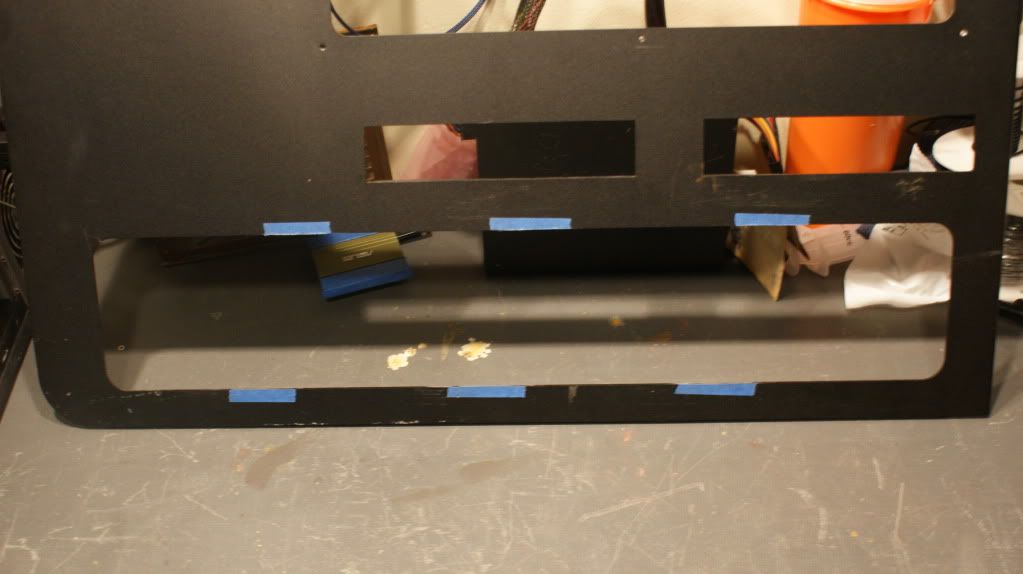
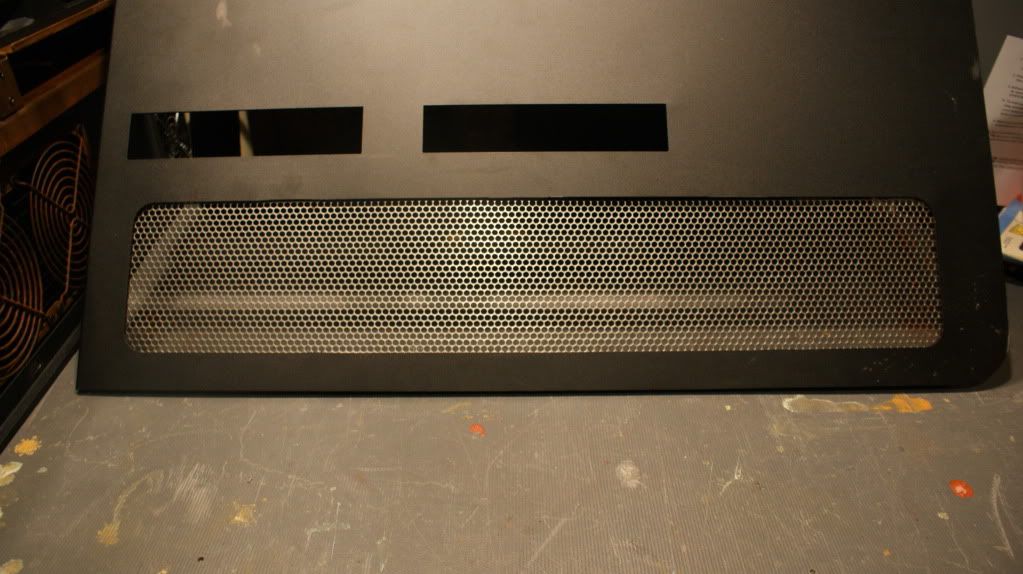
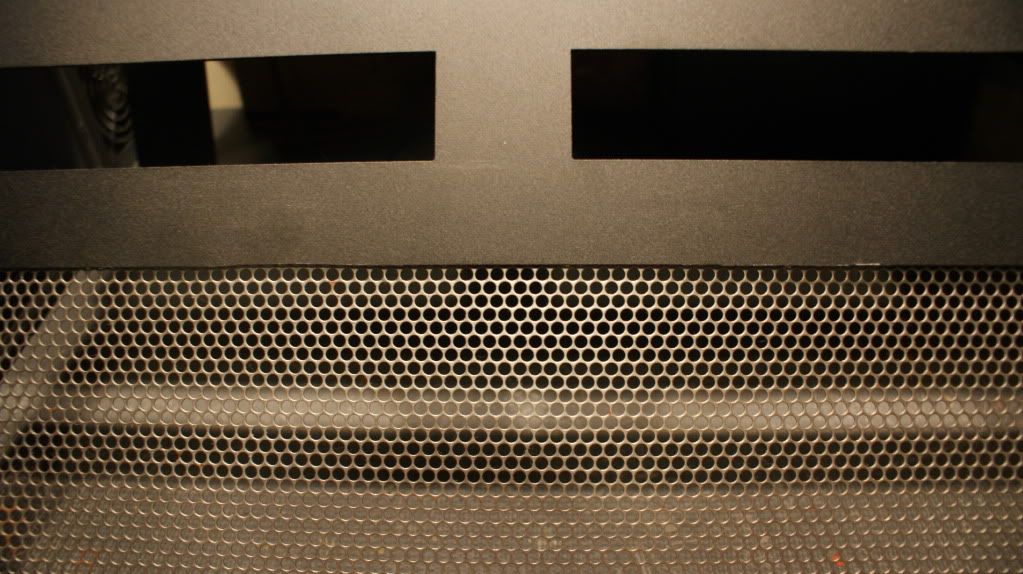
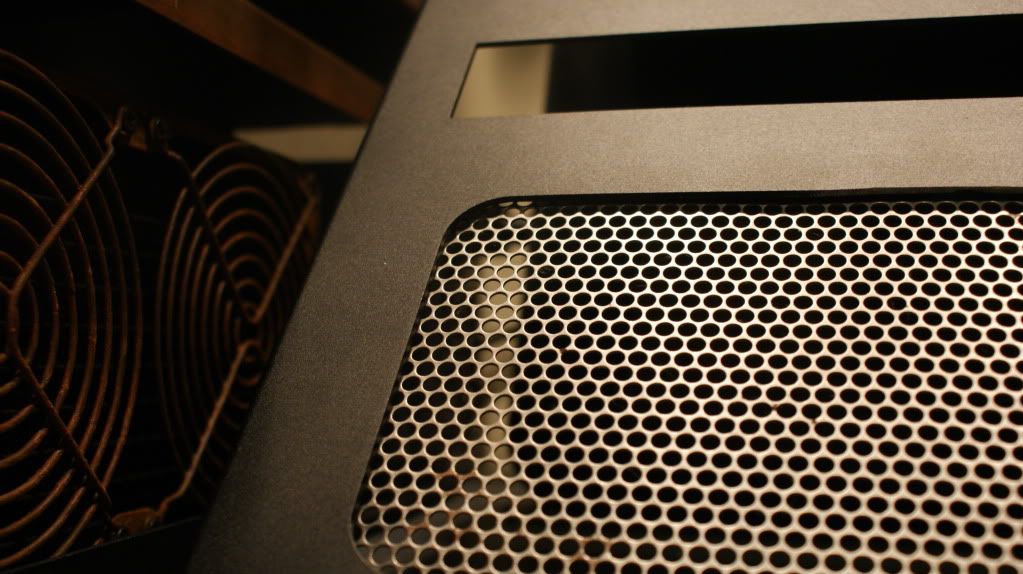
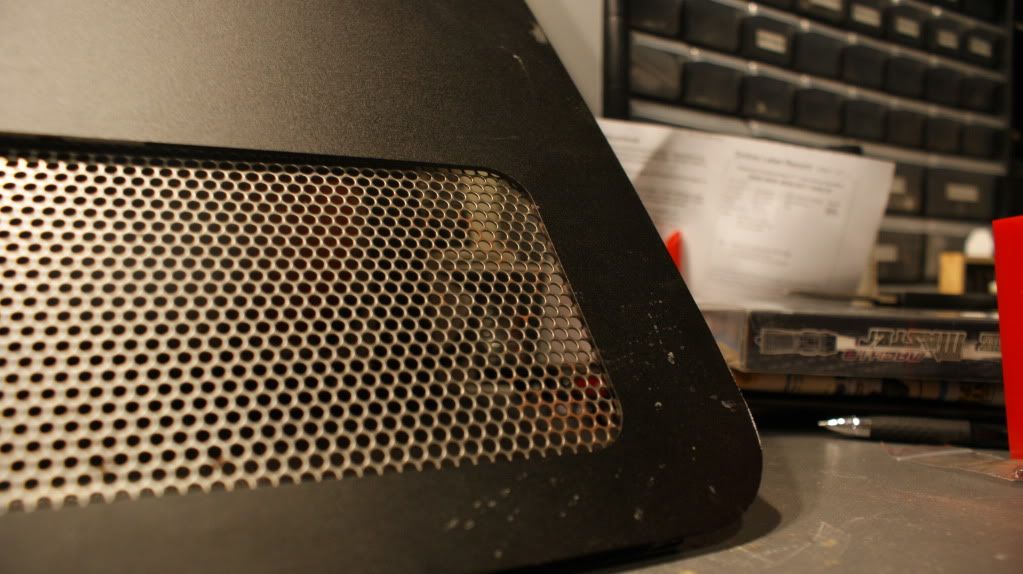
The last bit for this update are the door panels. I like the 4 small windows in the bottom of the side panels for the rads to get air but I decided to make them into one big window.
Then I added some MNPCTECH Round Modder's Mesh.
That's it for today. I have the spray adhesive coming for gluing the leather fabric to the case and the gold spray paint for the accents and the water blocks. That should all be here Friday so I can do a good bit of work this weekend. I'm also hoping that the pump tops get here by this weekend too so I can do some more testing to figure out exactly what I'm going to do.
Cheers till then,
Fuga
Re: Project: Steampunk'd TJ11
Made myself a little banner.

 Re: Project: Steampunk'd TJ11
I have three Cooler Master Musketeer III amps in black anodized. I think they might be better used in this project if you are interested in them. Let me know if you want them in a PM.
Re: Project: Steampunk'd TJ11
YGPM
Re: Project: Steampunk'd TJ11
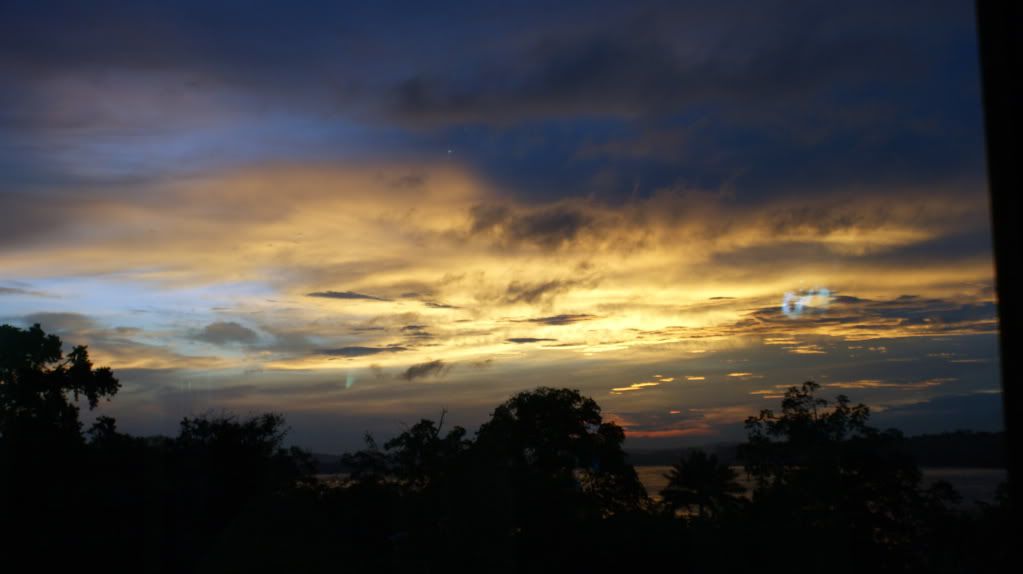
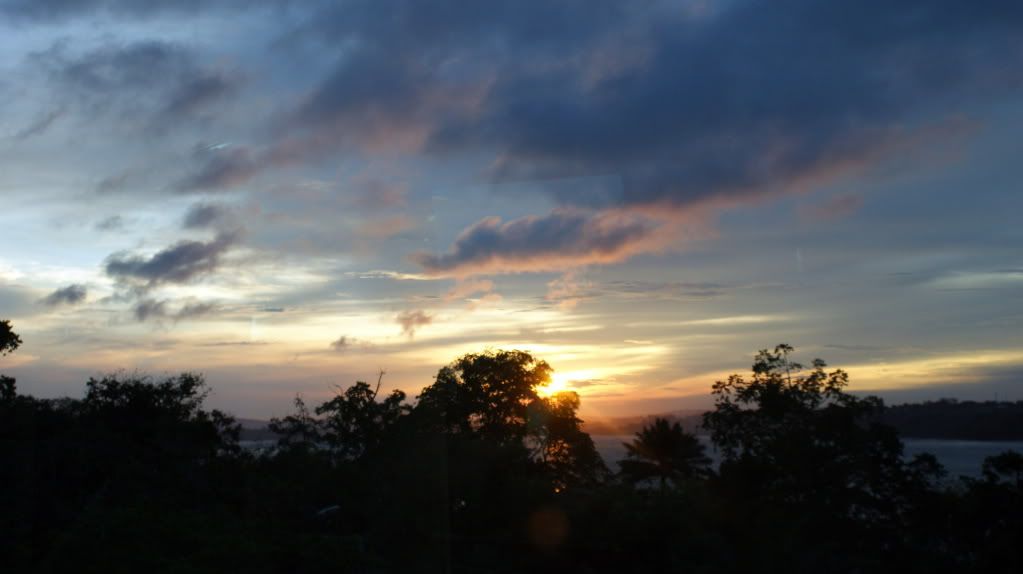
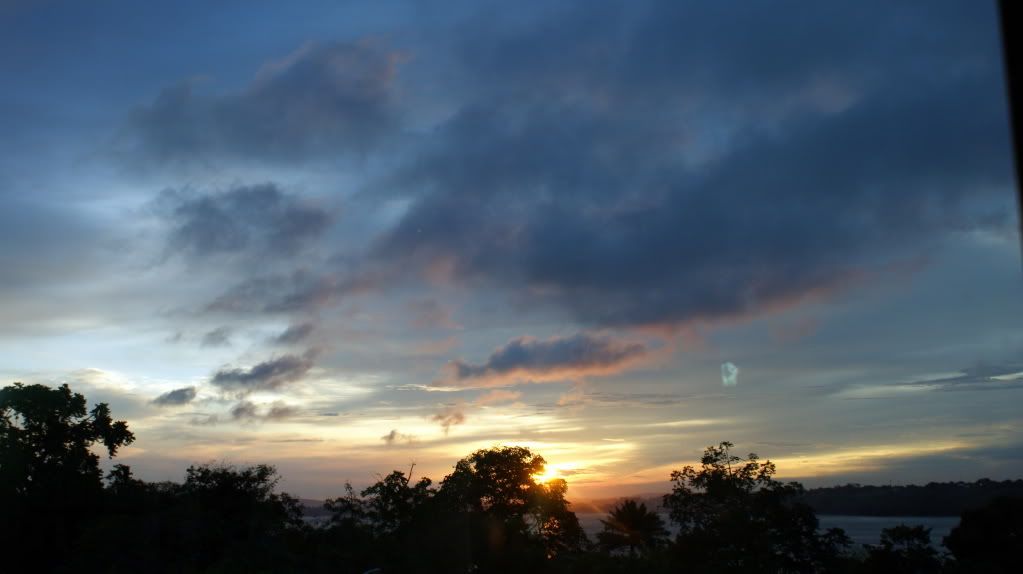
This past week I have really been trying to use my DSLR Sony A350 better. I'm doing alot more manual shots to try and get better pictures. After this update let me know what you guys think.
Here are some pratice shots.
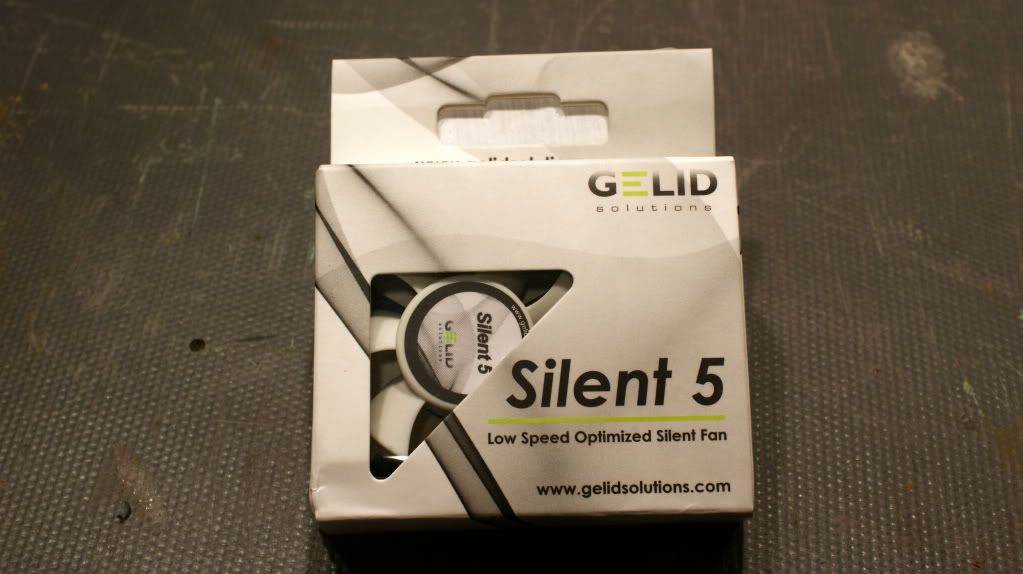
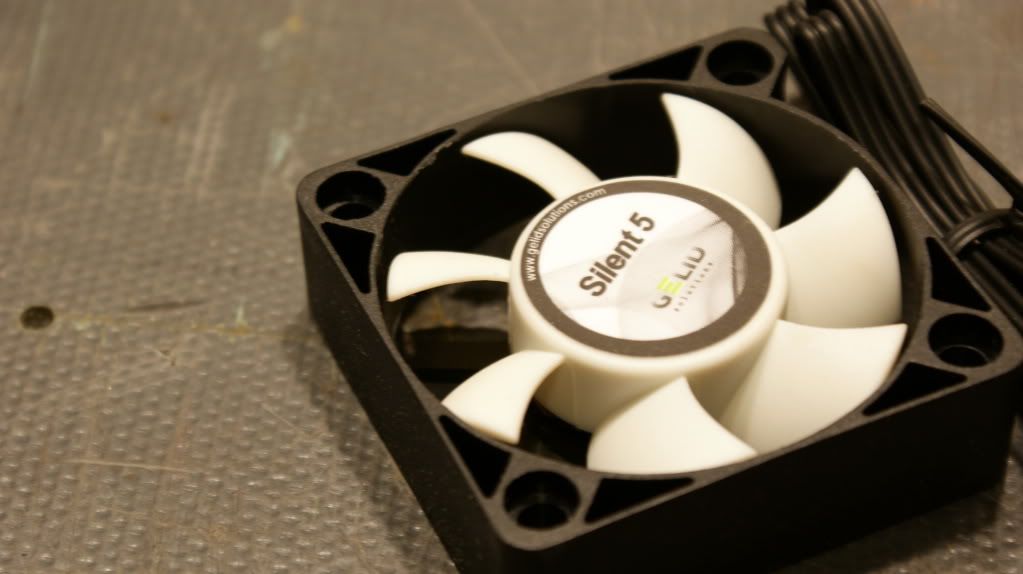
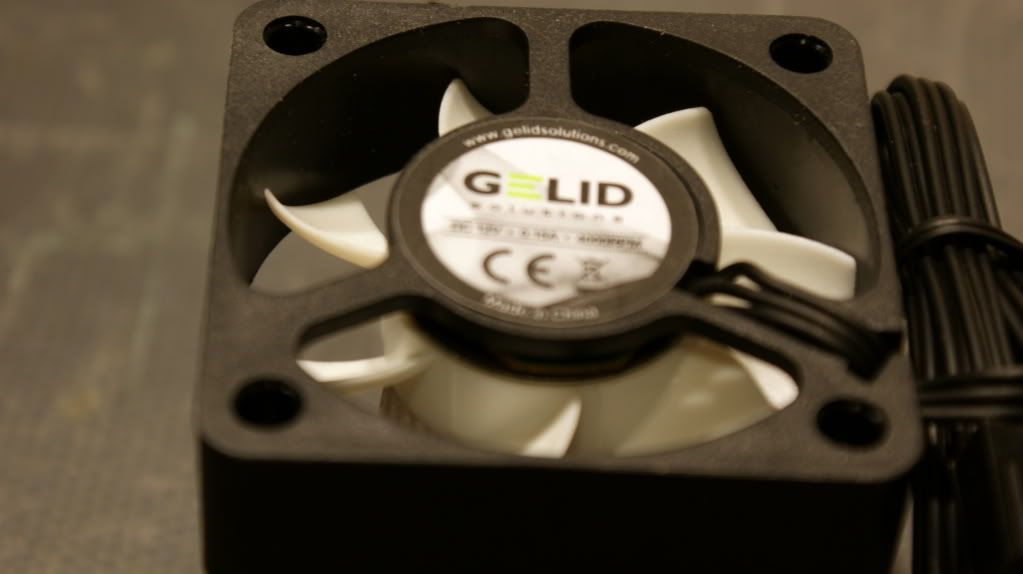
Now for the real update. I forgot to mention I got a 50mm fan for the motherboard.
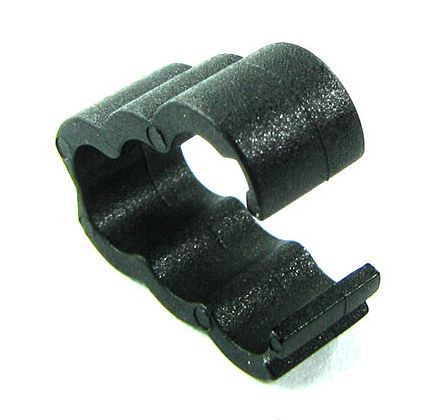
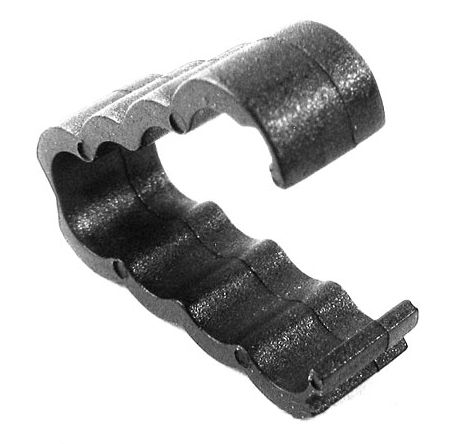
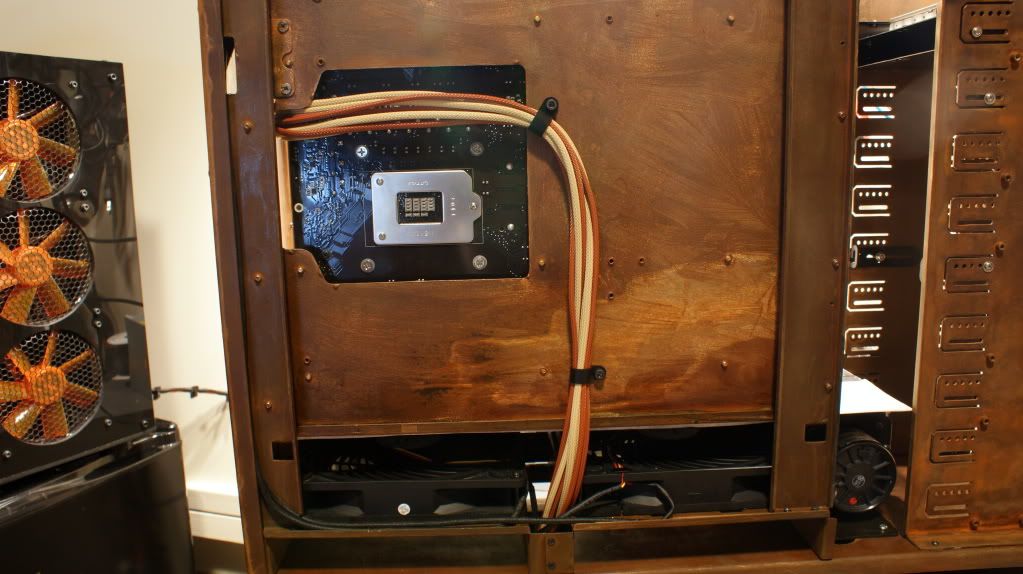
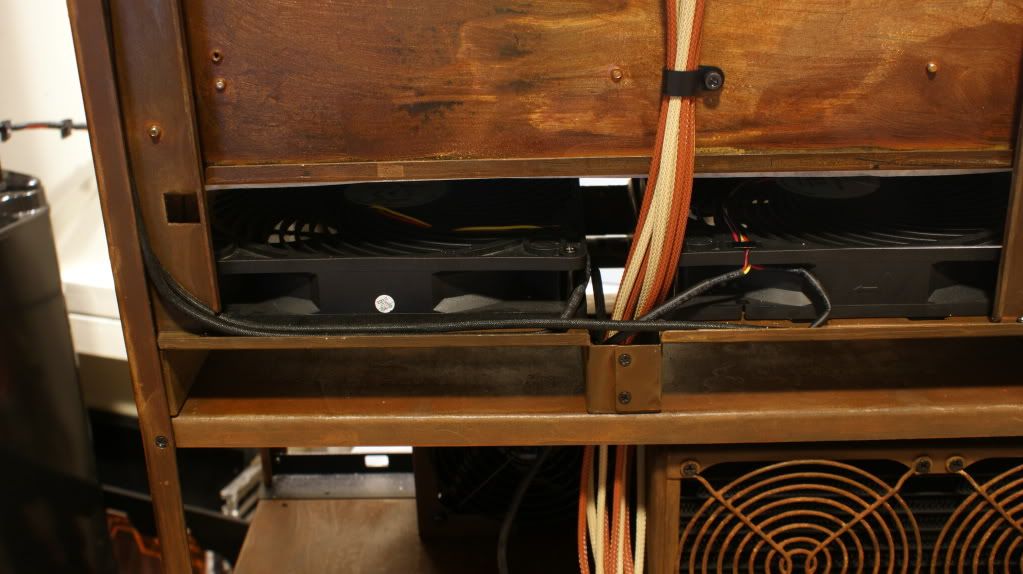
I also ordered some cable clips that I saw in another build. I think they will help to keep all my cables nice and straight.
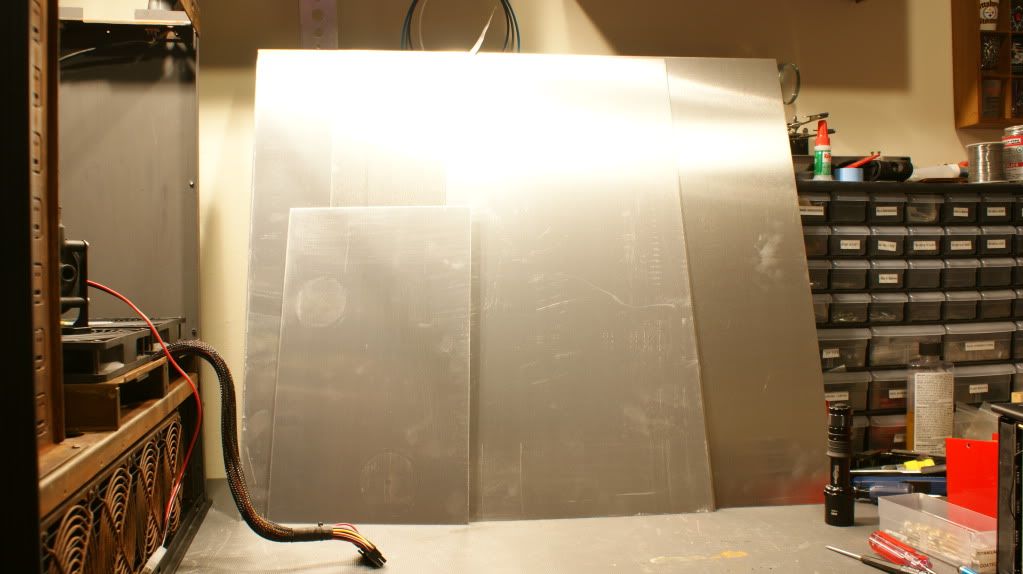
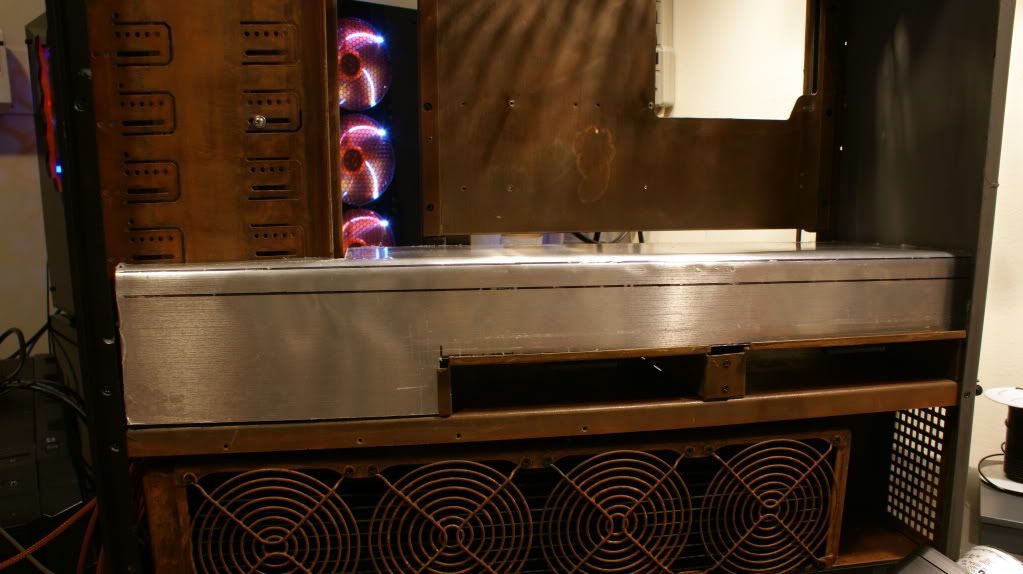
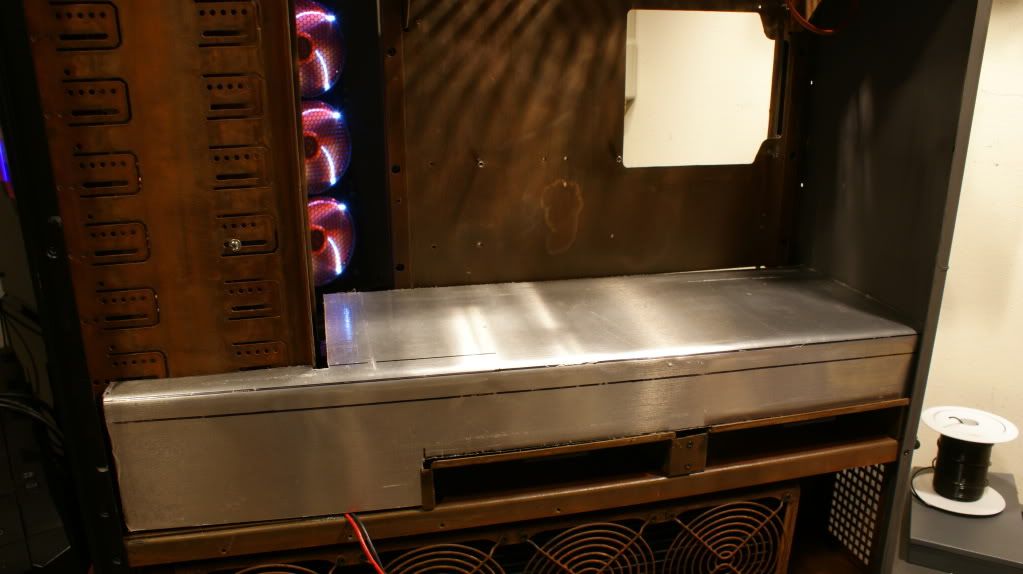
I orderd several sheets of 1mm aluminum so I could make a mid plate. (Got lots of extra incase I screw up.
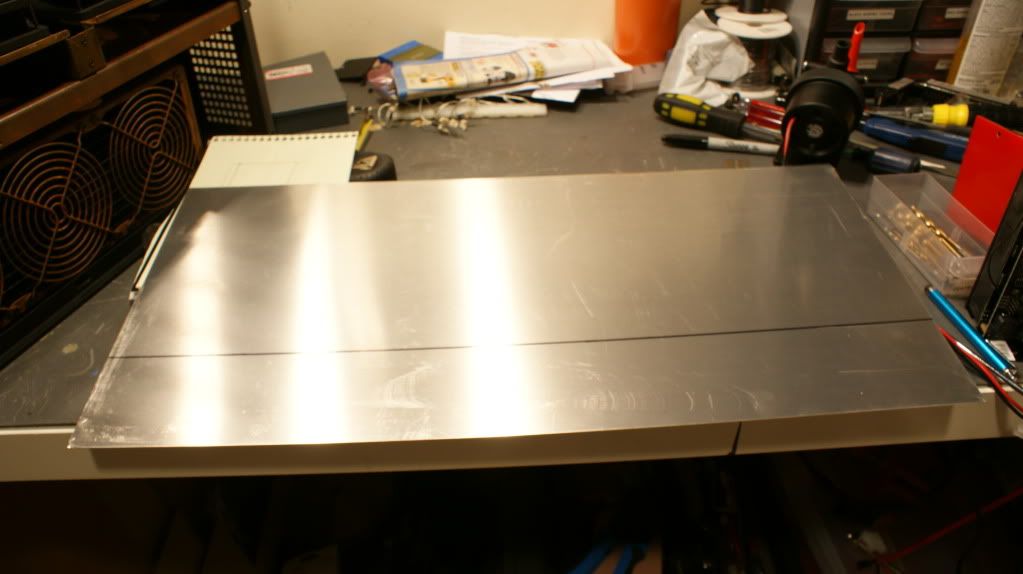
Measured and marked.
Now I didn't take any of the cutting and bending as that is boring. So this is what it looked like after that.
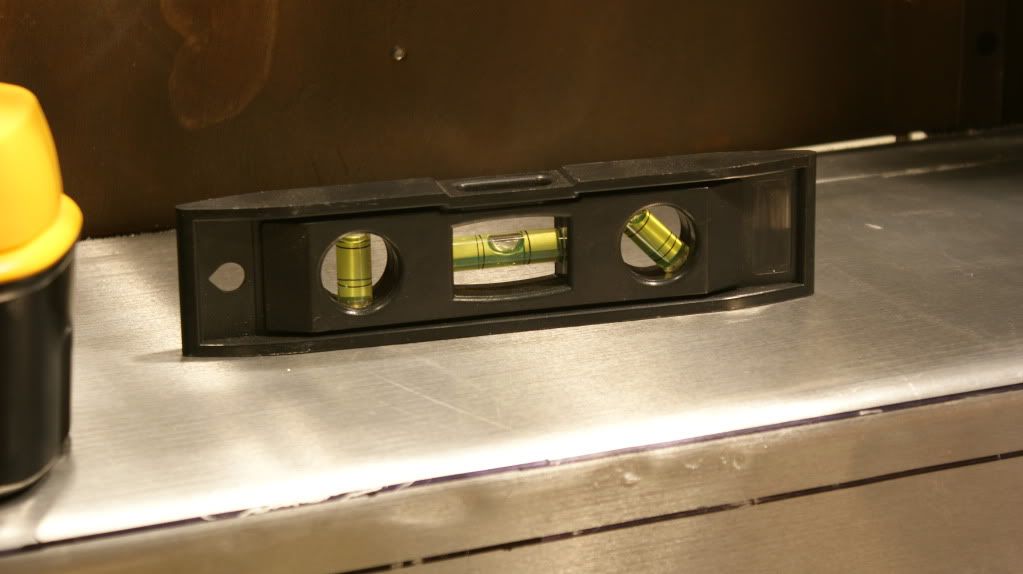
Pretty level
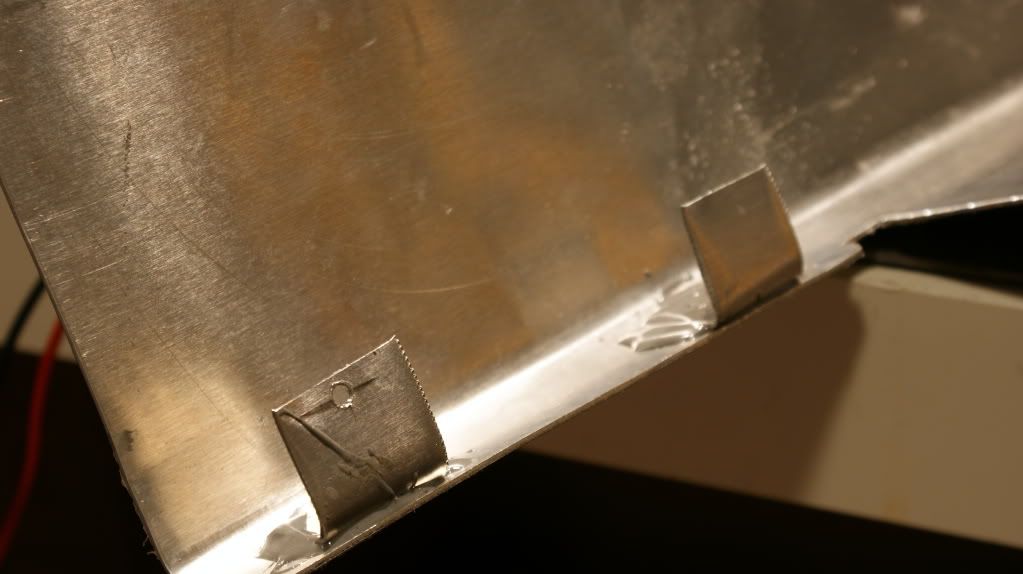
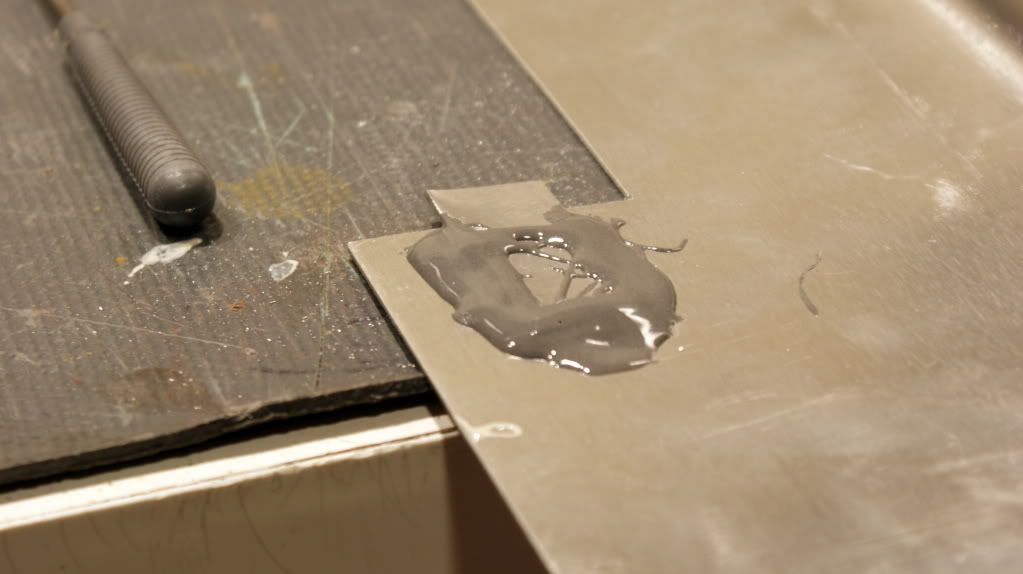
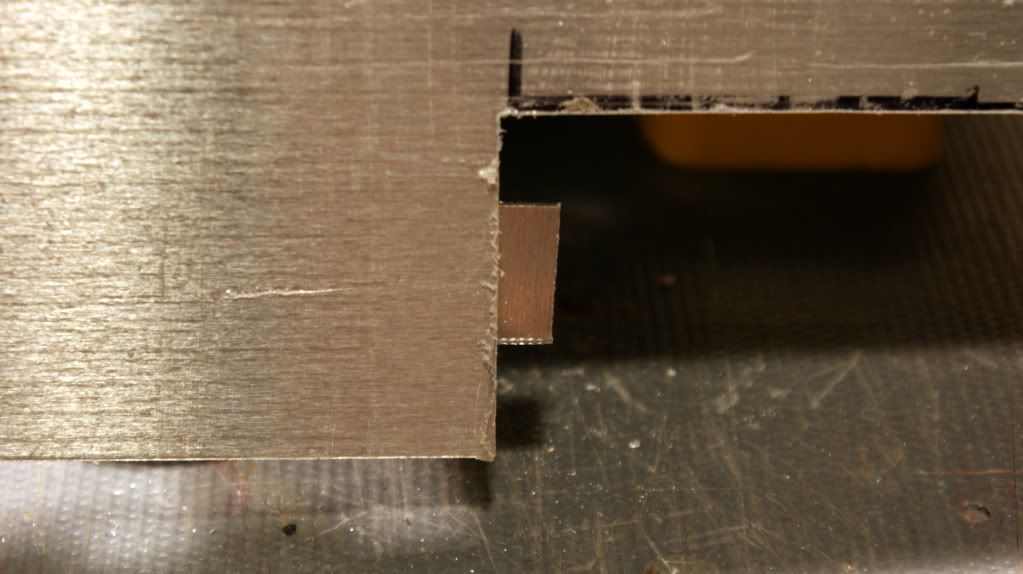
After that I had to find a way to keep it stable so I added some tabs. I attached them with some JB weld. These ones will be secured to the 5.25" bays.
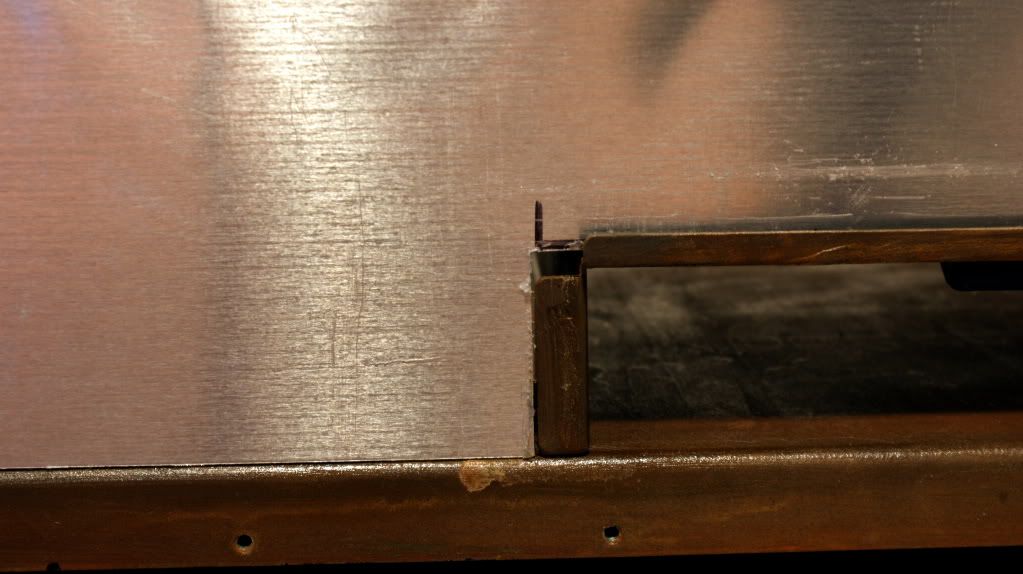
And this one is just to keep it in place.
Now it sits nice and flush.
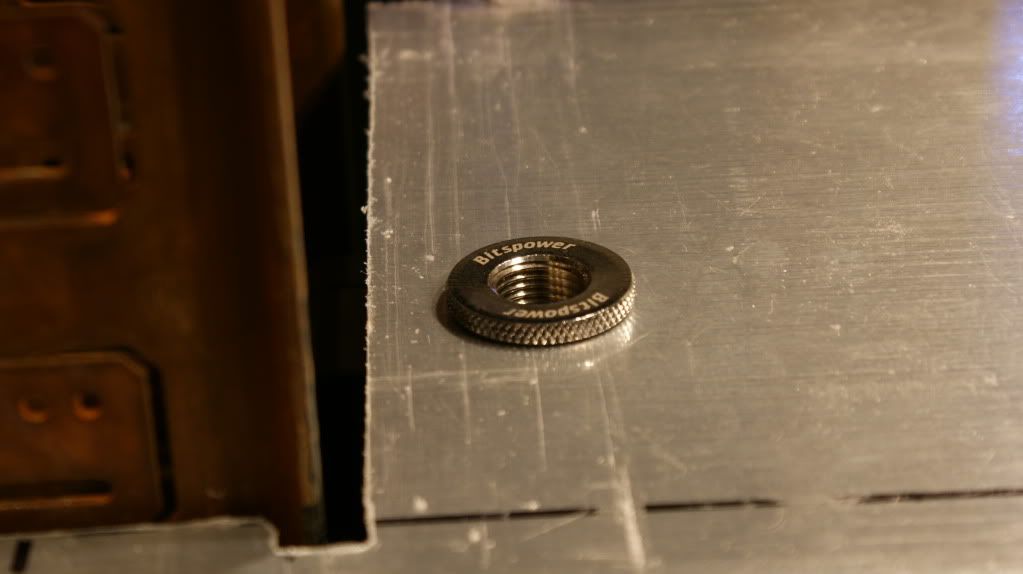
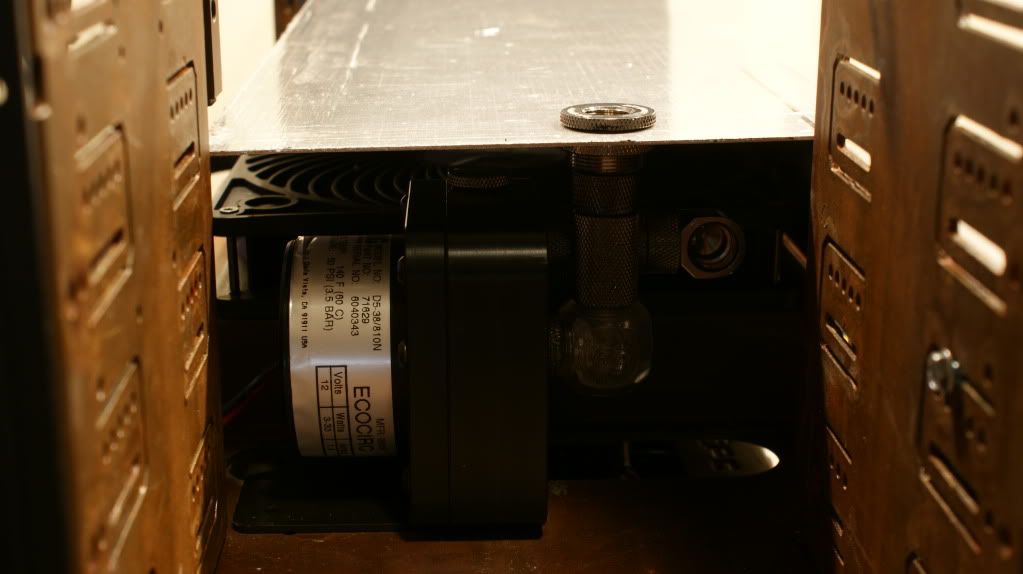
Now you saw where I am putting the pumps so I drilled a hole for the fill port to the pumps.
And attached the pump.
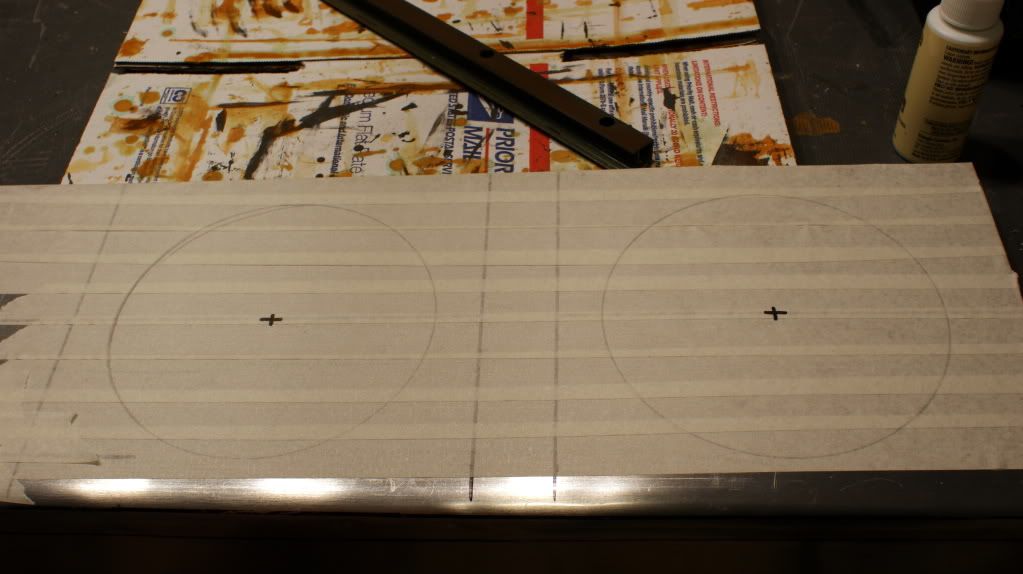
Next I marked the spots for the fan holes. They are actually a little bit smaller than the 180mm fans because I need the floor space for cables, tubing holes and acessories but it won't effect the performance too much.
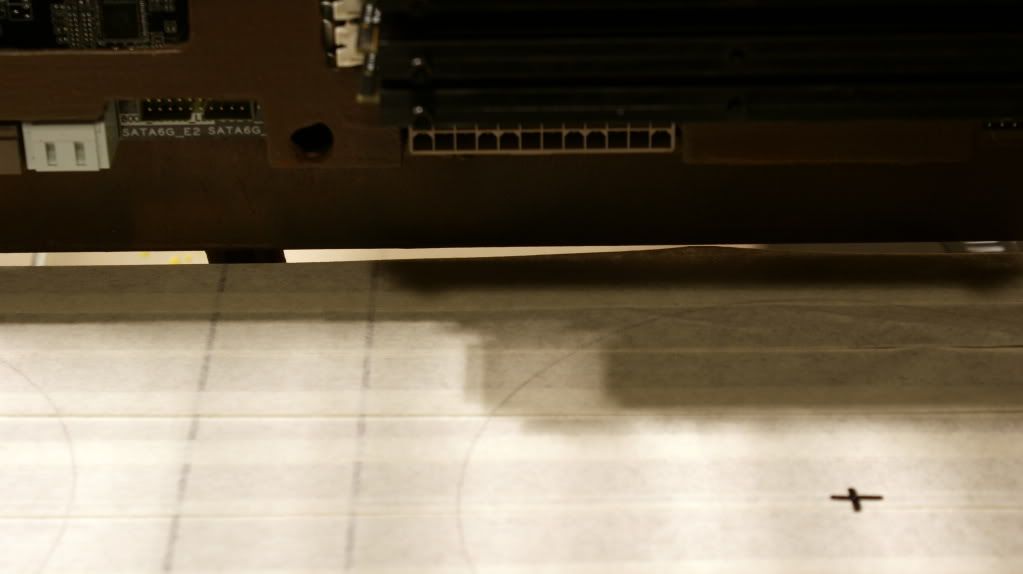
I still need to mark it but I have to cut some away under the 24-pin connector for the cable.
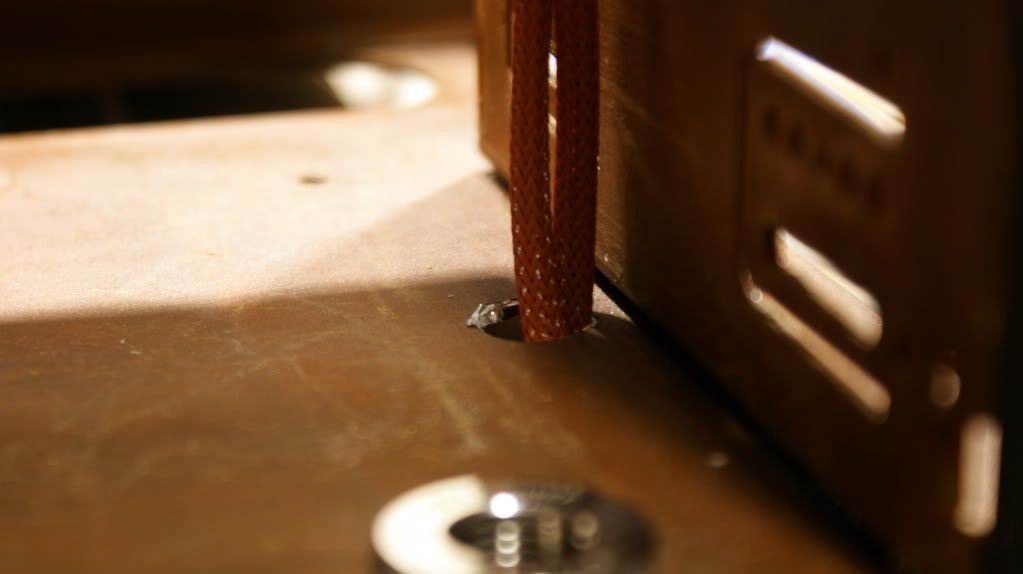
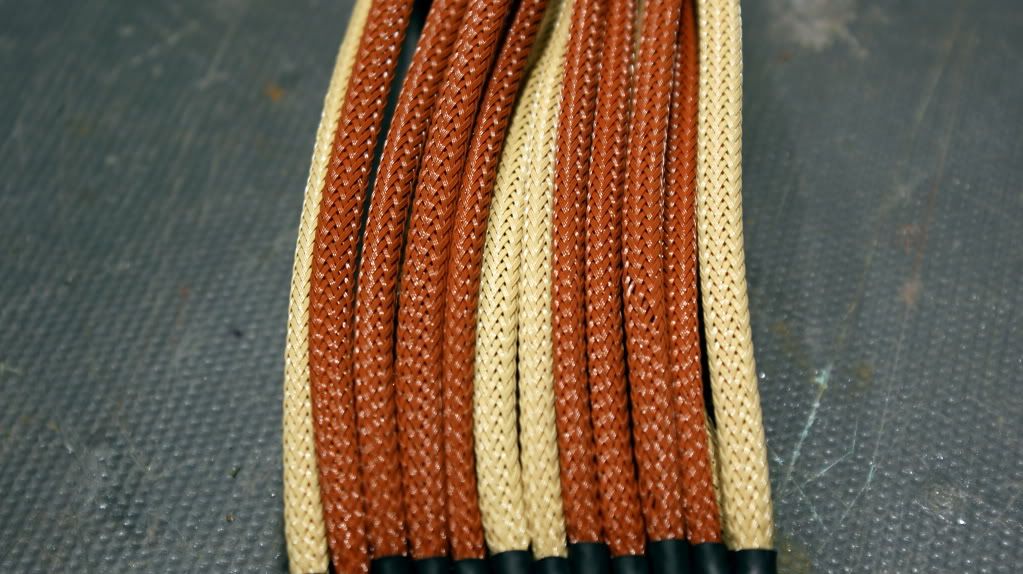
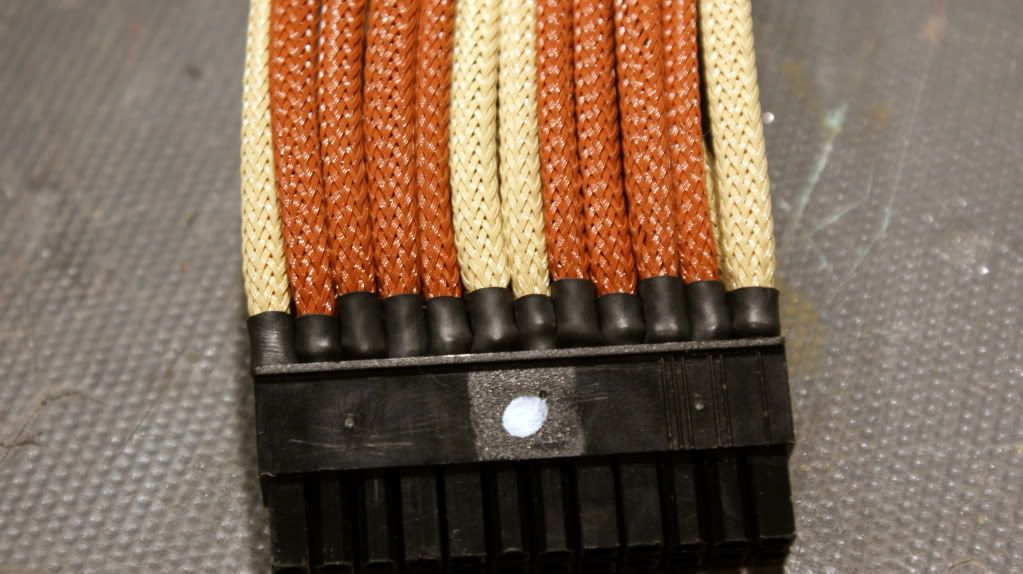
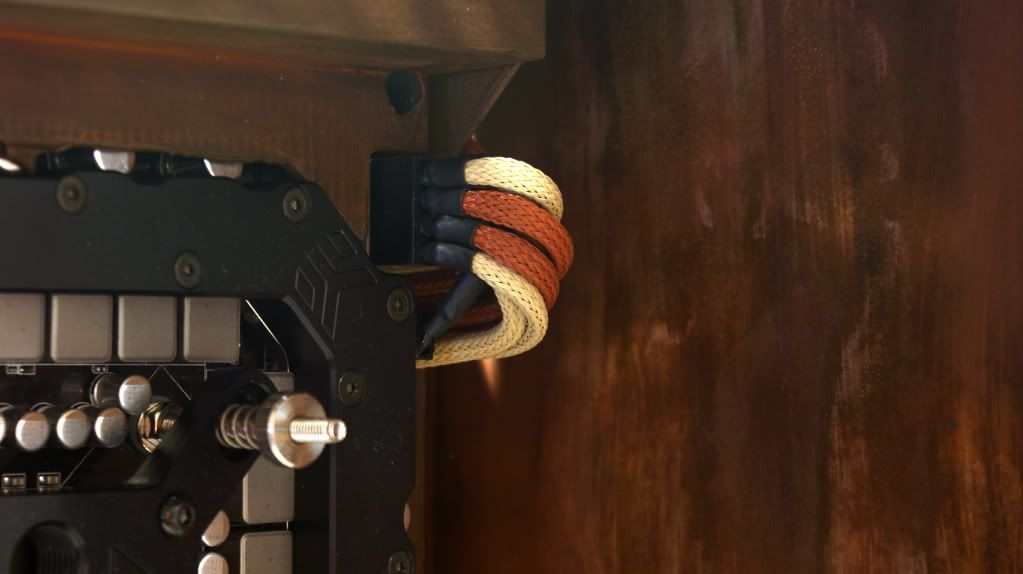
I sleeved the 24-pin cable and 8-pin cable.
The heatshrink isn't great so I may redo that.
Then I did some cable managment with some P-Clips
And the rainy season is back here in the Congo! We get some decent sunsets because of the weather.
Now for some more pratice shots.
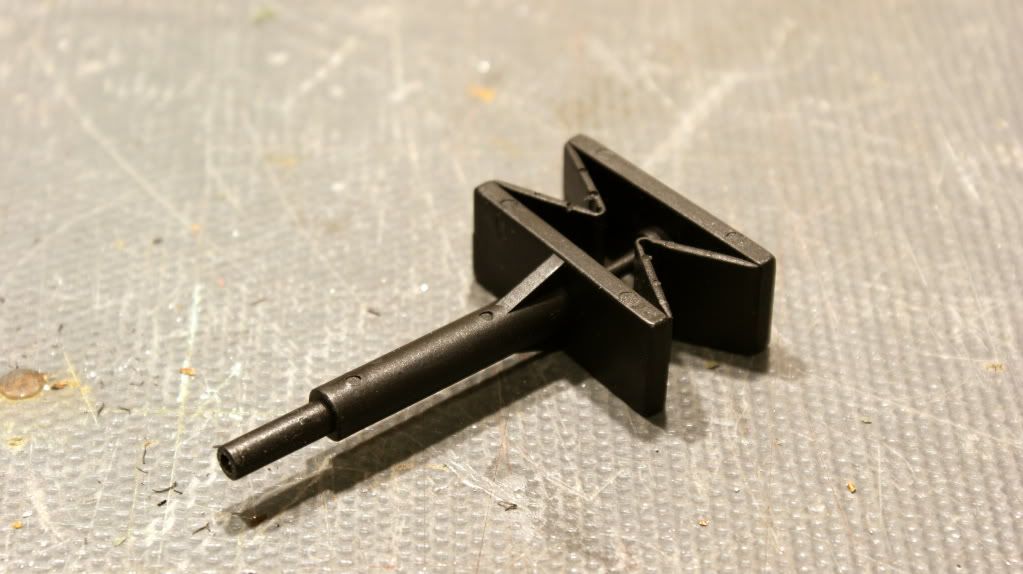
And the best molex pin remover ever!!!
Sorry for all the photos but the only way to get better is to practice!
Cheers till next time,
Fuga
 Posting Permissions


 Reply With Quote