Oh my god this is fantastic, totally original way of doing things!
And you my friend provide some of the best quote material i have ever seen!
Into the sig with you awsome quoteiness!Originally Posted by Acey


Oh my god this is fantastic, totally original way of doing things!
And you my friend provide some of the best quote material i have ever seen!
Into the sig with you awsome quoteiness!

That is ridiculously cool. I had NO idea what was possible with paper - great design as well.
+rep for the originality.
Gee, it damn sure took me long enough to find and add the origin of the first quote...

yes very profesional i cant wait to see whats next

Looking into that possibility. Problem is with paper the surface is gonna be rough inside, throw air cooling in, the dust's gonna b1tch like a crack addict in rehab when I wanna clean it.
Not as much as yoursNo cuttings on mine literally. I got jelly hands and my dremel's dead.
Lol you might wanna look out for that typo "and old lady".. my bad
Thanks mate. Always trying new material but I figure out paper suits me more cos plexi has been giving me nightmares for the past 2 projects
Your wish is my command...
__________________________________________________ _____________________
Side Panel Part 4 (Minor updates)
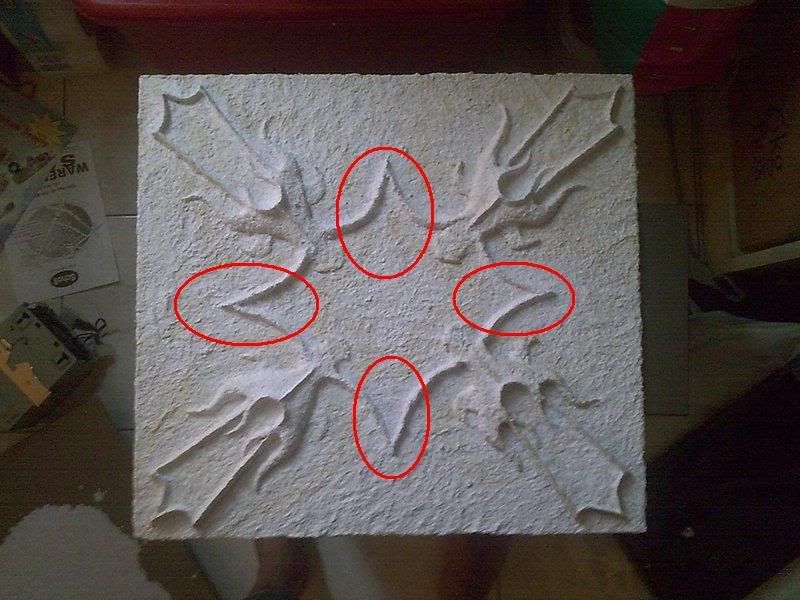
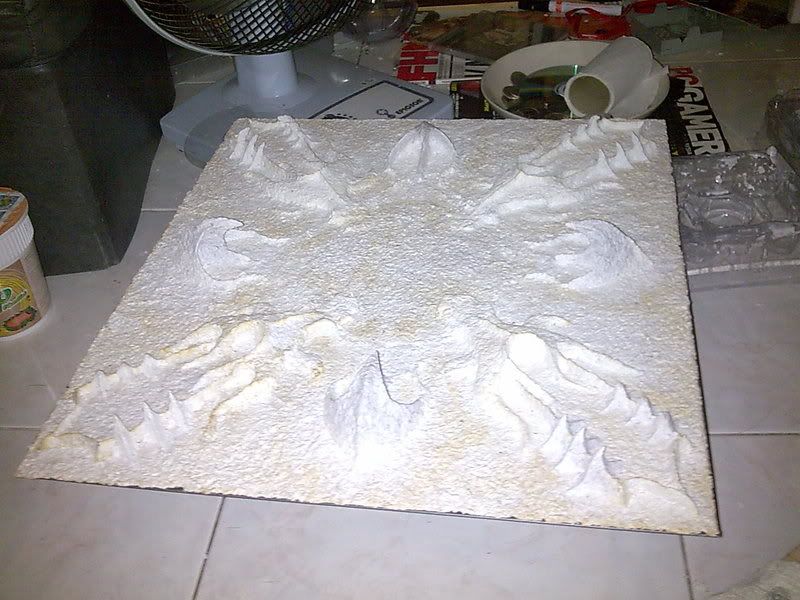
Went on wetting (with water, not as in wetting my pants type of wetting!) the main side panel to strip out the curves. They suck, literally, and unplanned.
Sketch up the base for the 4 empty sides based on rough space measurement. For once my eyes did me justice, cos if i do rough measurement on plexi like i did before, it basically screwed me over.
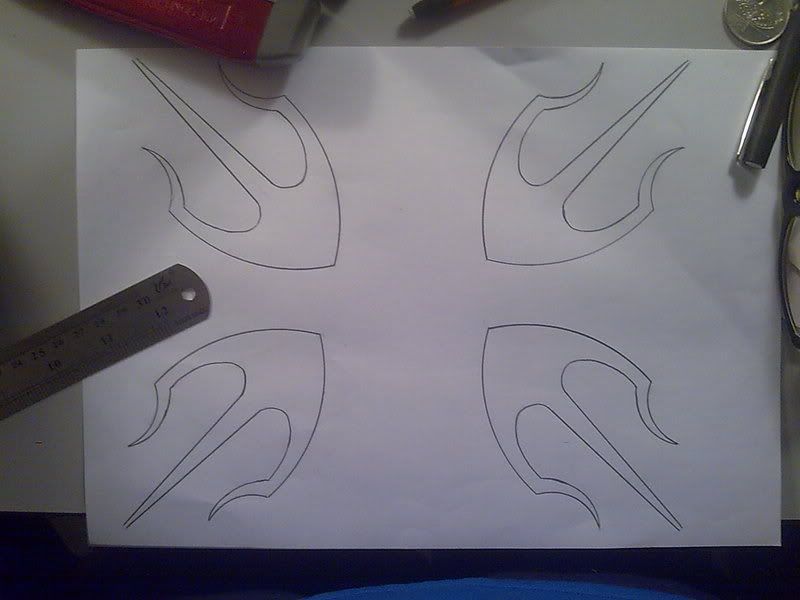
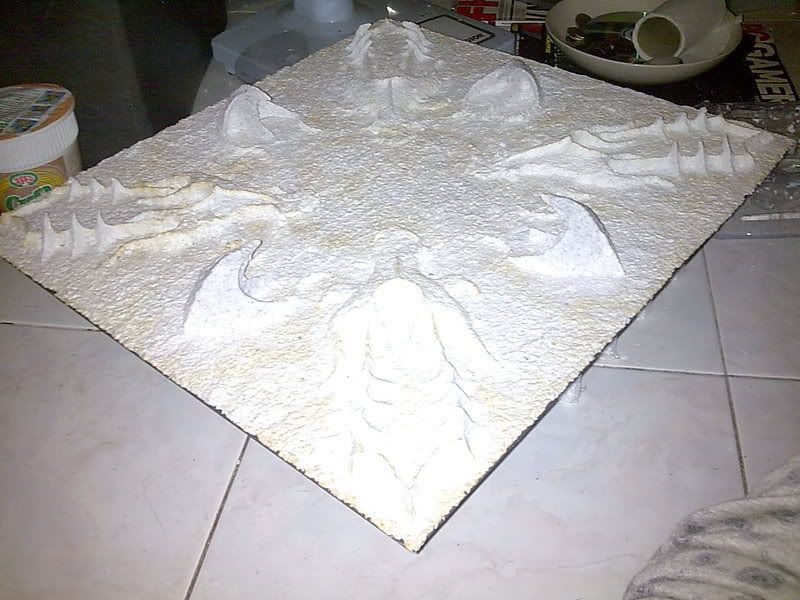
Trace em. And some stand-behind-the-yellow-line discipline with an expired driving license. Should look something like the third picture. I totally suck at using MS Paint, period.
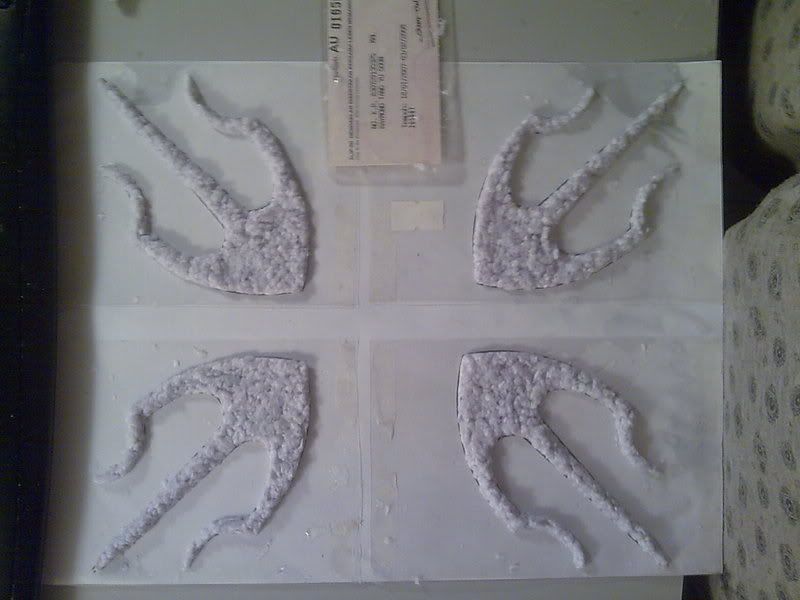
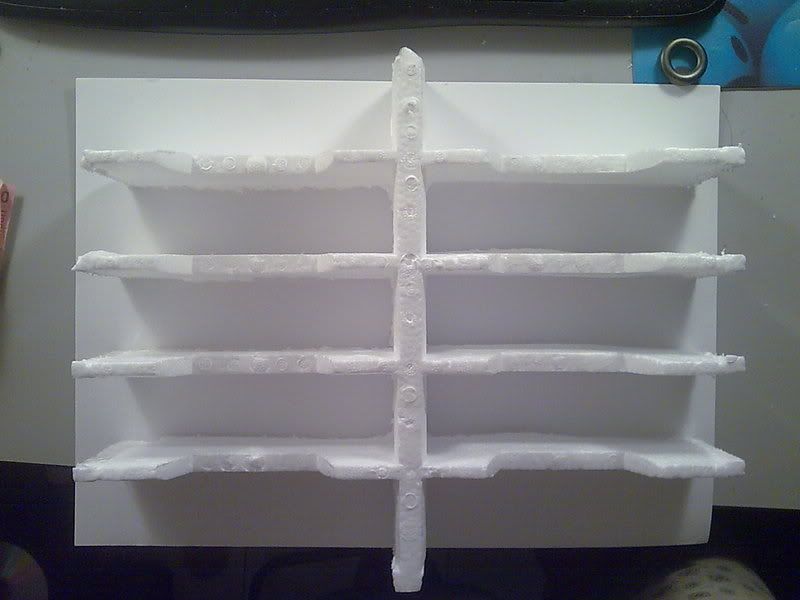
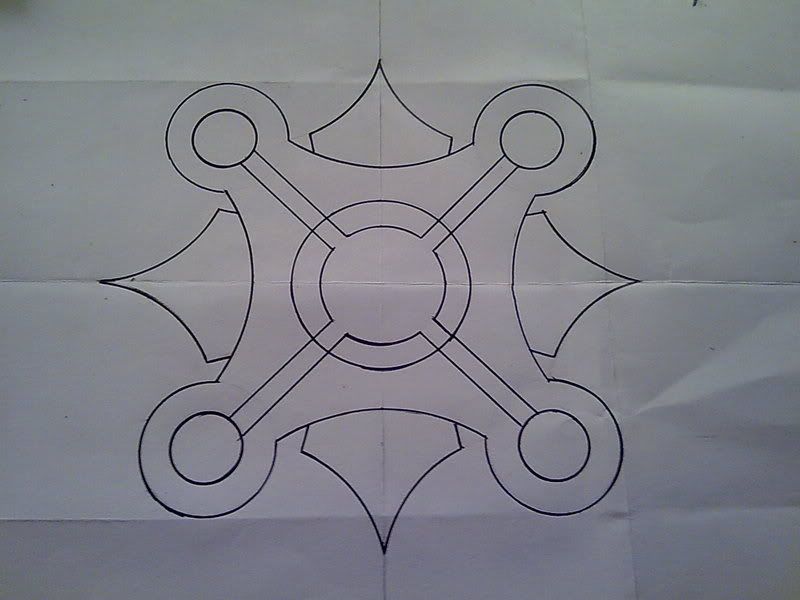
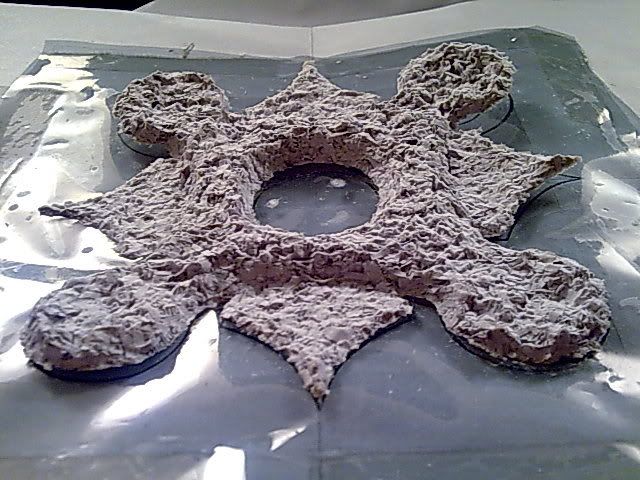
This sucker took me almost an hour to come up with after tracing the foam on a drawing block, sketch, retrace on A4 paper which ended up inside out, and retracing on a new block. Its for the right panel or what i call the idle panel. Ain't done yet for the top and the sides, daddy need visions *takes african dream roots and sleeps*
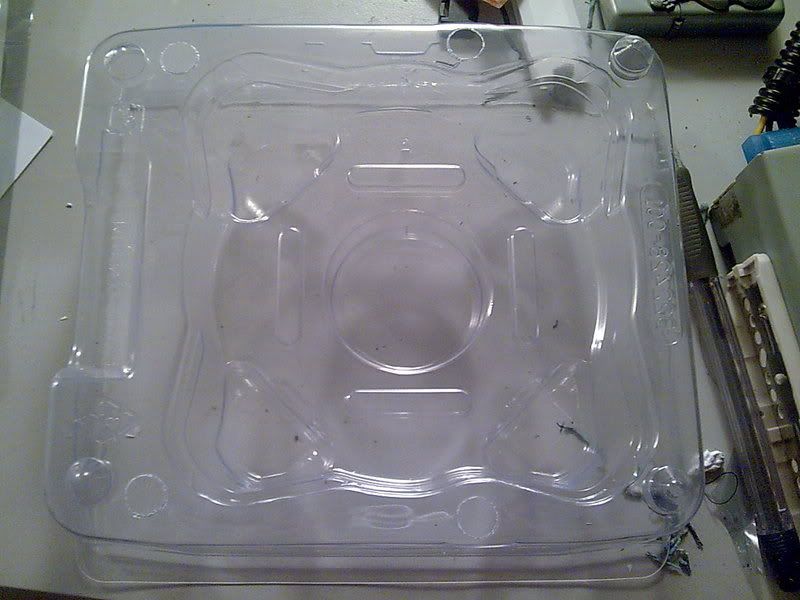
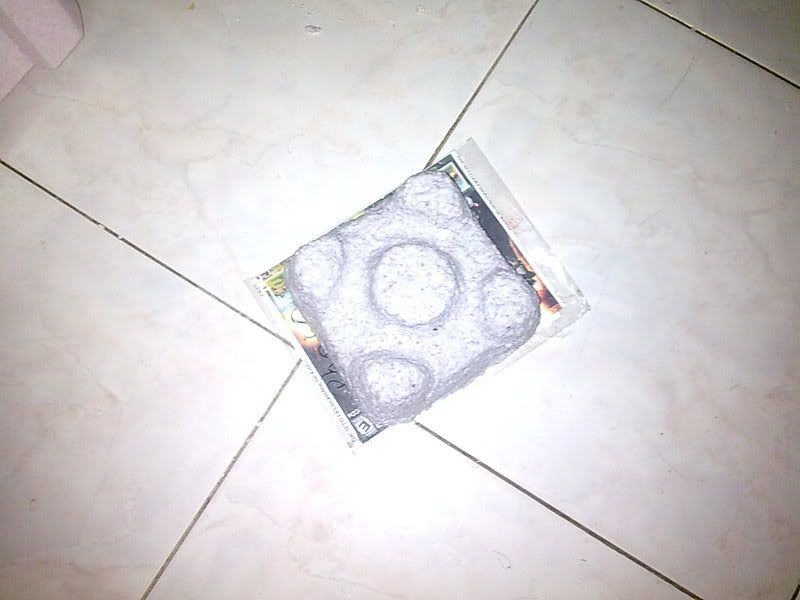
Well, if the 4 base dries tonight, I can go on molding them when I get home. By the way, Intel did me a real good favor when I was installing a pc for a customer. I looked at the heatsink wrapping for a minute and figured out I can use it for the center of my main panel
Will post more tomorrow after I mold it tonight, my phone's flat right now. So much for Nokia's "Connecting People" theme. More like "Disconnecting People (fine letter) with crappy batts".
Side Panel Part 5
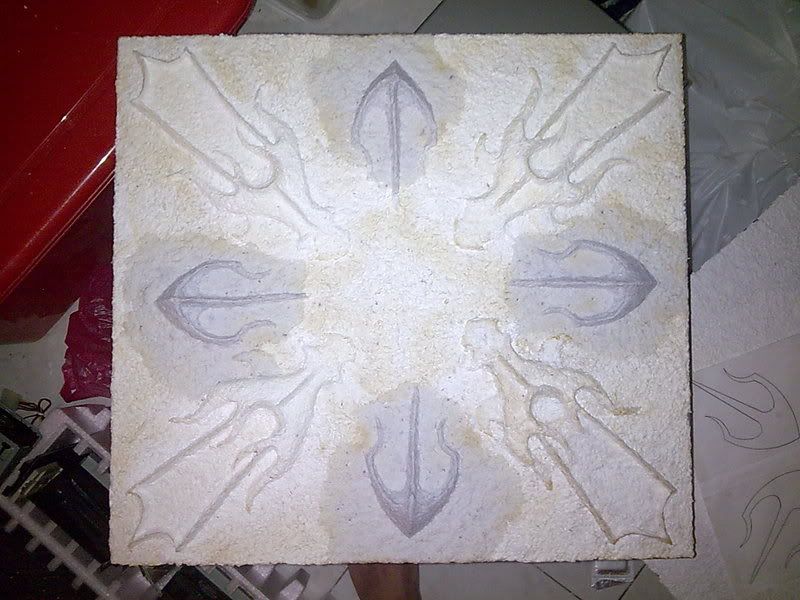
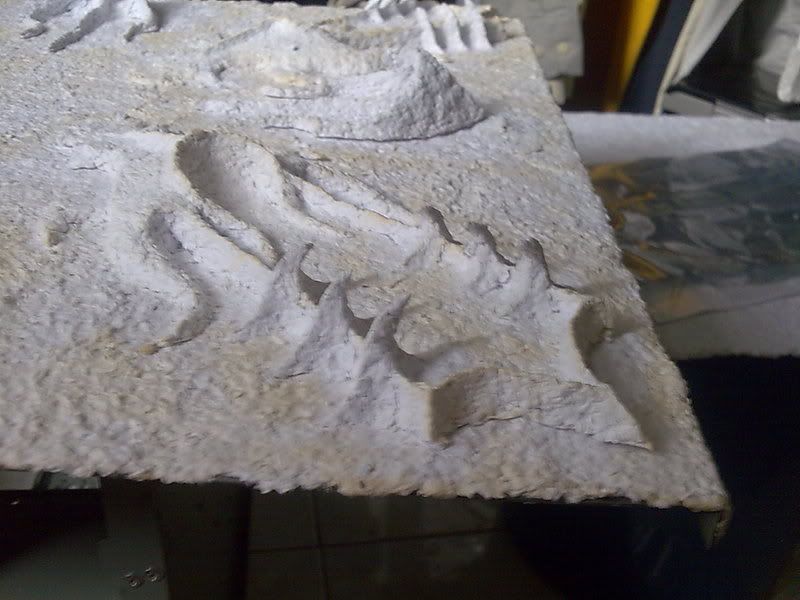
The 4 left panel add-ons are dried, placed on the left panel to get the placement and starts molding the top part. Will have to wait for it to dry before going again or else the center curve will collapse
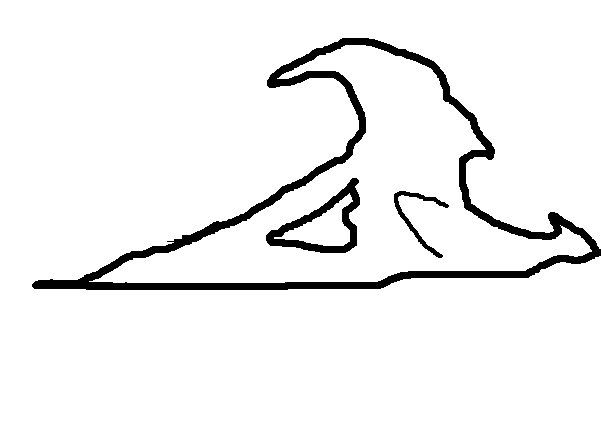
Ah the intel box... it looks like this, and I cut out the sides, turn it upside down and start smearing paper pulp all over its behind. Kinky...
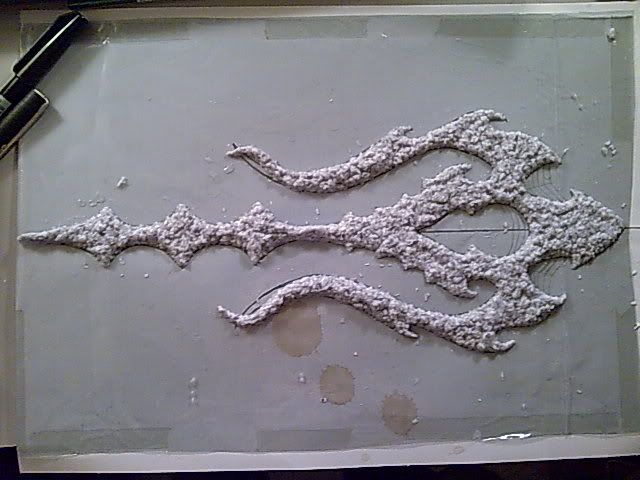
So from the right panel sketch, start molding. The base is eventually too big cos I have to do the curves first (it should look on top of the whole line) so I have to do it in a couple of days instead of one.
Might be able to finish the base for this by tonight cos I'm having offday tomorrow.


Can't wait to see how this turns out.
Project: Elegant-Li *NEW*
Project: Alpha FINISHED
Project: LEXA Revival FINISHED
Project: LEXA FINISHED Bit-Tech MOTM Nominee October 08
Side Panel Part 5
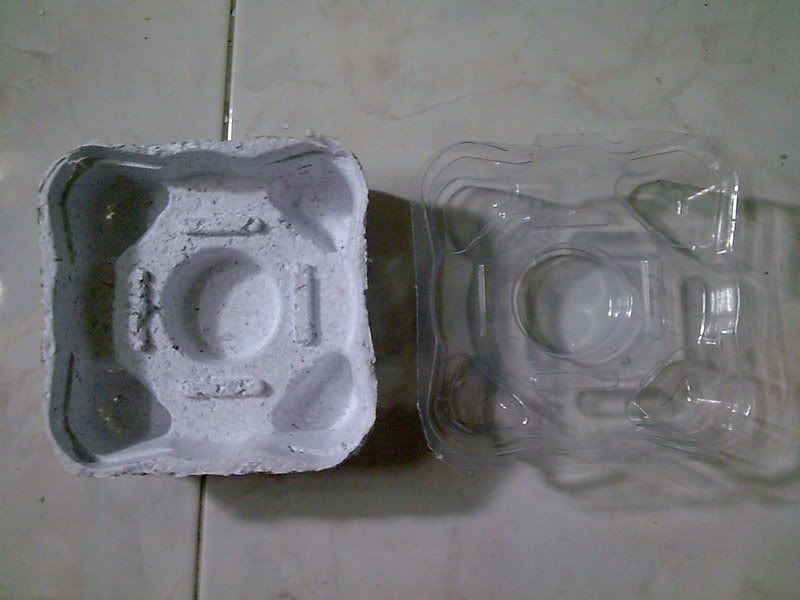
Offday... Intel thing dried, so pulled out the plastic holder and got this. Unfortunately tad too high for my liking, so decided to trim it. Still too high, so screw it.
Did a rough sketch and then drew my own so I can have a flat base to start with for the middle part. The lines at the center is kinda messed up.
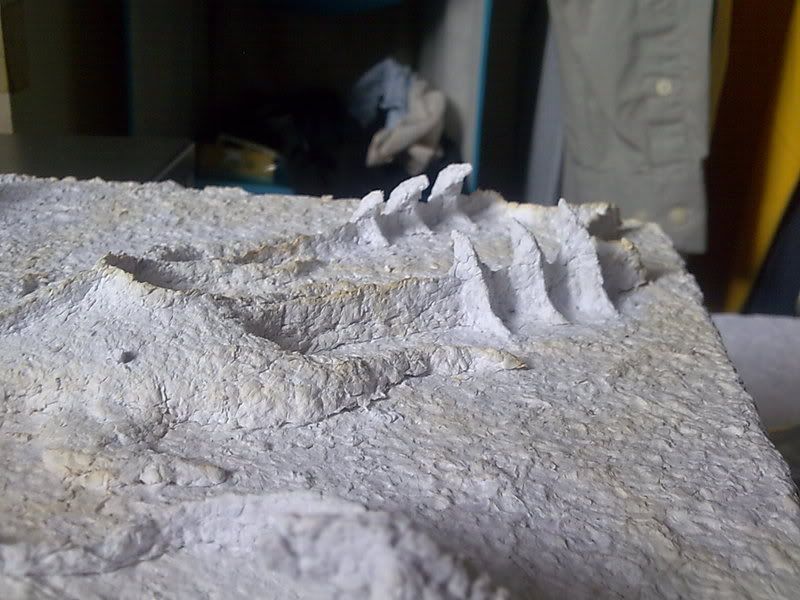
Continued on the left panel with some extras and molded the new base higher
For the right panel I thought it'll be easier to just mold everything first and then doing the extensions after it dried, so I laid out all the remaining paper pulp on it before transferring it to the right panel
Now I'm out of paper, have to wait another 2-3 days before I can continue
This is turning out very nicely.
Project: Elegant-Li *NEW*
Project: Alpha FINISHED
Project: LEXA Revival FINISHED
Project: LEXA FINISHED Bit-Tech MOTM Nominee October 08
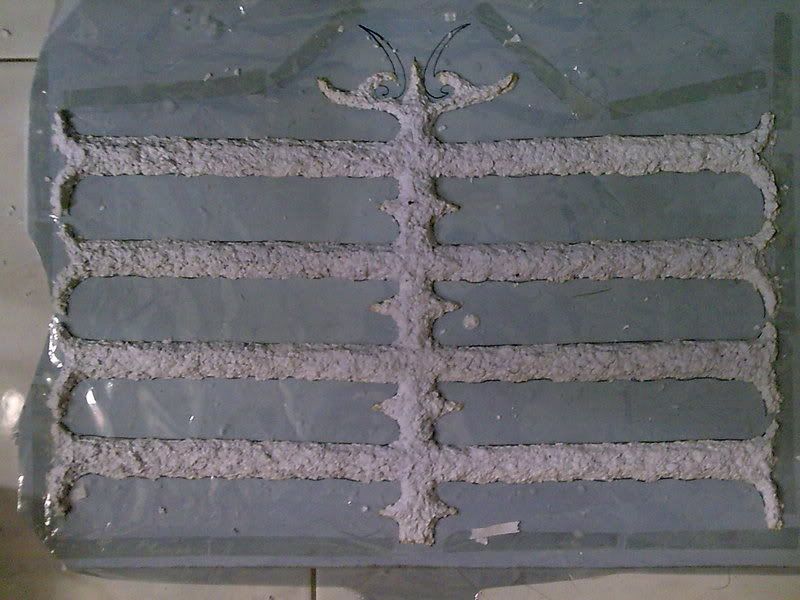
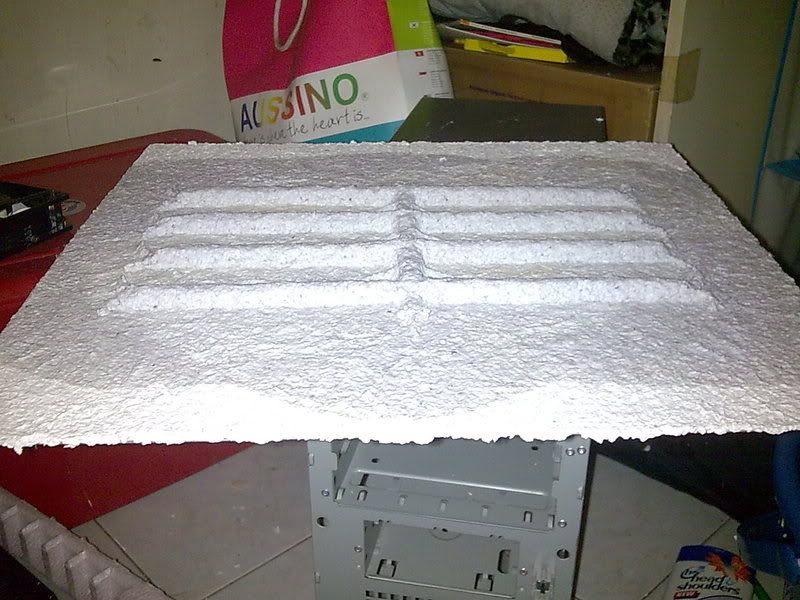
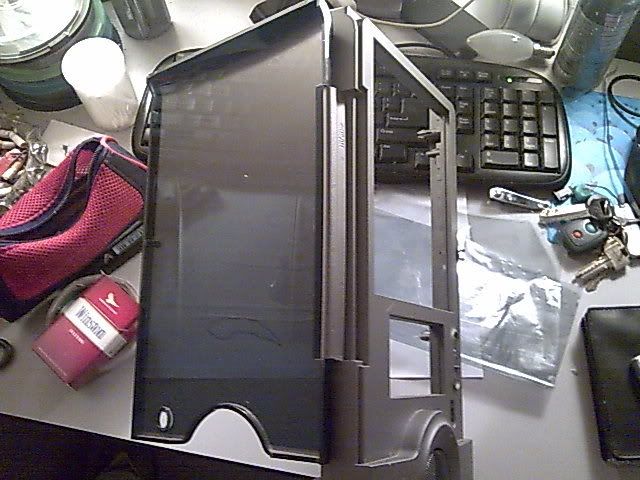
Side Panel Part 6 / Top & Front
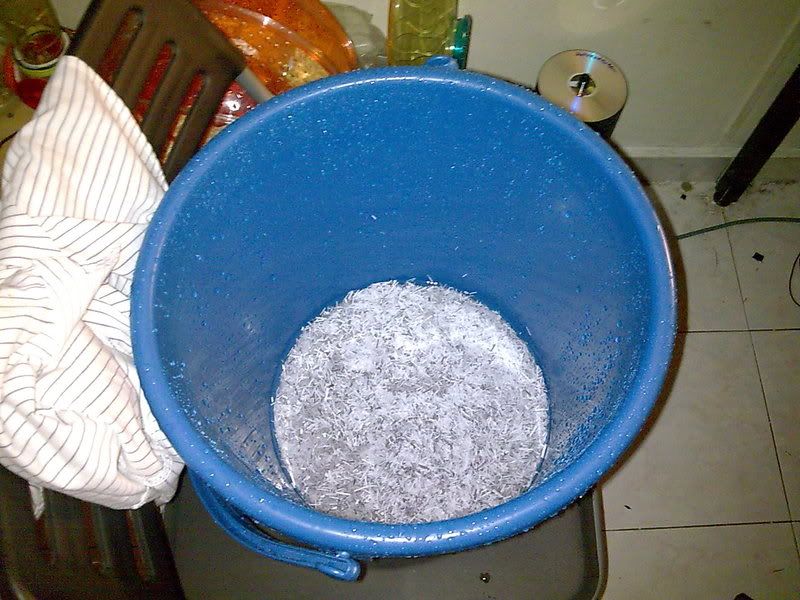
Am still soaking up the paper, now I have 2 different containers as I just soak another pile in the bucket. Let them soften up just in time when I finish using up the current pulp. Eventually I still have to wait till the paper's fine enough to refine the last bit of the left side / active panel, then I need to test on spraying layers, color theme, and will mix a cheap home made purple slime (will be shown much later once I need to use it only)
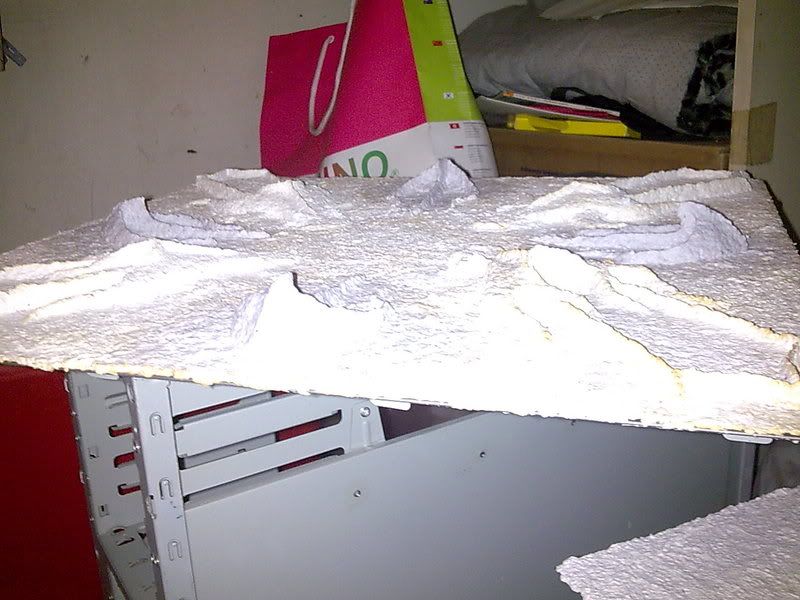
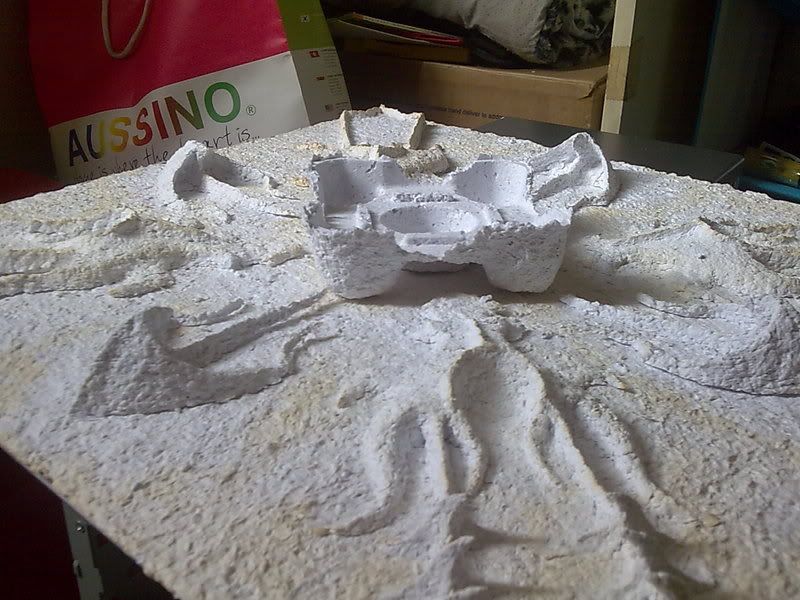
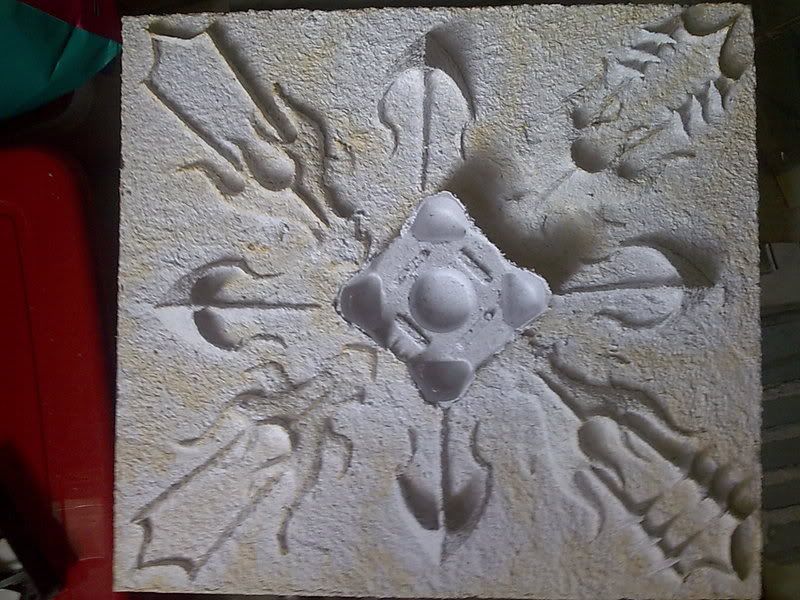
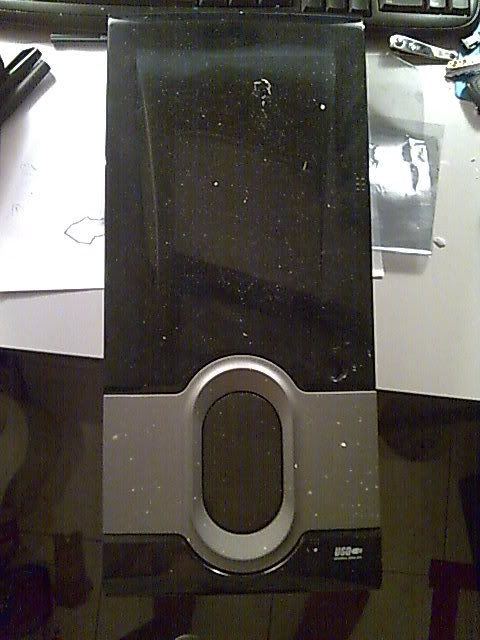
This what I molded to replace the Intel thingy cos it was way too bulky n high. Now its resting in my bin. Moved it onto the left panel and watered it down flat, still need a lot of refining and thickening for last touch on that panel before I move on to the right one. Paper's extremely rough here. See why I hate to let them play in the sun with the window open? It curves.
I'll need to leave the round sides and the center hollow for the slime and I got something from the case to help out shaping it lol
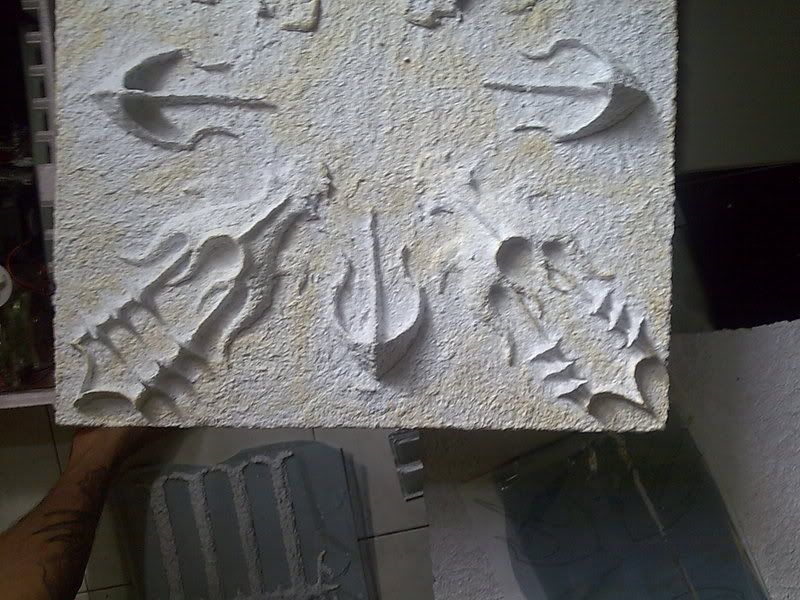
Its irritating to sit around after work with nothing to do, so I sketched the top panel thingy which will be stacked quite high up. Again, no cuttings on the top panel. Took about 5 minutes to finish designing and about 15 minutes to mold. Don't mind those spots, its coffee, honestly.
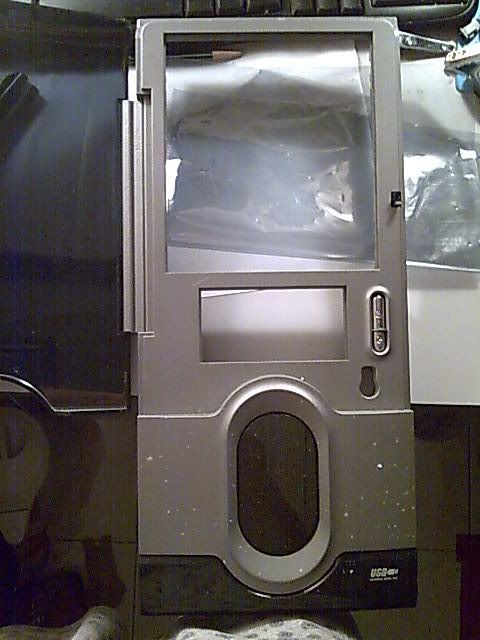
This the front panel. Its fn irritating cos I wanna remove the hatch but the legs are deadly molded onto it and fit into the side. Lucky day. Met a returning customer who had the same case minus the hatch so I asked him how did he remove it. "Oh, I accidentally pressed against it while its open". I went home took a look at it, and purposely did some karate kid on it.
Based on real life story. No front panel was harmed during the making of this picture above. Perfect break.
Now the sucky part. Waiting for the paper to soften.
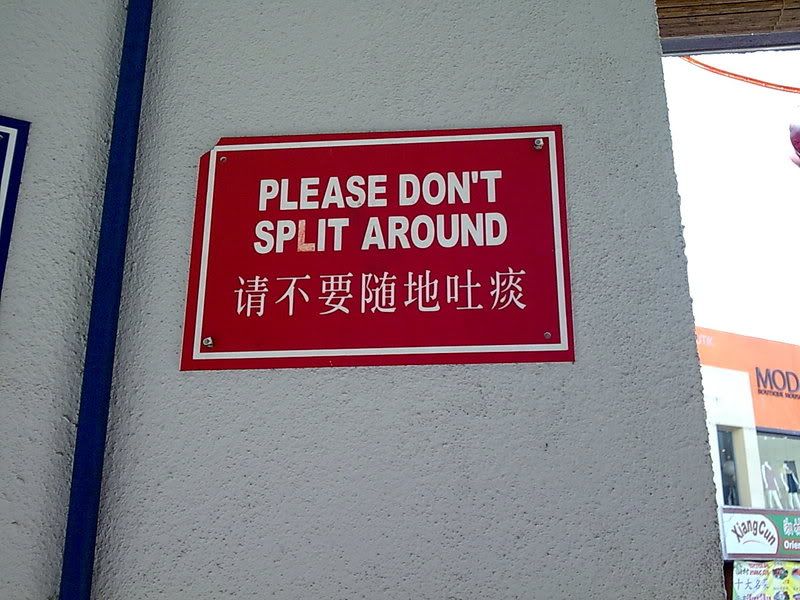
Something to laugh at, a signboard I took at a coffee shop
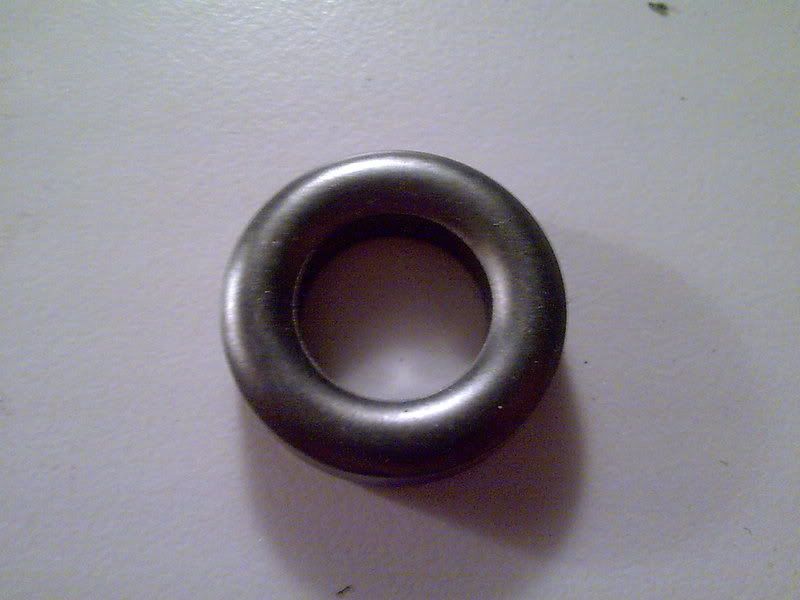
Rubber grommets always come in handy lol.
Project: Elegant-Li *NEW*
Project: Alpha FINISHED
Project: LEXA Revival FINISHED
Project: LEXA FINISHED Bit-Tech MOTM Nominee October 08
 Posting Permissions


 Reply With Quote