Project Goals:
build a scratch case
reduce the size of the case
learn more modding skills
have fun
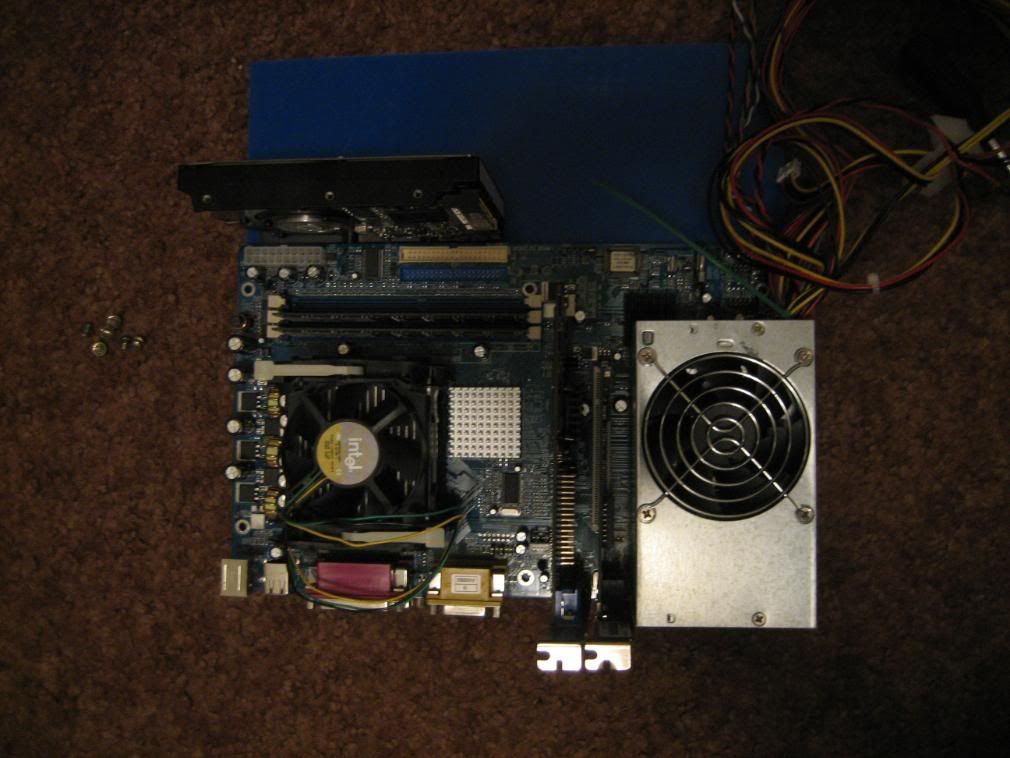
components:
mostly old stuff I had laying around, so I don't have all specs
2.0 ghz intel celeron d
512 mb pc 2700 ddr
32 mb graphics card
10/100 network card
20 gb hd
230 w psu
no cd drive (I have an external for rare cases)
clear acrylic
what I don't have:
tools (poor college kid)
hardcore gaming desire (I mostly play older rts games, so this system will be fine)
Onto the pictures and important stuff
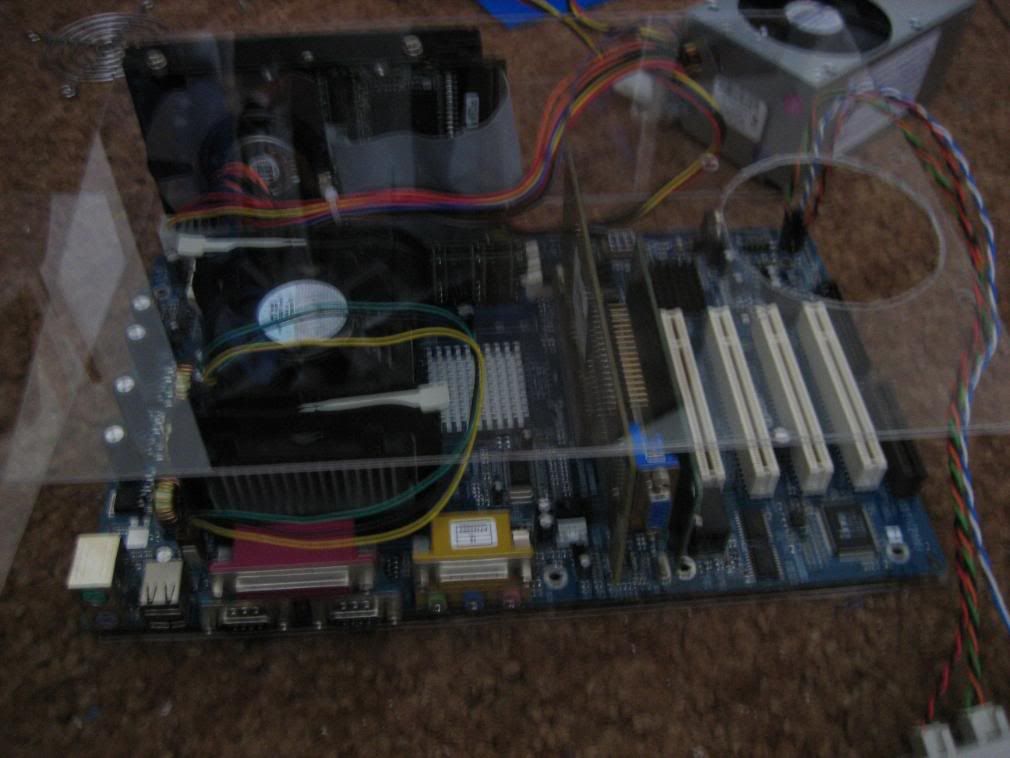
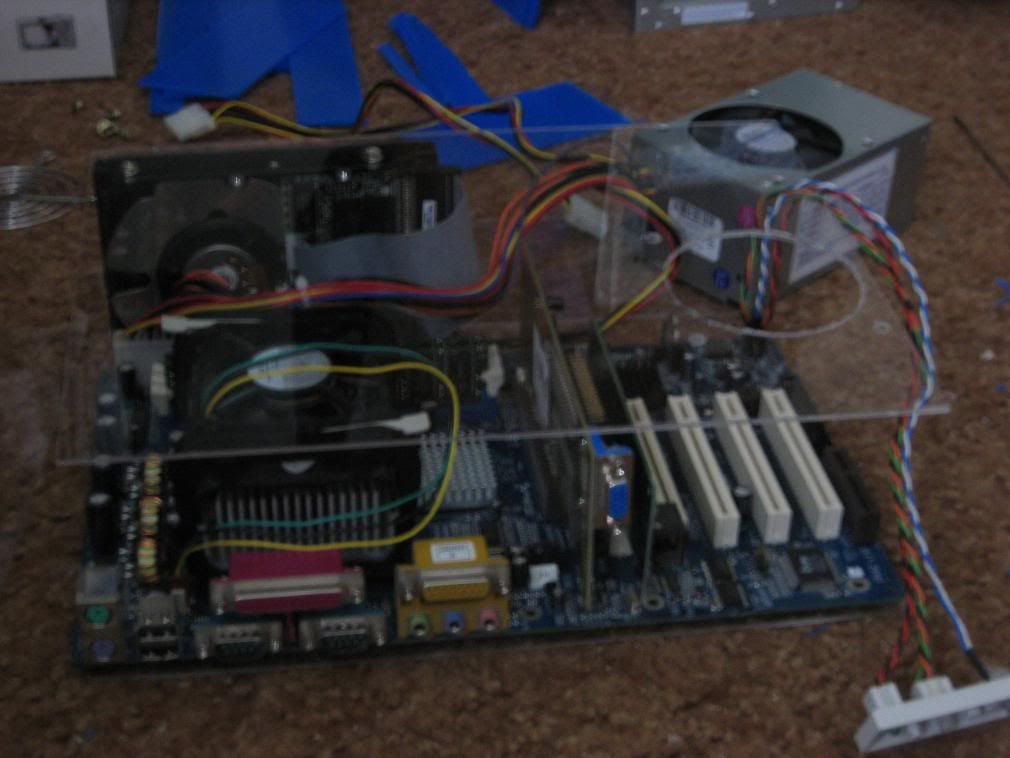
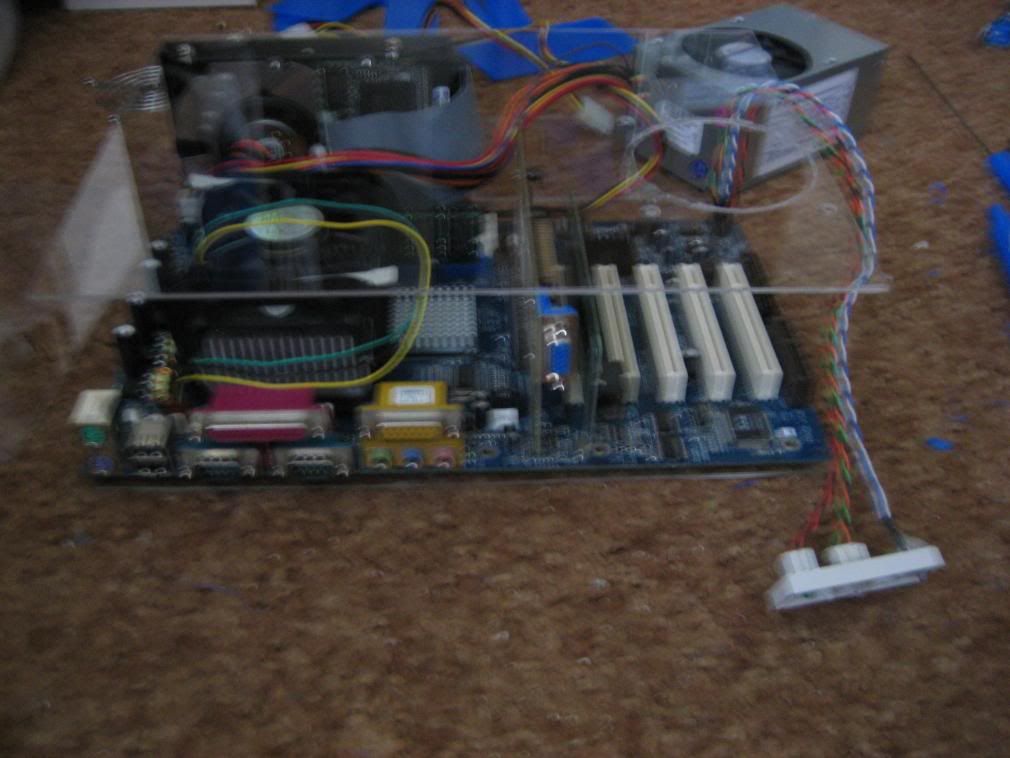
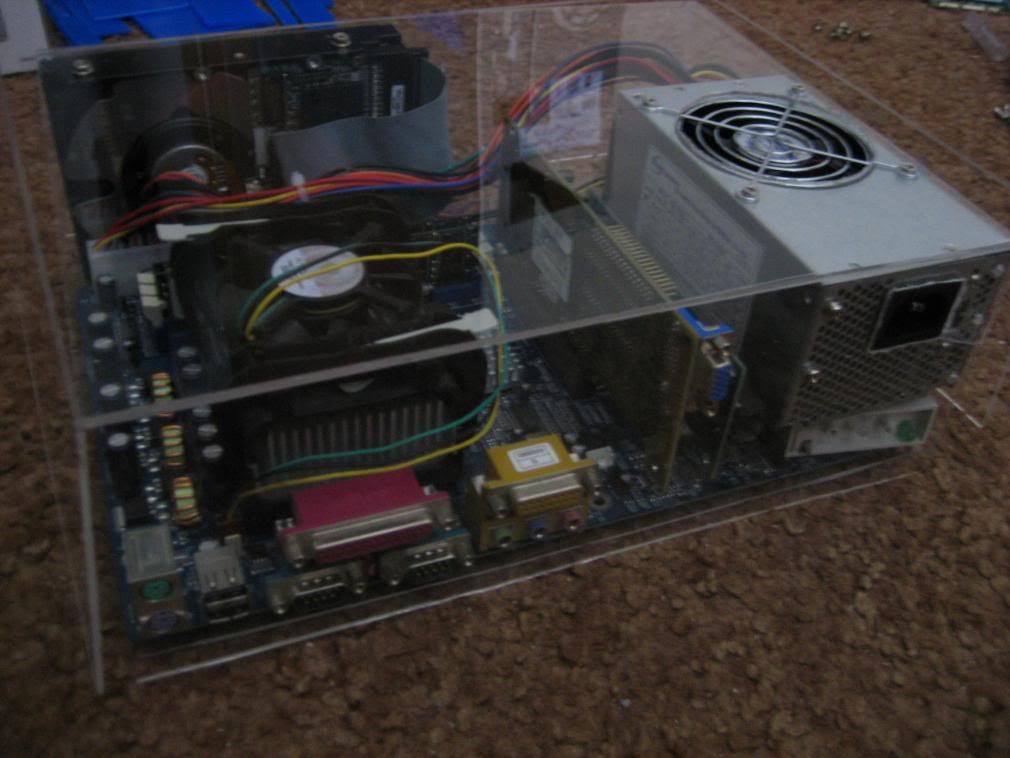
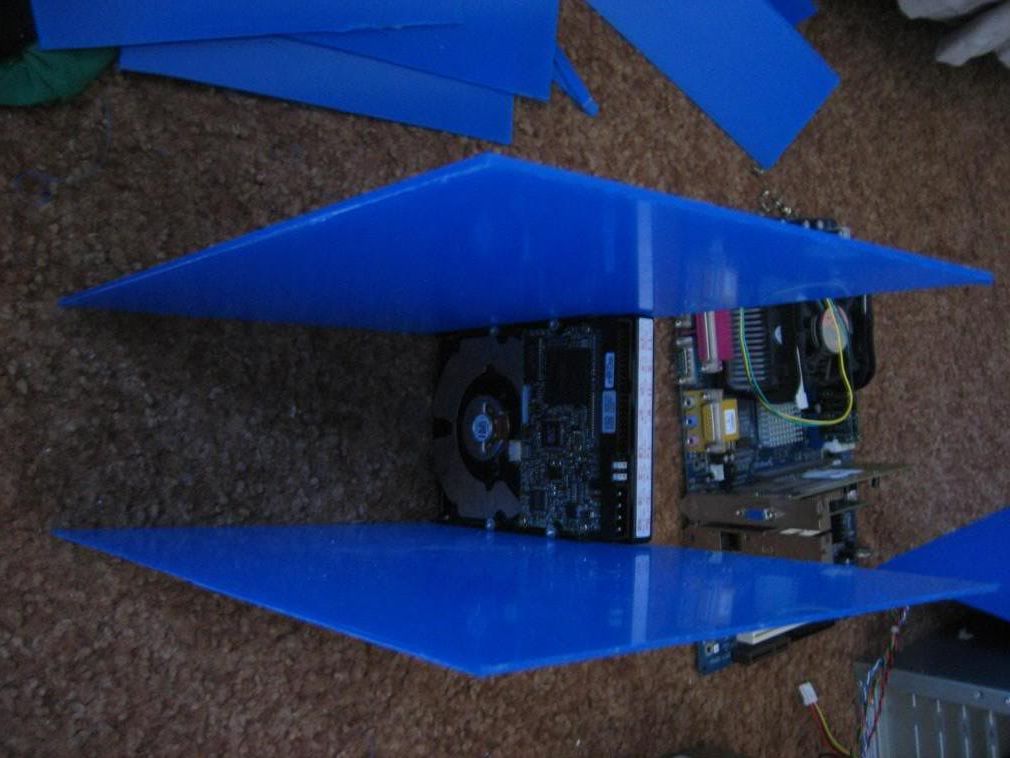
component layout
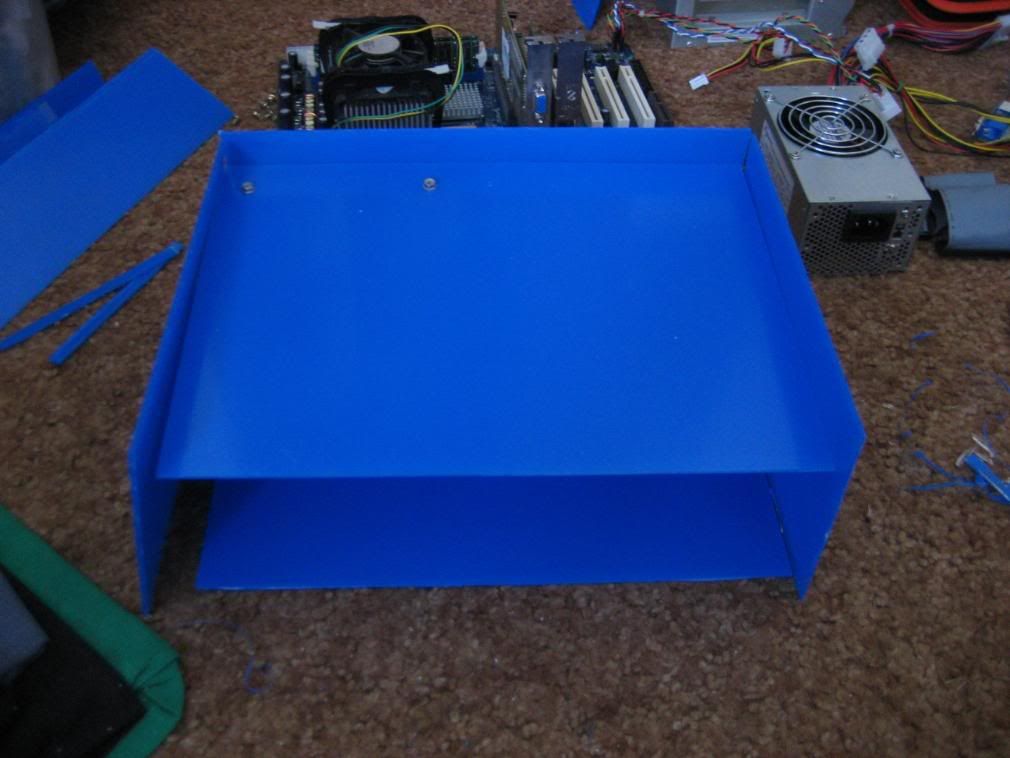
rough case layout (The blue coloring is scratch protector which will be removed)
I cut most of the case using a pocket knife and a ruler, just score and break
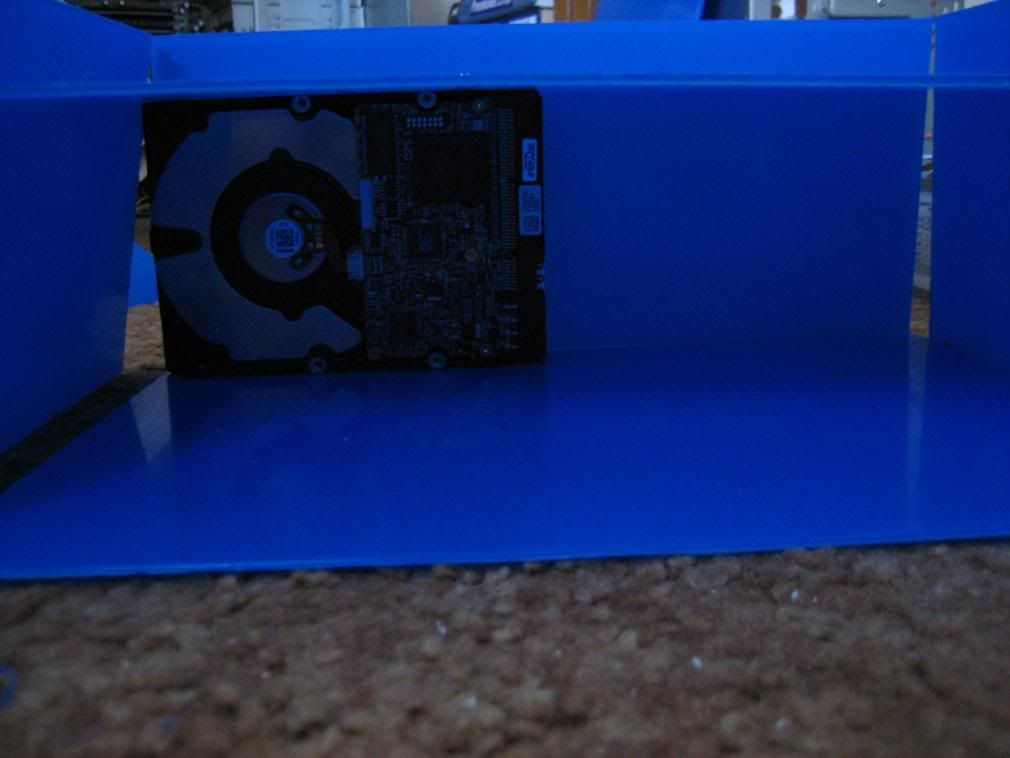
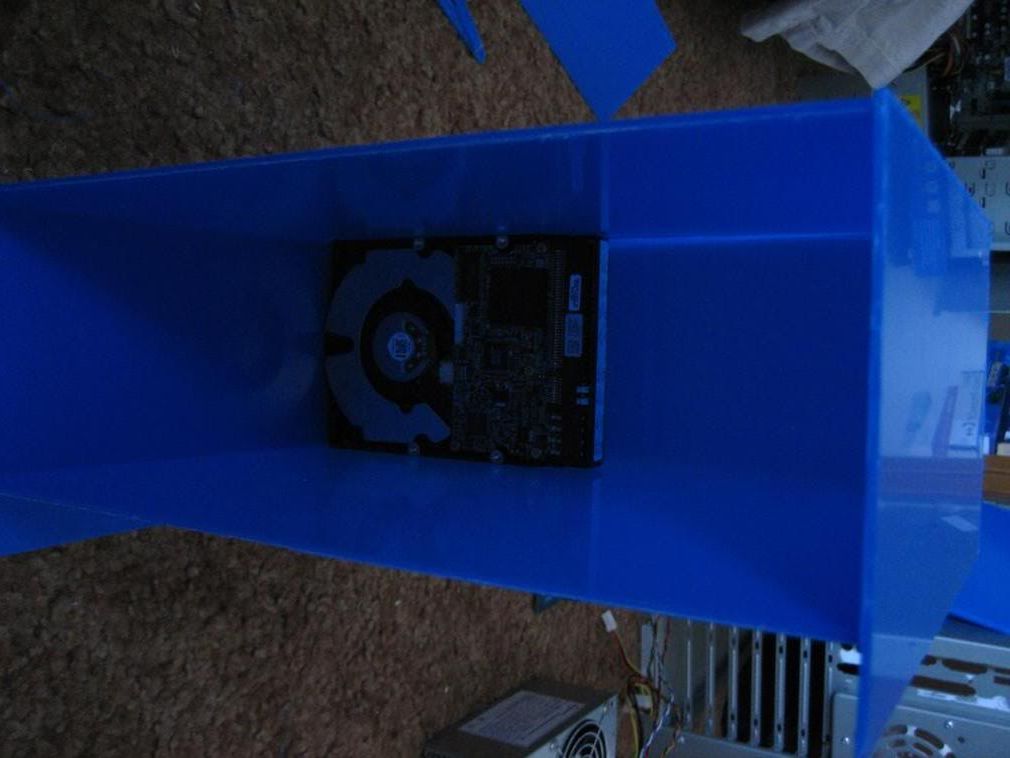
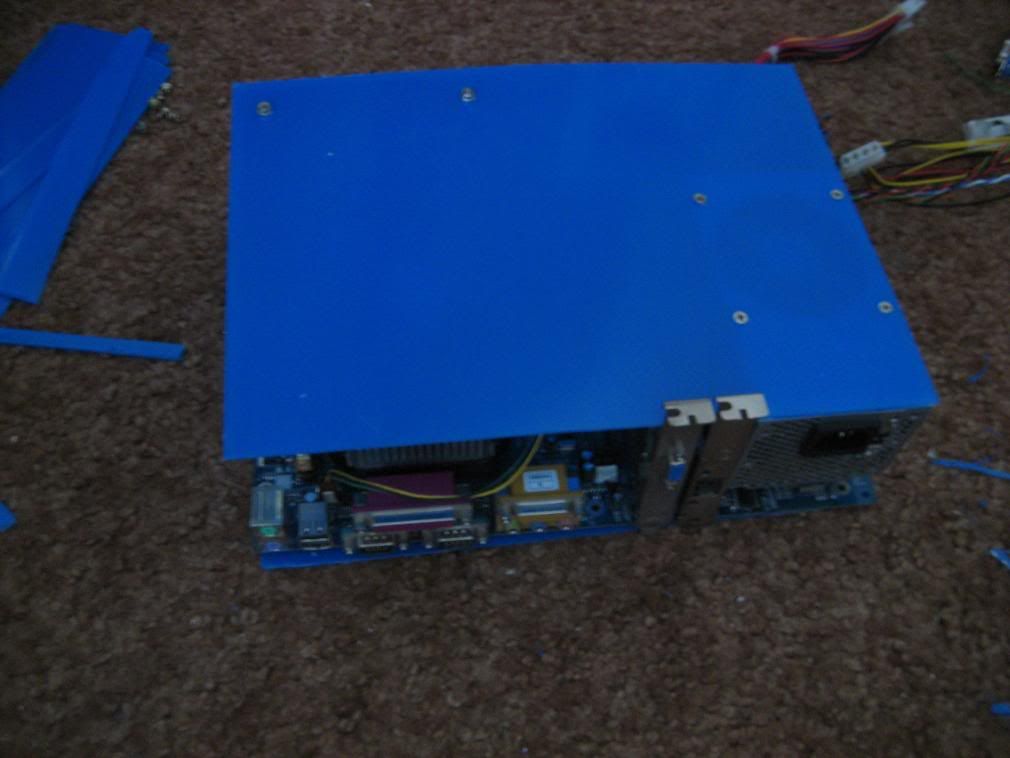
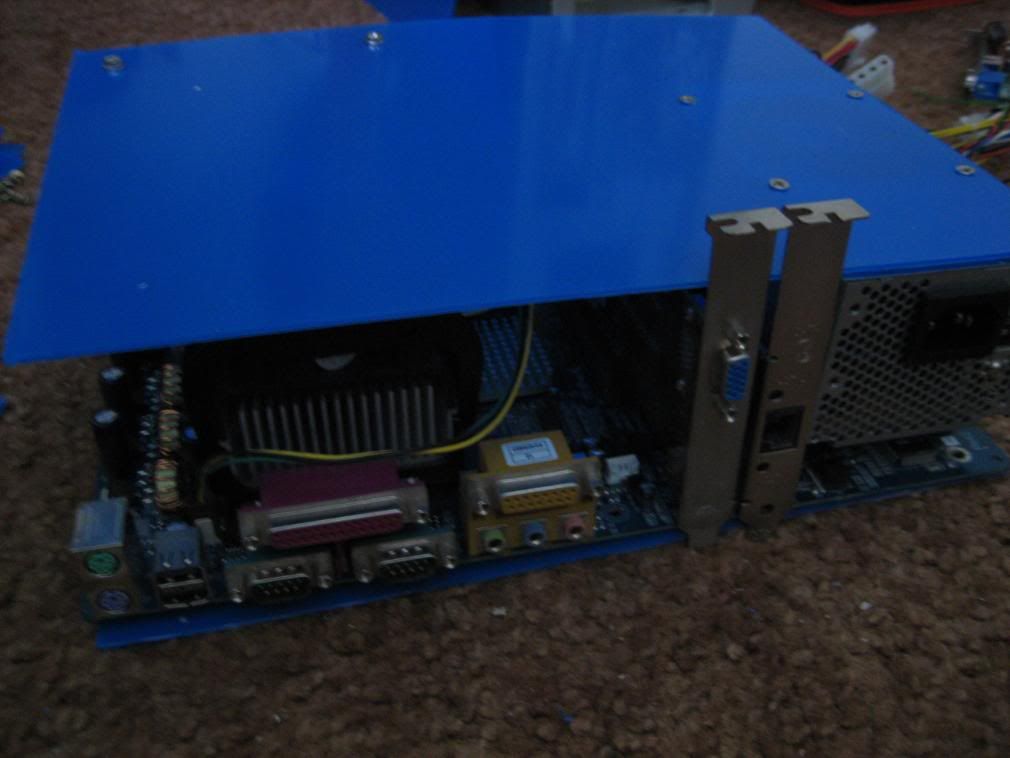
with harddrive attached
with harddrive attached, mobo in background
with harddrive attached
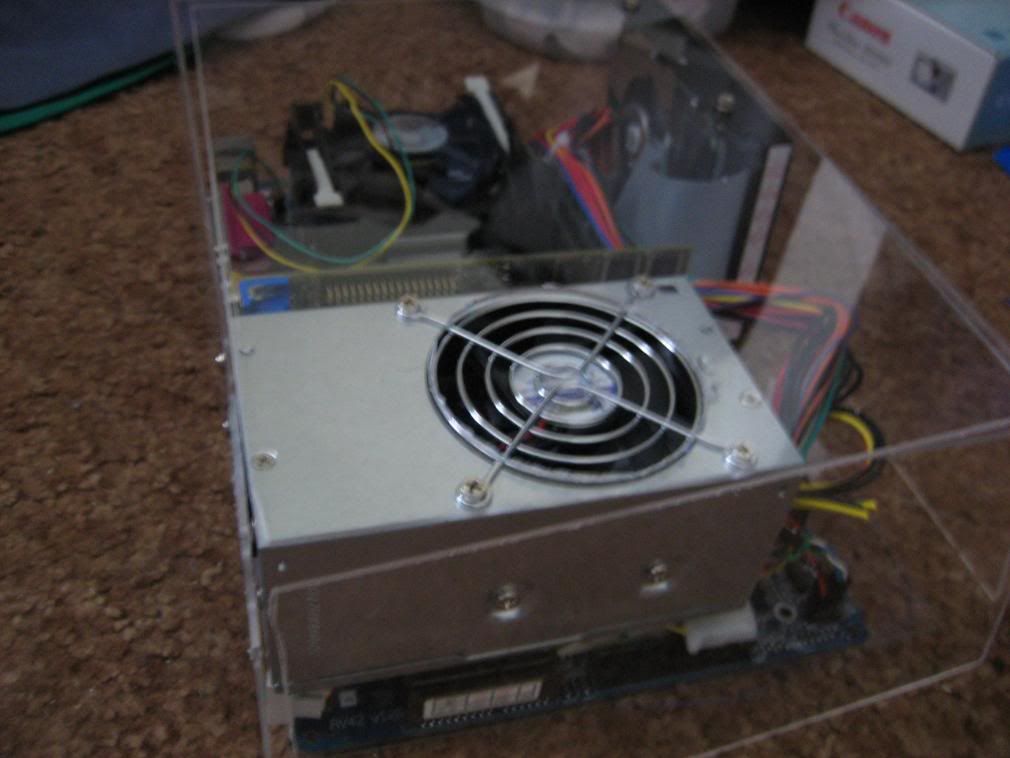
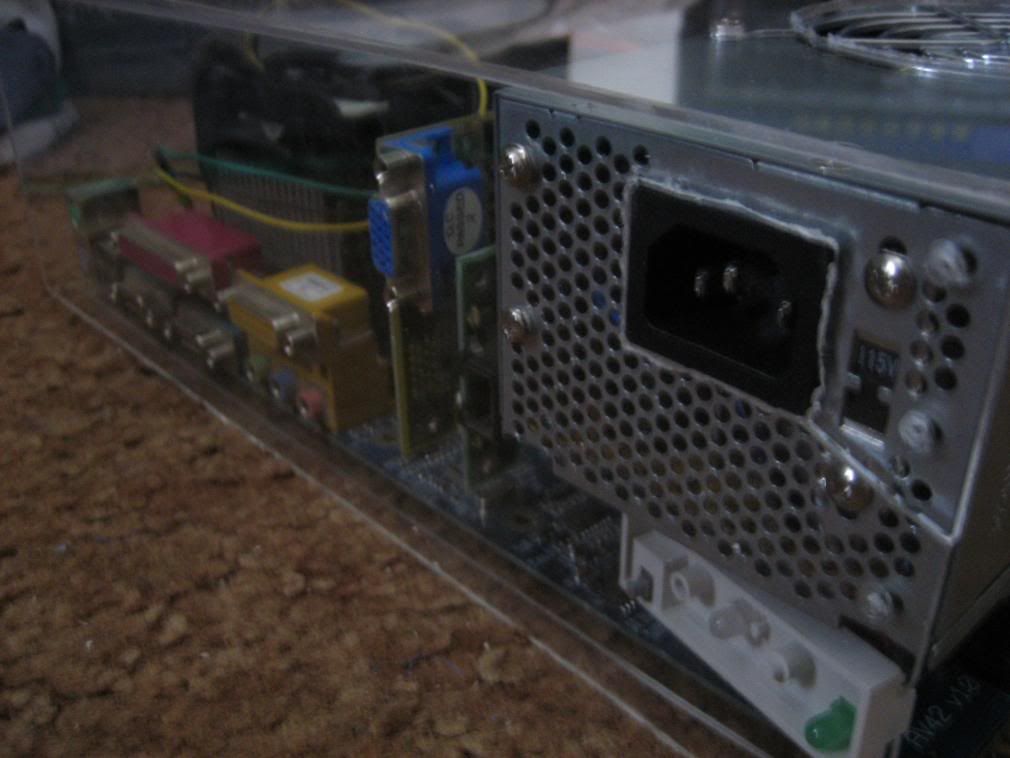
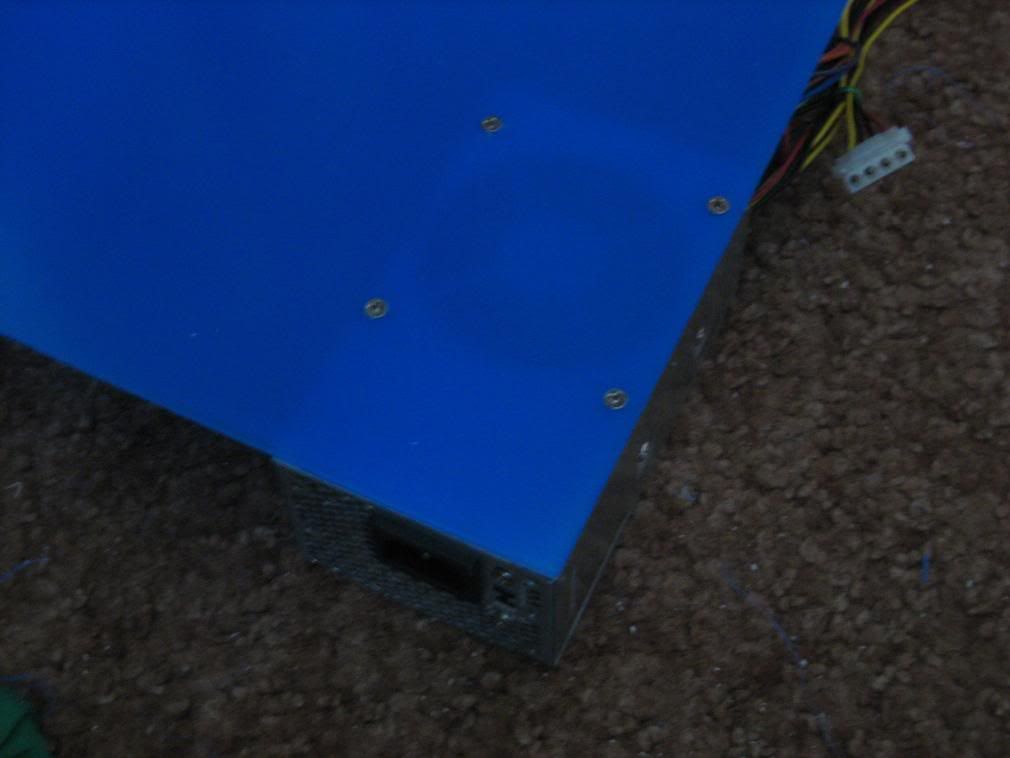
holes for psu
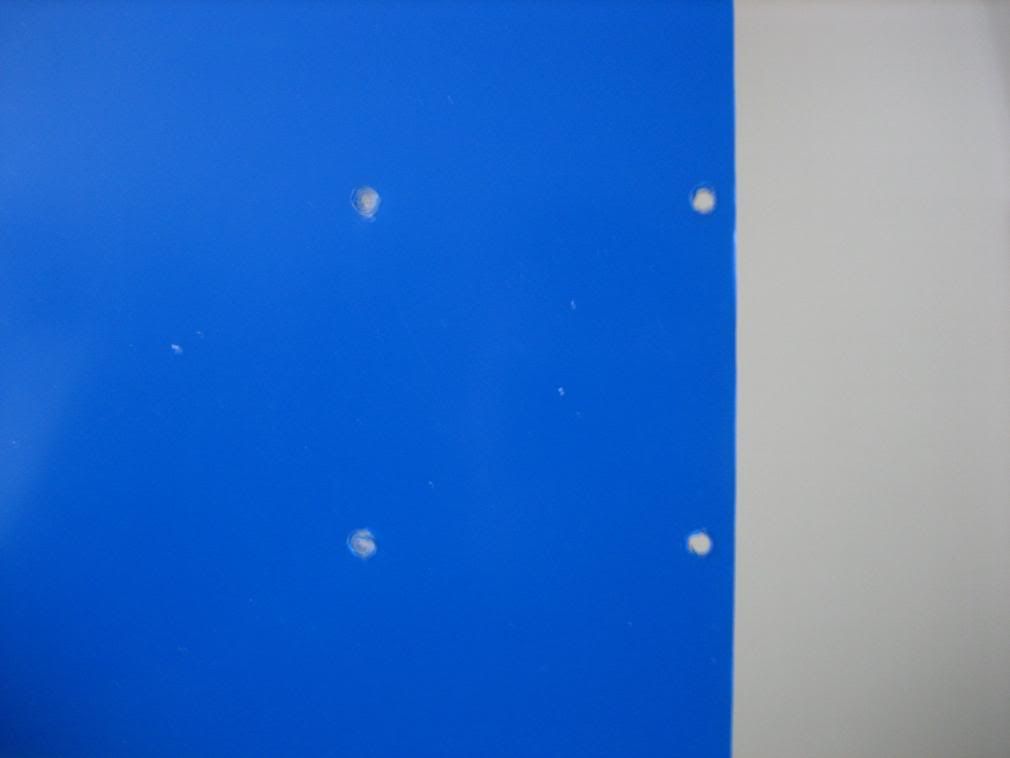
Rather elaborate technique to make up for my lack of a drill:
bend a coat hangar straight
heat one end over a stove
press against acrylic
repeat
scrap hole with knife, to enlarge enough for a screw
they fit!
all components screwed in, roughly
closeup (Notice the bend in the top piece. This is because the psu is currently sitting on the mobo. It will be supported by the side piece to provide a 1/2 inch clearance, allowing some airflow)
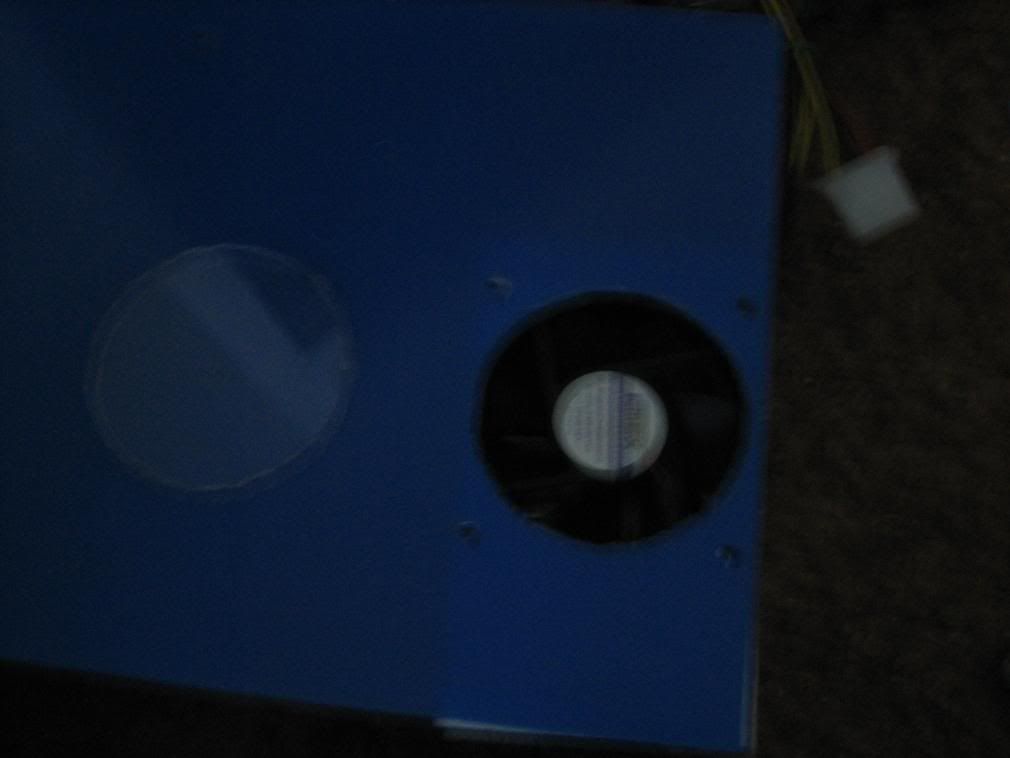
hole for psu fan
How I made the gigantic hole for the fan:
use a trashy exacto knife, or other replaceable blade knife
heat the blade
push through like butter
(note: do this in a well ventilated area)
Warning: the heat will ruin the finish on your blade. don't use a good knife
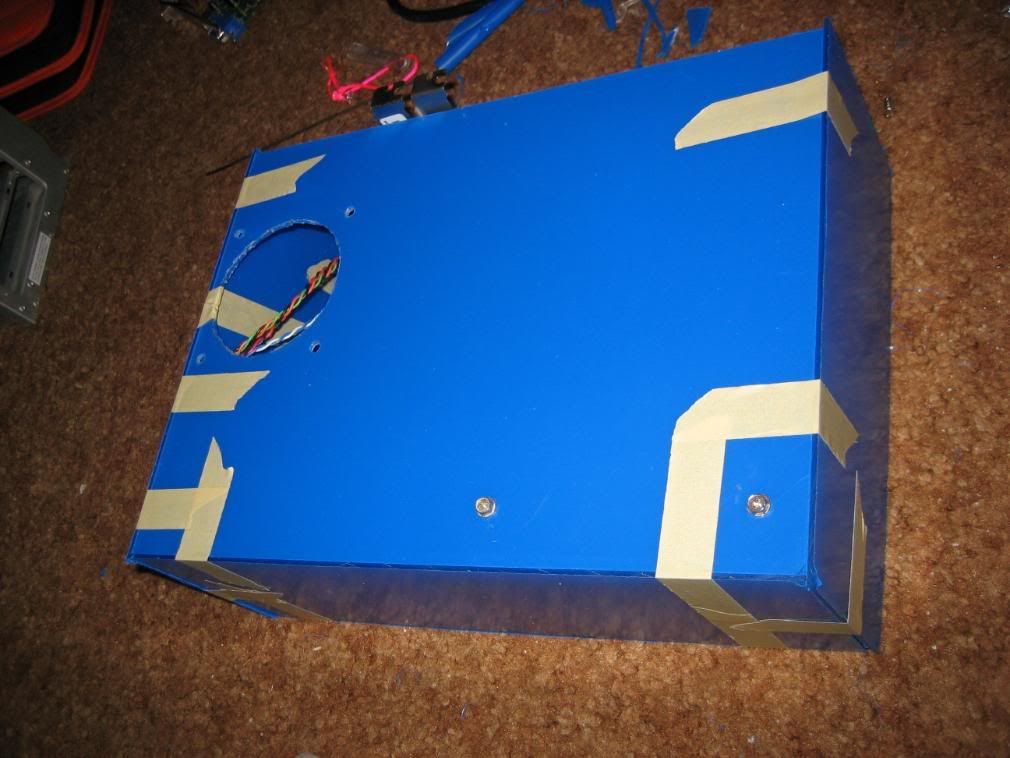
taped together case
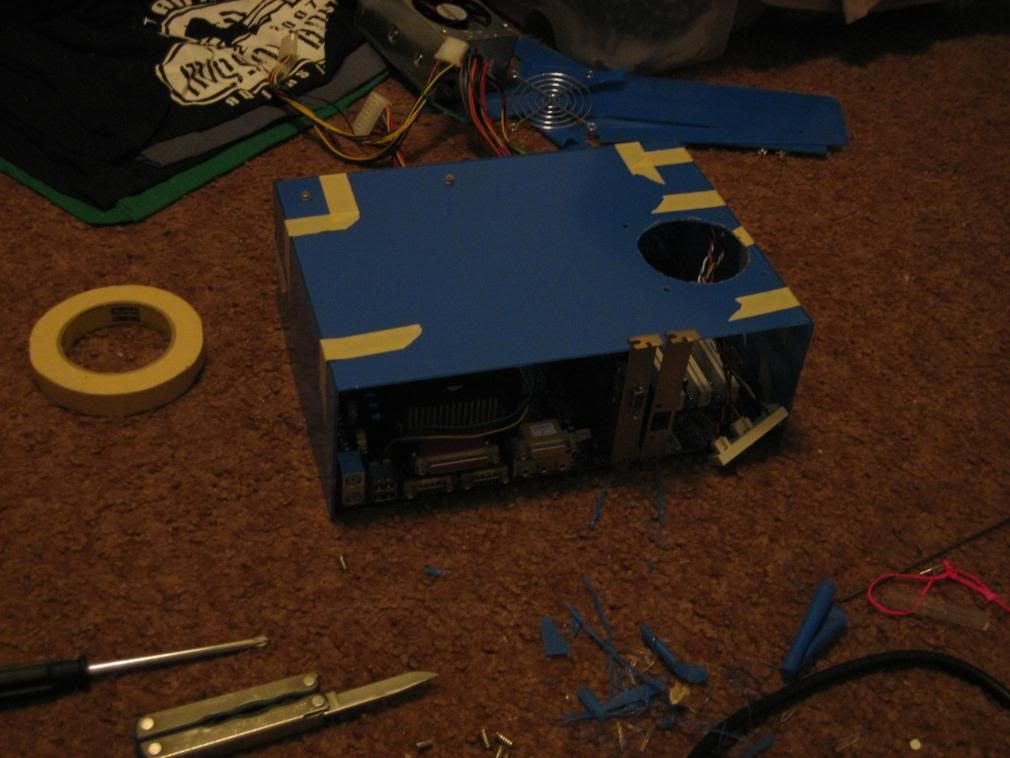
back view of case, with my two main tools in the foreground, a screwdriver and a leatherman
Future:
I'm beginning to like the blue color, so I might paint at least parts of the case blue
actually gluing pieces together (I need to get glue first)
removing scratch guard
cut hole for power button on front
attach the mobo
cut pci metal parts shorter (They are too tall)
sand out the edges (need sandpaper)
I don't plan on putting in any LED, UV,etc, at least at first. I know this is blasphemy, but they seem a bit pointless.
Dimensions:
old metal tower dimensions:
7"*15.5"*18"
new scratch build dimensions:
12"*4"*9"
for people that care, that is just under a fourth of the original volume. Especially in a college setting, that saves a lot of space.
Definitely looking for comments and suggestions, as this is my first attempt at modding

 Reply With Quote