Page 10 of 22 FirstFirst ... 5678910111213141520 ... LastLast
Results 91 to 100 of 211

Thread: Project: Honeycomb

  1. #91
    Its not cool till its watercooled. Fuganater's Avatar
    Join Date
    Oct 2007
    Location
    Kinshasa, DRC
    Posts
    2,843

    Default Media Card Reader Cutout

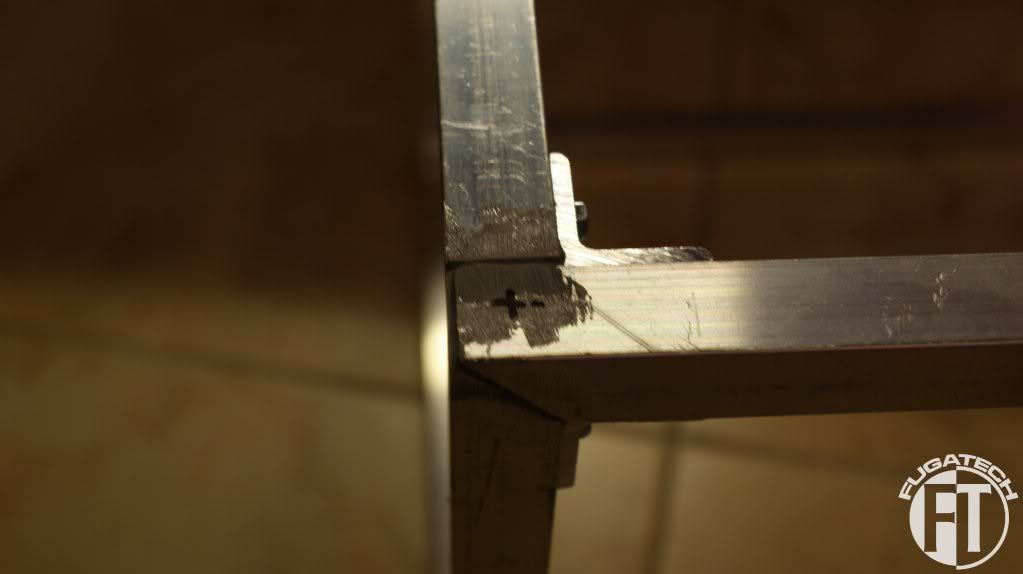
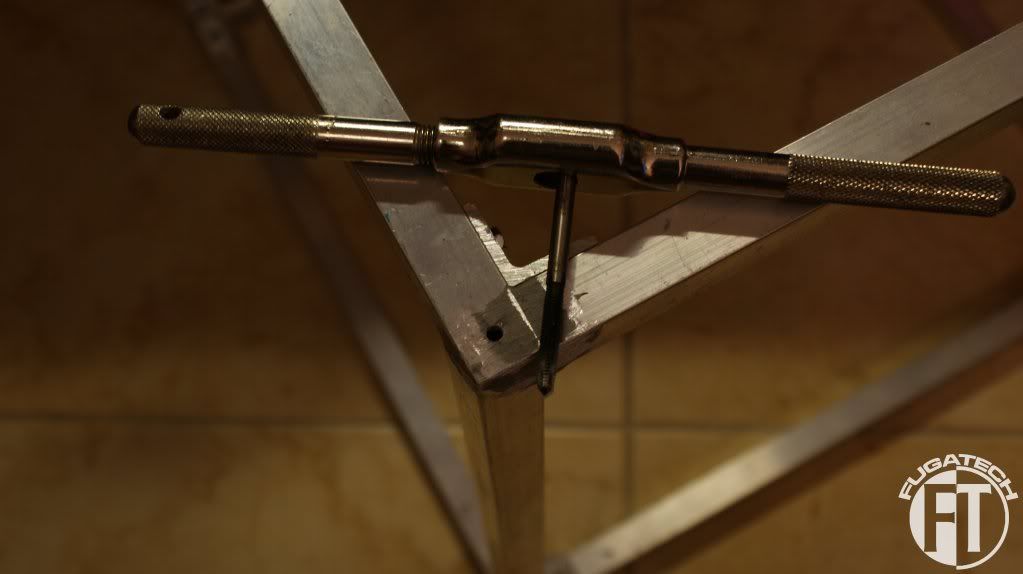
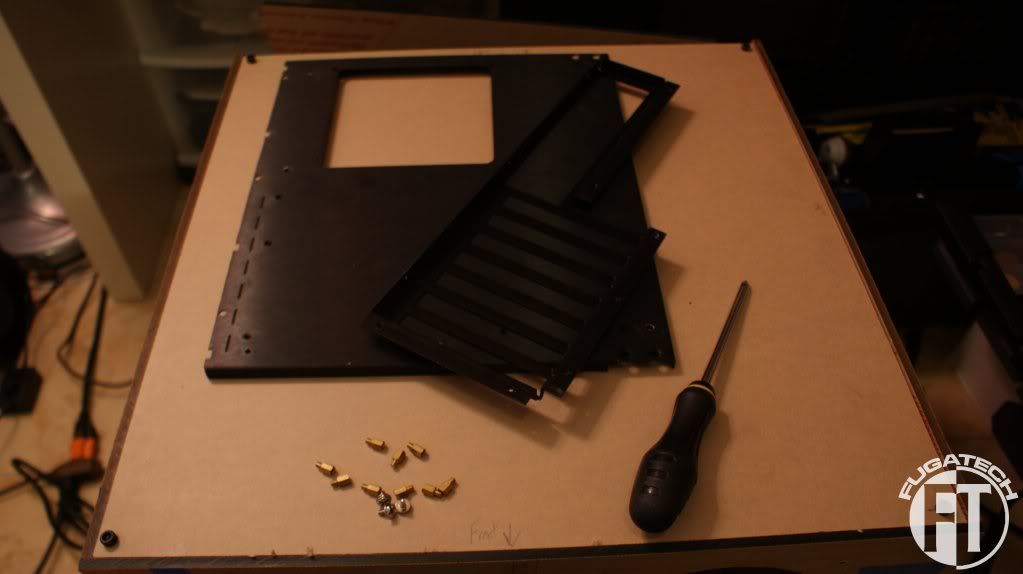
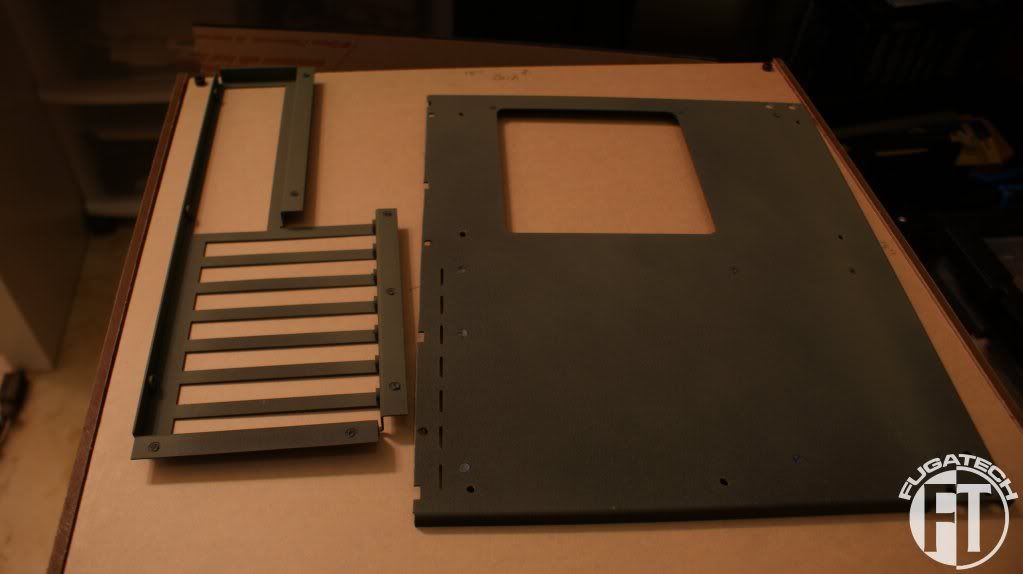
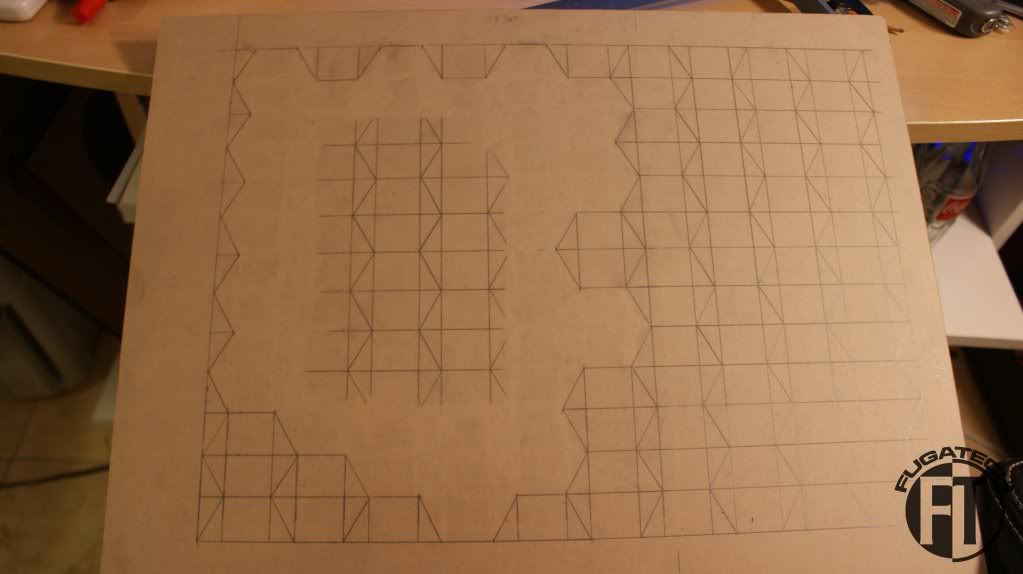
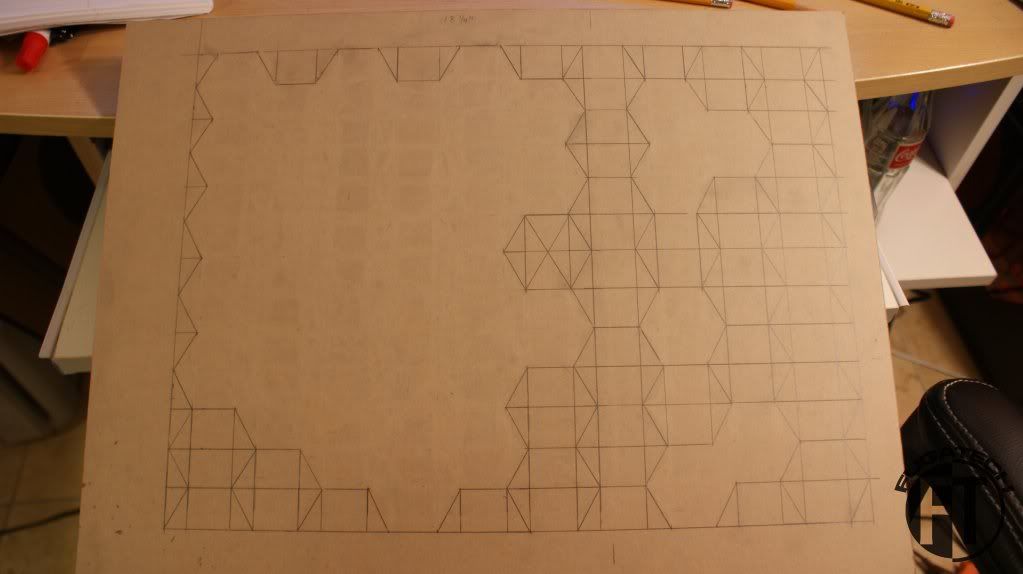
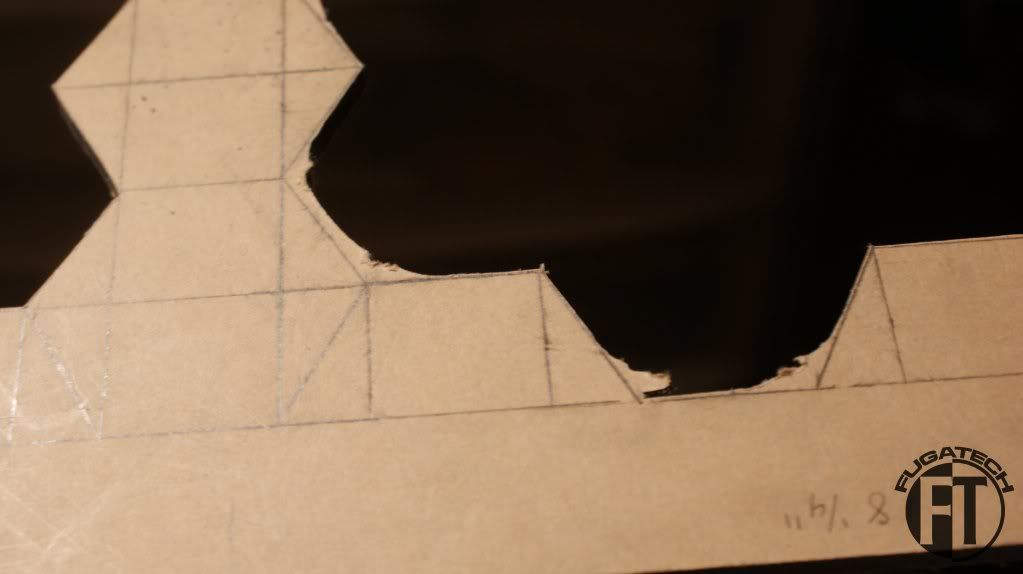
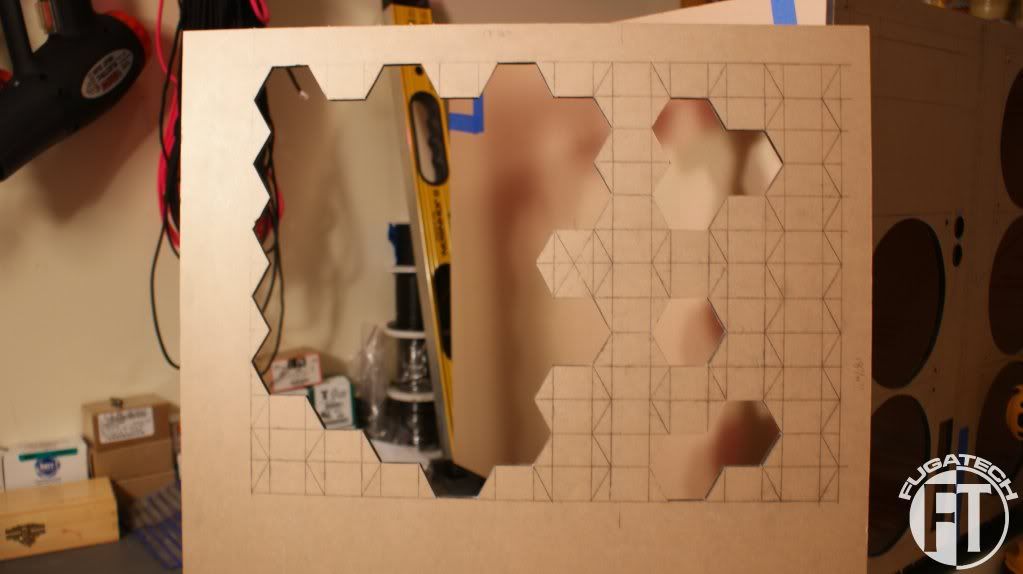
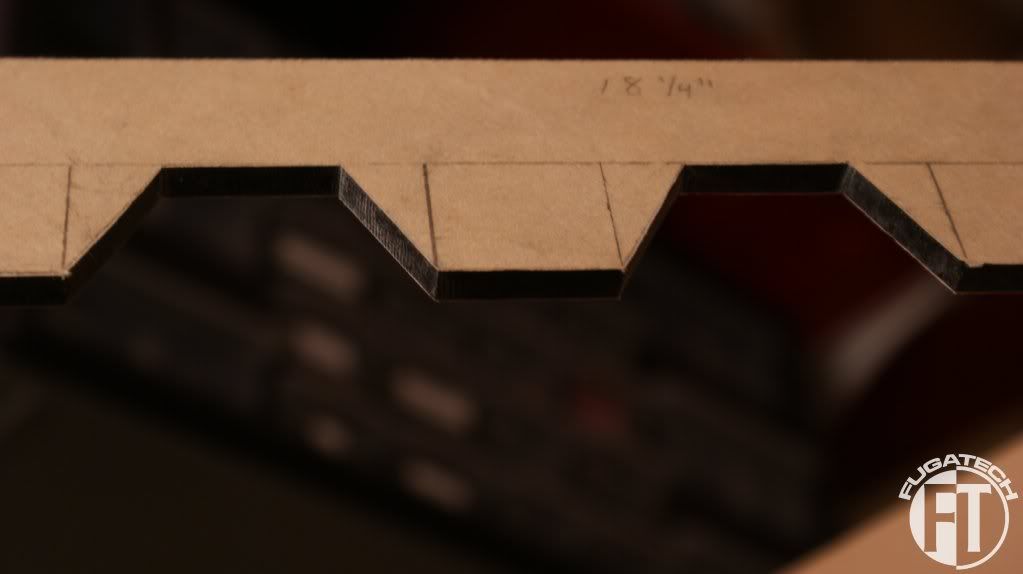
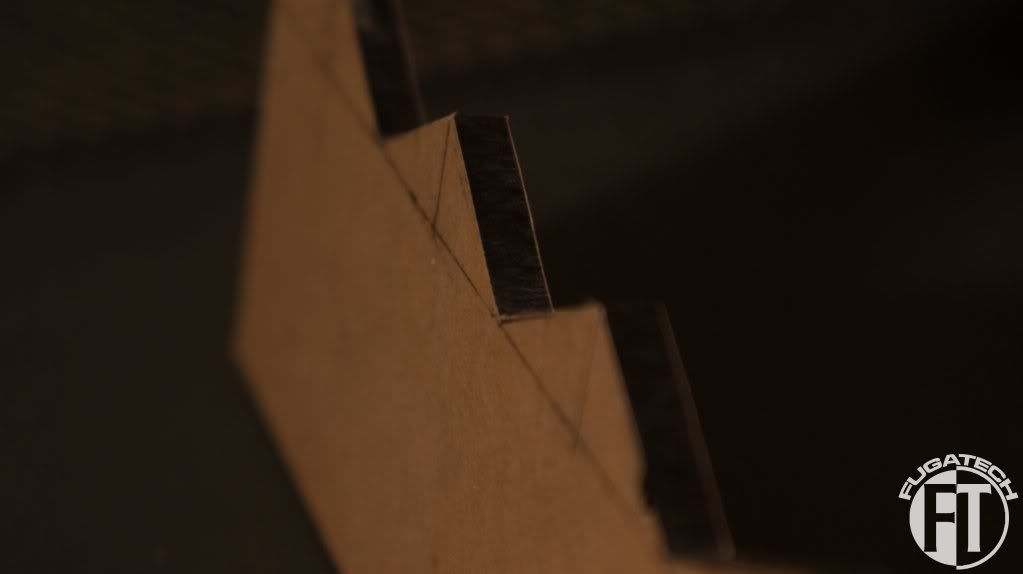
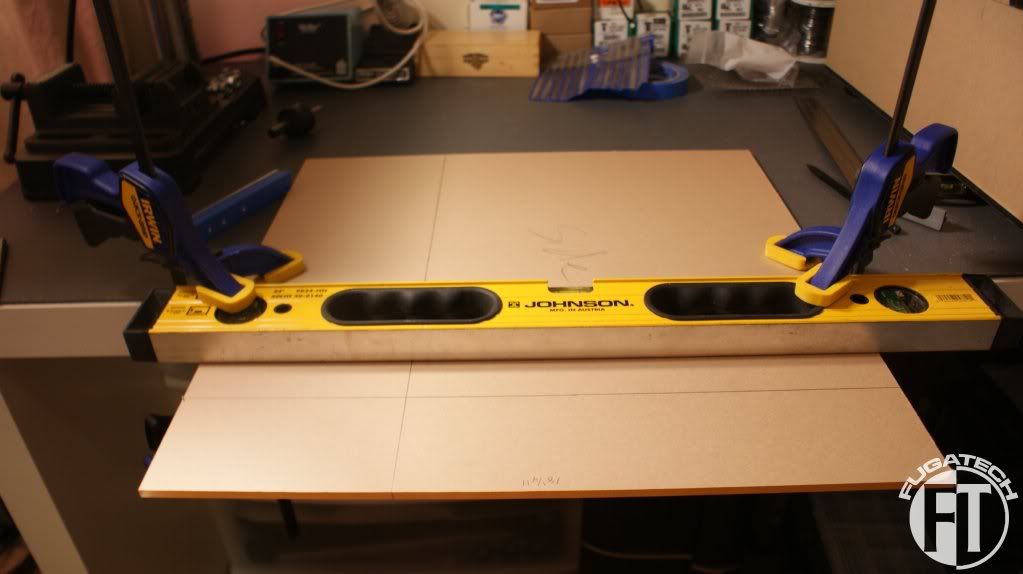
    Since its a 3 day weekend I will be trying to get as much done as I can. Here is what I did last night.

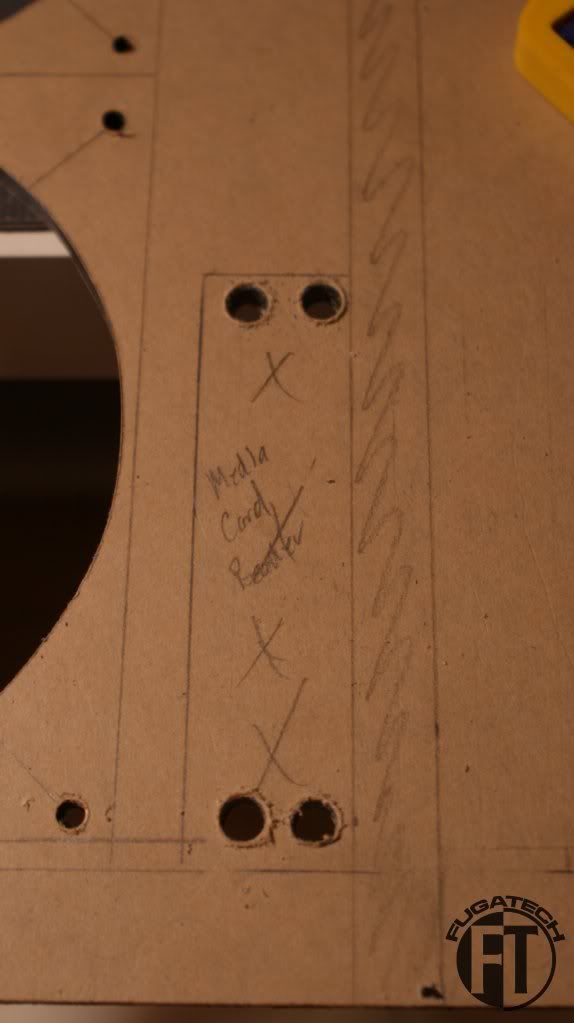
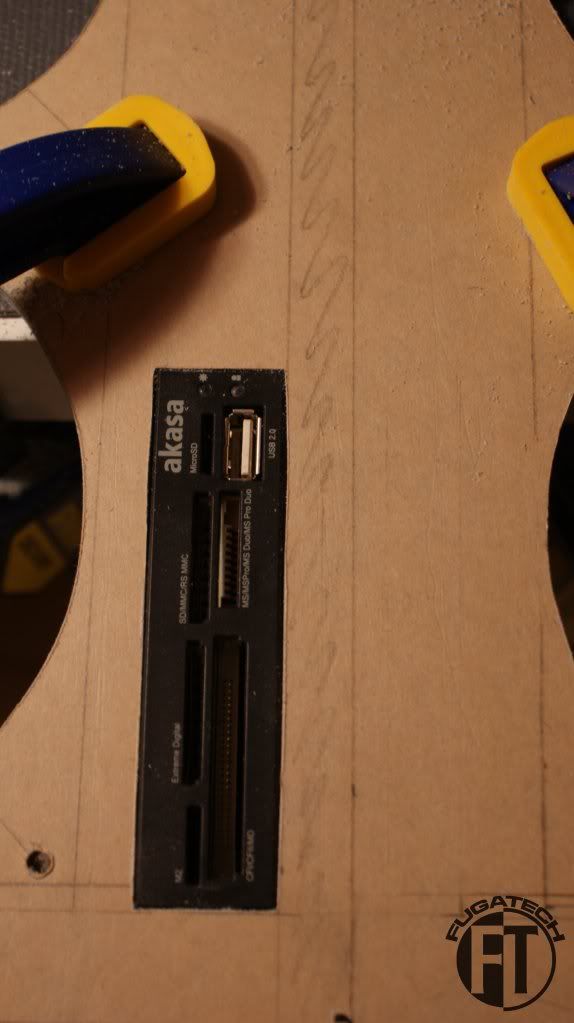
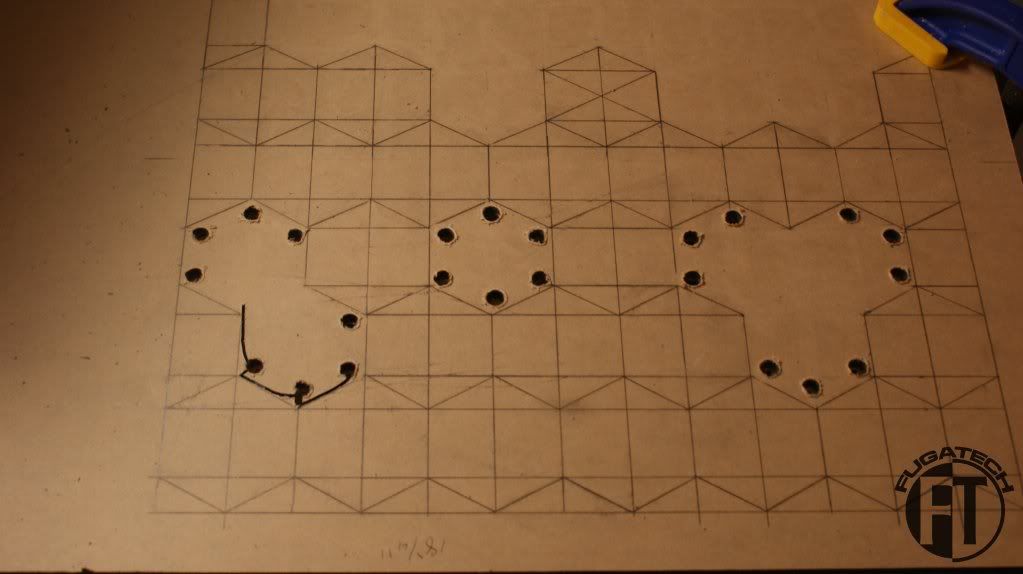
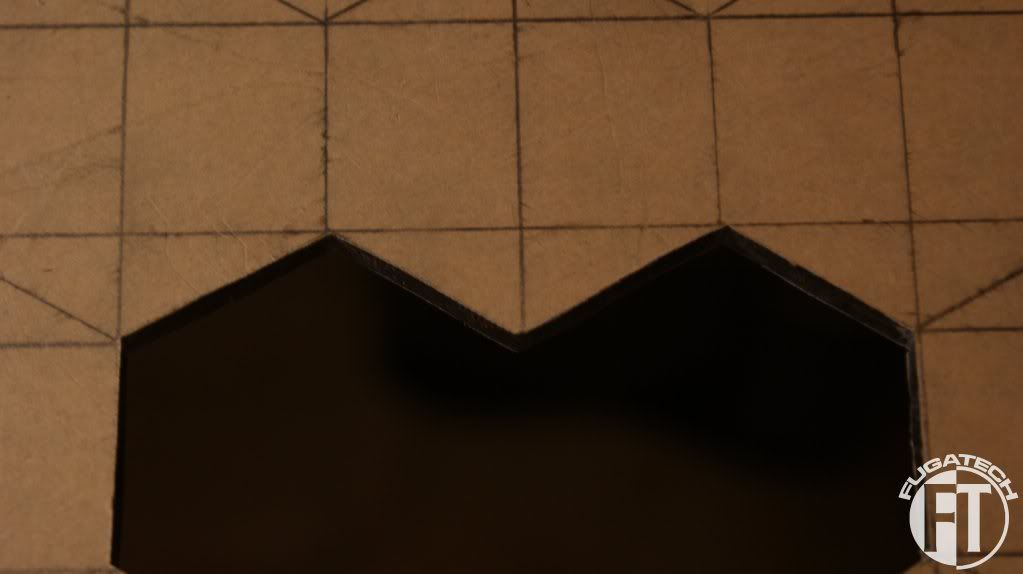
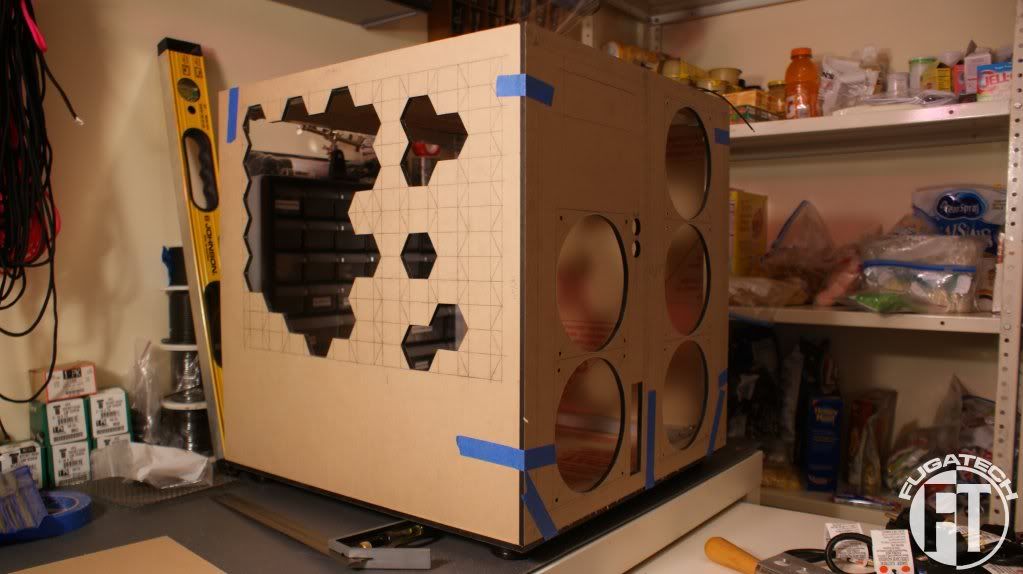
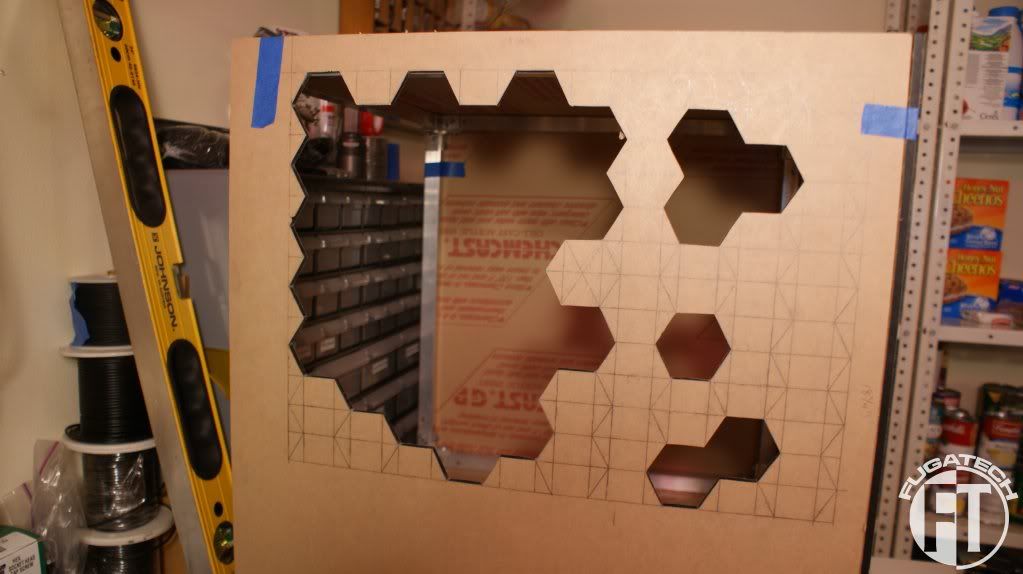
    So the media card reader will be in the front plate of the mod. I didn't want to put it anywhere... traditional?

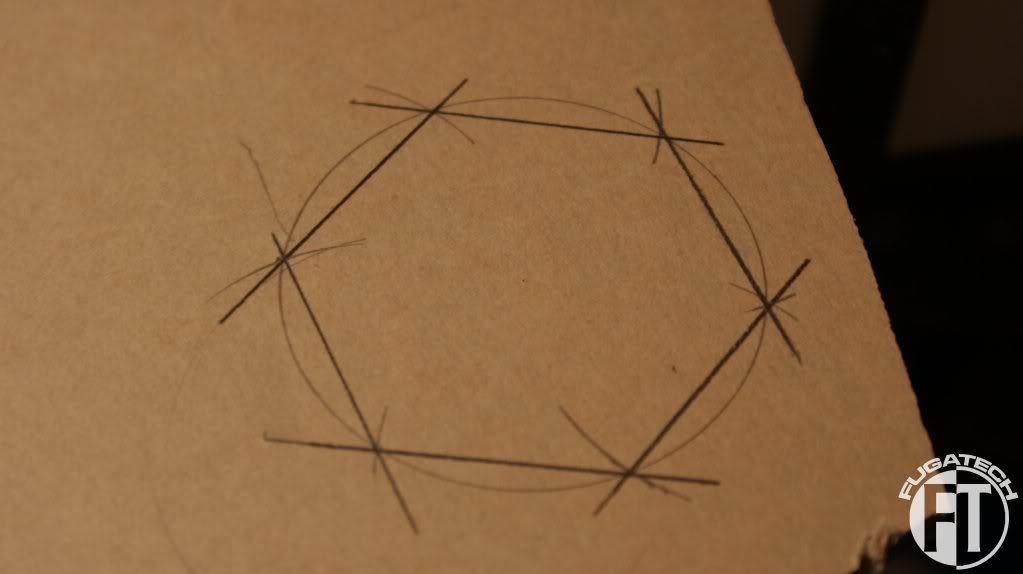
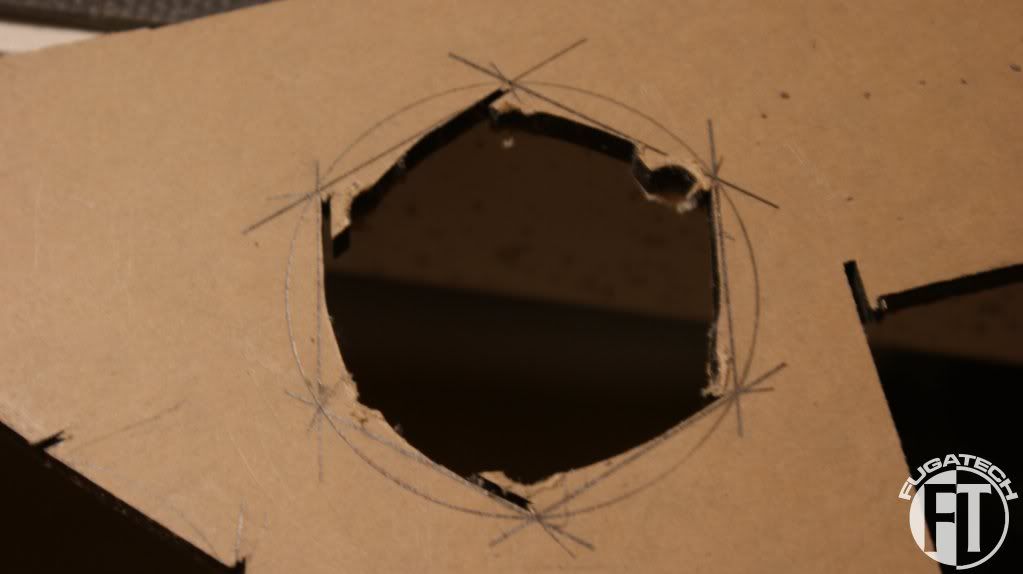
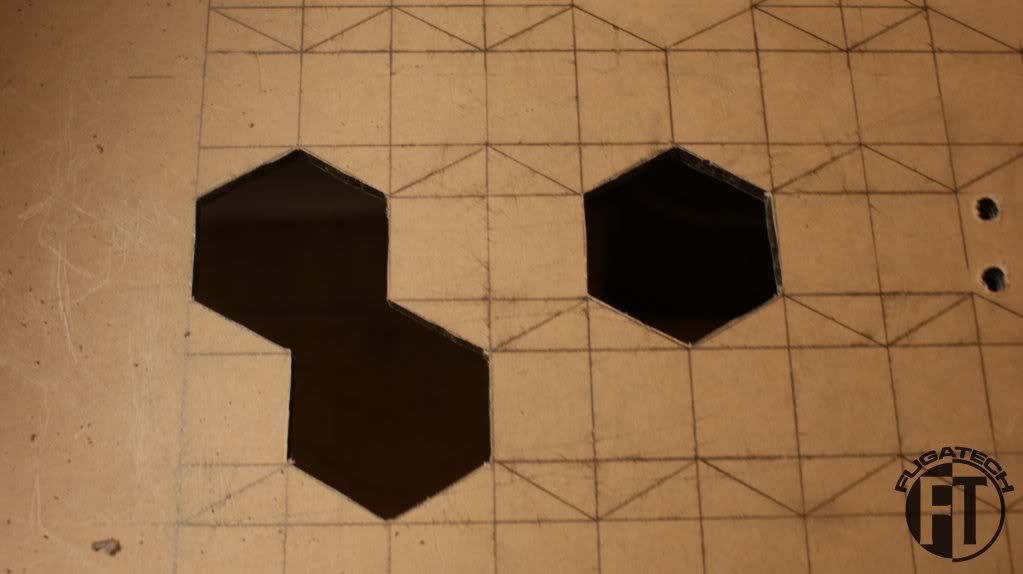
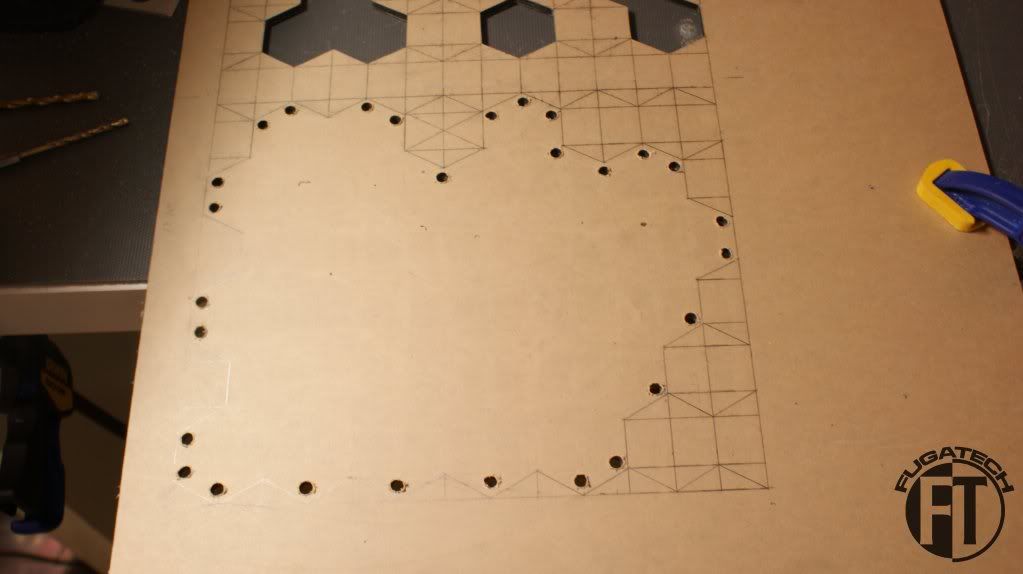
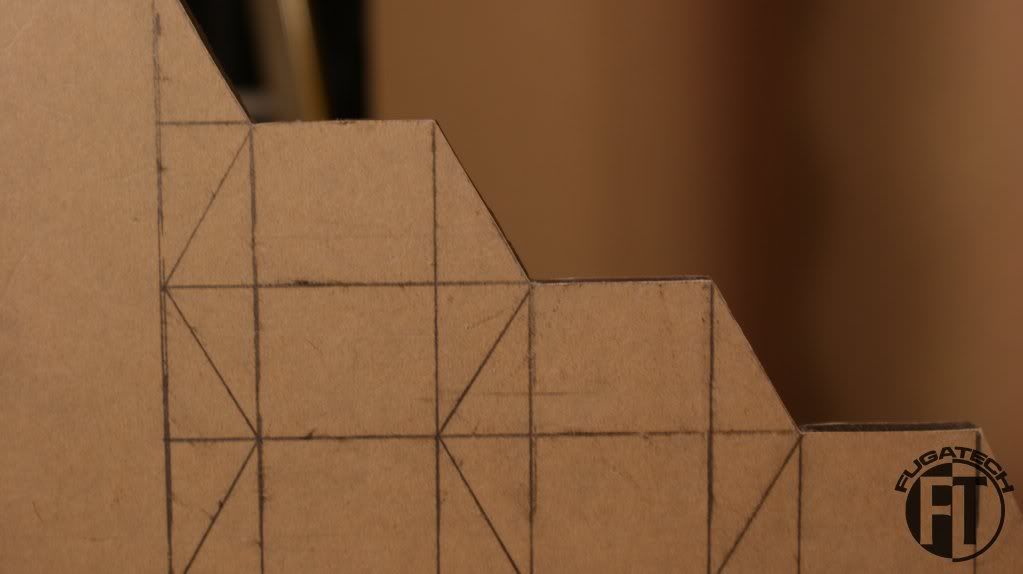
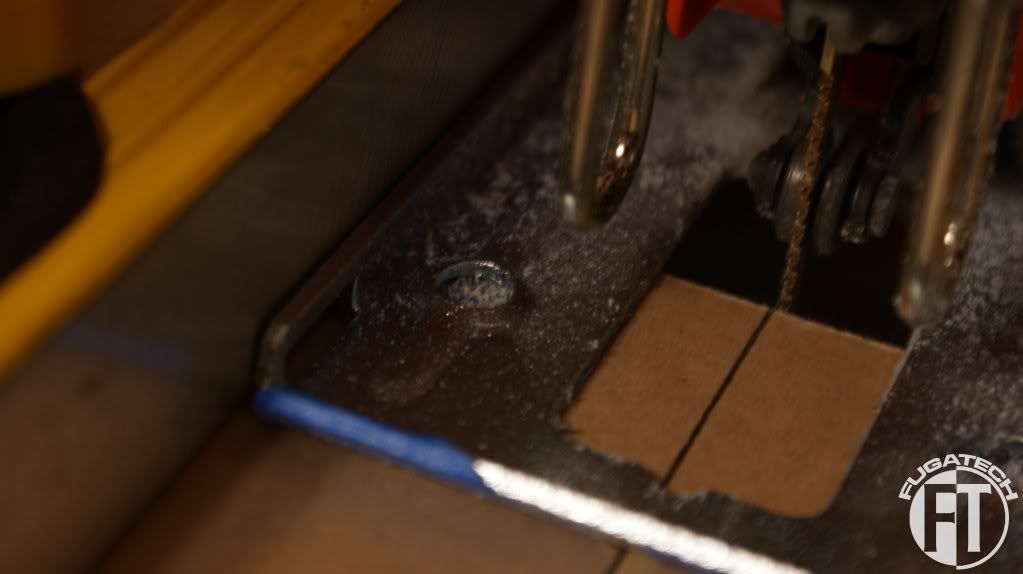
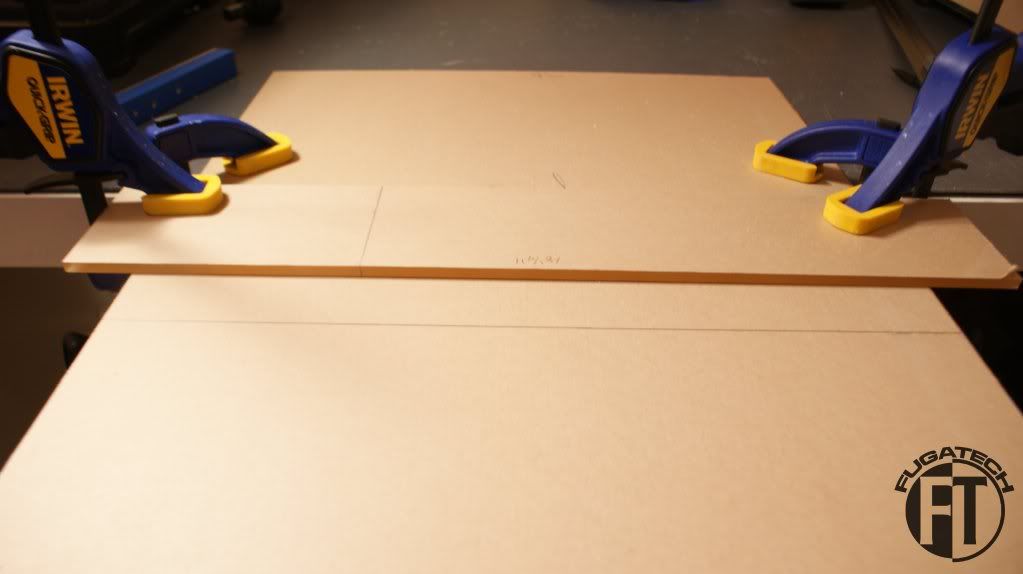
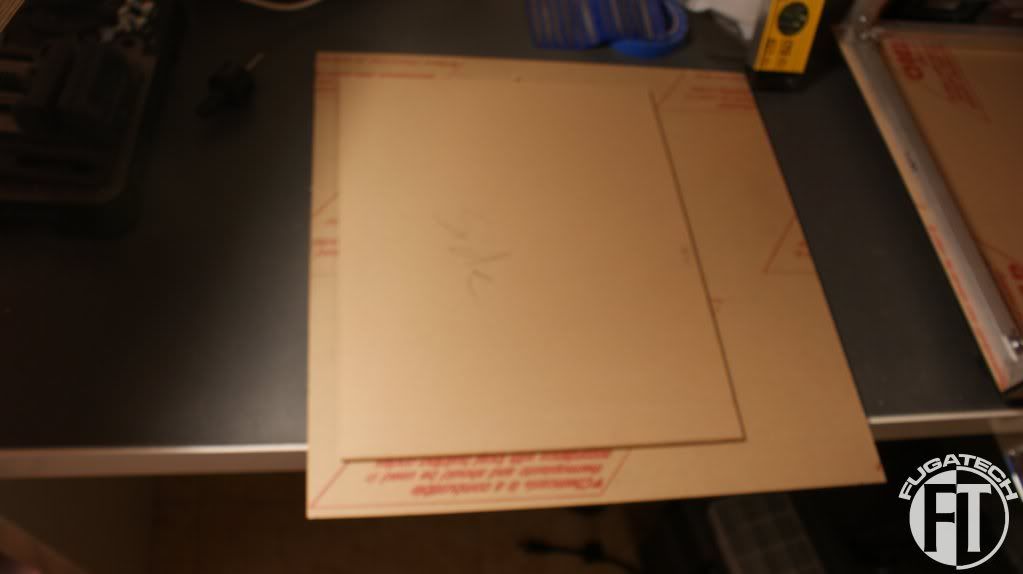
    Drilled holes to fit the jig saw blade.
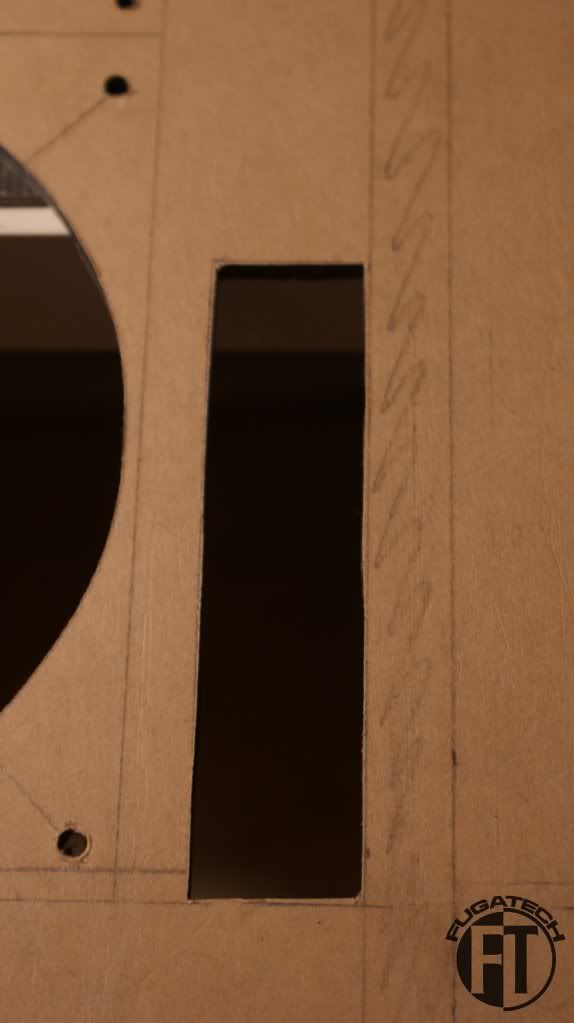
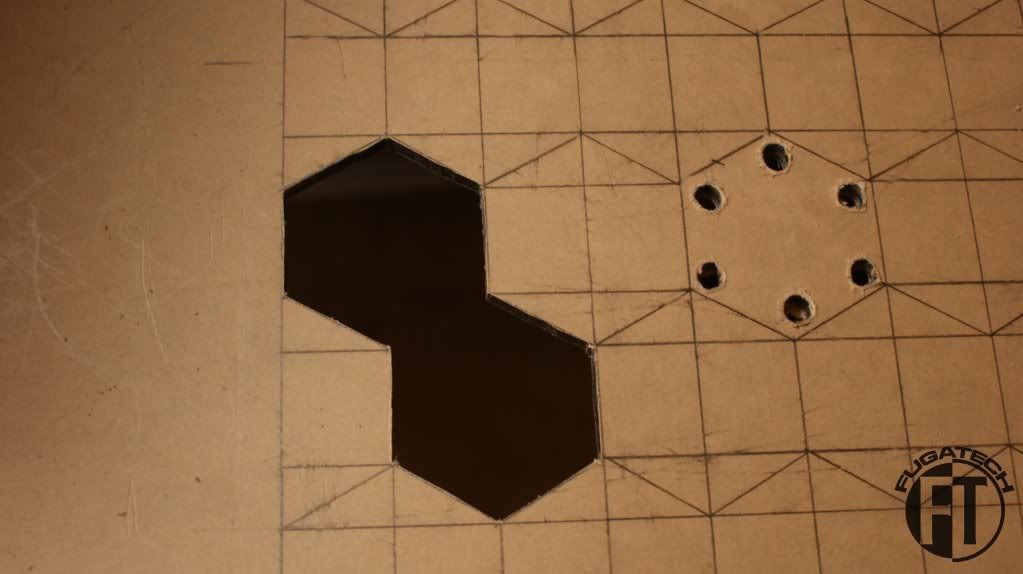
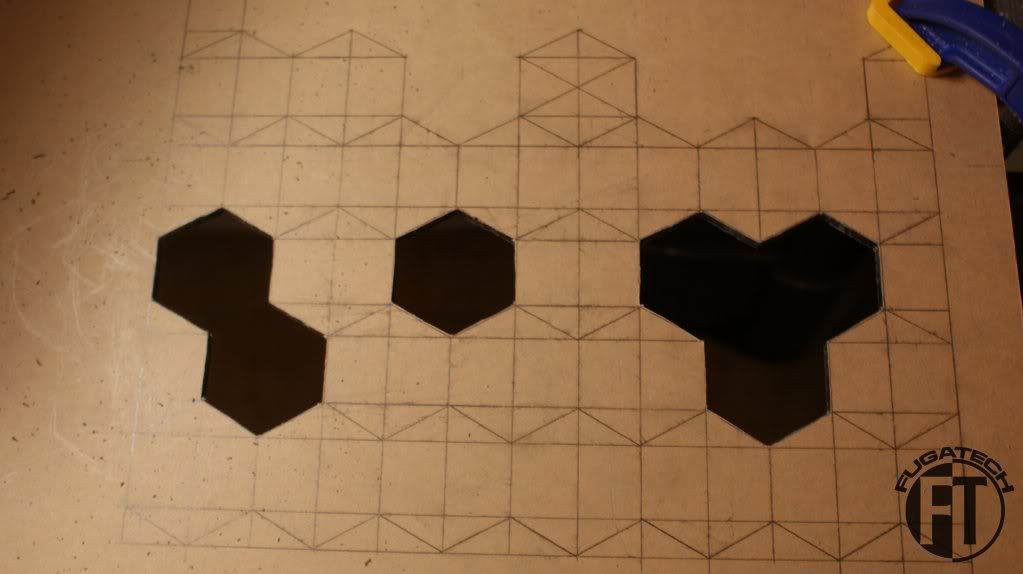
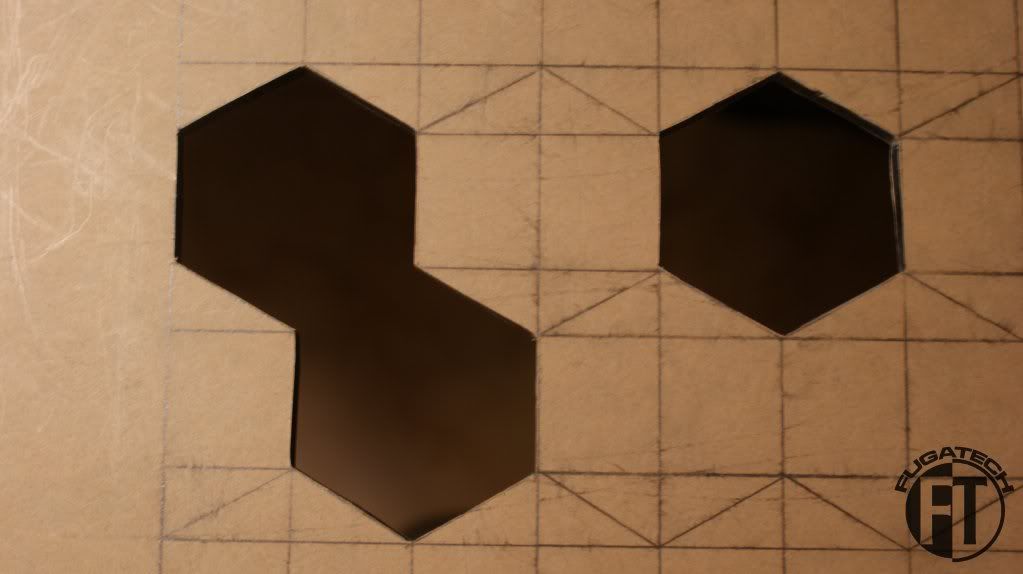
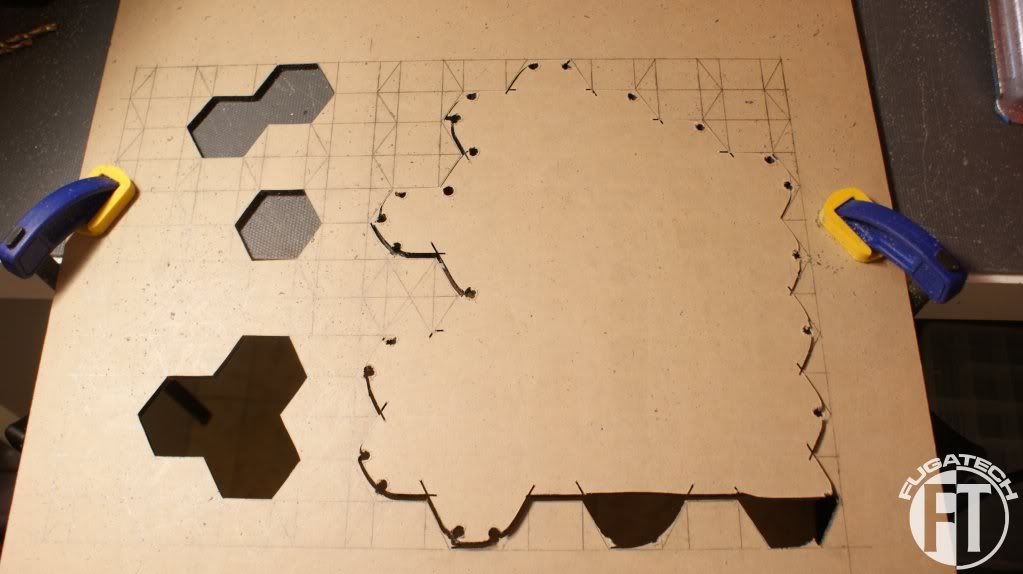
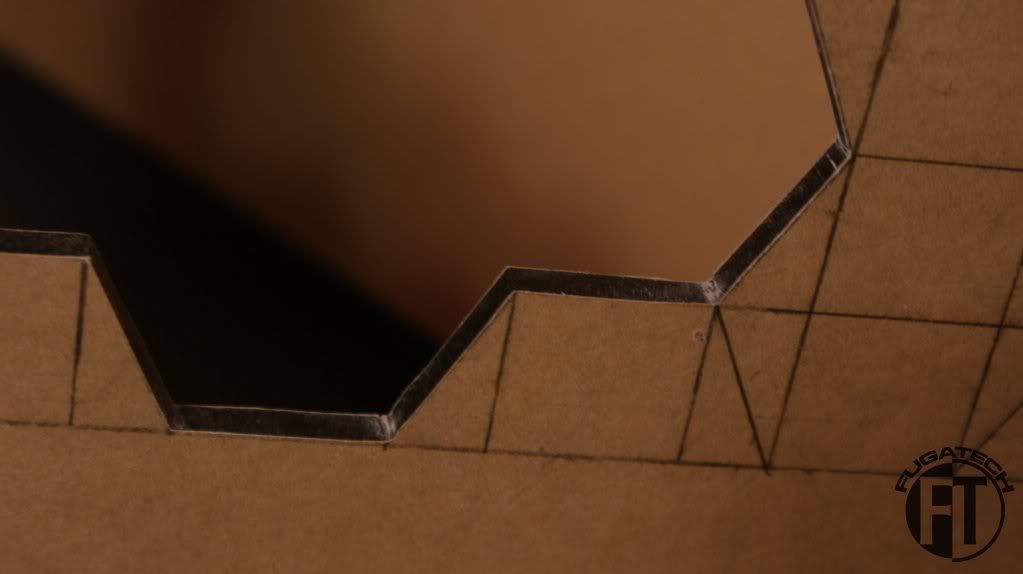
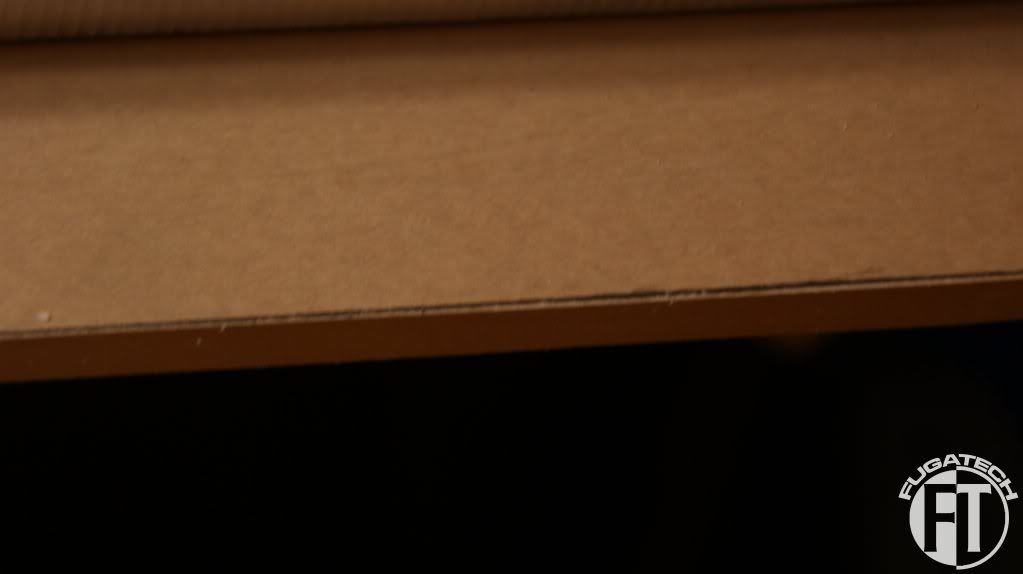

    After cutting.


    It actually was really straight when I first cut it but I had to widen it roughly 2-3mm so that the card reader would fit snugly. This took almost an hour because I didn't want to take too much off.

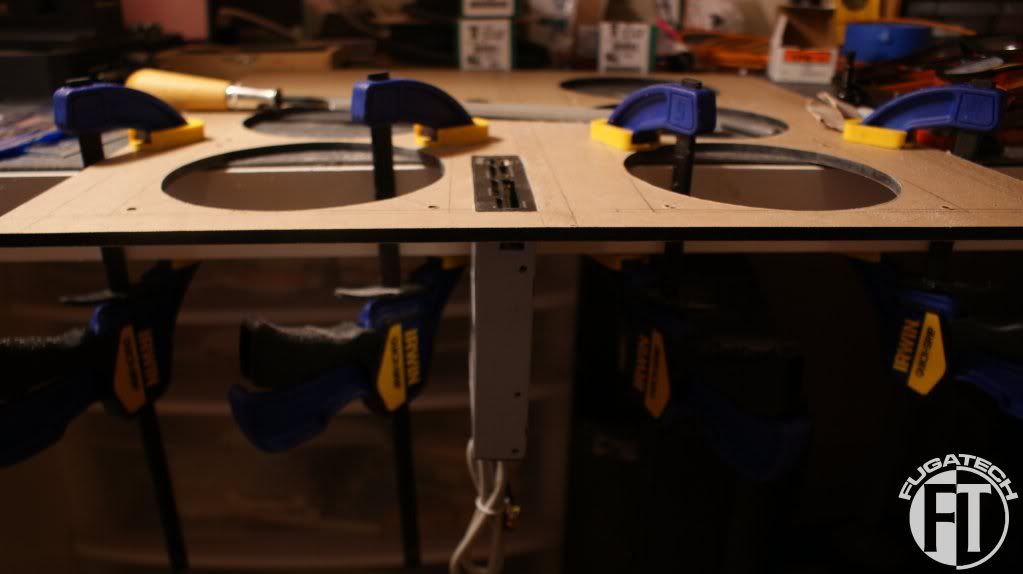
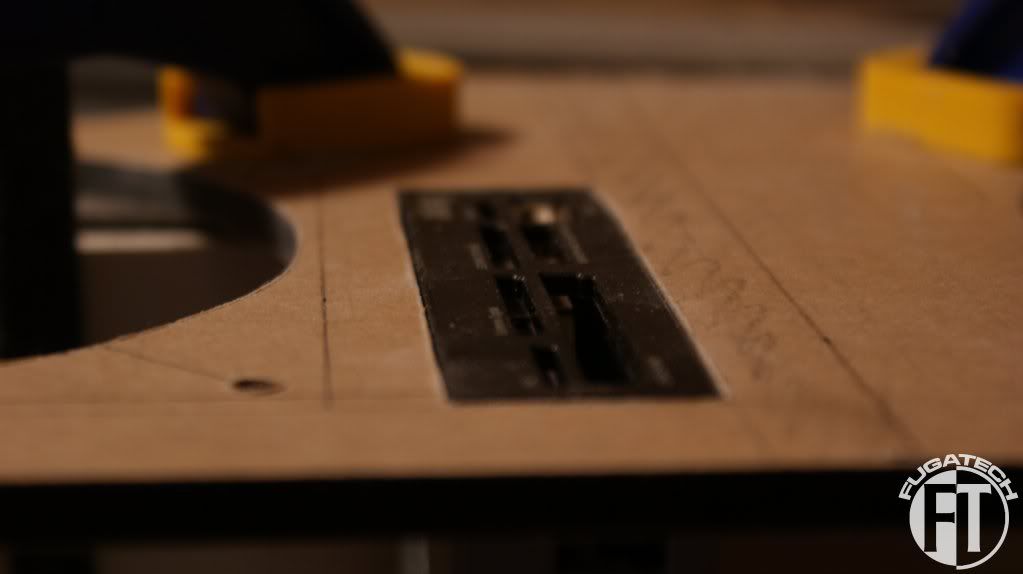
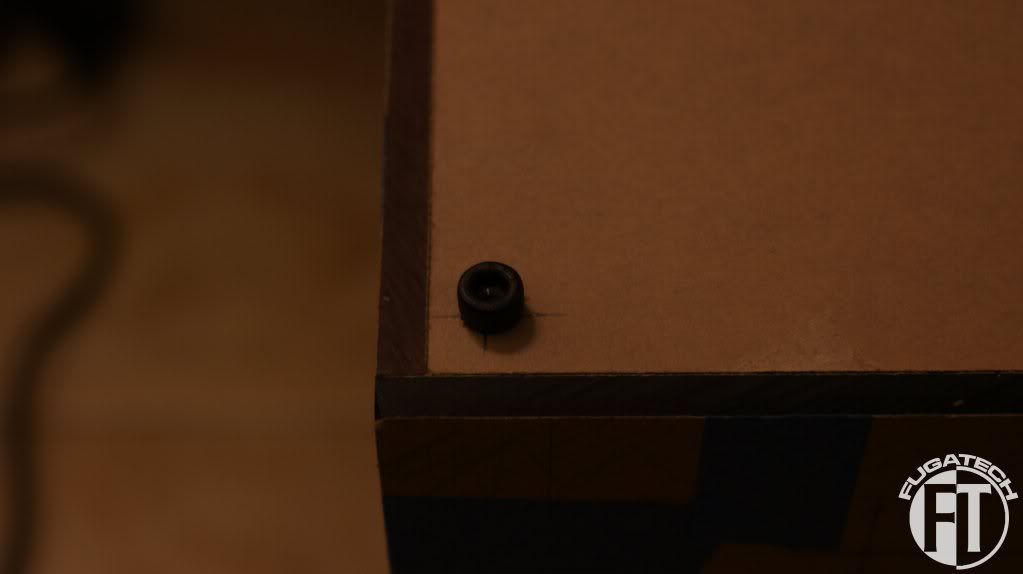
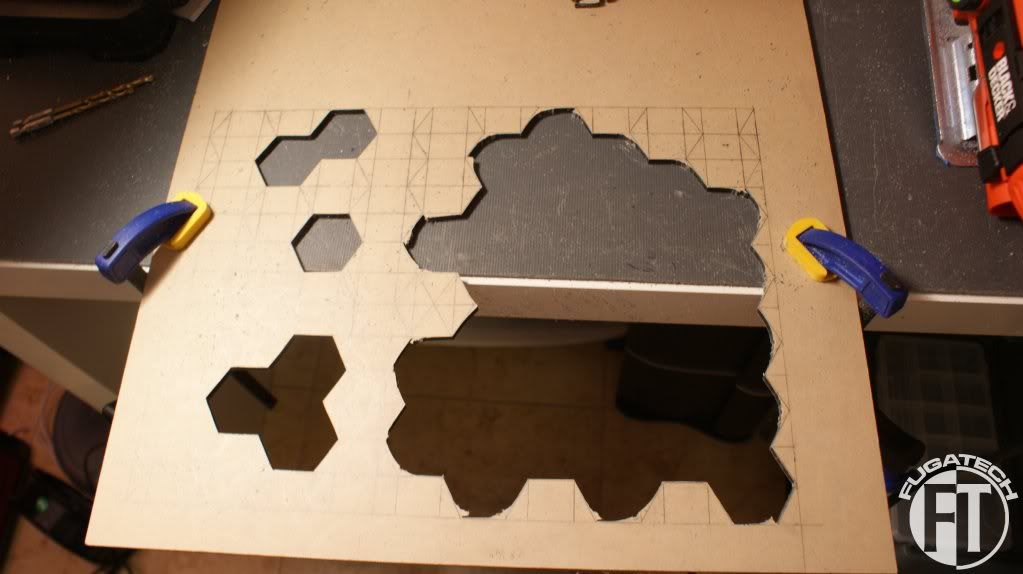
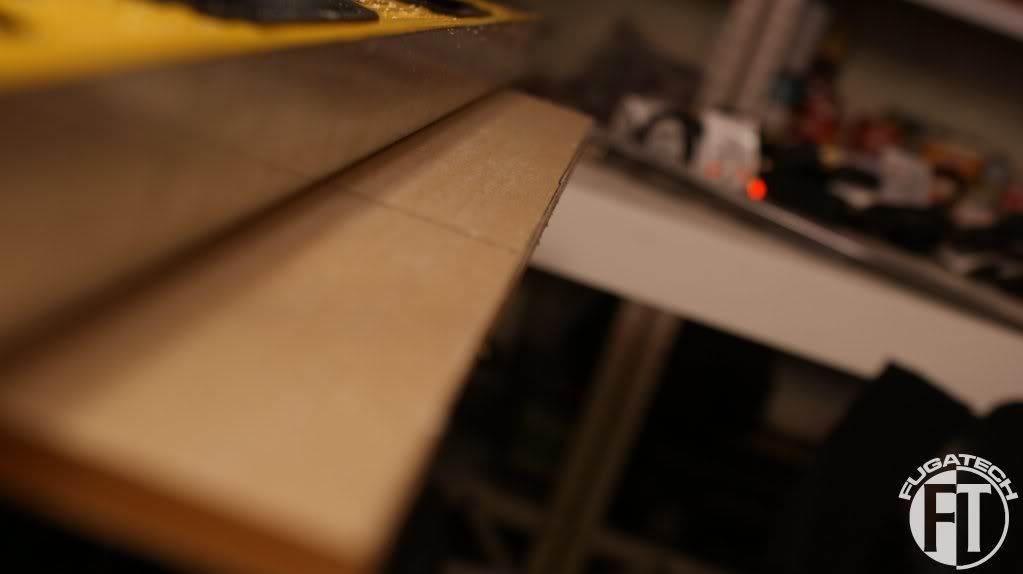
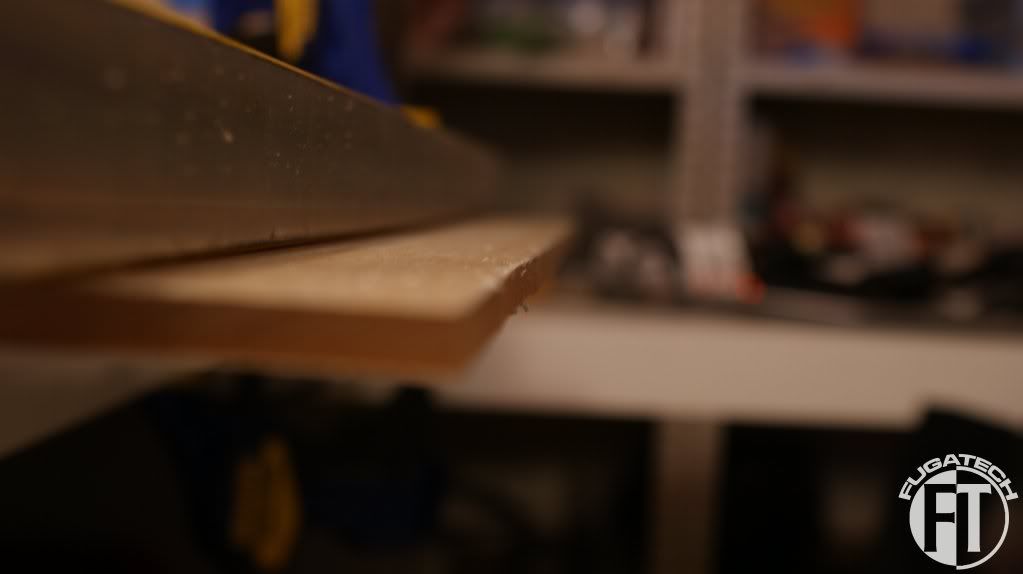
    As you can see here. Nothing is holding it up. It fits perfectly.


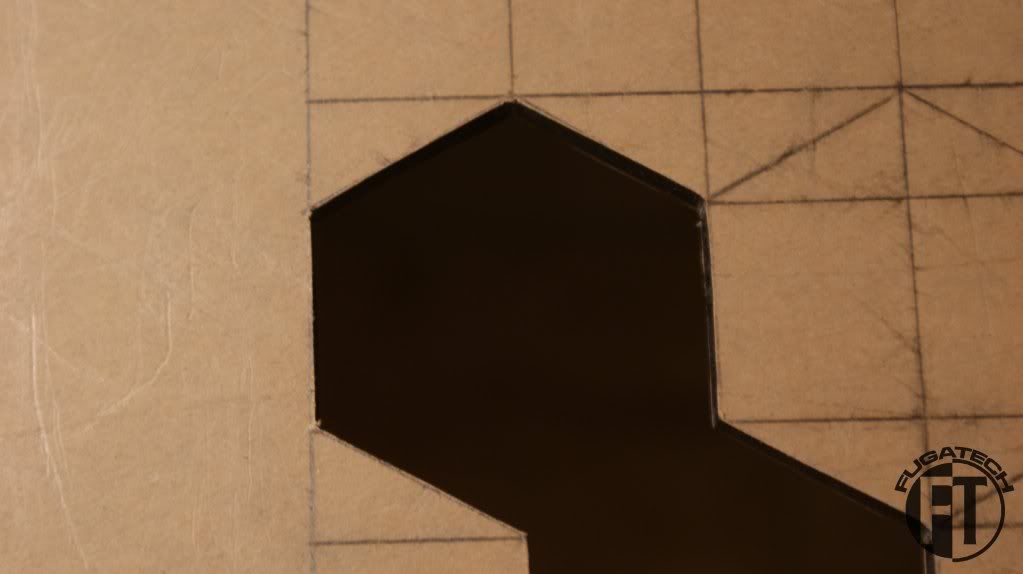
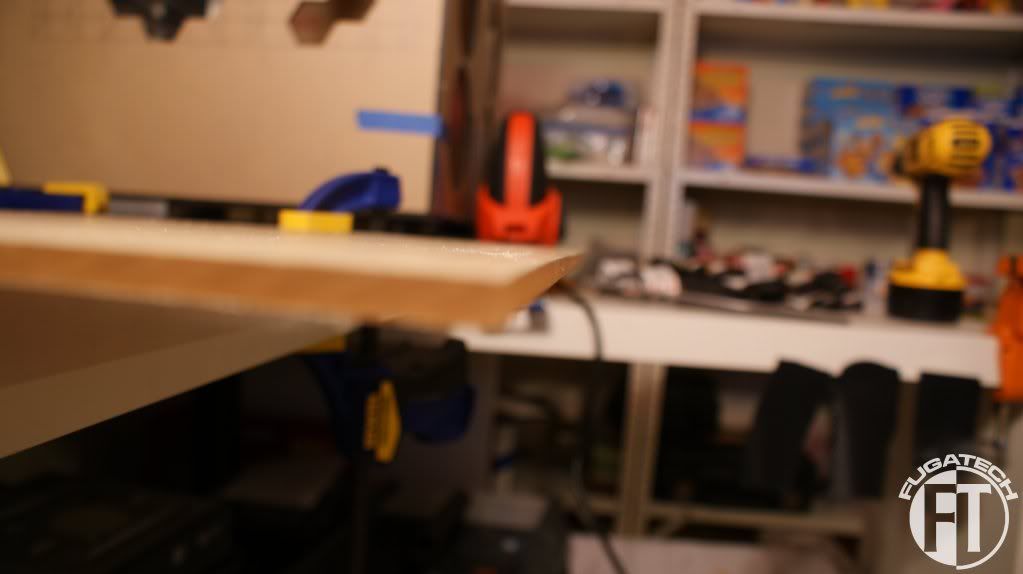
    Flush with the front panel.


    That's it for today. More to come this weekend hopefully.

    Cheers till then.

  2. #92
    100% Recycled Pixels. Twigsoffury's Avatar
    Join Date
    Jan 2006
    Location
    Oklahoma city
    Posts
    2,017

    Default Re: Project: Honeycomb

    oh s@#t your cutting through lexan?

    Yea you need some dank machinery to cut that stuff, its impregnated with glass fibers.

    Plexiglass is just some plastic crap. but lexan is another beast. You ought to be able to shoot your computer up with .22 shorts from a rifle and it won't make more then a small smudge in the glass lol.

  3. #93
    Its not cool till its watercooled. Fuganater's Avatar
    Join Date
    Oct 2007
    Location
    Kinshasa, DRC
    Posts
    2,843

    Default Re: Project: Honeycomb

    Quote Originally Posted by Twigsoffury View Post
    oh s@#t your cutting through lexan?

    Yea you need some dank machinery to cut that stuff, its impregnated with glass fibers.

    Plexiglass is just some plastic crap. but lexan is another beast. You ought to be able to shoot your computer up with .22 shorts from a rifle and it won't make more then a small smudge in the glass lol.
    It says Cell-Cast Acrylic Sheet... is that the same as lexan?

  4. #94
    Its not cool till its watercooled. Fuganater's Avatar
    Join Date
    Oct 2007
    Location
    Kinshasa, DRC
    Posts
    2,843

    Default Coming Together and Side Panel Design

    Yesterday and today I worked on putting the top and bottom panels onto the case. I also worked on the design for the side panel window today.

    First I measured where I wanted the holes to be for the bottom panel.


    Then I drilled and tapped them.


    I then drilled the holes for the case screws and for the case feet.


    Attached the feet.


    In order to do the top panel I had to temperamentally attach the side and front panels.


    Marked where I need to drill.


    Another good fit.


    I decided that I wanted to paint the motherboard tray and I/O backplate orange so I took them apart.


    Sprayed them with some self etching primer.


    And now I am putting the orange on. I am doing light coats so that it looks even.


    Now for the side panel. I didn't know how I was going to draw the hexagons so I experimented first.


    It looks ok but after 3 or 4 of the hexagons, it wasn't square.


    So now what? It took me awhile but I then figured out that I should measure the hexagon I cut out and just make a grid on the panel. IDK why I didn't think of that in the first place but oh well.

    Progress shots.


    Starting to form the window.


    And finally with all 4 windows cut out. Through the 3 small ones on the right, you will be able to see the 2 reservoirs.


    I think I will start cutting the side panel tonight. Hopefully I'll get the motherboard tray finished today or tomorrow.

    Cheers till then.

  5. #95
    Resident 100HP water-cannon operator SXRguyinMA's Avatar
    Join Date
    Jun 2008
    Location
    MA
    Posts
    5,865

    Default Re: Project: Honeycomb

    looking good!!

  6. #96
    Its not cool till its watercooled. Fuganater's Avatar
    Join Date
    Oct 2007
    Location
    Kinshasa, DRC
    Posts
    2,843

    Default Re: Project: Honeycomb

    Quote Originally Posted by SXRguyinMA View Post
    looking good!!
    Thanks! I've been working furiously all day! Another good update tomorrow.

  7. #97
    Its not cool till its watercooled. Fuganater's Avatar
    Join Date
    Oct 2007
    Location
    Kinshasa, DRC
    Posts
    2,843

    Default Cutting the Mobo Side Panel

    After I finished drawing up the side panel yesterday I started cutting it. It took me roughly 4 hours to do the 1 large window and 3 small ones. I wanted ever cut to be perfect because you can always take more off, you can never put it back.

    When cutting windows plexi, first thing to do is drill out your corners so you have somewhere for you blade to go.


    First one done.


    Second.


    And finally the third small window.


    You can see how the edges are just a bit off. So here they are after filing for a good 30 minutes to get it perfect.


    Next up is the large window. I had to drill lots of holes.


    Done! Well... almost.


    Using the technique that I do, You will still have most corners looking like this but that's OK. I take my jigsaw and clean up the corners with ease.


    All done!


    Here are some shots to show the edges. Remember, this is all done by hand so its only about 95-98% perfect. I might have to file 1 or 2 of the the sides again.


    And here is what it looks like on the case.


    This is only the 1st level of the side panel. There will be raised hexagons on the top, one orange with a black one on top. And behind the window cut out there will be Orange and then the clear piece. The Orange will have LED's behind it to give it some glow.

    Since I have some clear plexi I figured I would cut that to size too and since I don't have a table saw or a laser cutter, I had to make my own.

    Here I am using a level as my guide so that the line is perfectly straight.


    Up close shot.


    Not too bad.


    And since I cut that piece off, I used it as my straight edge for the next cut.


    Another good cut.


    The line to the left is where the frame stops.


    Here is what it looks like in comparison to the panel.


    That's it for now. I'm still painting the mobo plate and I/O back plate. Until I receive more plexi all I can do is attach the front panel. I might find some other small things to do but nothing major.

    Cheers till next time.

  8. #98
    Will YOU be ready when the zombies rise? x88x's Avatar
    Join Date
    Oct 2008
    Location
    MD, USA
    Posts
    6,334

    Default Re: Project: Honeycomb

    Nice job with those hexagons. Creative solution. +rep
    That we enjoy great advantages from the inventions of others, we should be glad of an opportunity to serve others by any invention of ours, and this we should do freely and generously.
    --Benjamin Franklin
    TBCS 5TB Club :: coilgun :: bench PSU :: mightyMite :: Zeus :: E15 Magna EV

  9. #99
    Resident 100HP water-cannon operator SXRguyinMA's Avatar
    Join Date
    Jun 2008
    Location
    MA
    Posts
    5,865

    Default Re: Project: Honeycomb

    this is gonna be SICK!

  10. #100
    Its not cool till its watercooled. Fuganater's Avatar
    Join Date
    Oct 2007
    Location
    Kinshasa, DRC
    Posts
    2,843

    Default Re: Project: Honeycomb

    Quote Originally Posted by x88x View Post
    Nice job with those hexagons. Creative solution. +rep
    Quote Originally Posted by SXRguyinMA View Post
    this is gonna be SICK!
    Thanks guys!

Posting Permissions

  • You may not post new threads
  • You may not post replies
  • You may not post attachments
  • You may not edit your posts
  •