Looks great mate, can't wait to see how you finish the rest of the front. +rep


Looks great mate, can't wait to see how you finish the rest of the front. +rep
Project: Elegant-Li *NEW*
Project: Alpha FINISHED
Project: LEXA Revival FINISHED
Project: LEXA FINISHED Bit-Tech MOTM Nominee October 08

Thanks The boy 4rm ozOriginally Posted by The boy 4rm oz

No problem mate. I thought this mod looked great in your first post but it just keeps getting beyyer and better, keep it up.
Project: Elegant-Li *NEW*
Project: Alpha FINISHED
Project: LEXA Revival FINISHED
Project: LEXA FINISHED Bit-Tech MOTM Nominee October 08


You landed front page!
"At the midpoint on the journey of life, I found myself in a dark forest, for the clear path was lost..." -Dante Alighieri
Wow!!!! Thanks.
With all the amazing worklogs going on at the moment I am chuffed to bits mine has made it to front page.
Better get an update done .....
Congratz on the front page man, a huge achievement.
Project: Elegant-Li *NEW*
Project: Alpha FINISHED
Project: LEXA Revival FINISHED
Project: LEXA FINISHED Bit-Tech MOTM Nominee October 08
Expected nothing else
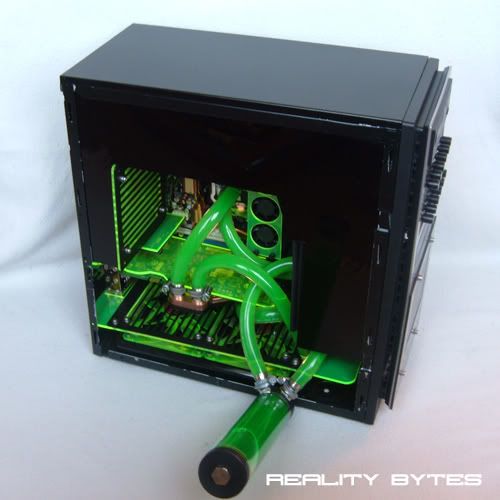
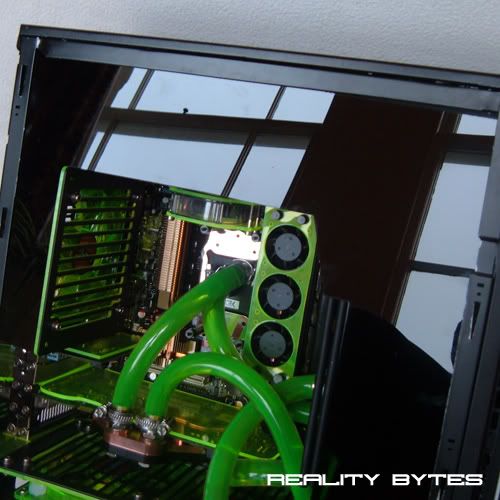
In all of it's glory!
Update: Loose Ends
I should have all the components I need to wire the LCD screen up to the PSU and graphics card by tomorrow, so I wanted to tie up some loose ends today leaving me free to concentrate on getting the screen up and running.
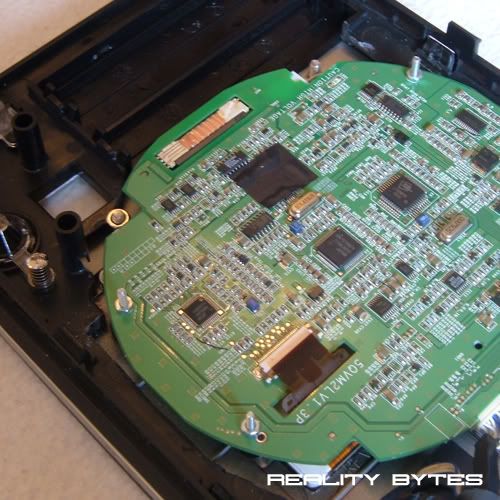
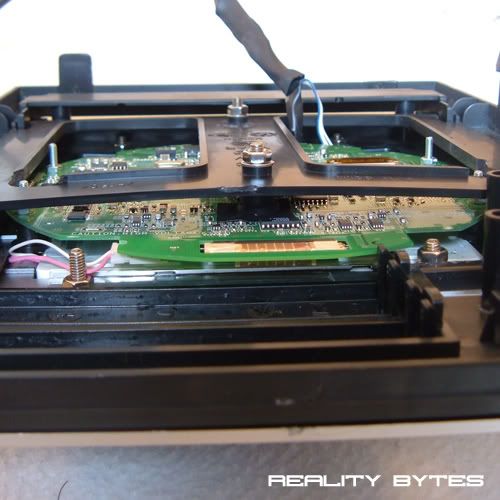
One problem I was having with the screen was that it was not as secure in its mounting as I wanted it to be. The front panel did hold it in place enough to stop it from moving around, but if the screen where to get touched or knocked it would move slightly backwards into the front panel.
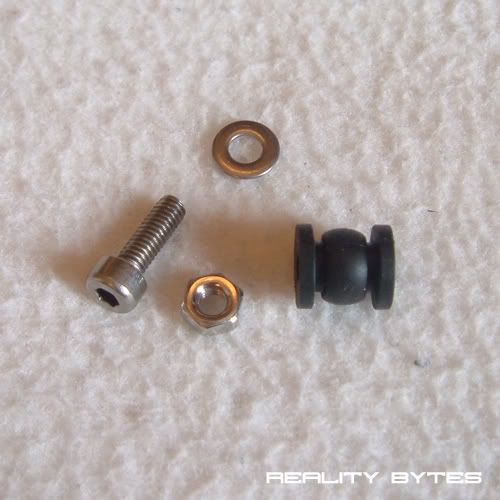
I didn't want to use a glue gun nor to have anymore visible bolts on the front panel. So I came up with the idea of making a rubber 'foot' that would press against the circuit board of the screen and hold it in place.
The parts used:
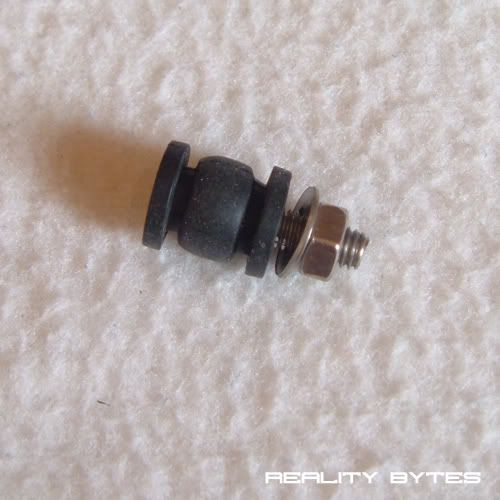
How they fit together:
Even though the metal bolt is covered by the rubber grommet I applied some insulation tape to the area it would press against:
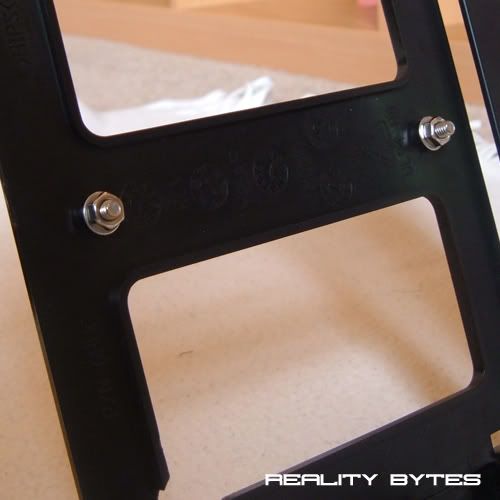
Now the bolts applied to the front panel:
Now from the picture below with everything back together you can see that the new bolts press firmly against the back of the screen holding it in place:
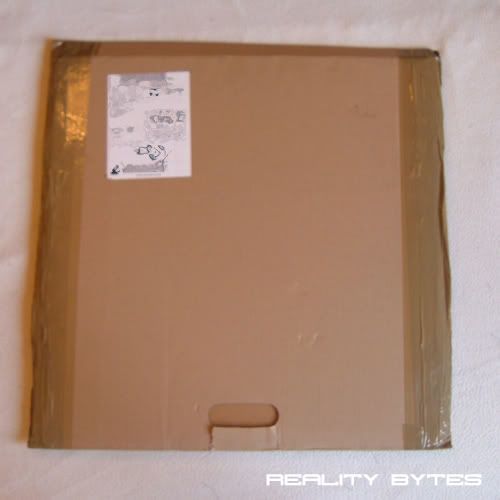
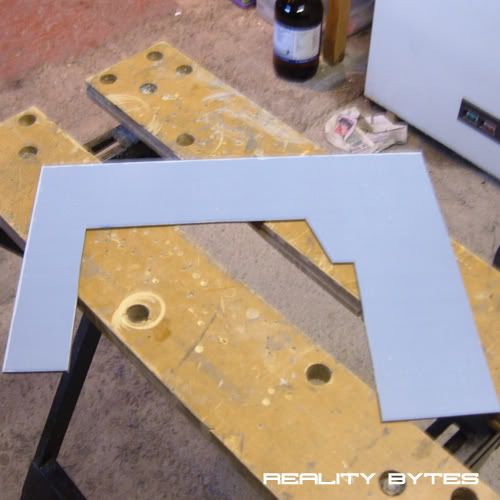
The next task I was part way through was the inner side panel I made a template for a few pages back. The only thing holding me back was waiting for some black perspex to be delivered. However just as I sat down to lunch it turned up:
2 sheets of black acrylic - 500mm x 500mm x 3mm
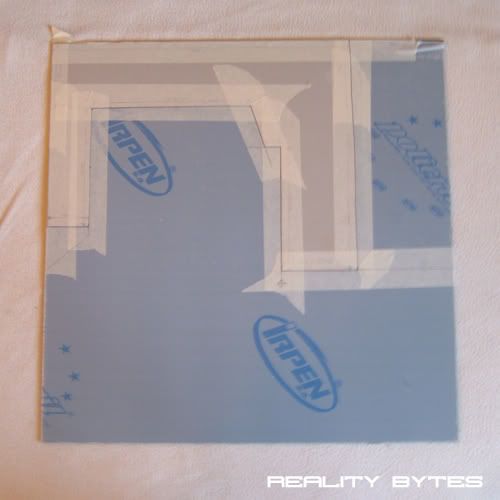
So with lunch now becoming 'take-away' I marked out the template on the sheet:
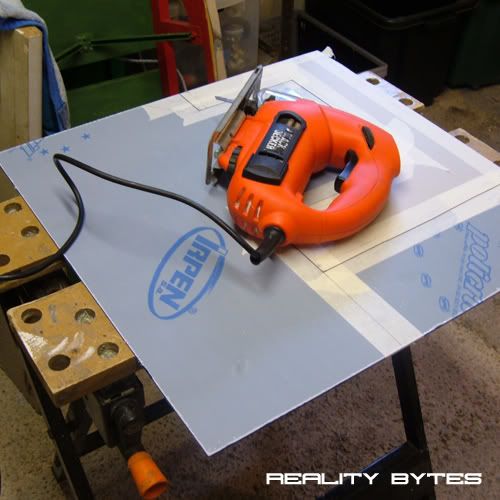
Then off to the cold garage to start the cutting:
The cut went really well and only took about 15 minutes, however sanding down of the edges took much longer, well worth it for the nice smooth polished up edges though. Again I used 200, 600, 1500 grit sand paper to get the desired result:
Back in from the garage I removed the protective covers from the acrylic ready to test fit it in the case. The acrylic is a very dark black and has a very glossy, near mirror finish which looks nice against the matt black of the case:
Finally here it is mounted in the case. I decided to stick with the original shape of the cutout because I didn't want to over-complicate the lines nor the overall shape.
Once I start on the outer-panel I will be able to secure the reservoir to the inner panel which will also hold the panel to the case, but for now its just the tight fit holding it in place:
And one last picture to show the glossy mirror shine:
That's it for today, should have another update tomorrow with the wiring for the LCD screen.
Thanks, as always, for reading. Looking forward to some feedback.

Very clean.
I hate it, you've made me realise how messy my loop really is:p
+rep for the sweet work and tidyness.
Even better than it already was
In all of it's glory!
 Posting Permissions

 Reply With Quote