Project: Flux
By Xperiment
Some of you may have seen my post Next Project? in the Idea Zone of TBCS. I have been planning this build for a good couple of months and now starting to get things moving on the actual build. So here is my worklog for the build, hopefully you will enjoy reading it and get involved along the way.
So What Am I Building?
I hope to create an average spec PC that is cool and reliable enough to leave running 24/7. Its main use will be for downloading, browsing the internet and photo editing. I want it to be fairly portable as I may use it as a HTPC from time to time, so a decent graphics card is a must.
The Case
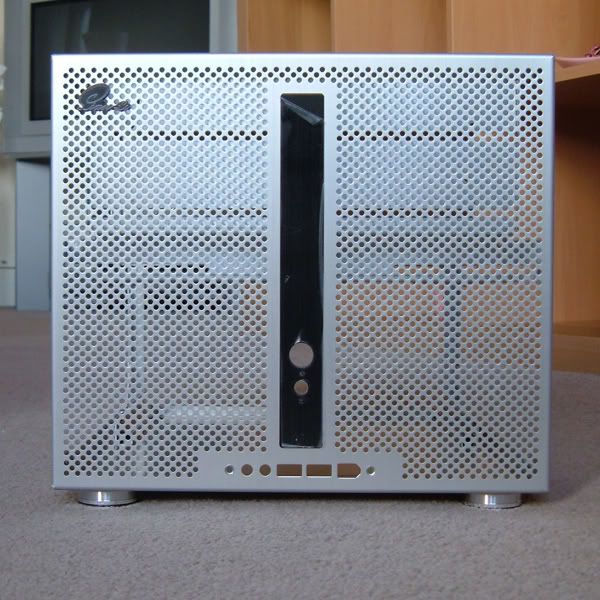
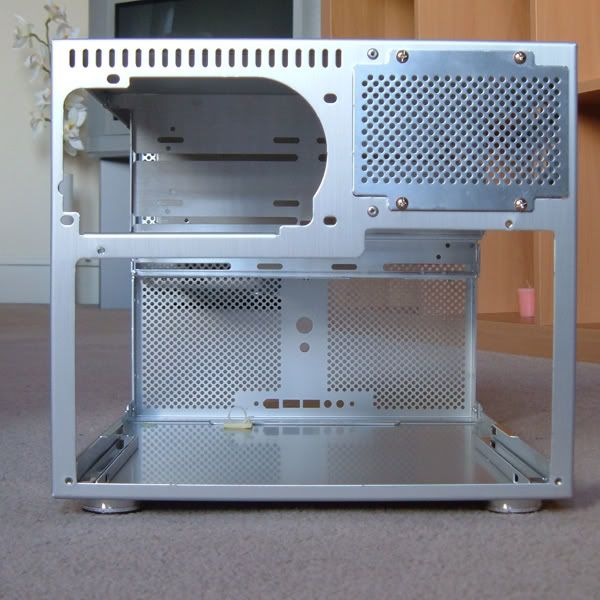
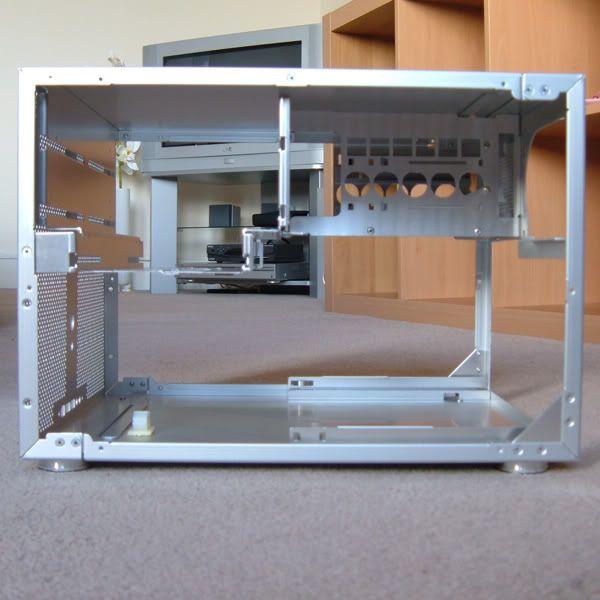
I have brought a Lian-Li PC-V300 in silver as the starting point for the build. I decided on this case for a number of reasons.
I havent seen a lot of them modded before, I am sure they have been but not to the extent of the other Lian-Li cases. Also the shape and design gives a lot of scope for modding and gives me the opportunity to work with a small case, something which I very much enjoy due to the thought and planning thats needed to fit everything in.
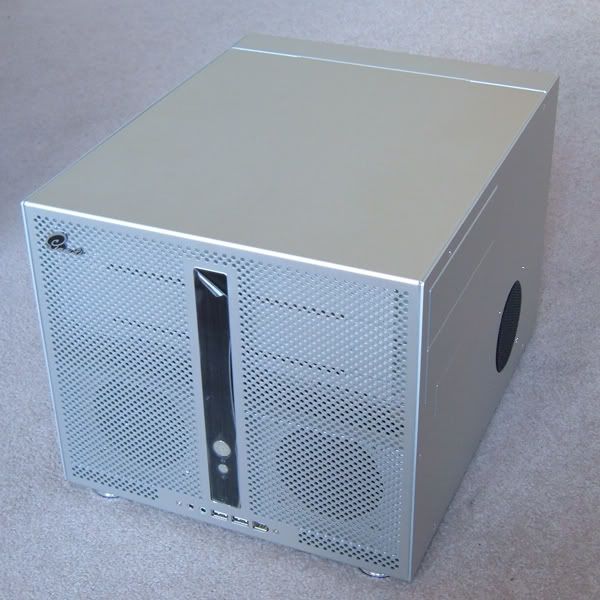
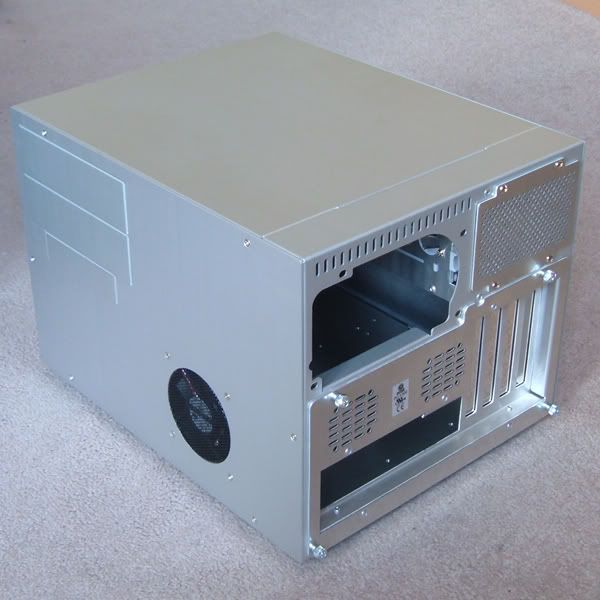
A few pictures of the standard case:
The Design
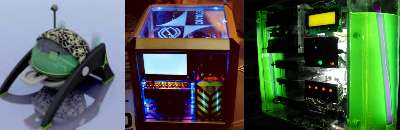
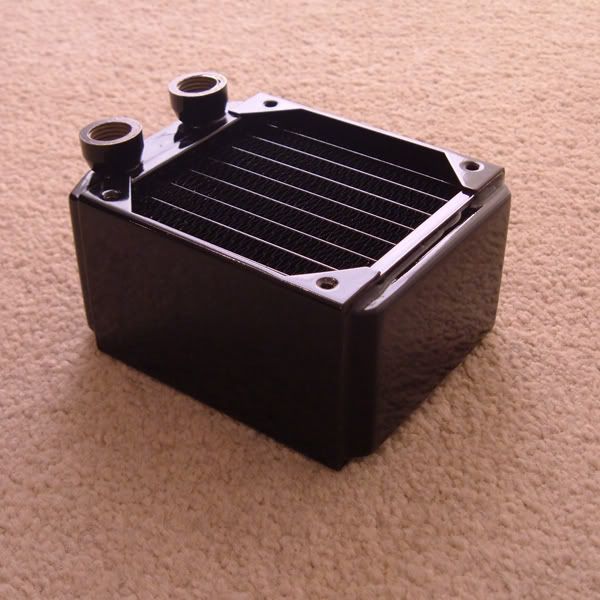
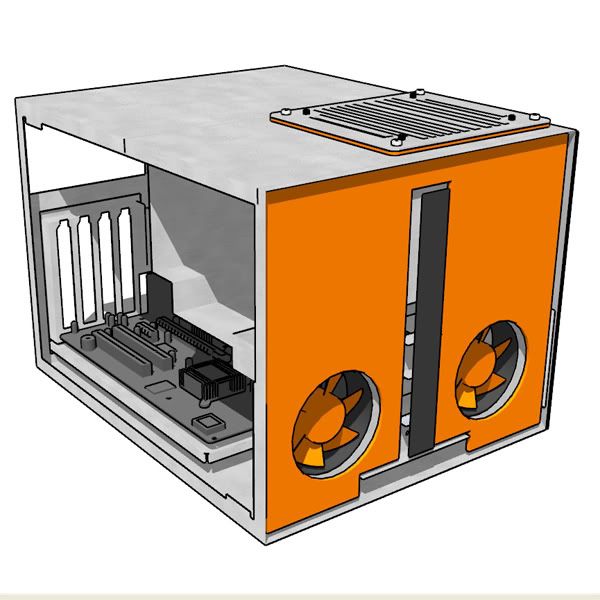
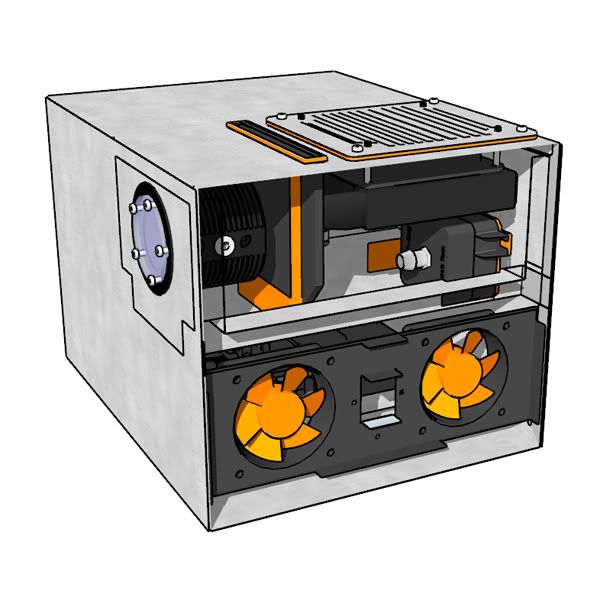
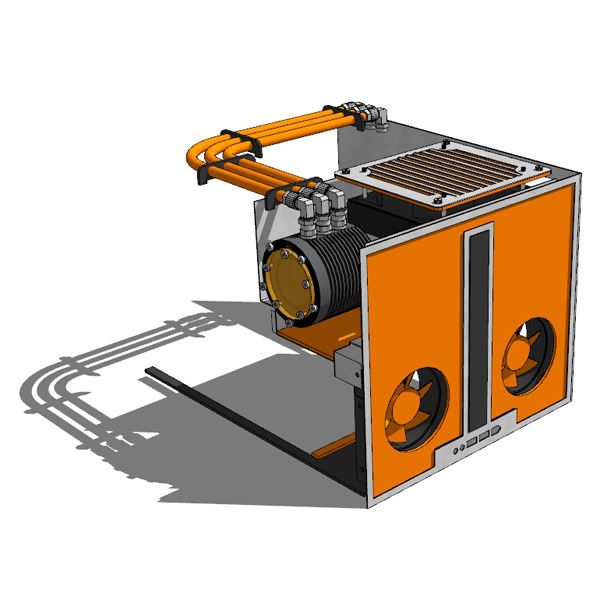
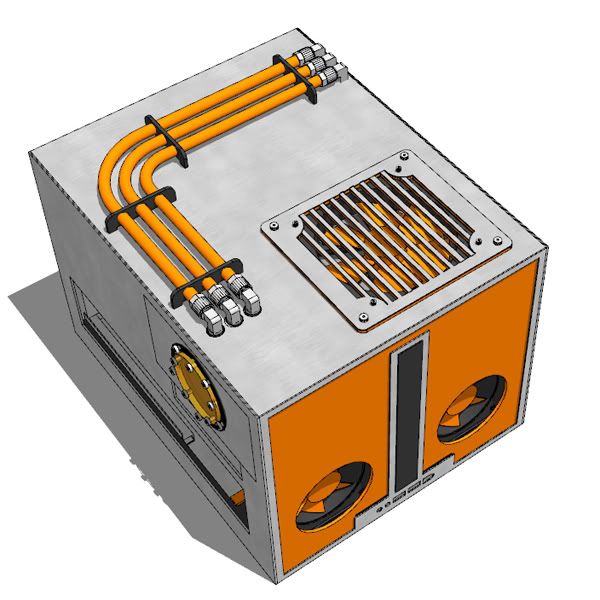
Those who have seen my post for the original idea will be familiar with the look I am aiming for in this build. For those who dont I think it would be best described as Cartoon-like Industrial. I want to use large blocks of colour and smooth lines with a very OTT water-cooling system to give a look which I hope to be quite unique.
I have been playing around d on sketch-up and so far have designed a few features I hope to incorporate in the build. The design is by no means final and will more than likely change quite a lot as the build goes on, but to give an idea here are some sketch-ups of some of the designs so far.
On With The Build
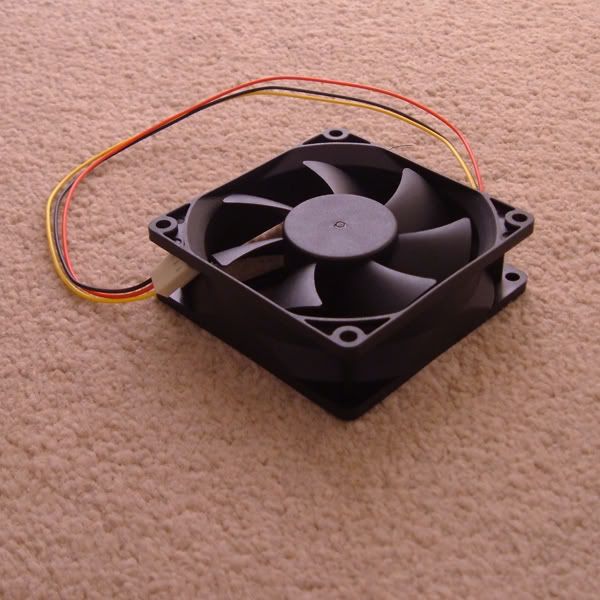
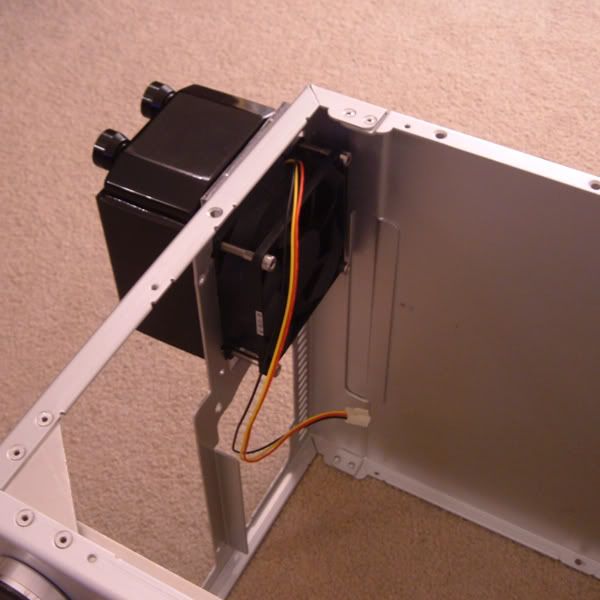
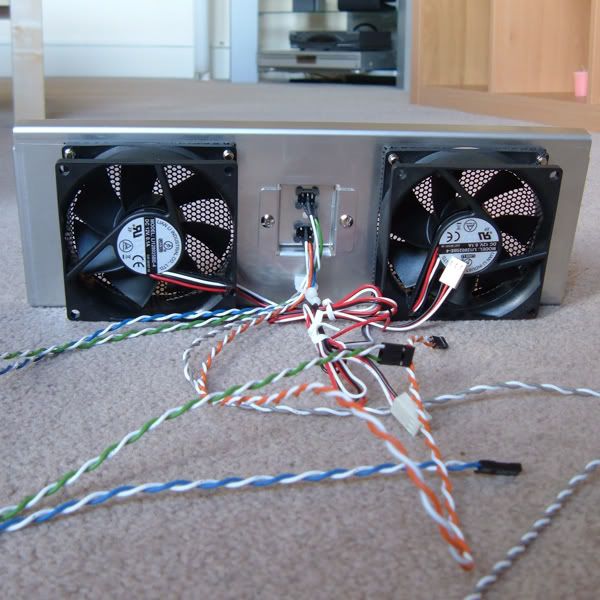
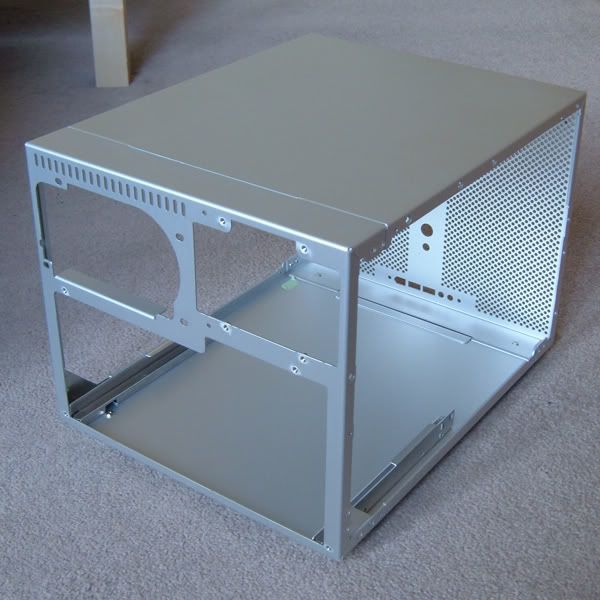
As with most other builds I began with one of my favorite tasks, dismantling the case. First to come out was the two 80mm intake fans and all wiring:
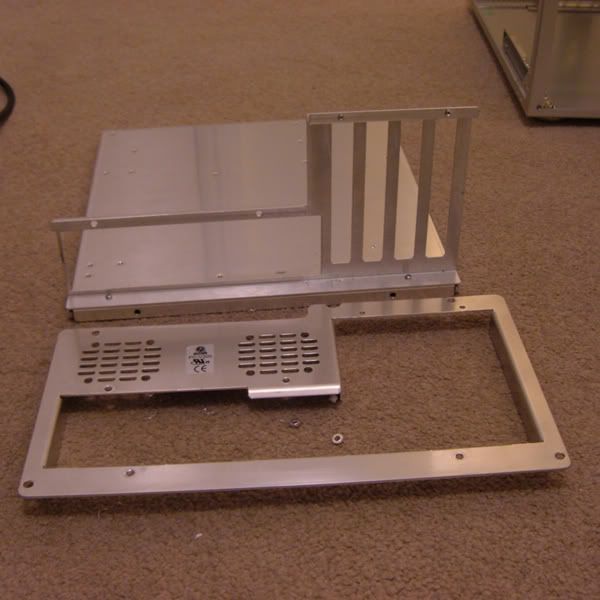
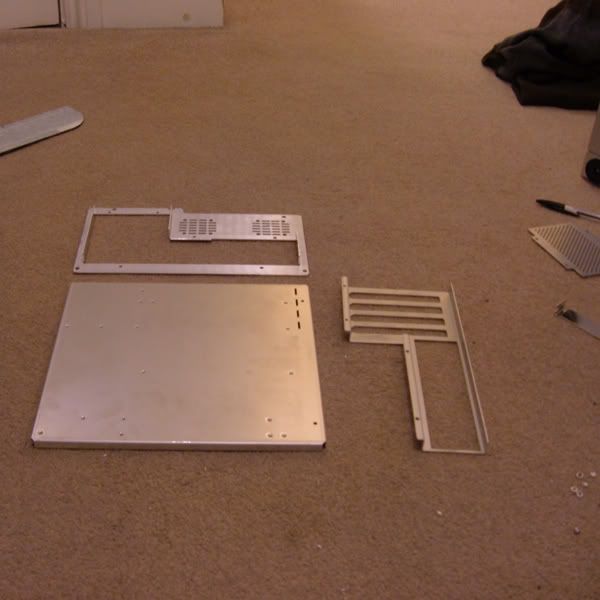
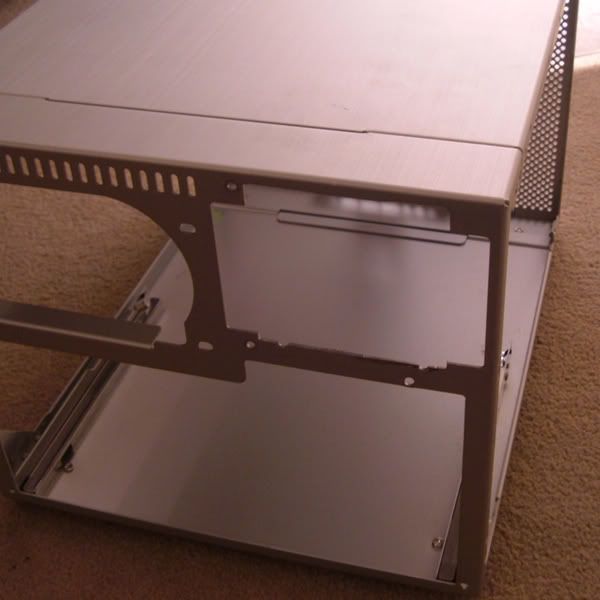
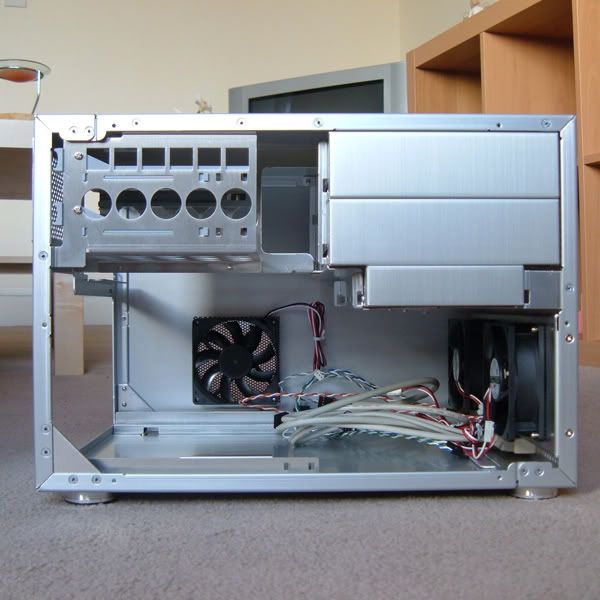
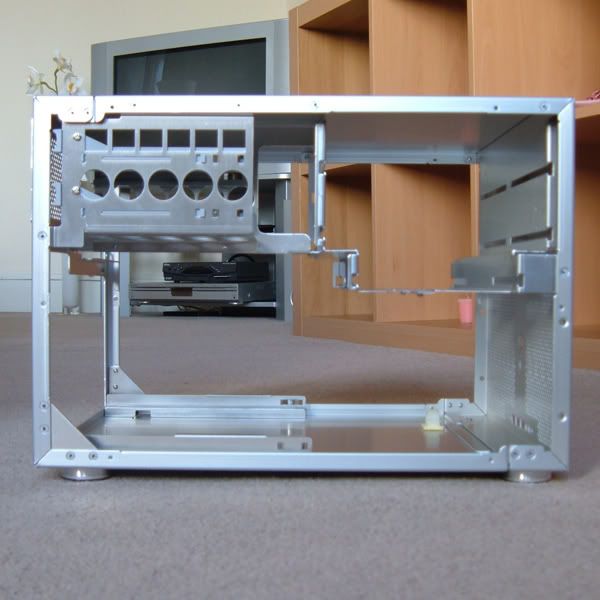
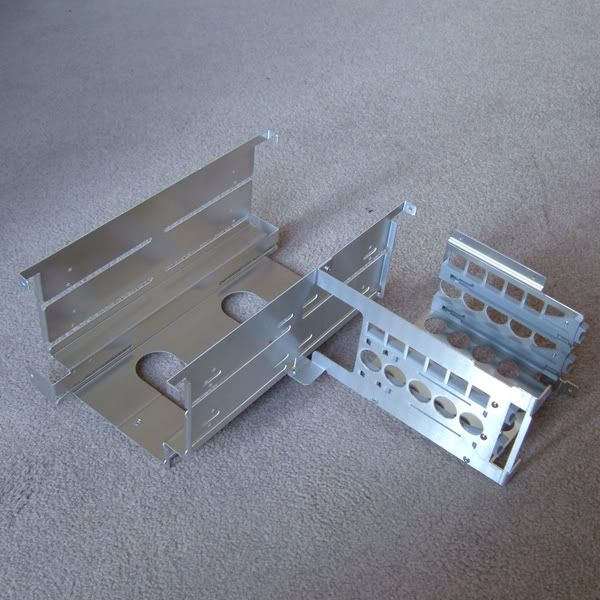
Next the side panels and motherboard tray:
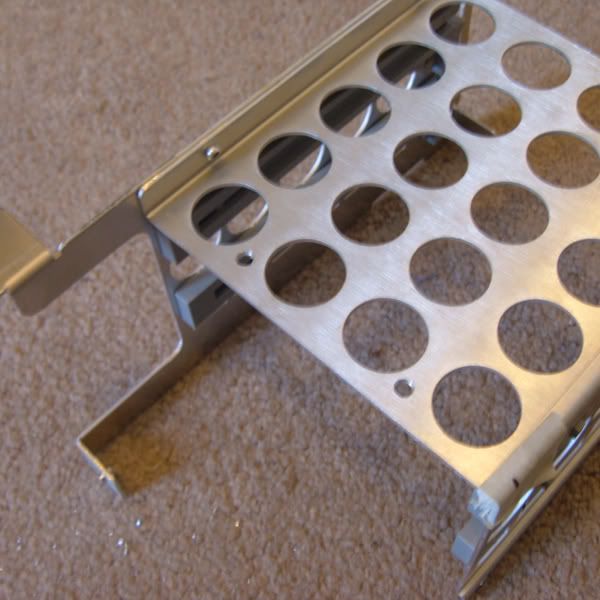
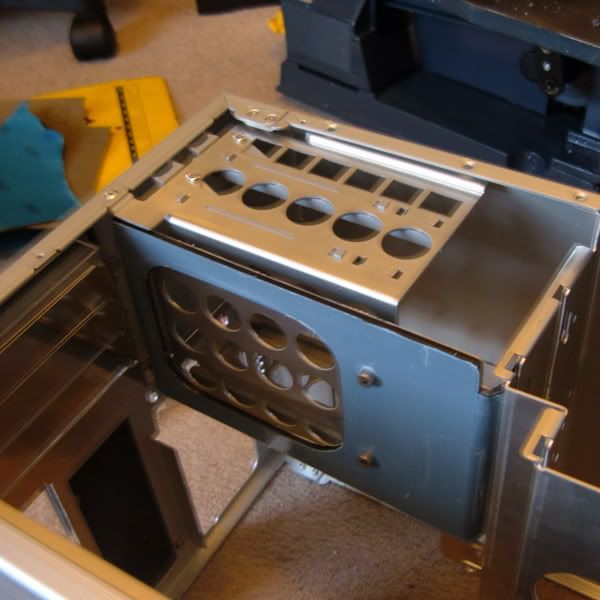
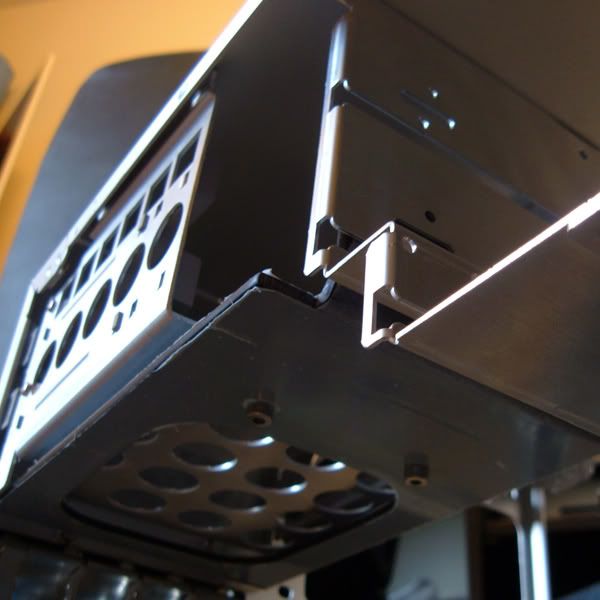
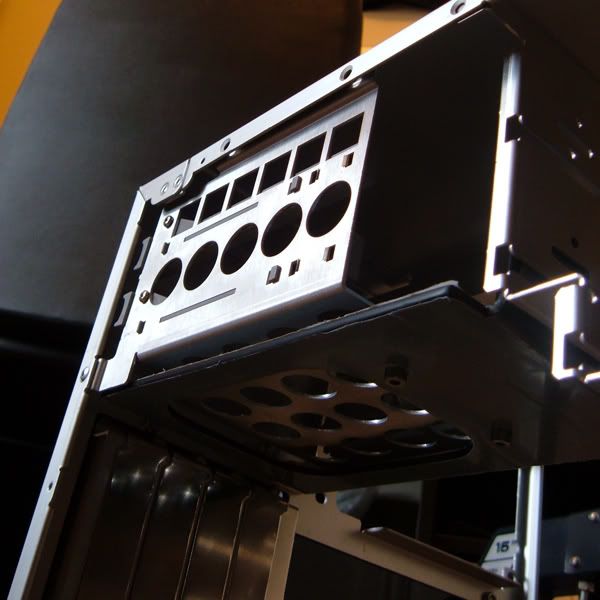
Leaving only the bracket to hold the drives. A few drilled rivets later:
Wiring
One thing I was a little concerned about with this case is how difficult it is going to be to hide the wiring. I dont want any to be visible, not even where it plugs into the motherboard.
Most of the wires are going to be around the inside front of the case (on/off buttons, power LEDs, fans etc) so I needed a solution to get them out of sight.
I decided to use a small project box from Maplins to act as a junction box to route wires through. I can also use it as a place to split power between LEDs, switches etc.
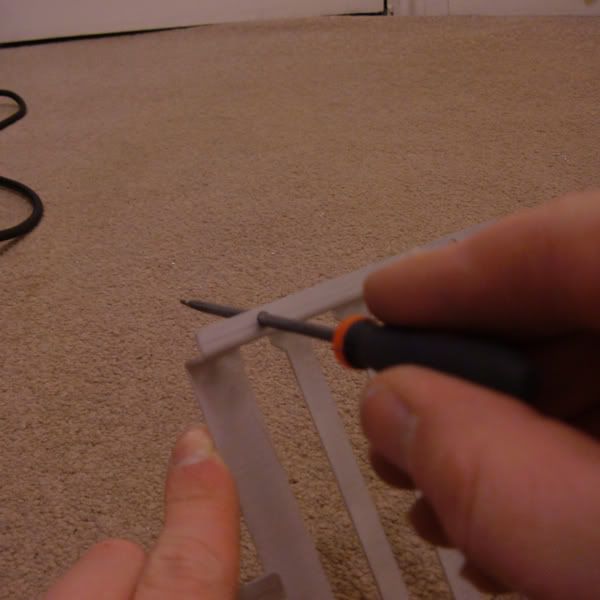
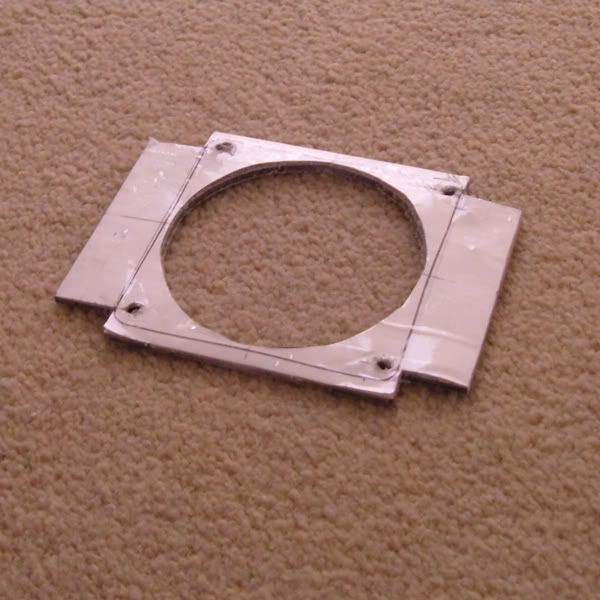
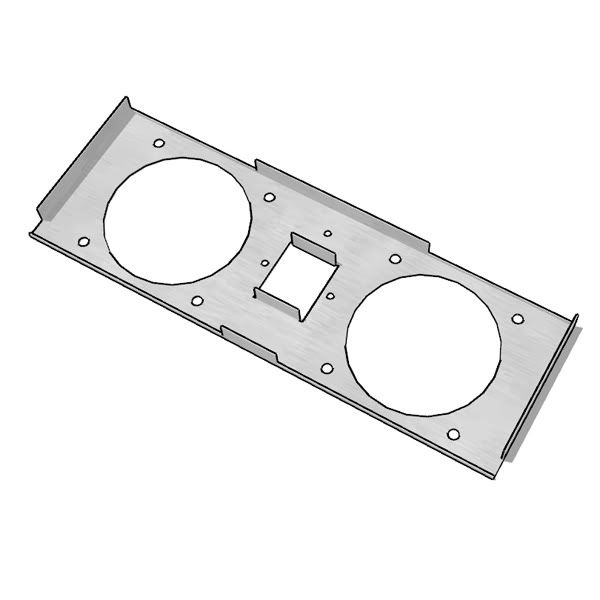
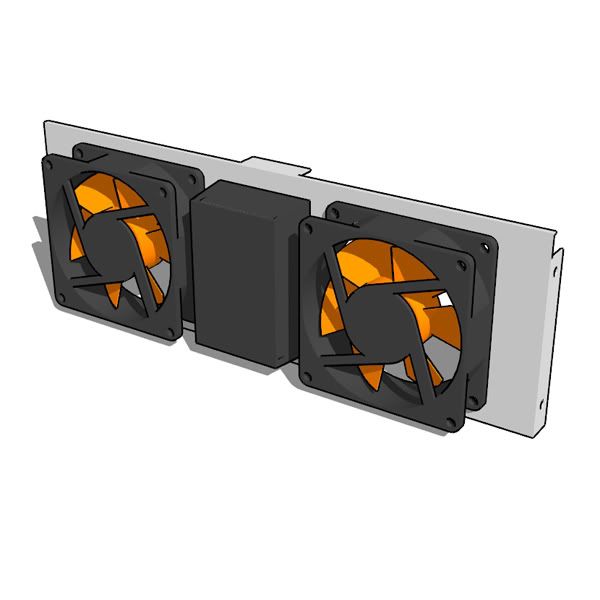
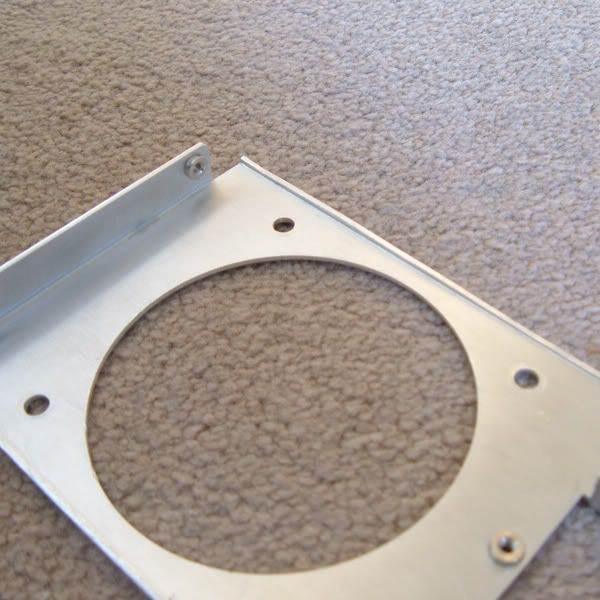
Front fan bracket sketch-up:
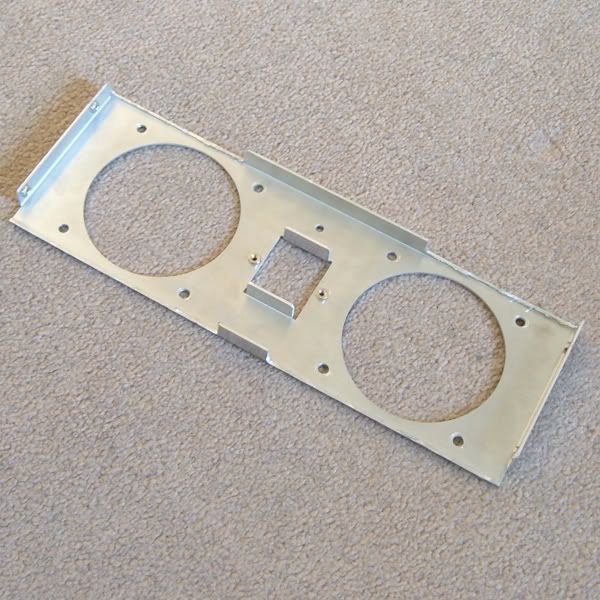
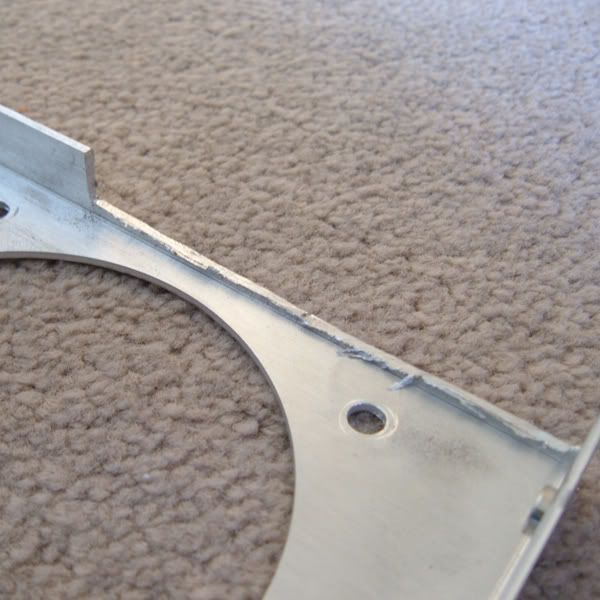
Cuts made and smoothed using a dremel:
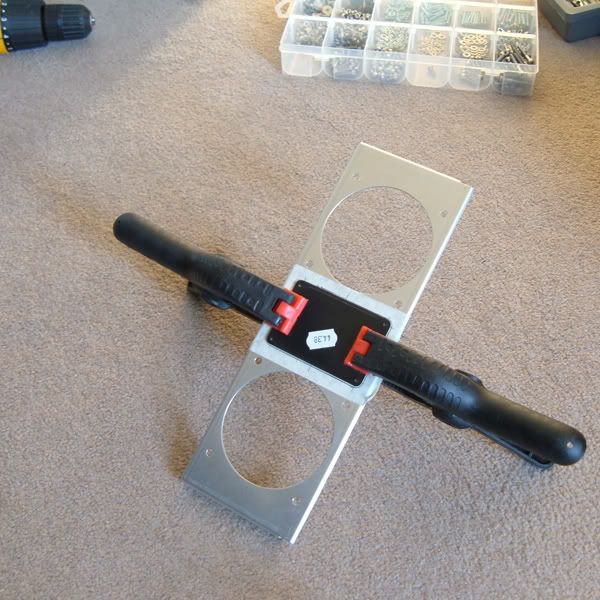
Marked for drilling:
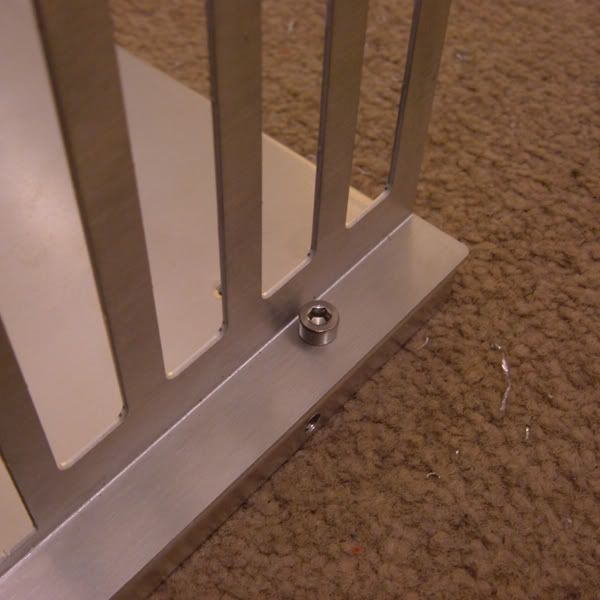
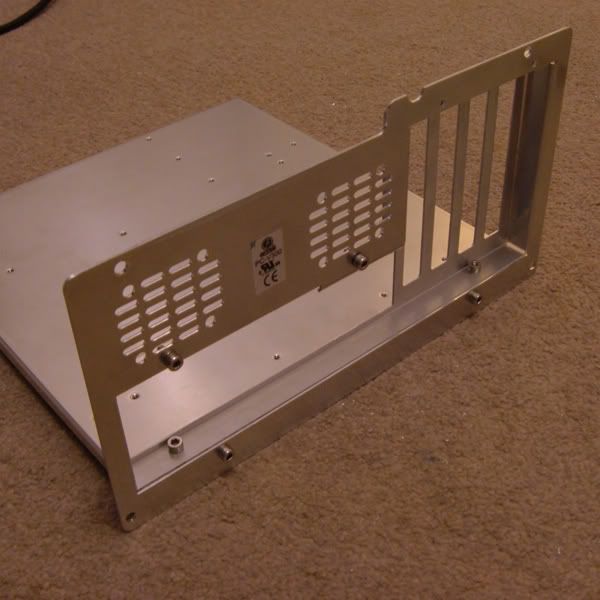
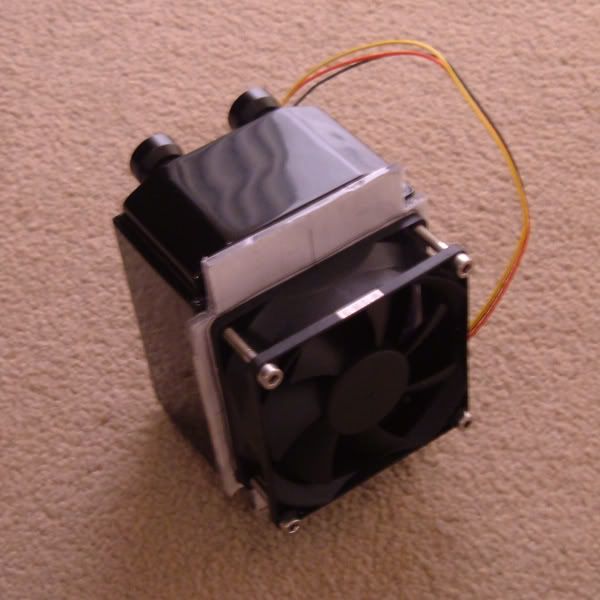
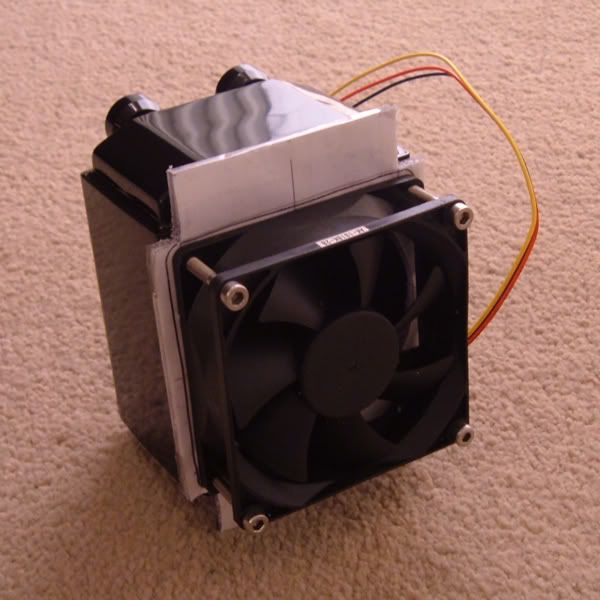
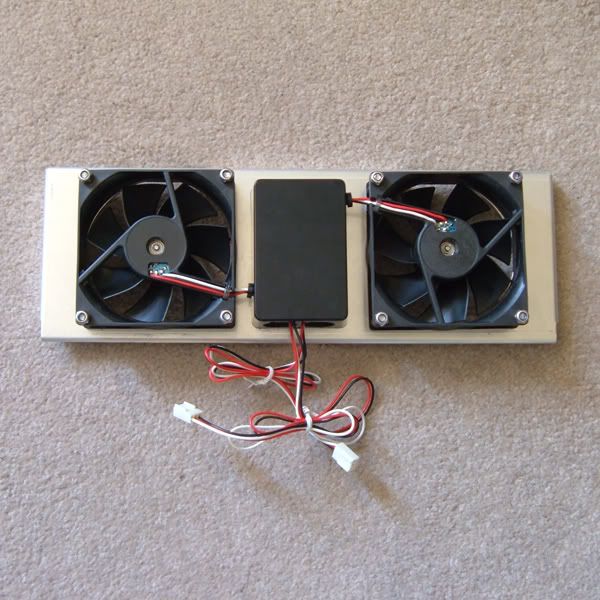
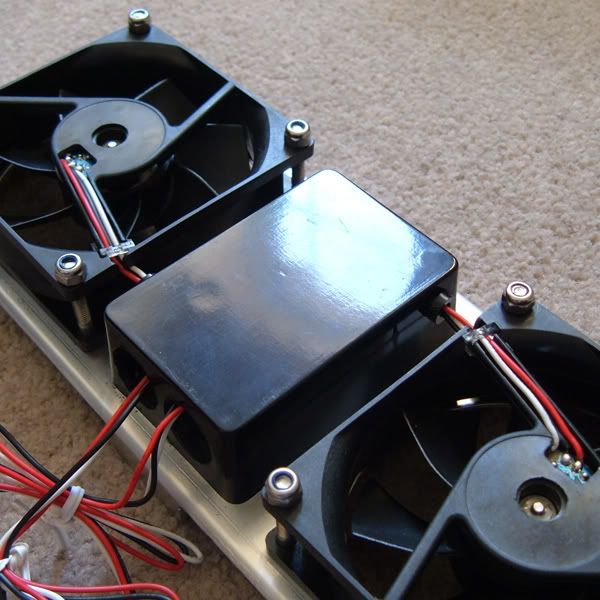
Junction box fitted:
Now I can pass all the wires from the front fans and front panel through this junction box down to the case floor where they can be hidden.
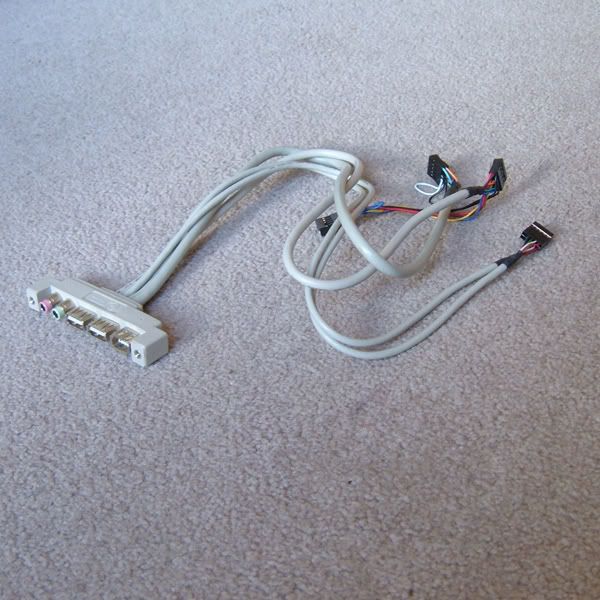
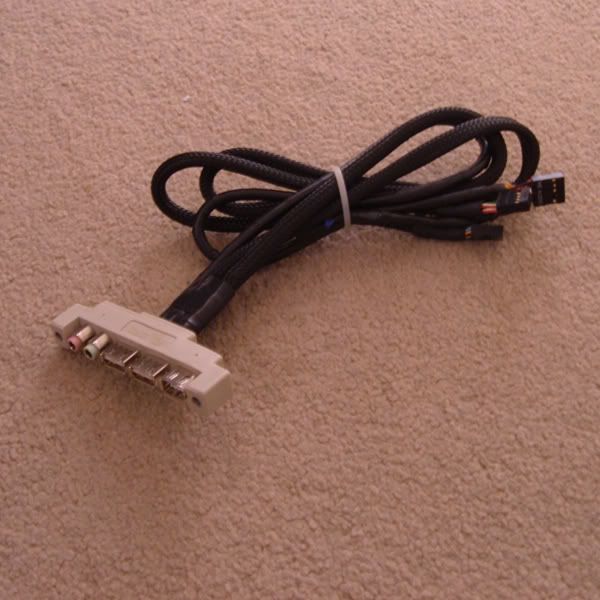
I have also sleeved the wires for the front I/O, I plan to have these hidden under a kind of floor on the bottom of the case.
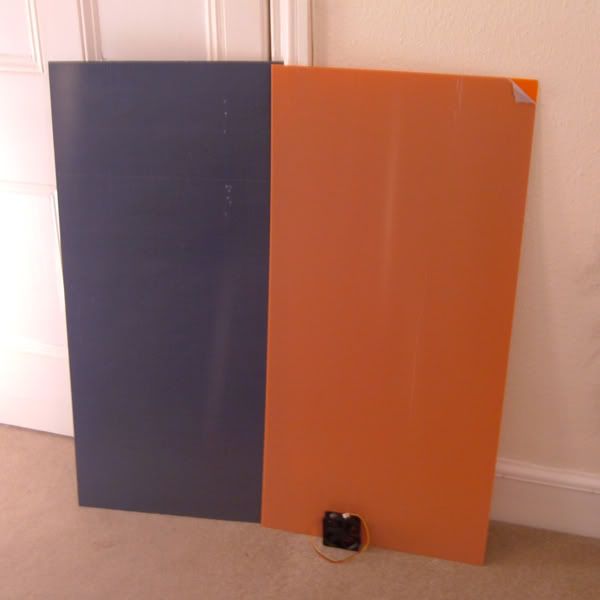
Acrylic
I am going to use a lot of acrylic on this build so went out and brought a scroll saw and a blowtorch to hopefully aid my cuts and bends.
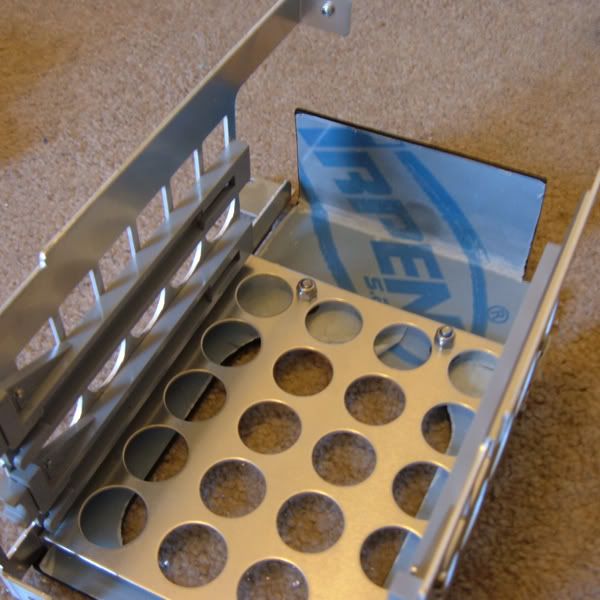
Having never bent acrylic or used a scroll saw before I thought it best to have a practice first. So set about making a cover for the HDD bay.
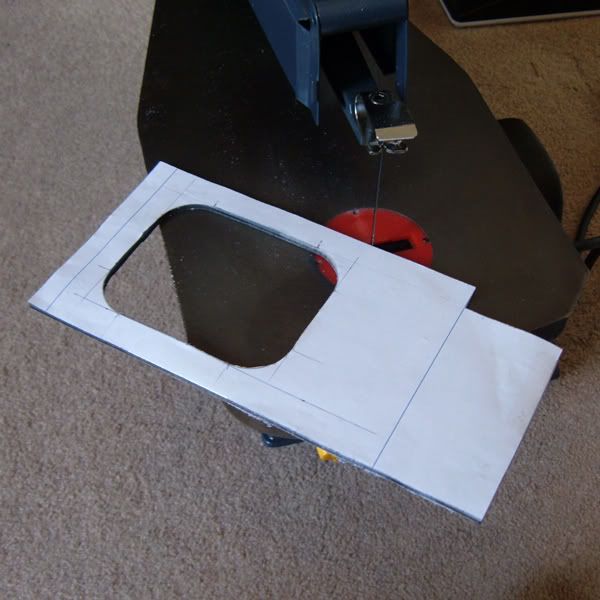
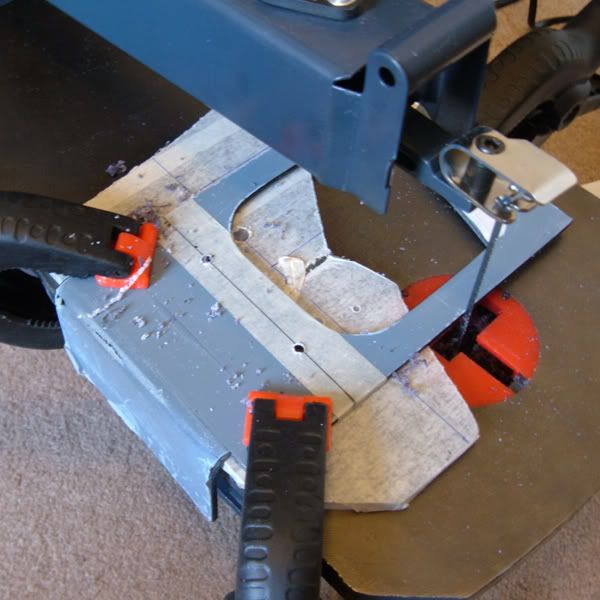
I started out by drawing out the design and cutting it out with the scroll saw:
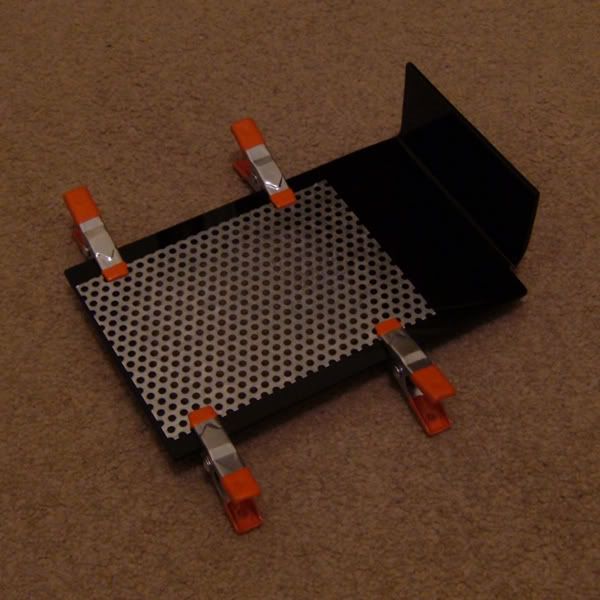
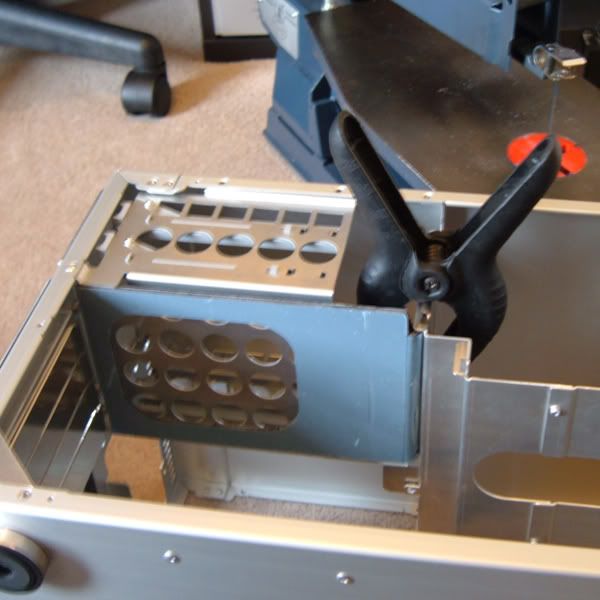
Then using the scroll saw as a temporary work bench, clamped the cutout for bending:
After a little heat from the blowtorch the bend was complete:
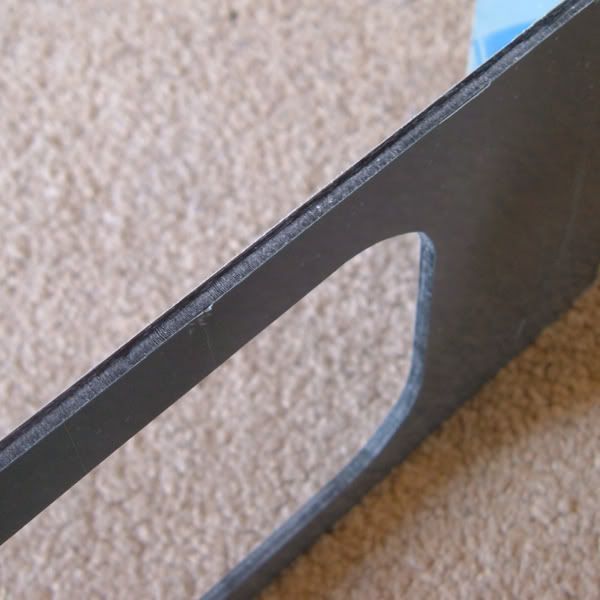
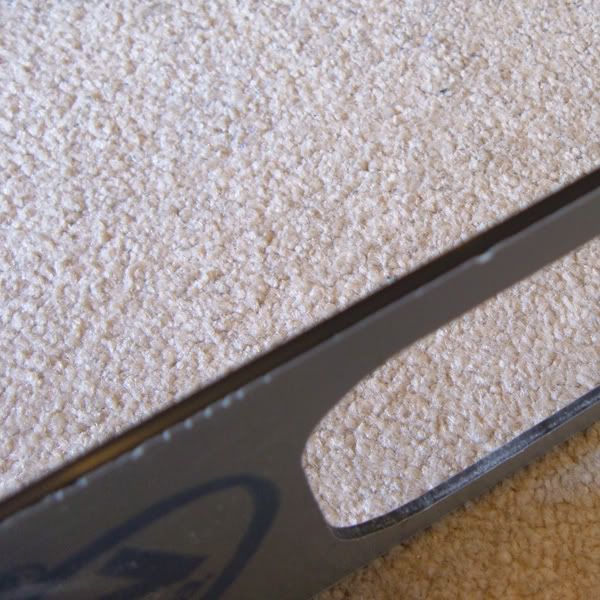
After cutting the edges were left a tad on the rough side:
So using 240, 800, 1200 and 1500 grit sandpaper I smoothed out the edges:
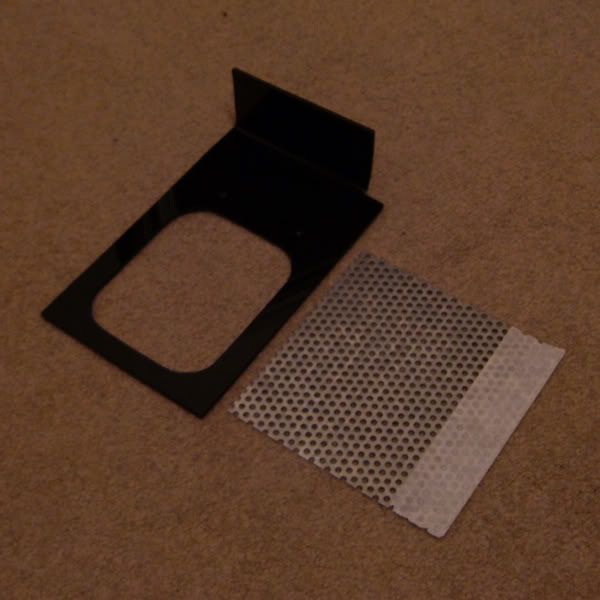
A quick test fit:
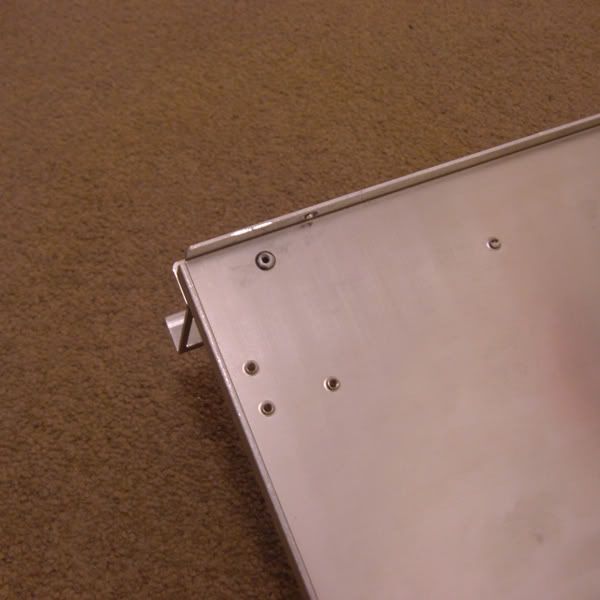
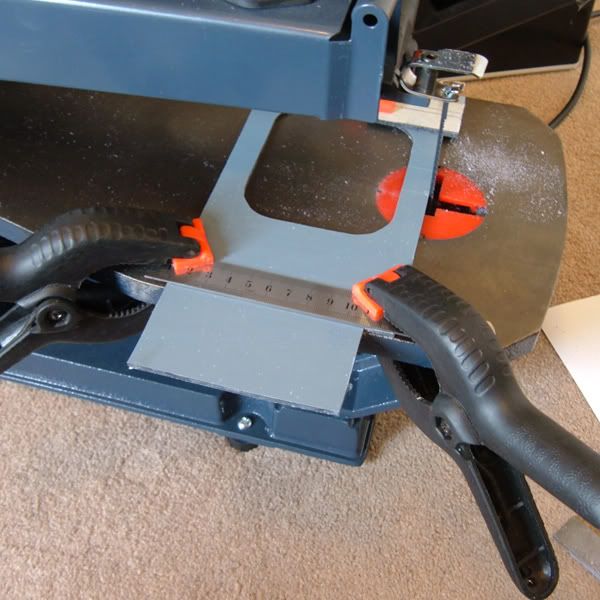
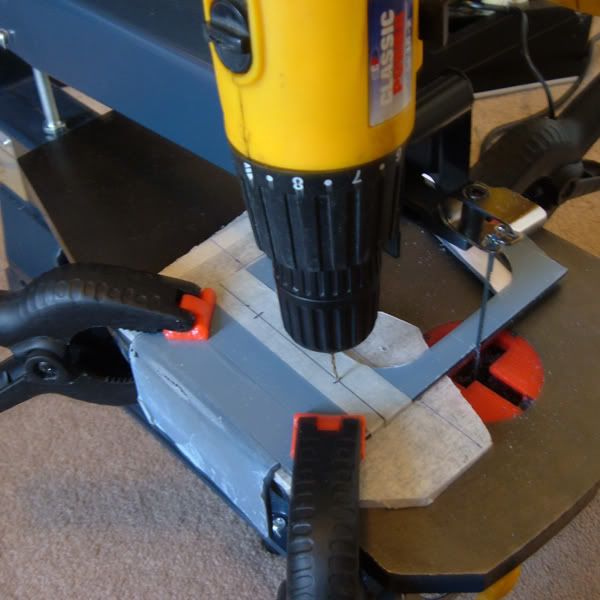
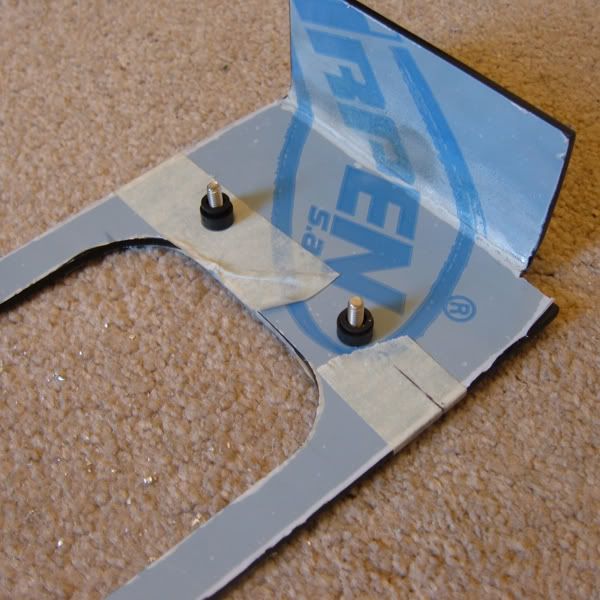
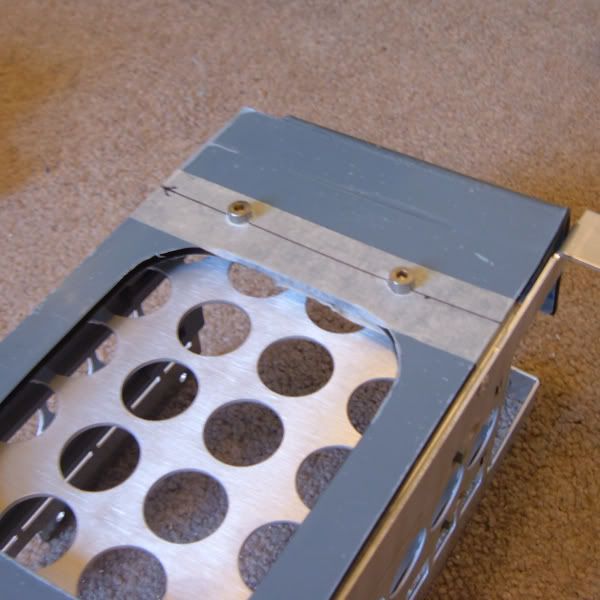
To mount the acrylic I needed two 4mm holes to bolt through, back to the temporary work bench:
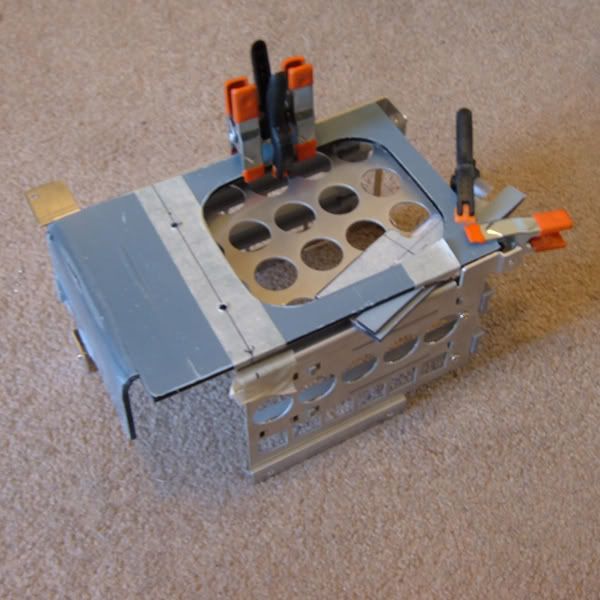
Now to measure up and drill the HDD cage:
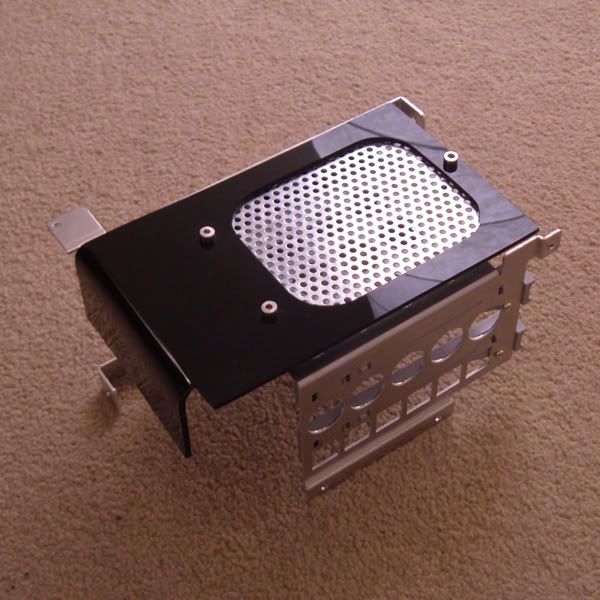
And using M4 hex bolts and some plastic spacers fit it all together:
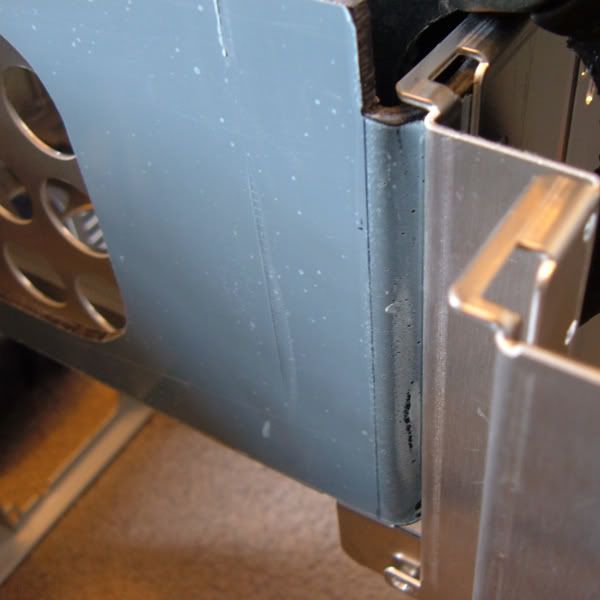
Another test fit:
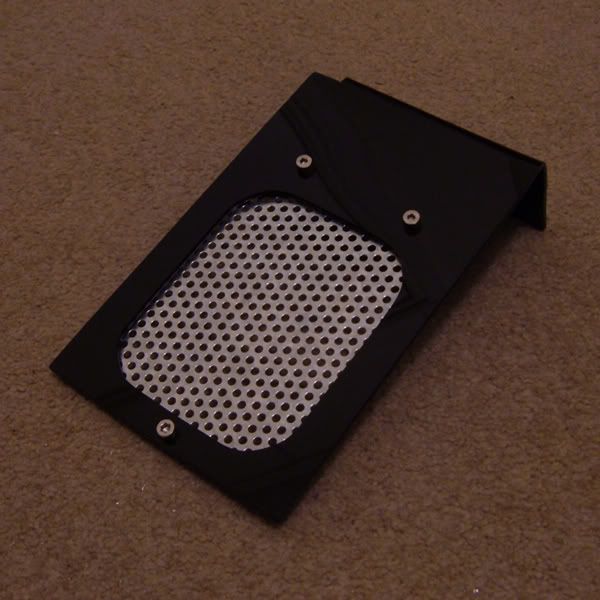
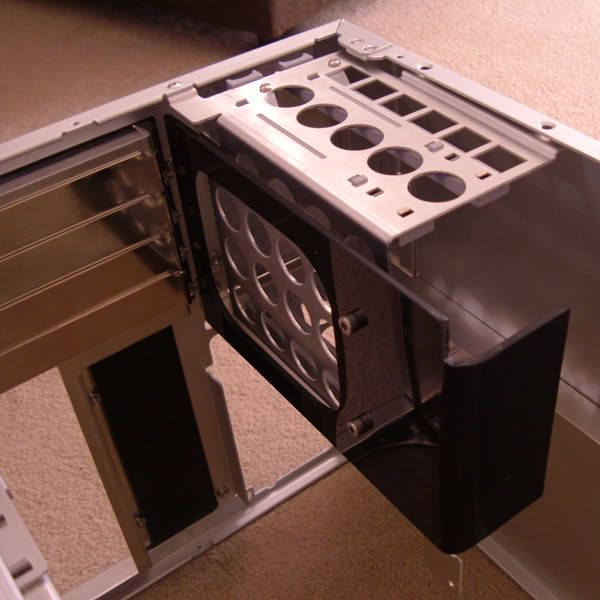
With everything fitting together nicely I removed the protective film and fitted the finished cover to the HDD bay:
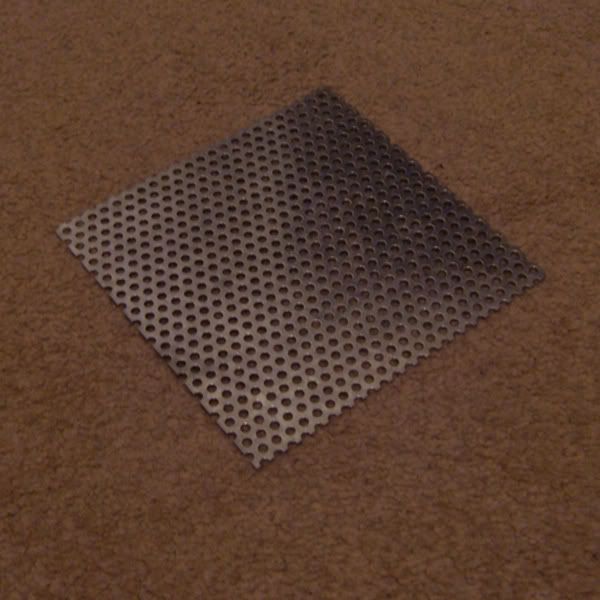
The hole in the middle of the piece of acrylic will be covered with a sheet of mesh, so air will still be able to circulate around the hard disks whilst keeping the wires out of sight.
I am quite pleased with how it turned out, given most of the process was very new to me.
I hope you have enjoyed the first park of this project. I will have another update soon but am going to take my time on this build to try and get everything just right.
Look forward to hearing your thoughts so far . . . . . . . .
Xperiment


 Reply With Quote