Thanks for the heads-up and next time 'round I WILL look at the drying time before buying paint! It's just that I thought: "well this shop is closest to my house and sells paint, I'll go there..."Originally Posted by jiggiwiddit

Anyways, I've got an update for you all!
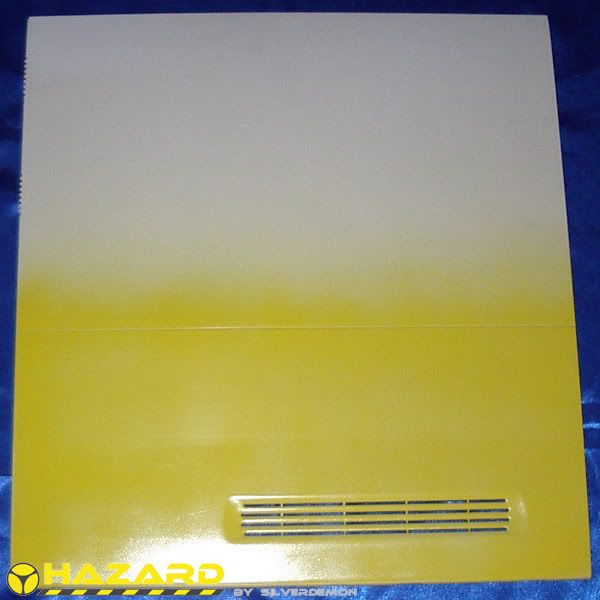
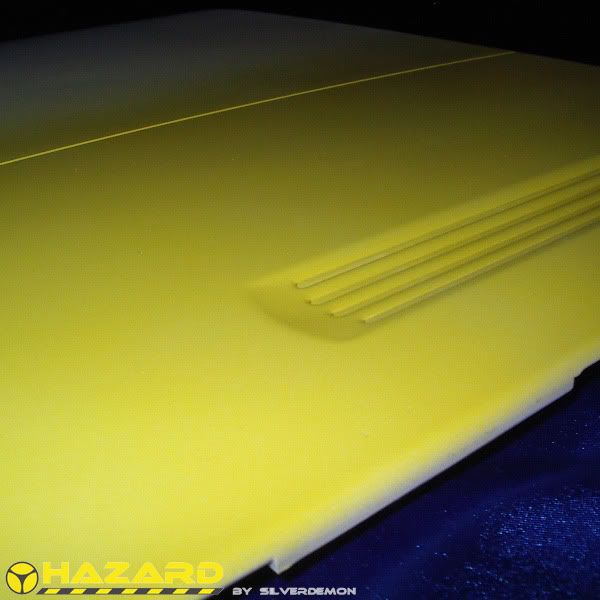
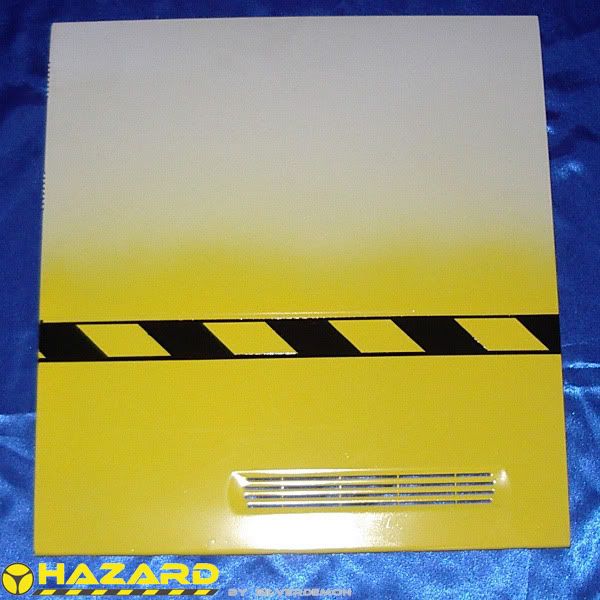
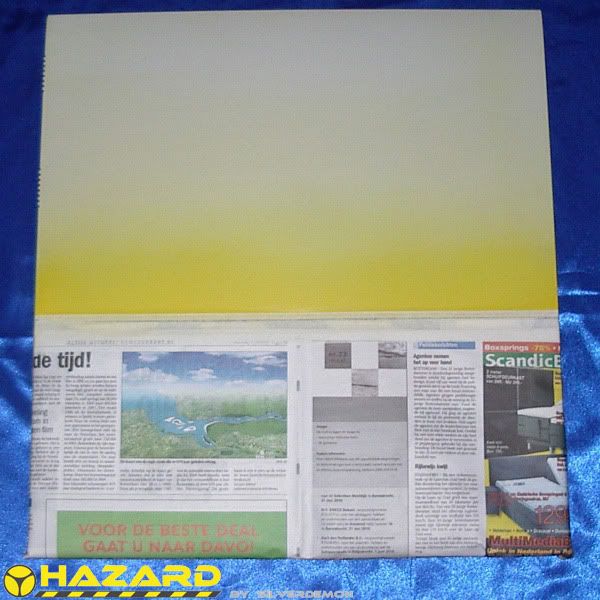
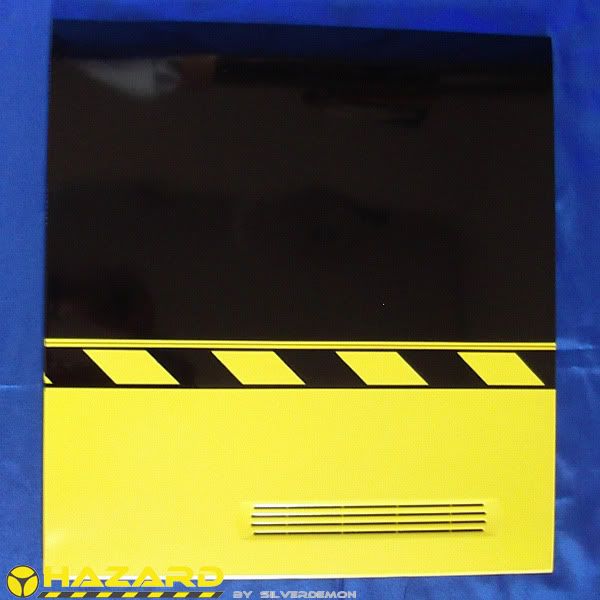
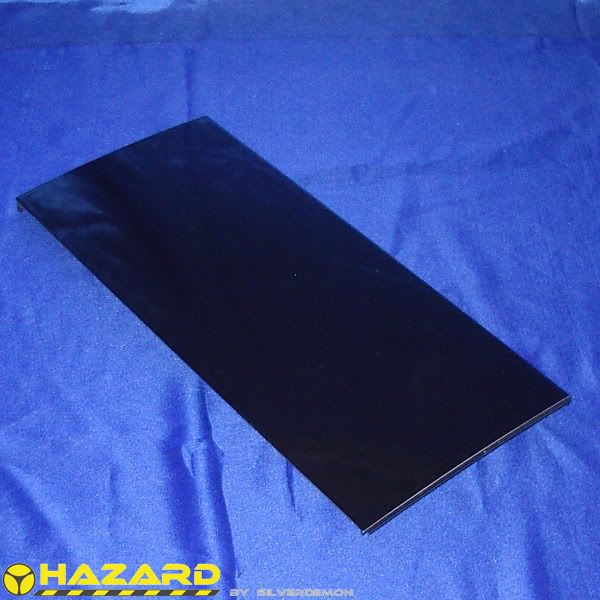
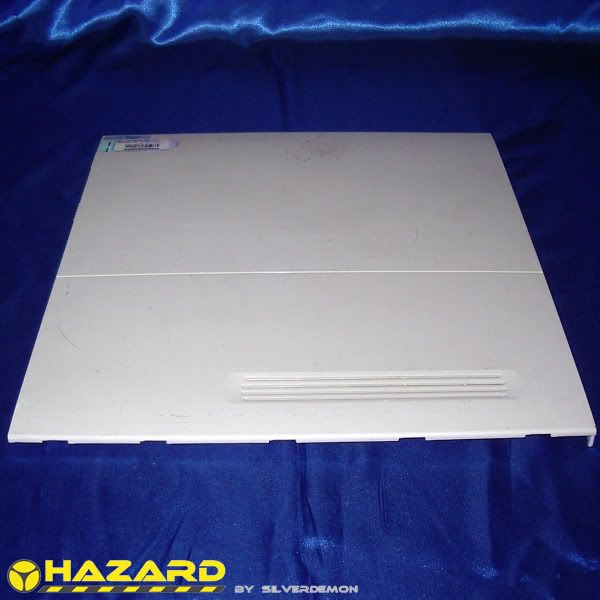
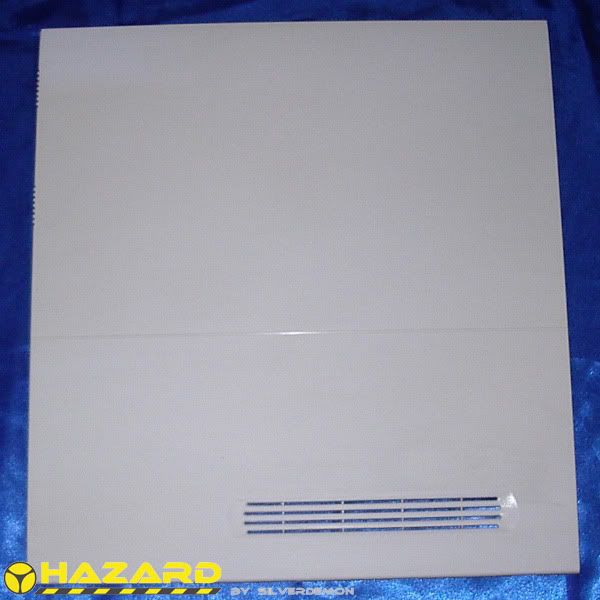
Painted the top panel last week. Took me two coats to make it cover really nice and then another two coats to do some touch-up stuff.
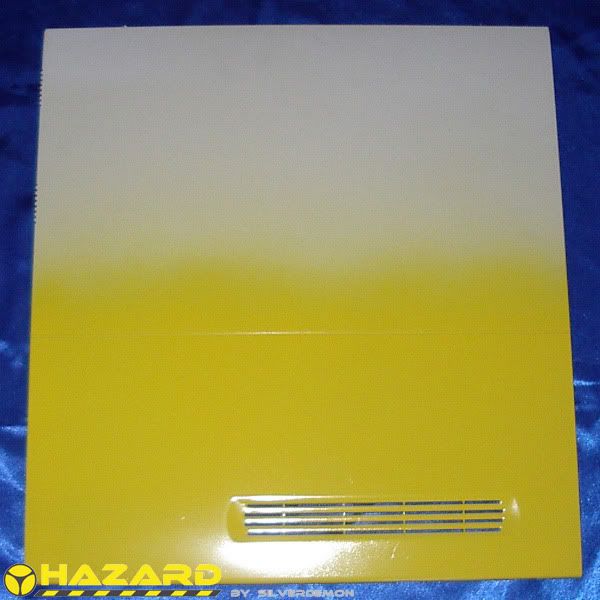
First a picture of the panel all by itself
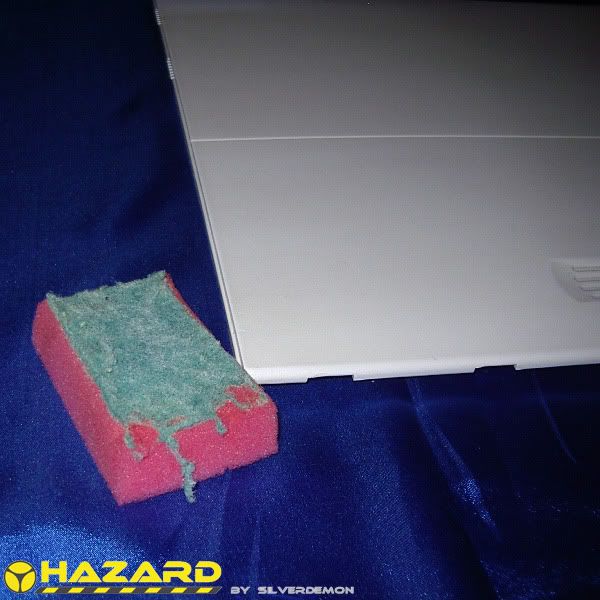
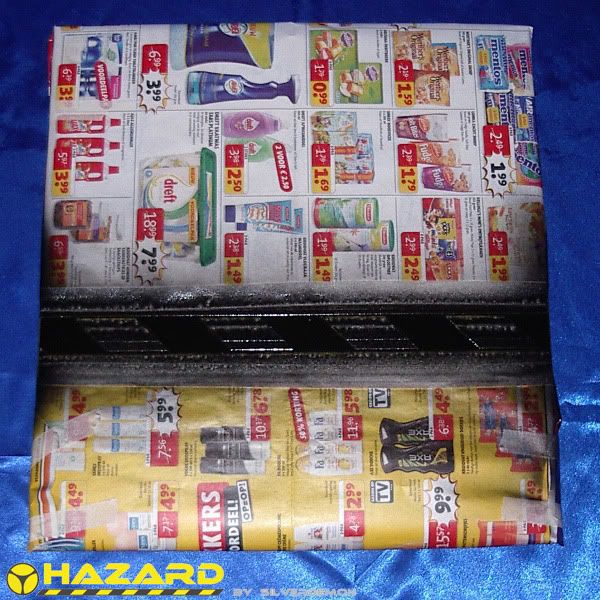
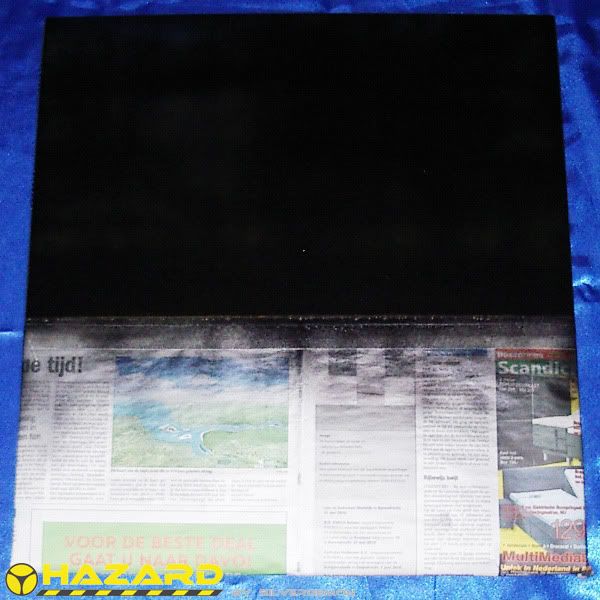
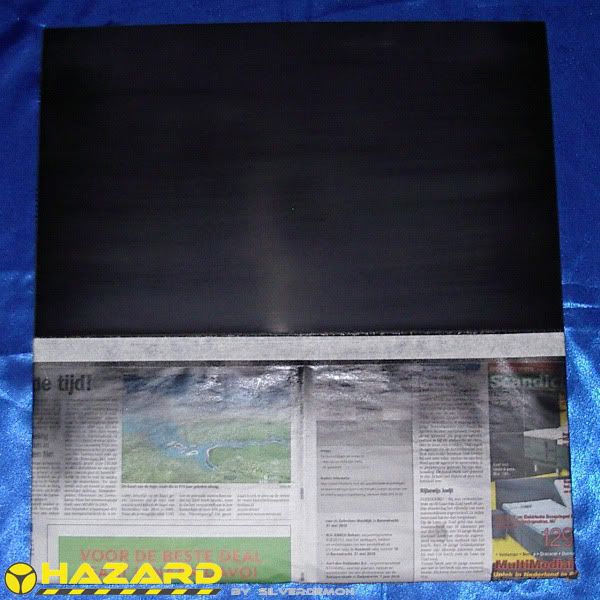
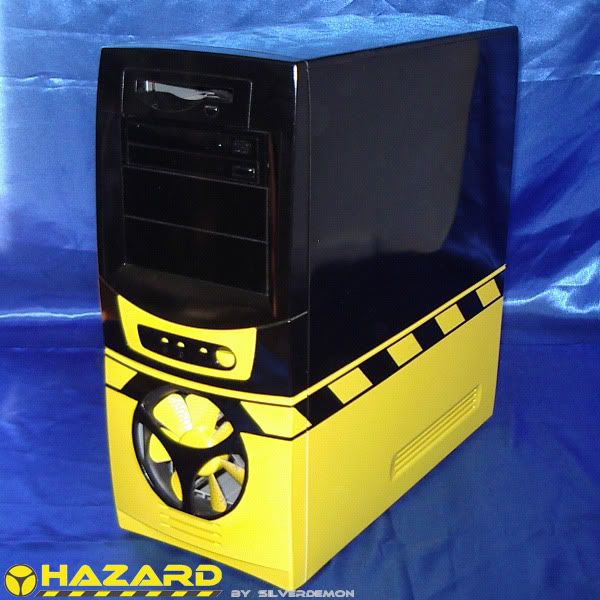
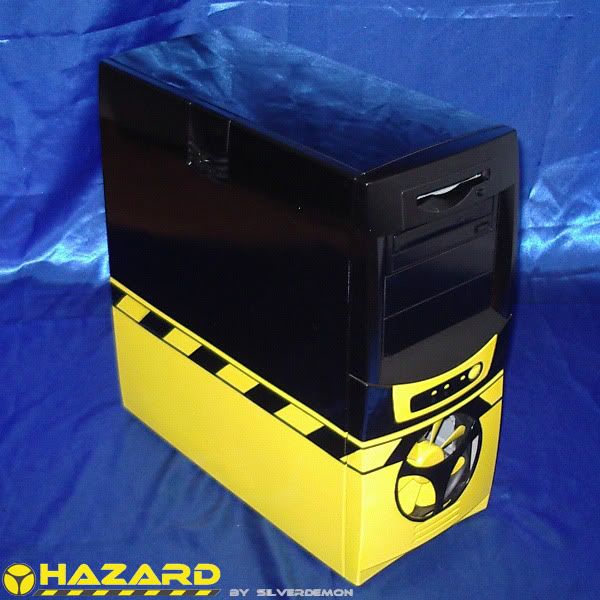
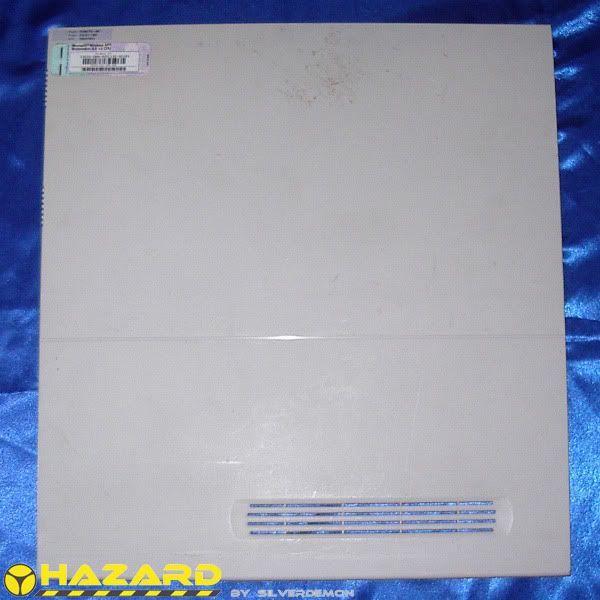
And this is how it looks on the case
Note that I'm not ready yet, because there are two sides to the case
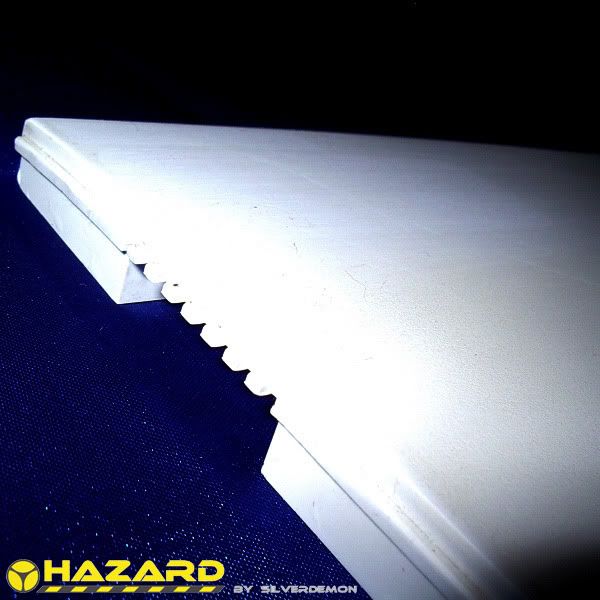
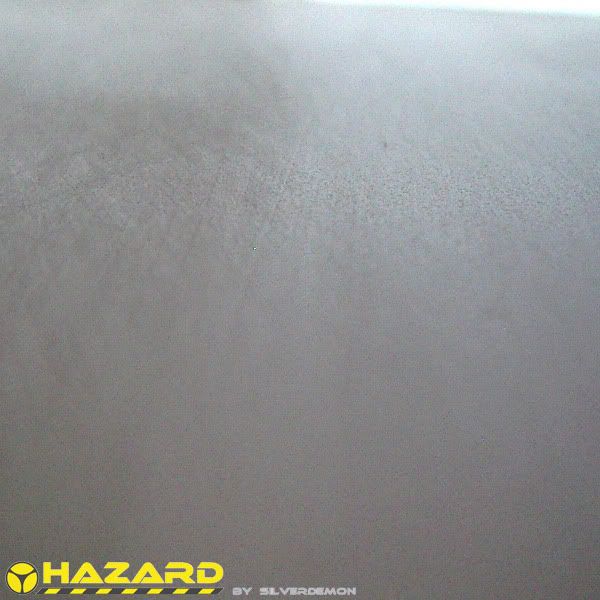
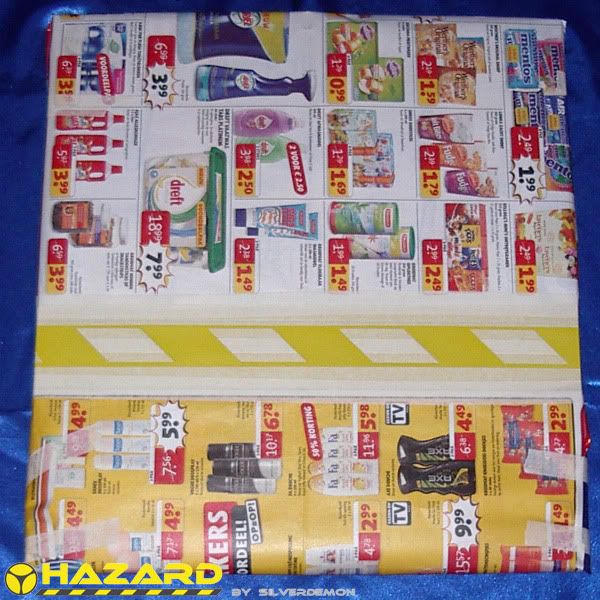
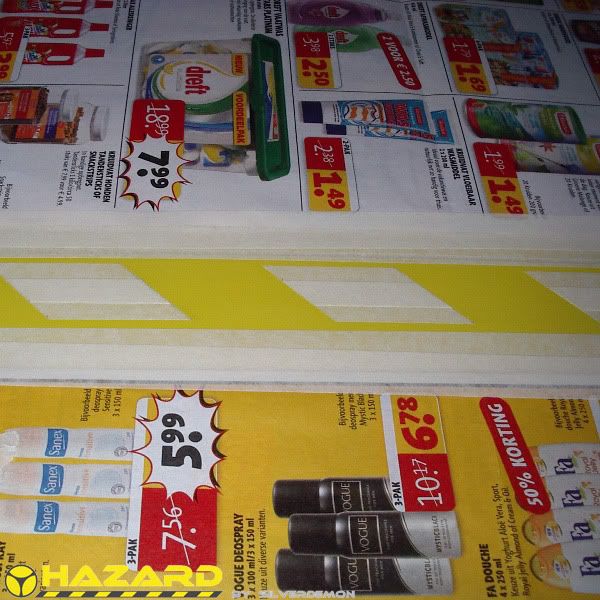
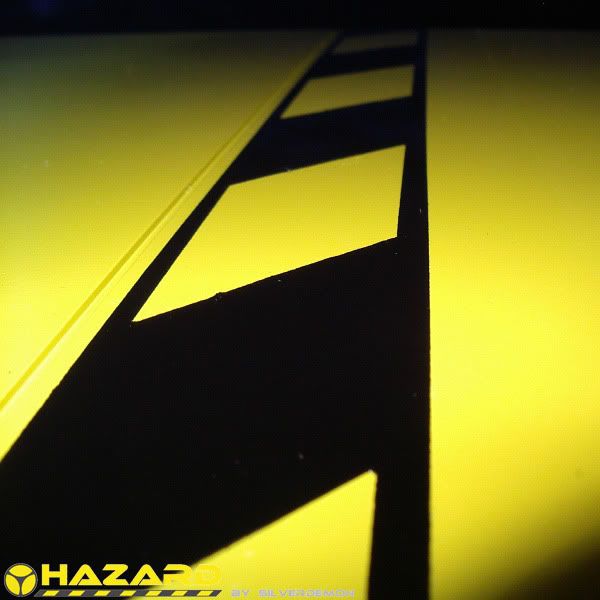
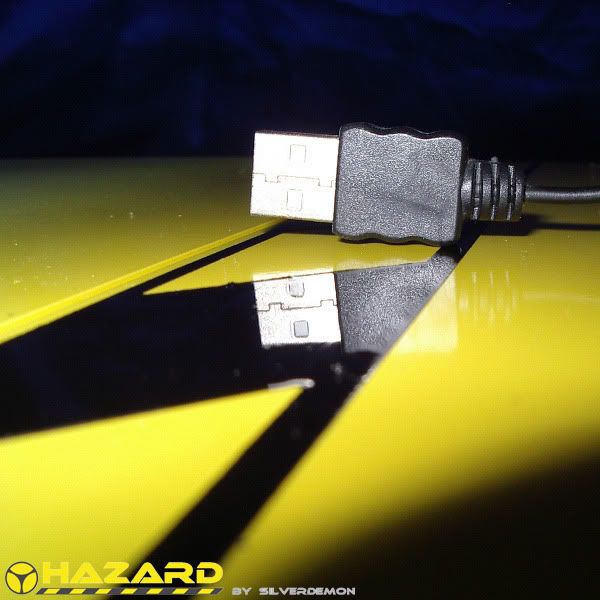
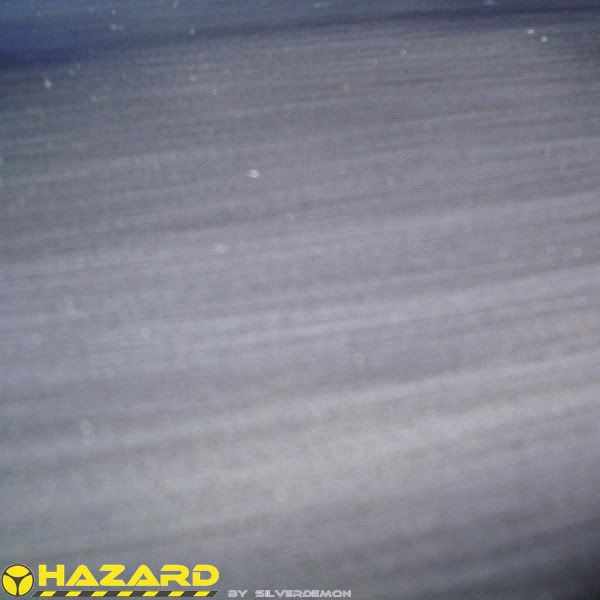
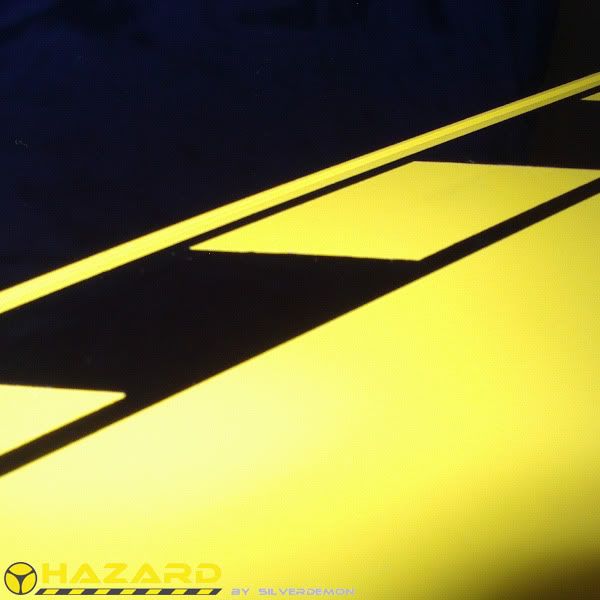
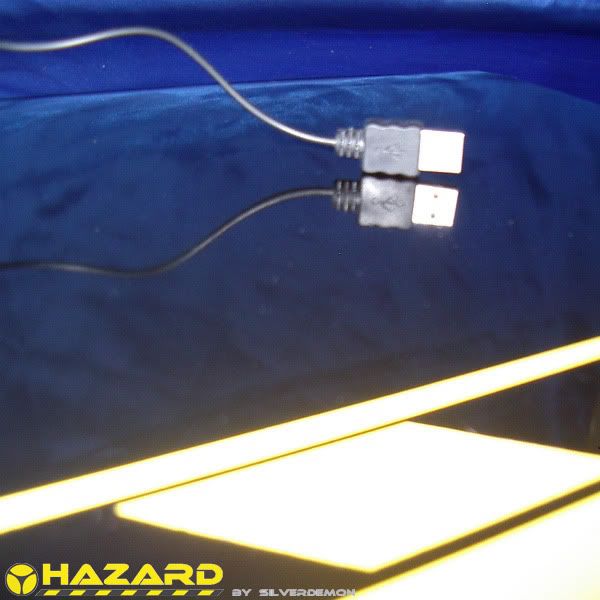
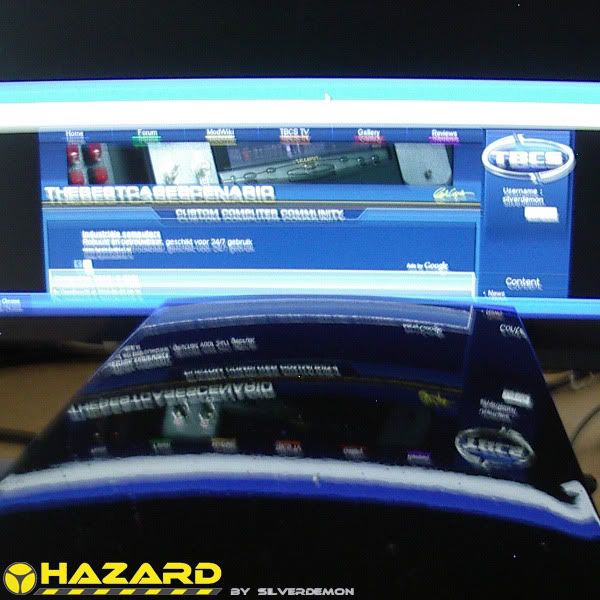
And finally I tried to make a shot in which it gets clear how nice this paint looks. It is really shiny, if it weren't black (but white or maybe grey) you could easily use it for a mirror! The picture is a bit blurry though, because I had to hold the panel in one hand and the camera in the other
If you look careful enough you can actually read some of the letters in the reflection...
oh and by the way: I didn't put any clear-coat on this panel, it's just the paint
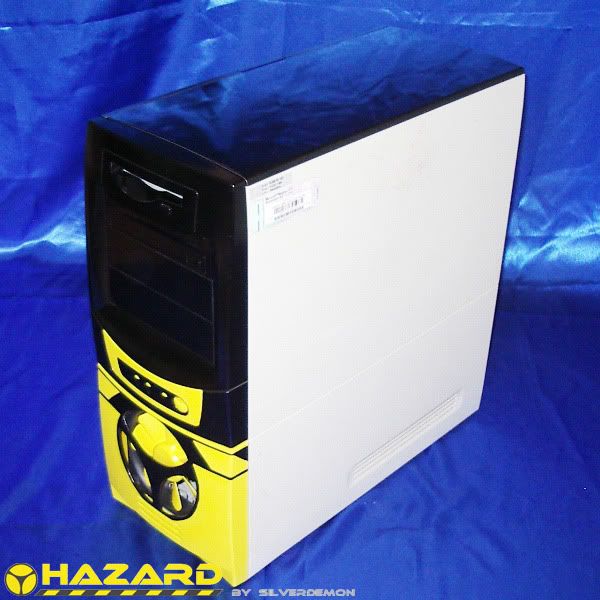
That's all for now. Next up is the last side-panel which will hopefully be done a bit quicker than the other side-panel...
keep safe - silverdemon


 Reply With Quote
 so far left of center i'm in right field

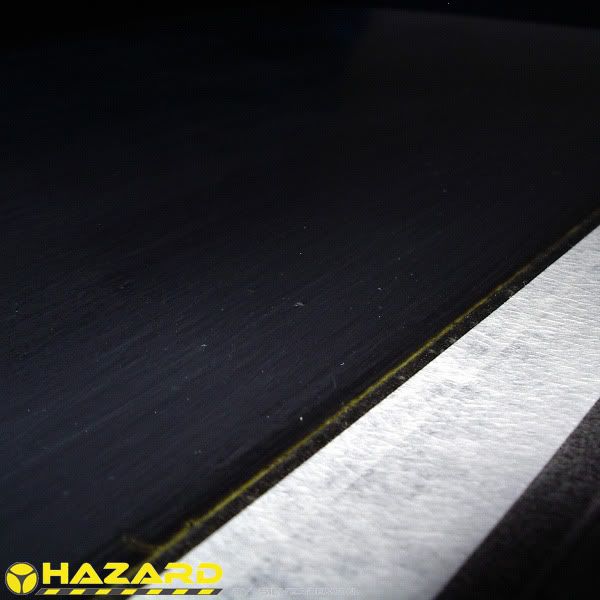
 there are all kinds of scratches in there!