Nice camera work. Liking the depth of field you're getting.


 Re: Project: Steampunk'd TJ11
Nice camera work. Liking the depth of field you're getting.
I have a hammer! I can put things together! I can knock things apart! I can alter my environment at will and make an incredible din all the while! -Calvin

 Re: Project: Steampunk'd TJ11
Thanks. I'm really trying to learn more about my DSLR.Originally Posted by TLHarrell

Re: Project: Steampunk'd TJ11
Here is another big update for y'all!
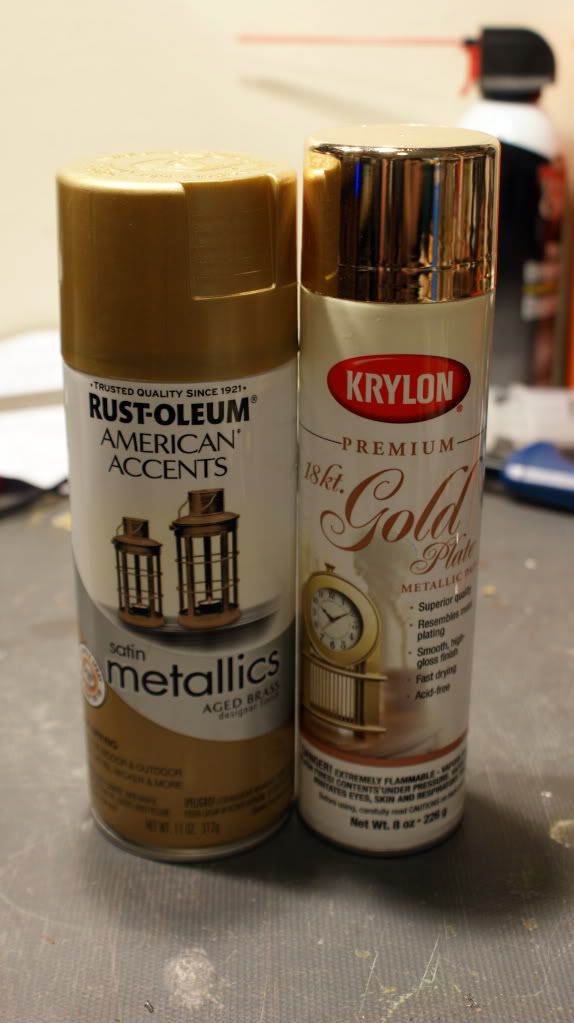
Finally got my paint and 3M glue in!
2 types of gold. I will ony be using the Rust-Oleum one though.
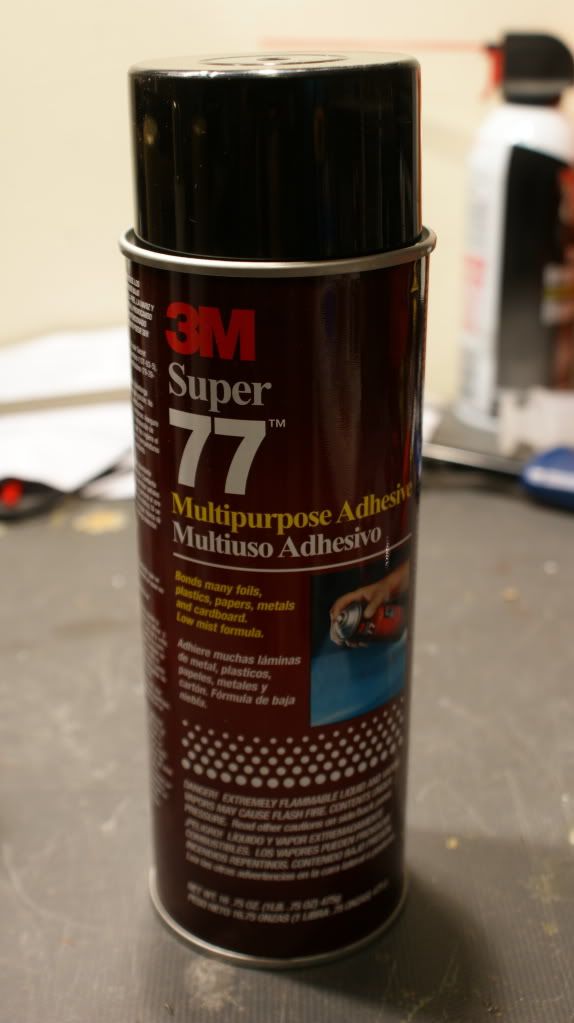
And the glue.
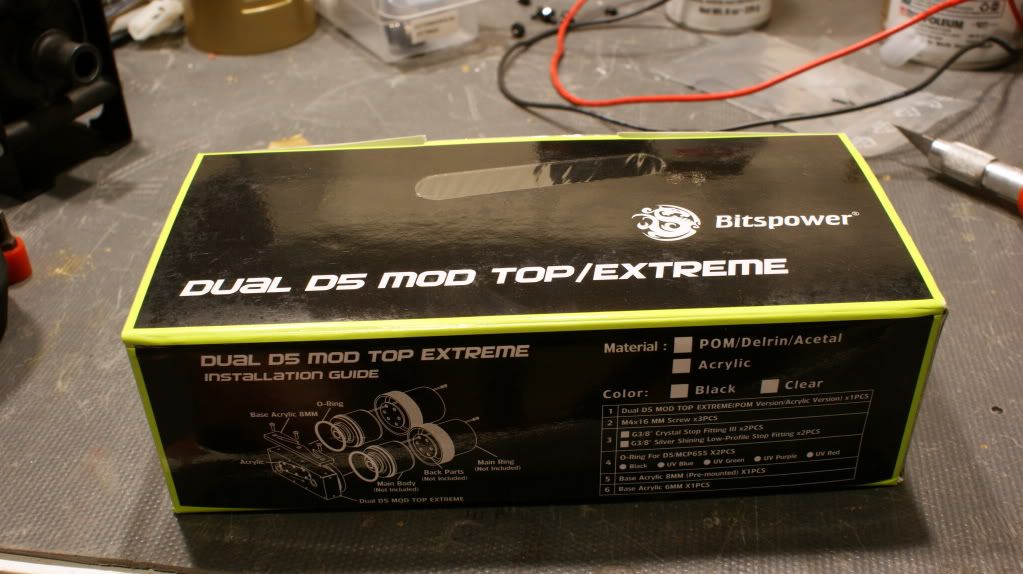
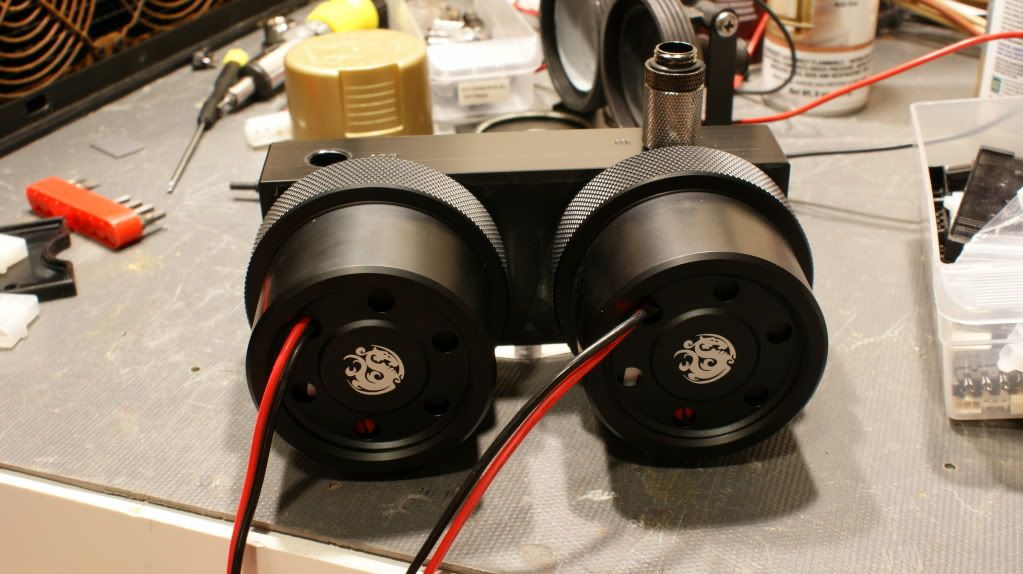
I also got in the Bitspower Dual Pump Top
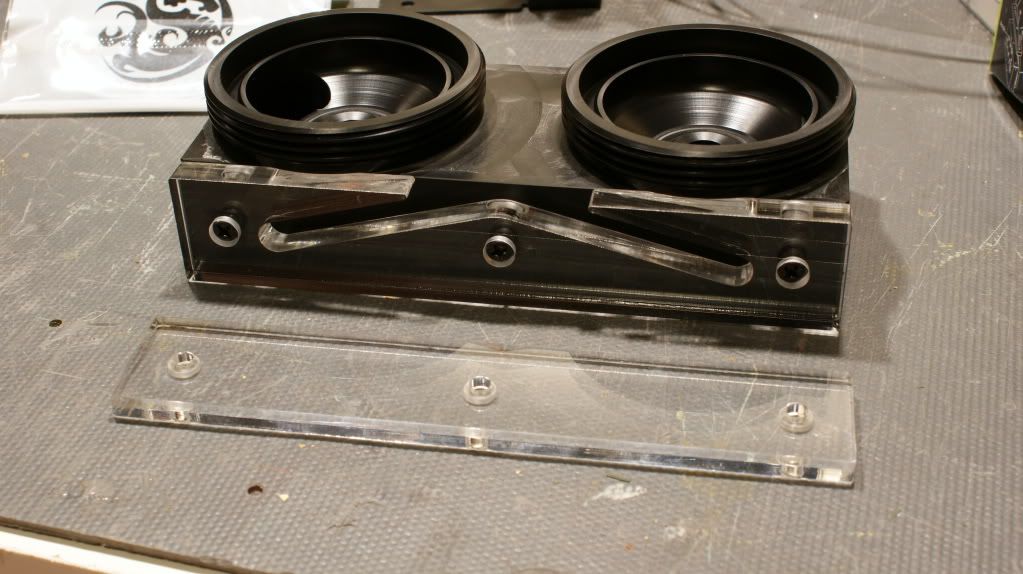
I had to take one of the Acrylic layers off the bottom so the pump top would fit under the 240mm rad in the bays.
Put the pumps on with the Bitspower Mod Kit.
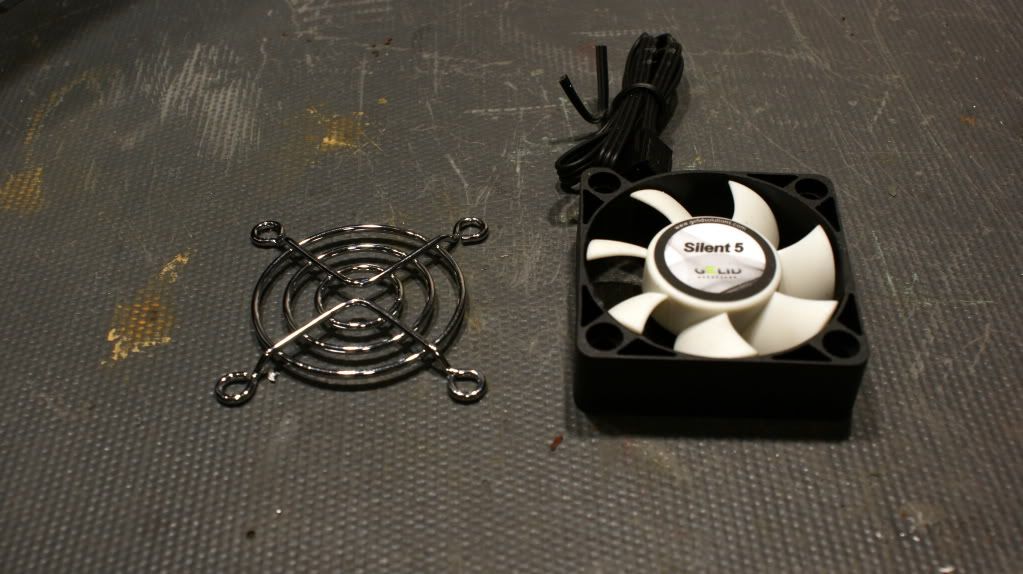
50mm fan grill. Not sure if I will use this or not.
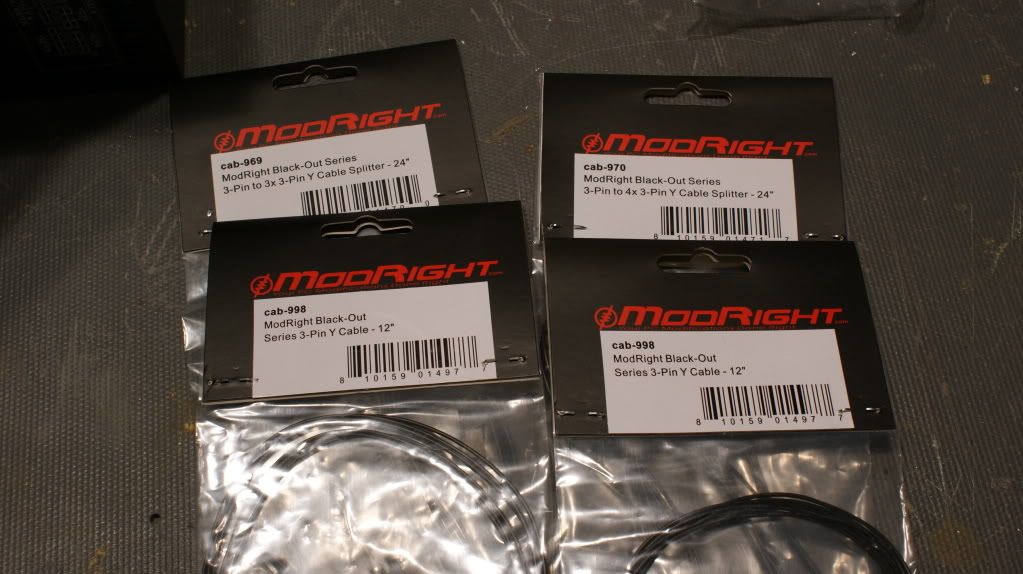
Some fan cables. 1 for each rad.
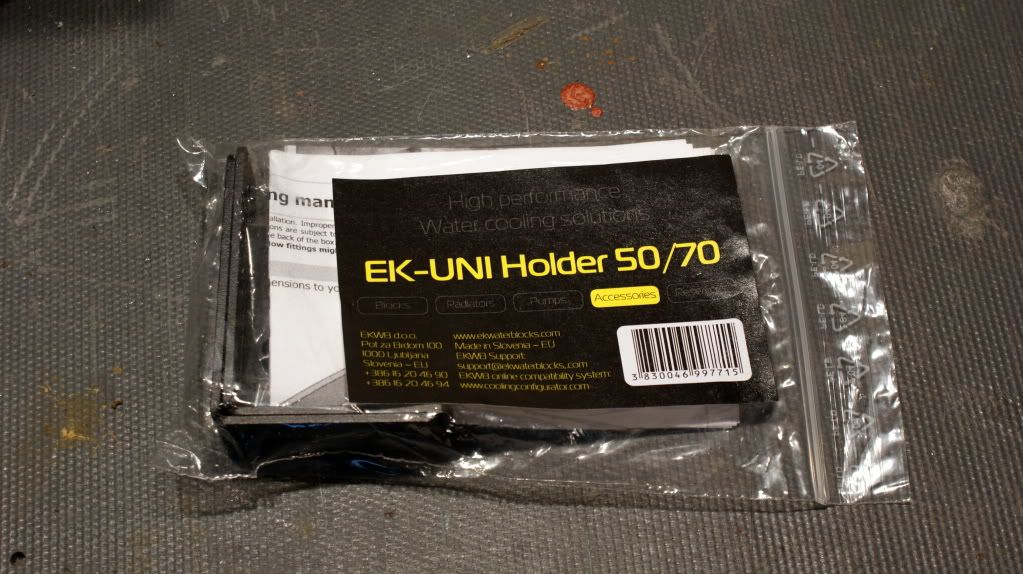
EK Uni Brackets for the Res (These are so I can mount the res to the 5.25" bays)
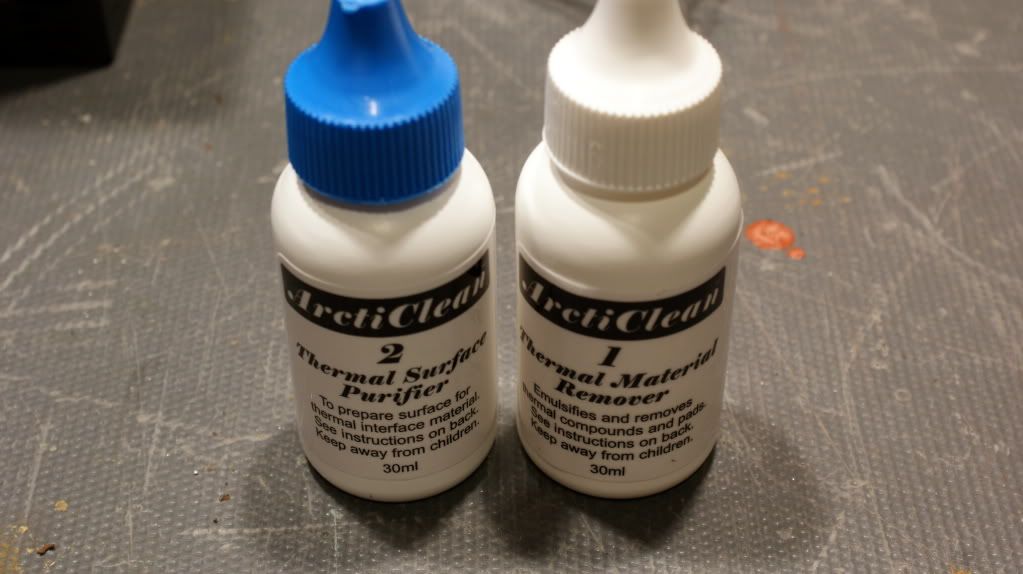
And some thermal cleaner so I can get some nice clean chips.
Now for the modding!
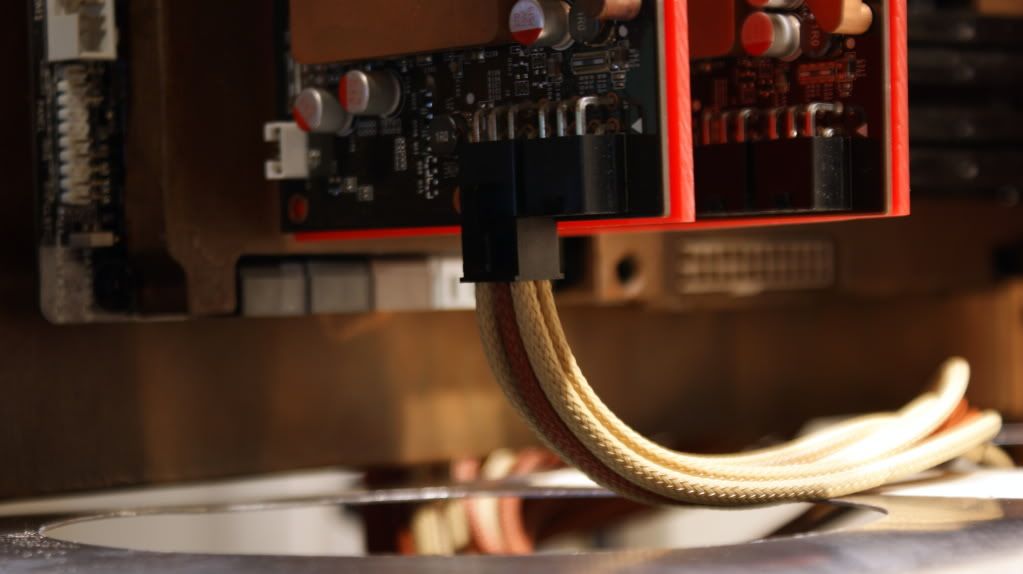
I decided to venture in to heatshrinkless cables for the ones you can see at least. Here is my journey.
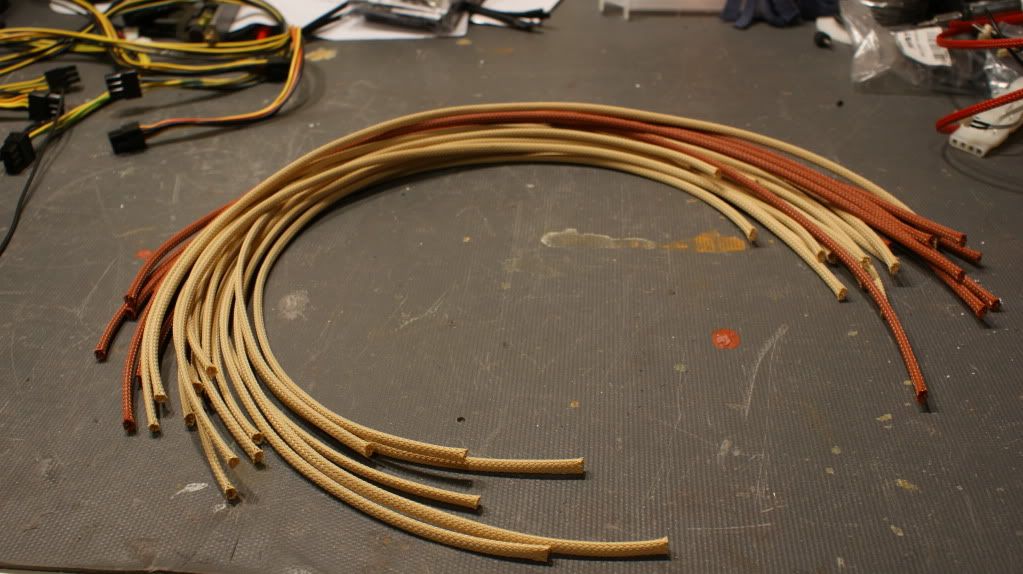
All the sleeve ready to go.
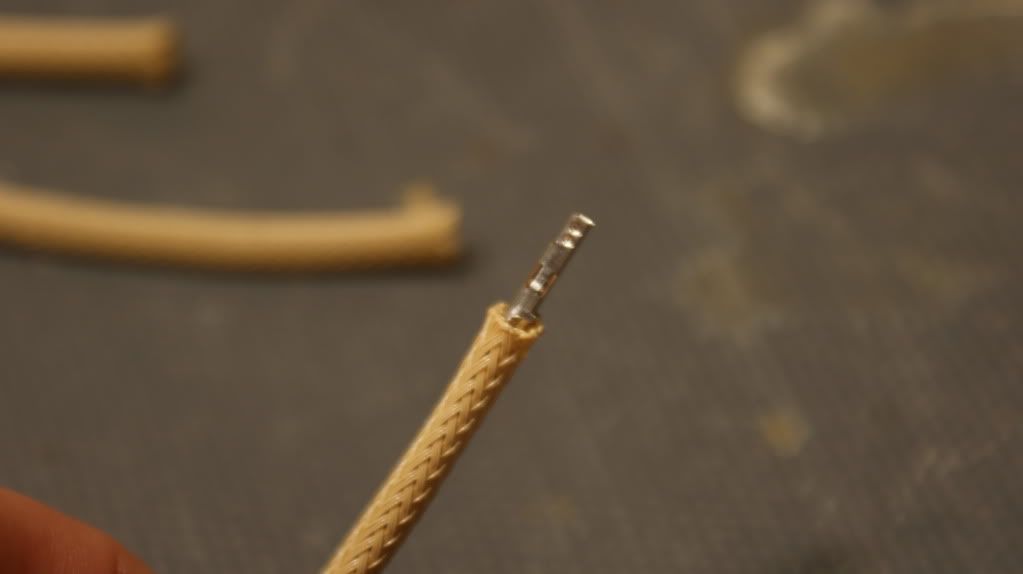
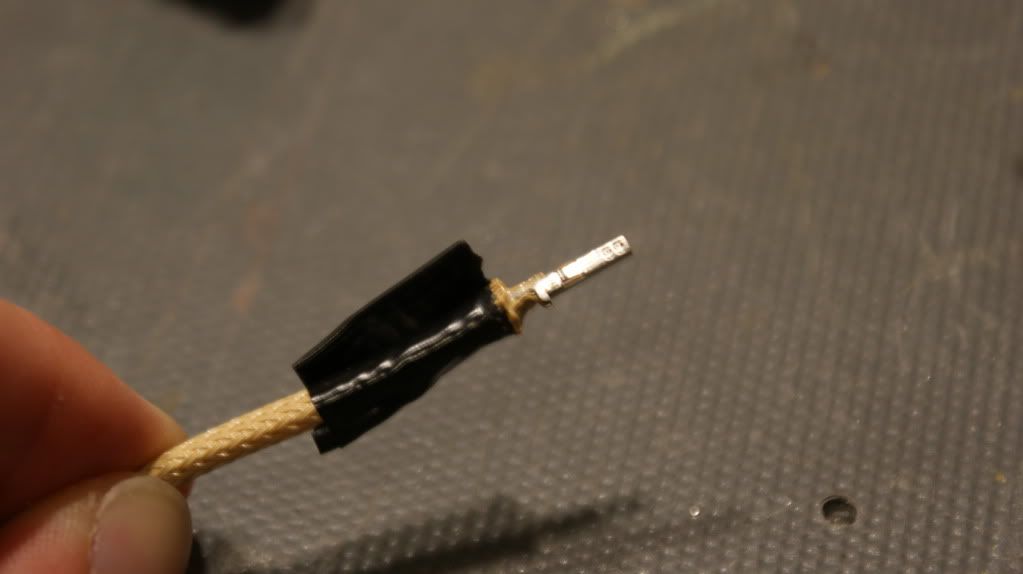
You have to have the sleeve almost touch the 2 prongs on the ATX pin.
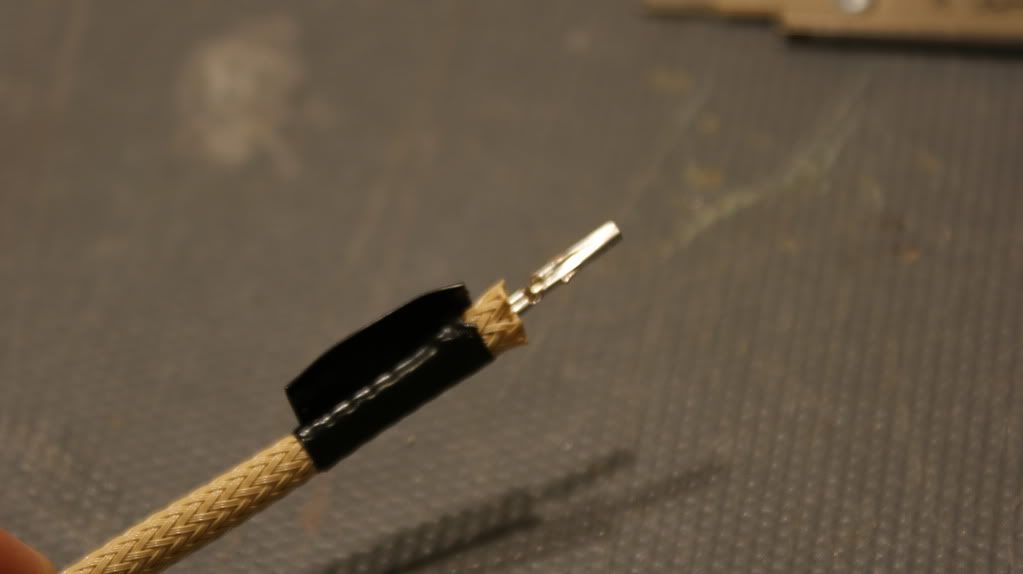
I put some electrical tape on between 1/4" and 1/8" away from the end of the sleeve to keep the sleeving tight and to use as a guide.
Next you use a soldering iron to melt the sleeve to the ATX pin. Don't melt more that what is marked. (Obv the tape is in the way)
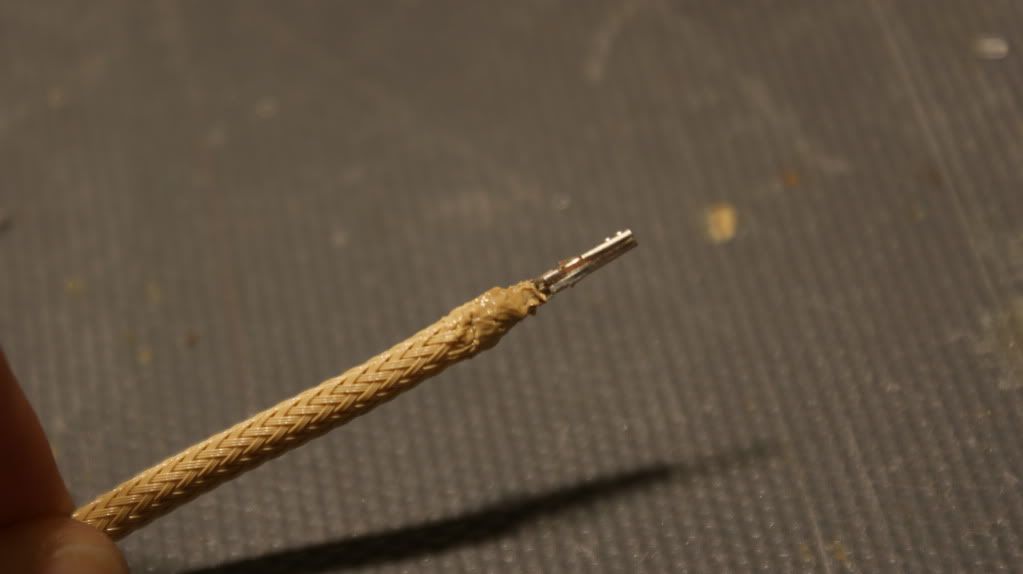
Now all you have to do is melt it just a bit more to make it cone shaped basically to fit into the connector.
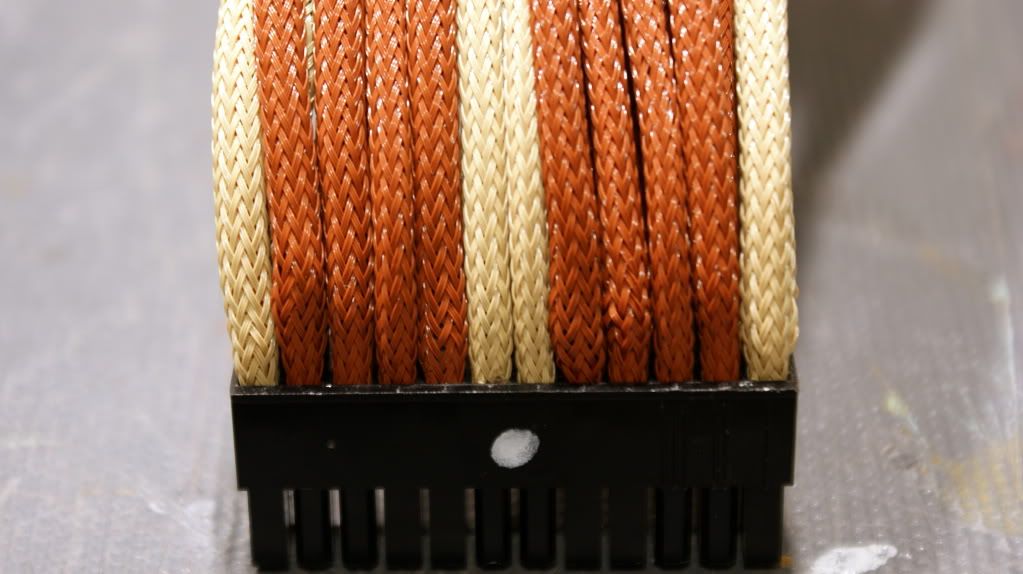
And here it is all done.
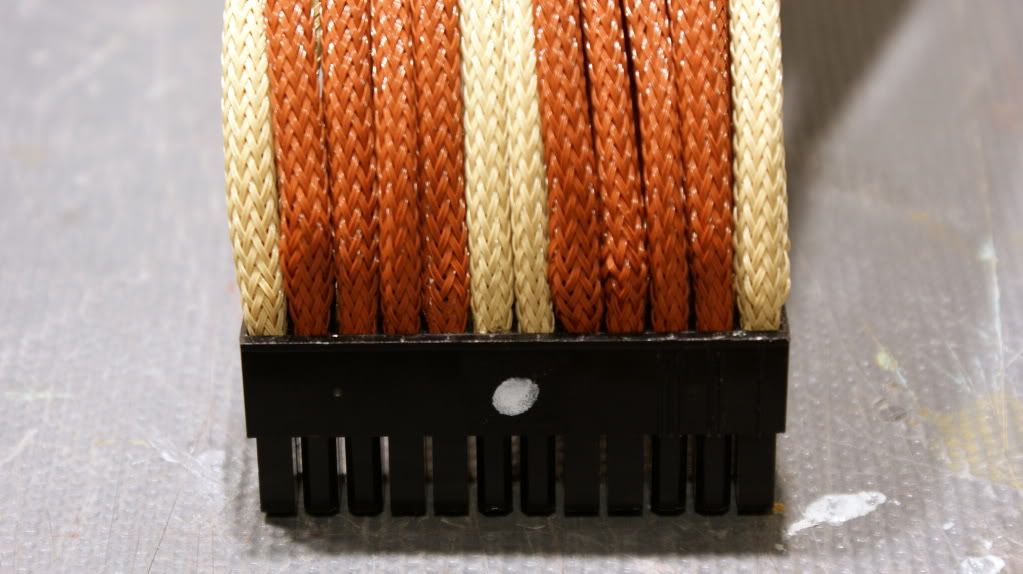
Here is how my 24-pin cable came out.
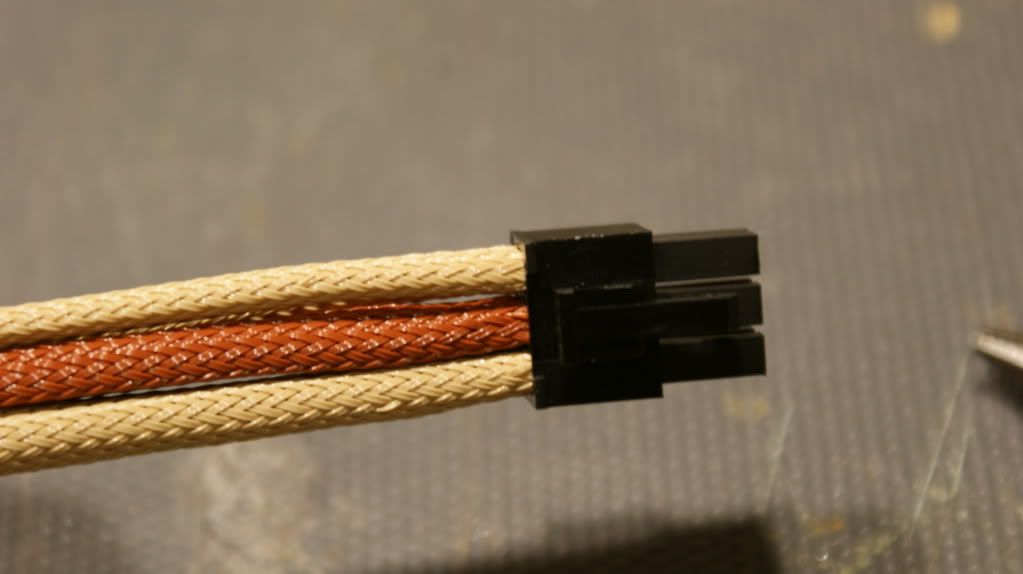
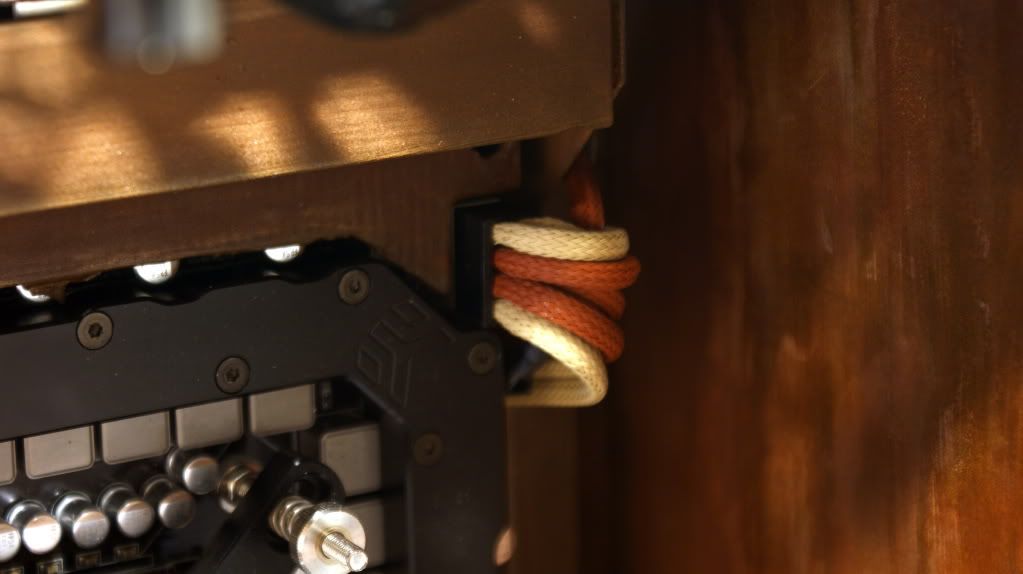
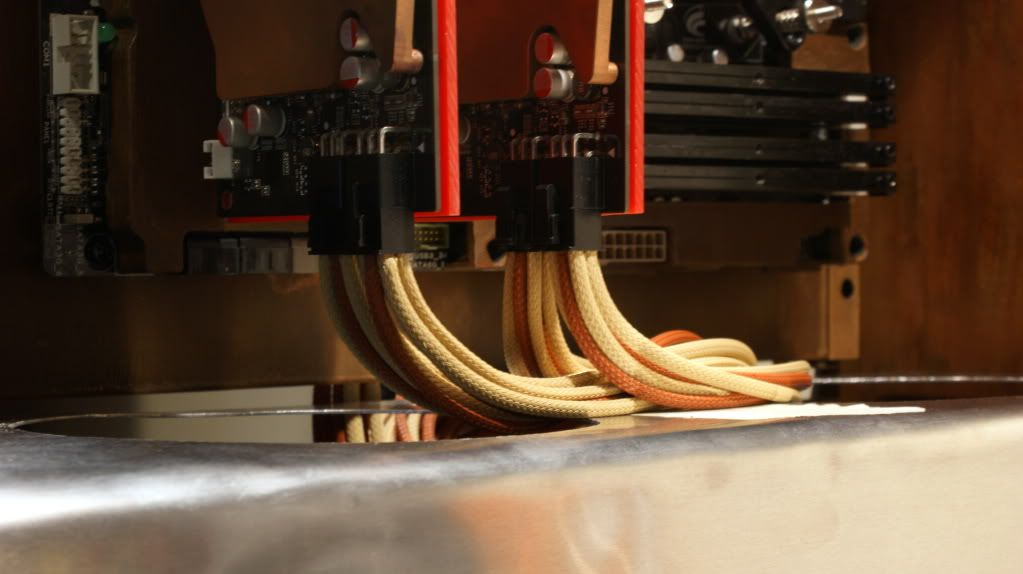
And the 8-pin
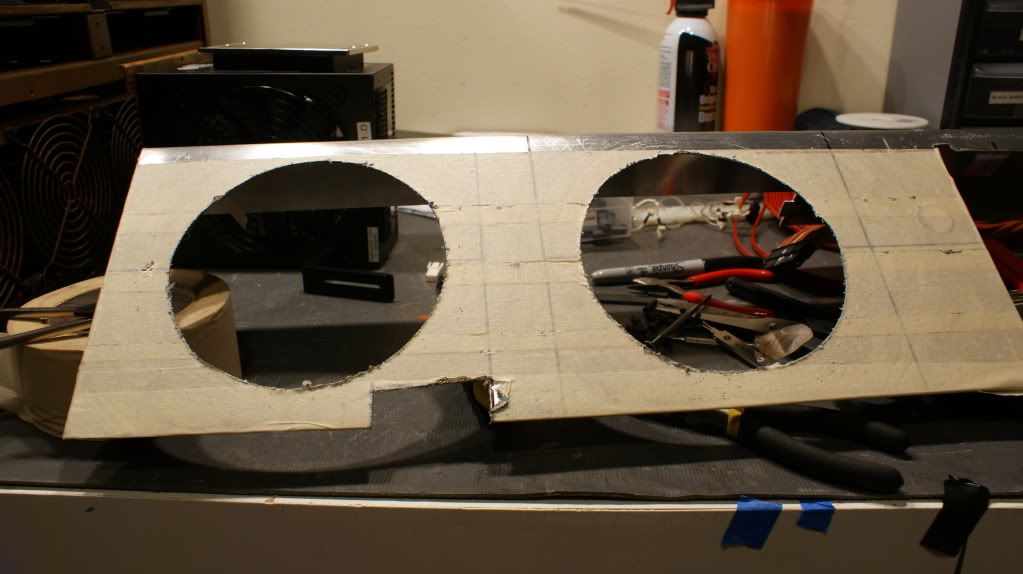
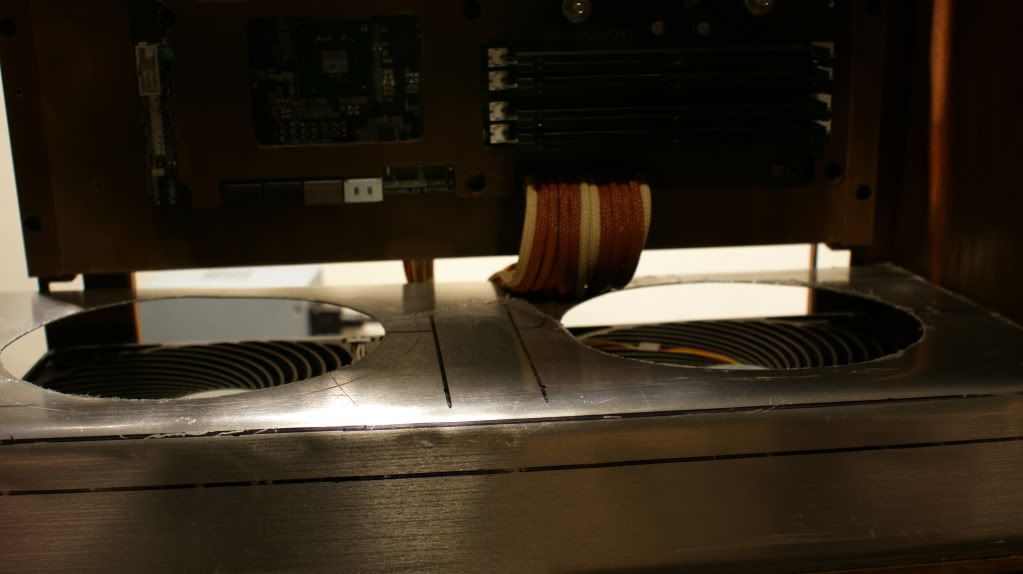
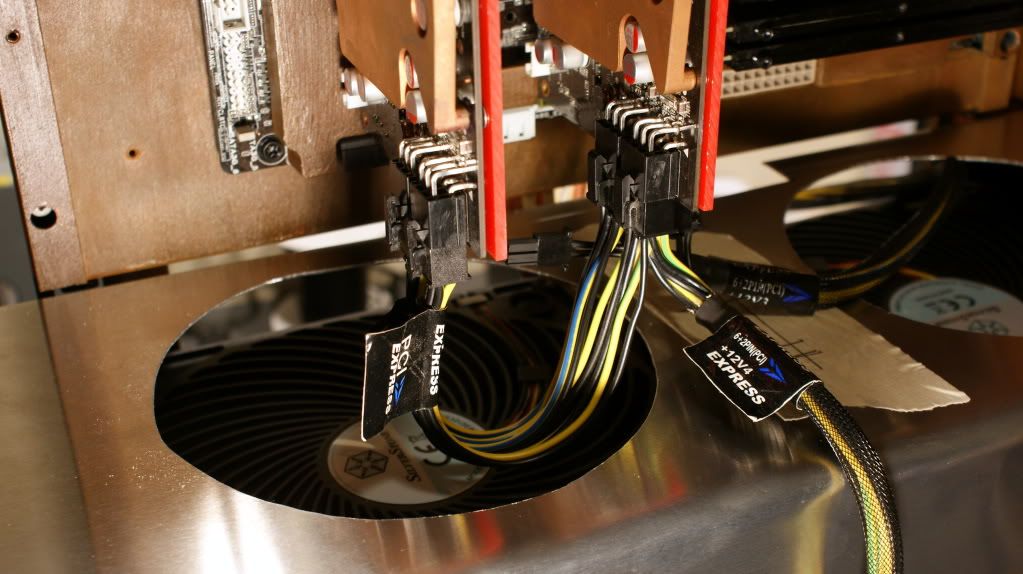
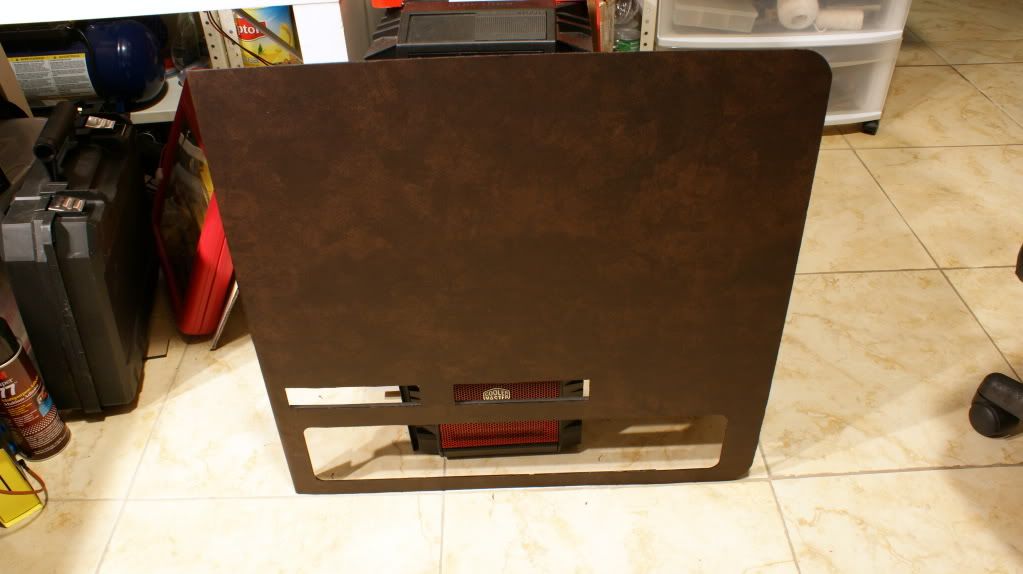
I cut the holes for the fans in the mid plate and a cut-out for the 24-pin cable.
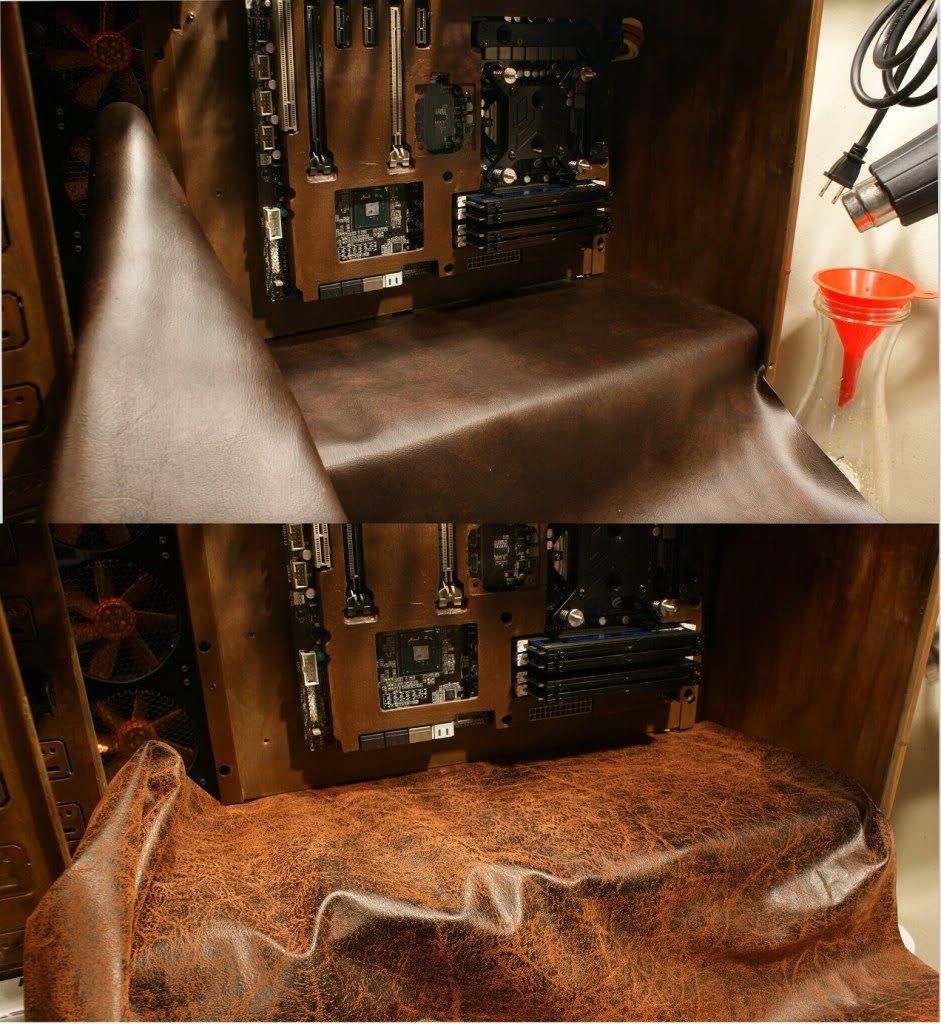
I made this photo so I could figure out which leather I would use for the midplate. I decided on the top one.
Here is how I was originally going to have the cables for the GPUs
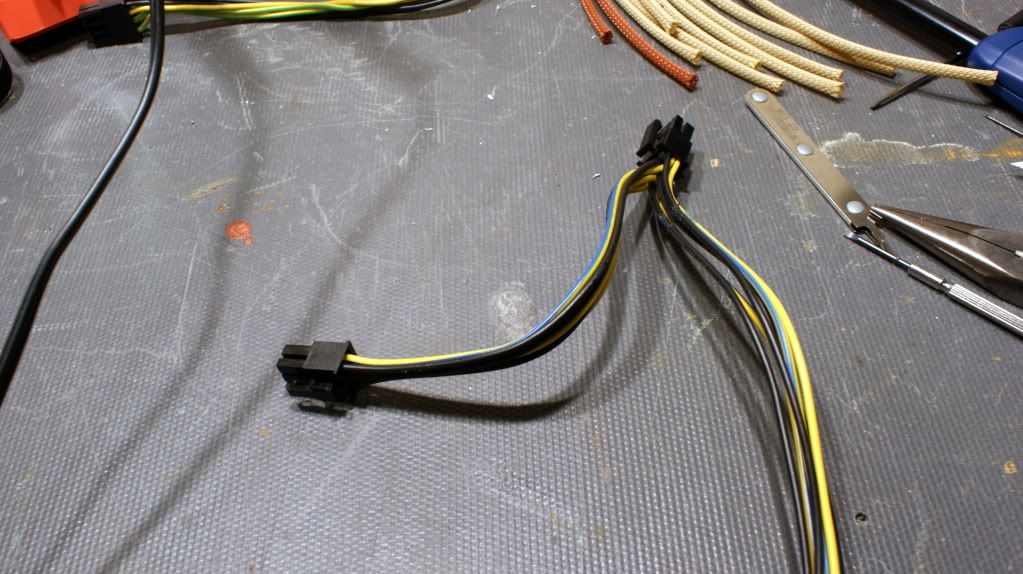
But since I'm going heatshrinkless I can't do that so I did this instead.
2 of the cables were straight 6-pin cables but the other 2 were made for 1 GPU each so I had to cut off the extra link.
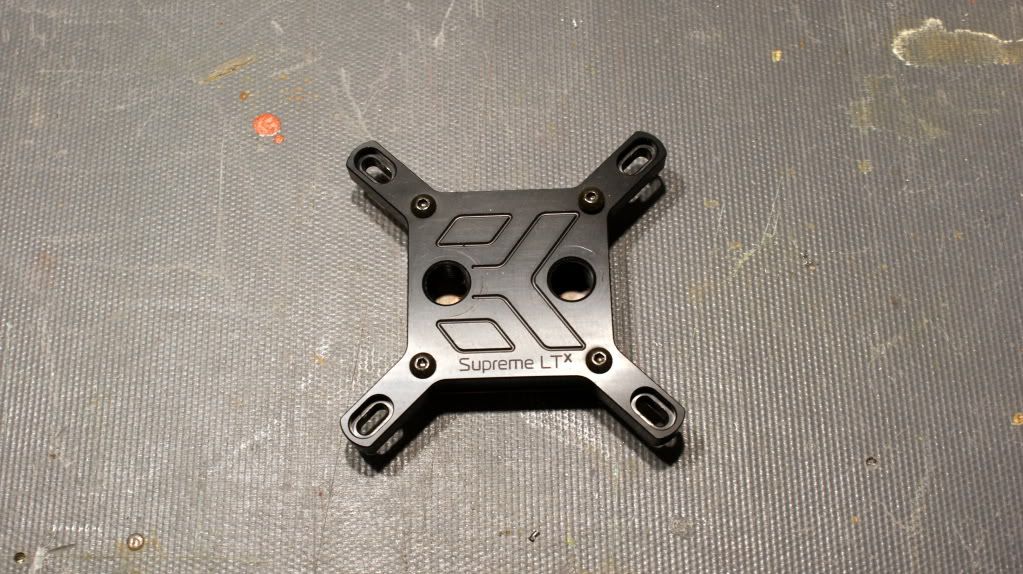
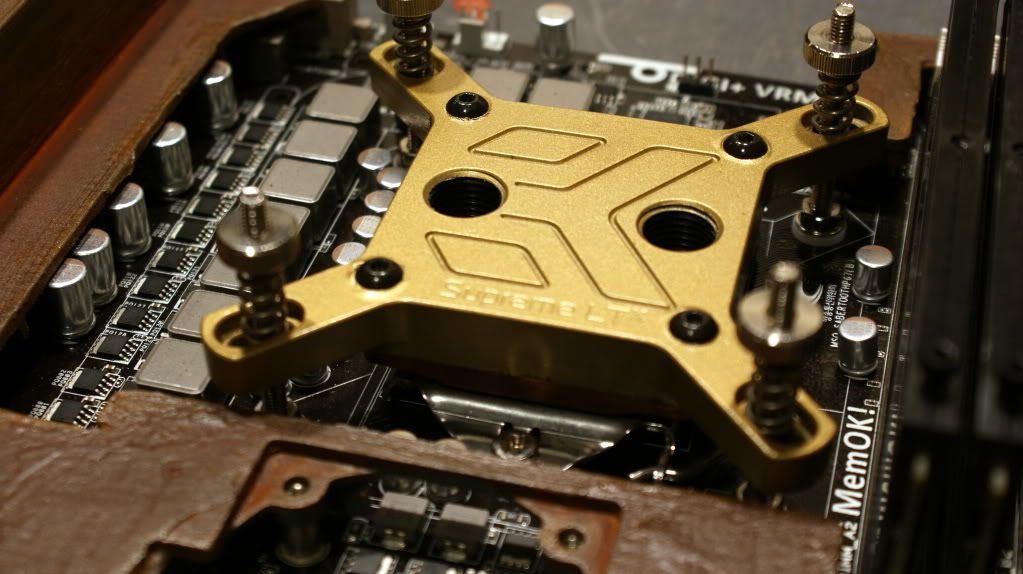
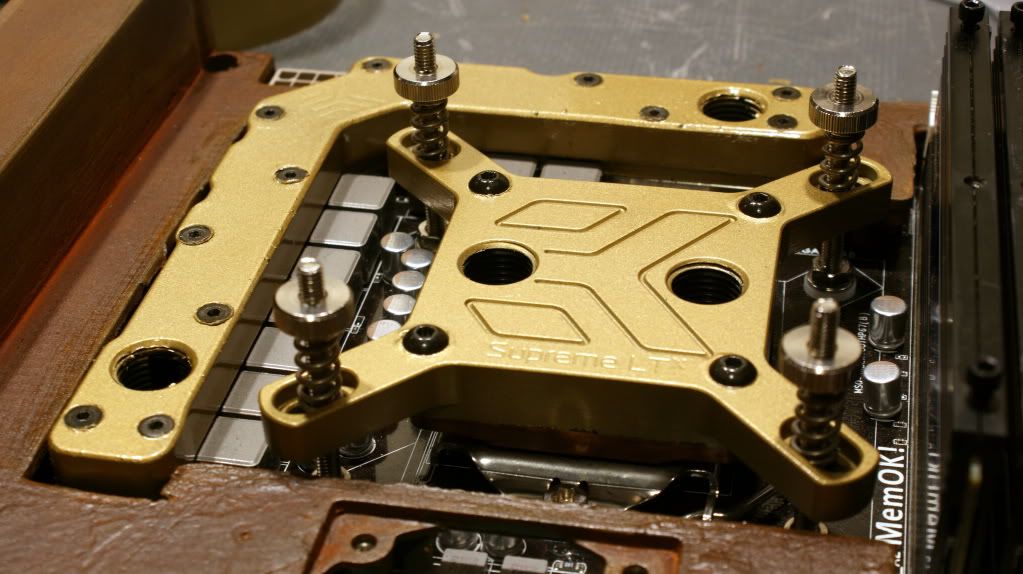
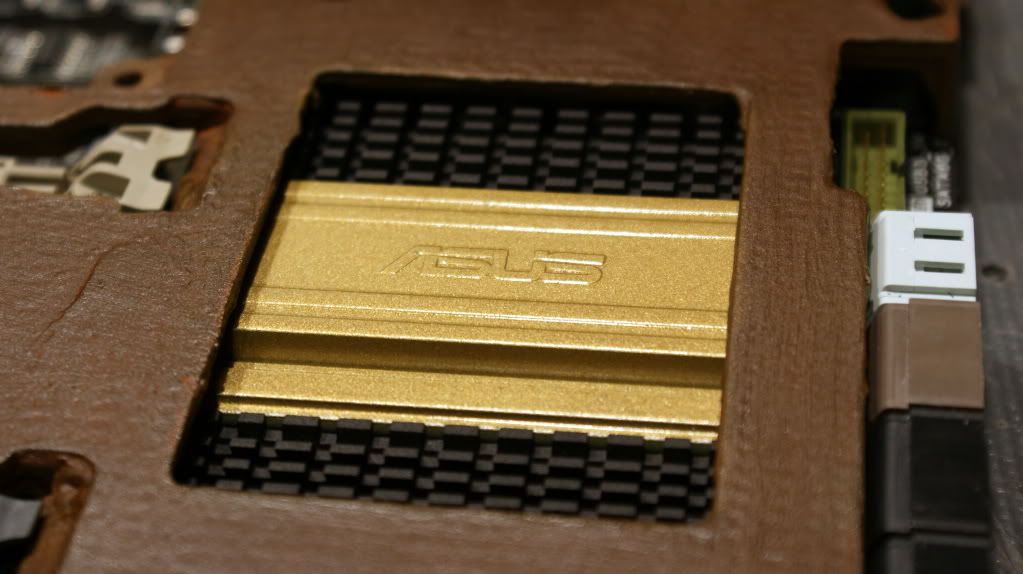
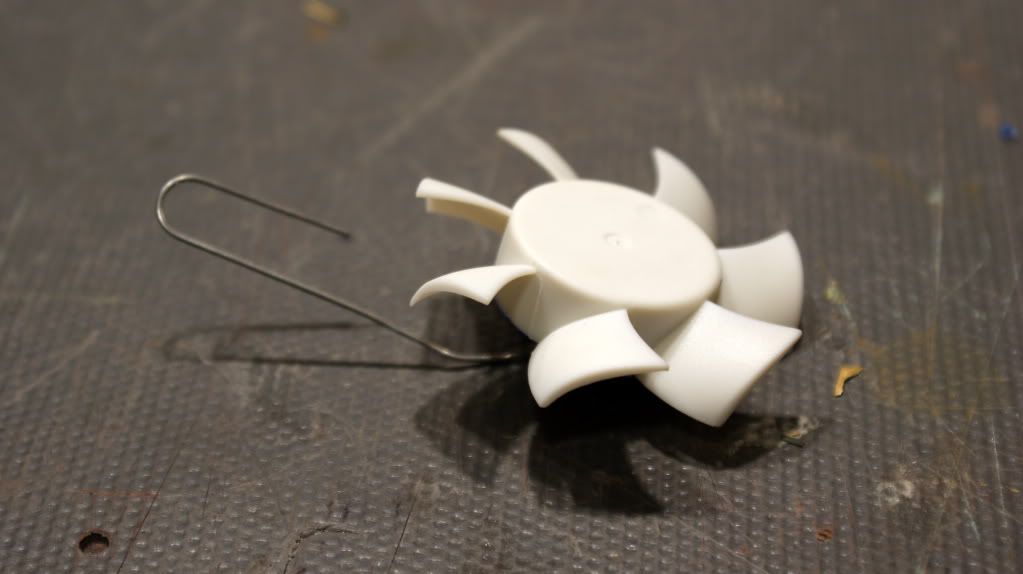
Now for a sweet mod!
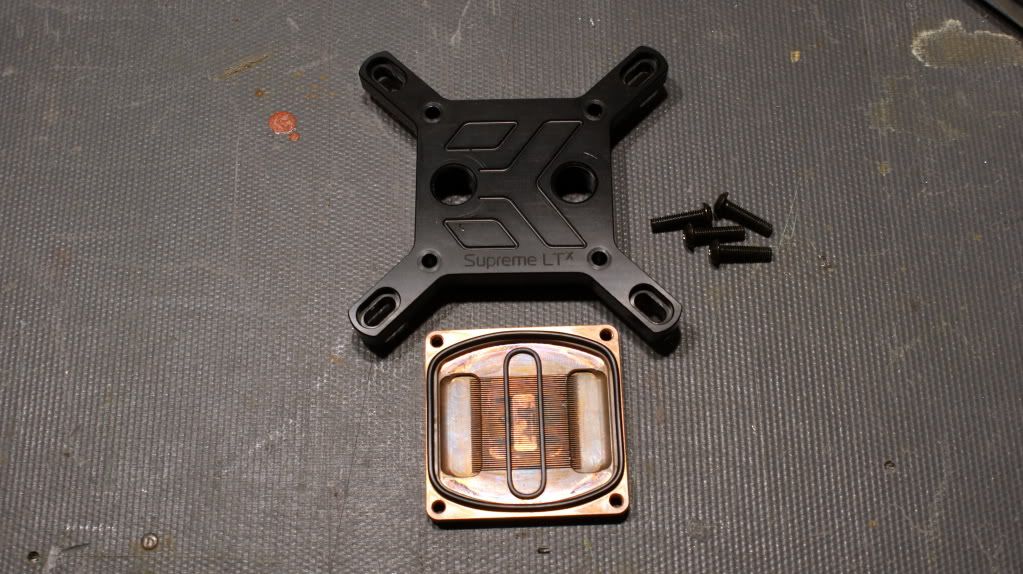
Coming apart...
Presto Chango!!
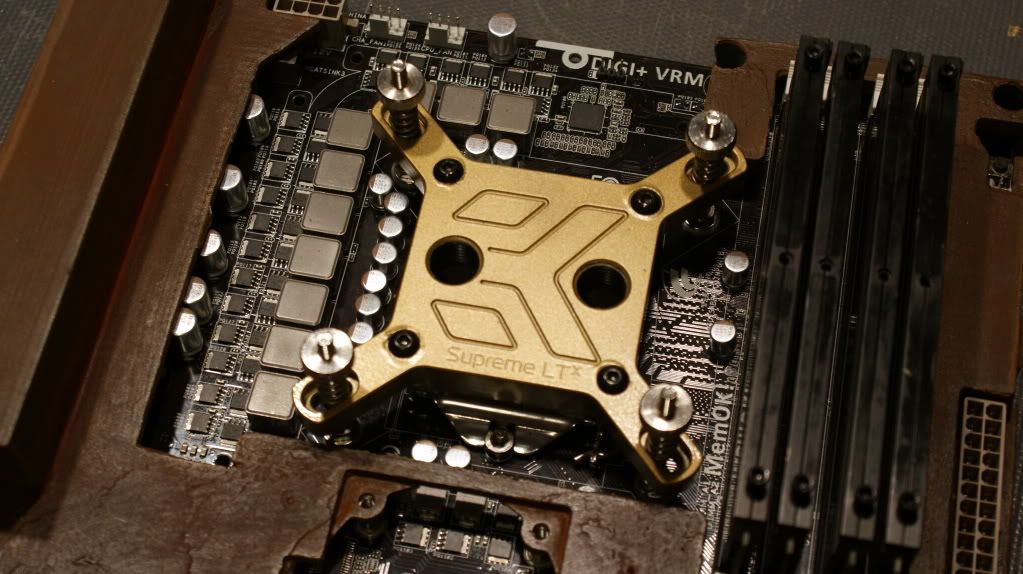
Did the same thing to the MOFSET block.
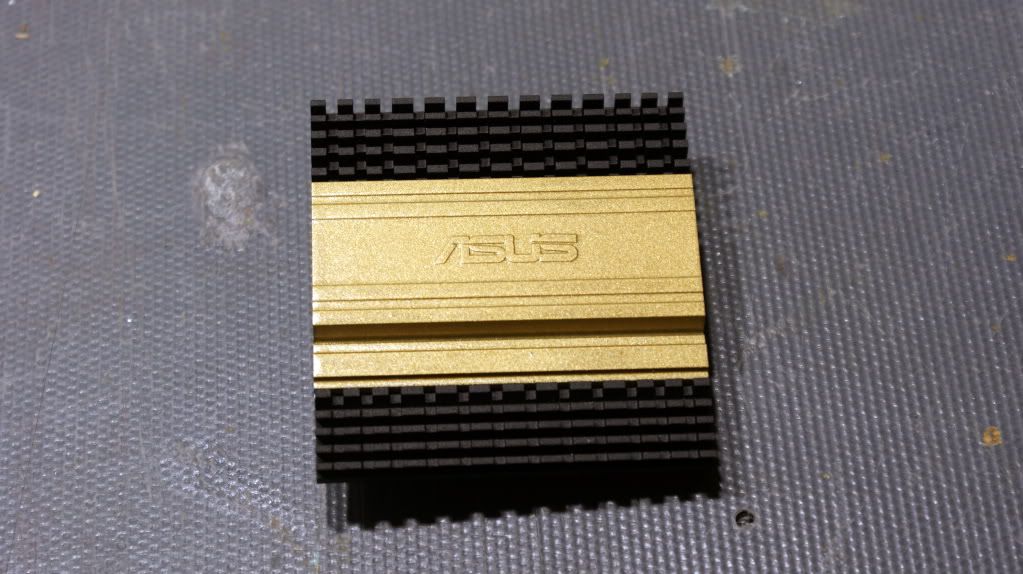
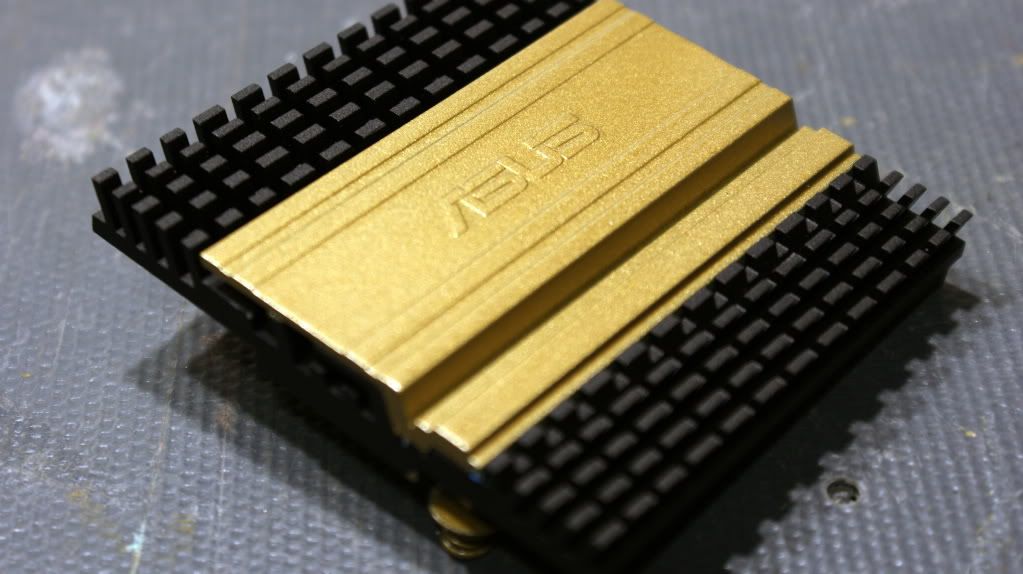
Then I painted the SB heatsink.
Looks good!
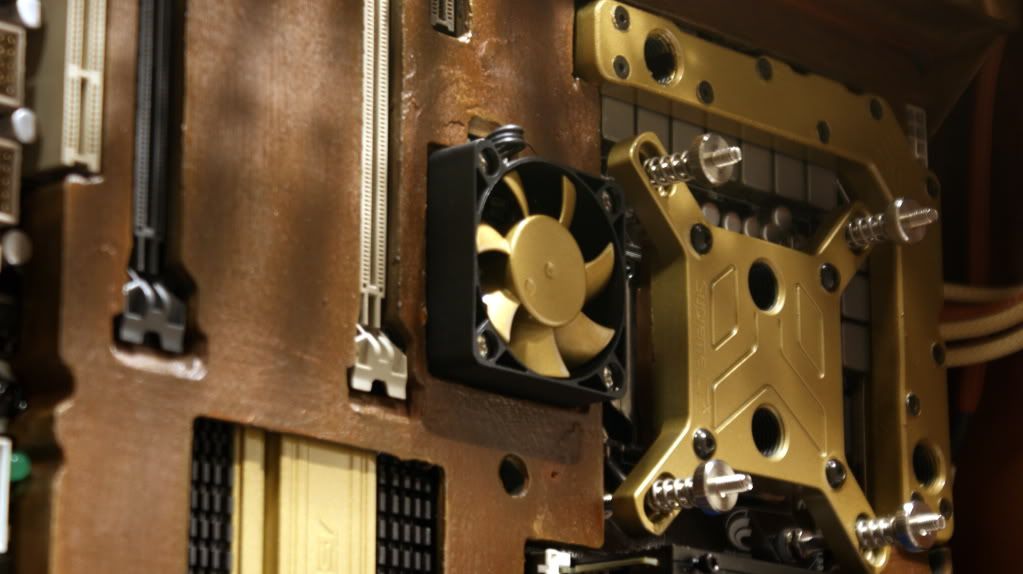
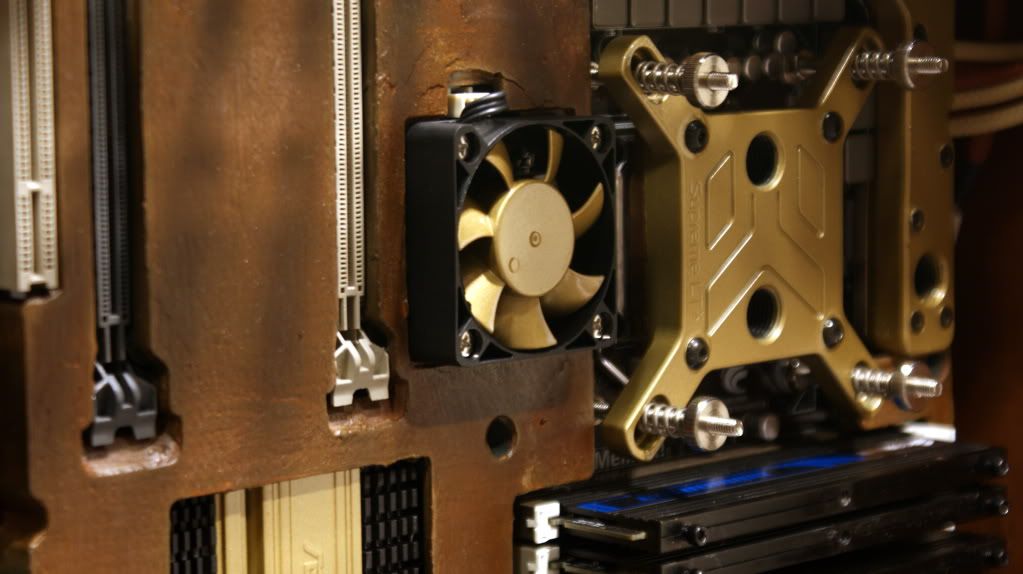
And then the 50mm fan.
Now that all really ads some pop to the motherboard.
Since I decided to use the darker leather on the doors and here is what the first one looks like.
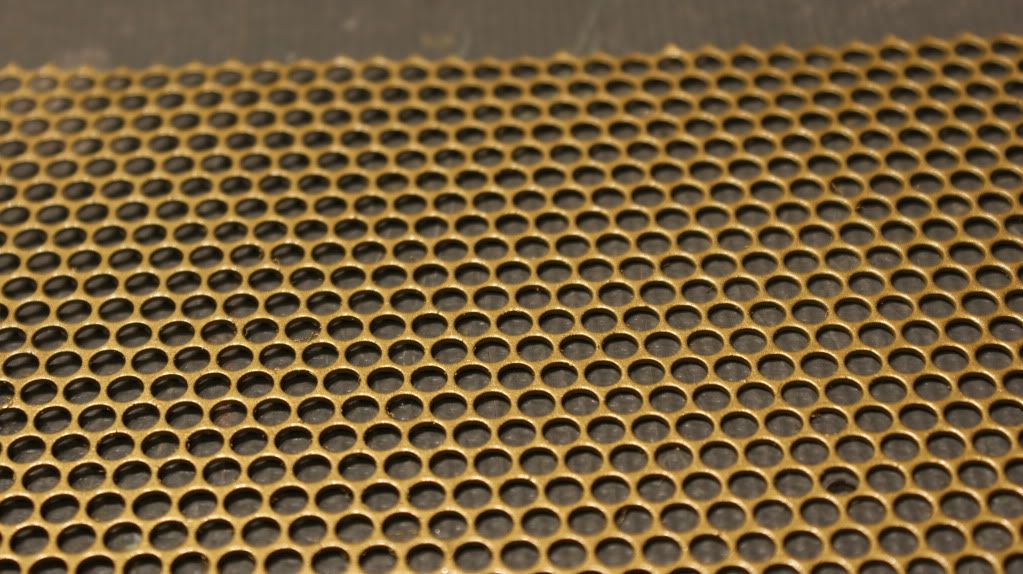
I also painted the mesh for the bottom gold too. Will be installed in the next update.
That's it for this update.
I'm working on the pump placement and routing to get the water from the res to the pumps effectively. Might need to do some fancy piping under the midplate with extensions and angled adapters... Hopefully some more gear will arrive this week so I can keep moving!
Cheers till next time,
Fuga
 Re: Project: Steampunk'd TJ11
Looking good bud!
Centurion 5 Mod <<--- ON HOLD FOR THE WINTER
 Re: Project: Steampunk'd TJ11
First time I will have said this but am loving the gold in the build usually think gold is tacky haha

 Re: Project: Steampunk'd TJ11
I completely agree. I saw the cans and thought, "oh no," then looked at all the rest of the photos and wondered where the crappy looking gold was. Looked again and was amazed at how good it turned out. It really looks great.
 Re: Project: Steampunk'd TJ11
She's coming along nicely. Keep up the good work!
Arctic Cat * Maximum Security * Cribbage Board * Rockin Case * Armor Redux
Tempest SXR * Power House * Red Comet * ICHIWZ * Acrylic Headphone Hook
Continuing sponsorship support from PCBoard.ca
 Re: Project: Steampunk'd TJ11
Dude, that's looking awesome!
Re: Project: Steampunk'd TJ11
looking good cant wait
 Re: Project: Steampunk'd TJ11
I was also nervous about the gold, but the way you're using it works well with the leather.
so far left of center i'm in right field
 Posting Permissions

 Reply With Quote