Thanks!
Thanks! I'm also really happy how it turned out.
lol thanks.
Thanks!
Thanks!
Thanks!
Thanks! more leather action in the next update so don't miss it!
Thanks!
Thanks! I'm also really happy how it turned out.
lol thanks.
Thanks!
Thanks!
Thanks!
Thanks! more leather action in the next update so don't miss it!
Yeah that^
WH1T3 0U7
*******************************
Modified Thermaltake View 37
Intel 9900K, MSI Z390A, 128GB (32GB x4) GSkill Royal 3200MHz, RTX 3080 Vision, EVGA Nu Audio, 1TB Silicon Power SSD, EVGA 1300G2, ID cooling 360mm AiO, LG 3440 x 1440
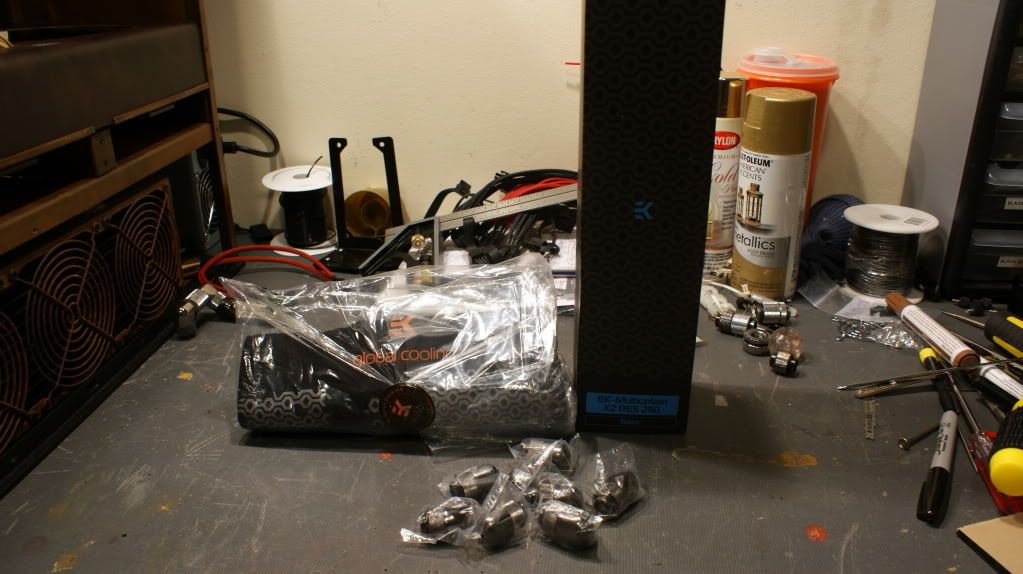
Happy to say that EK is sponsoring my build!!
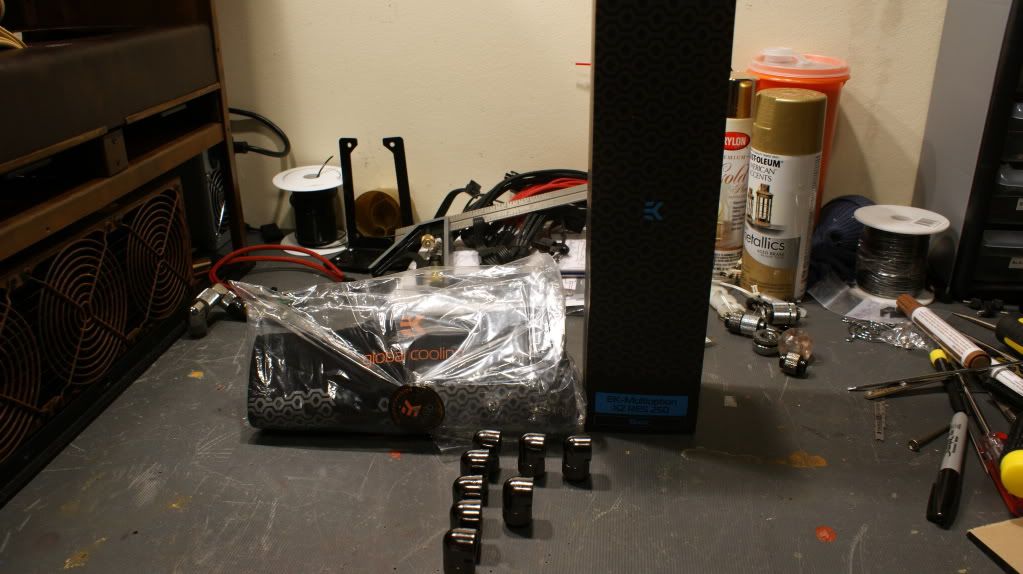
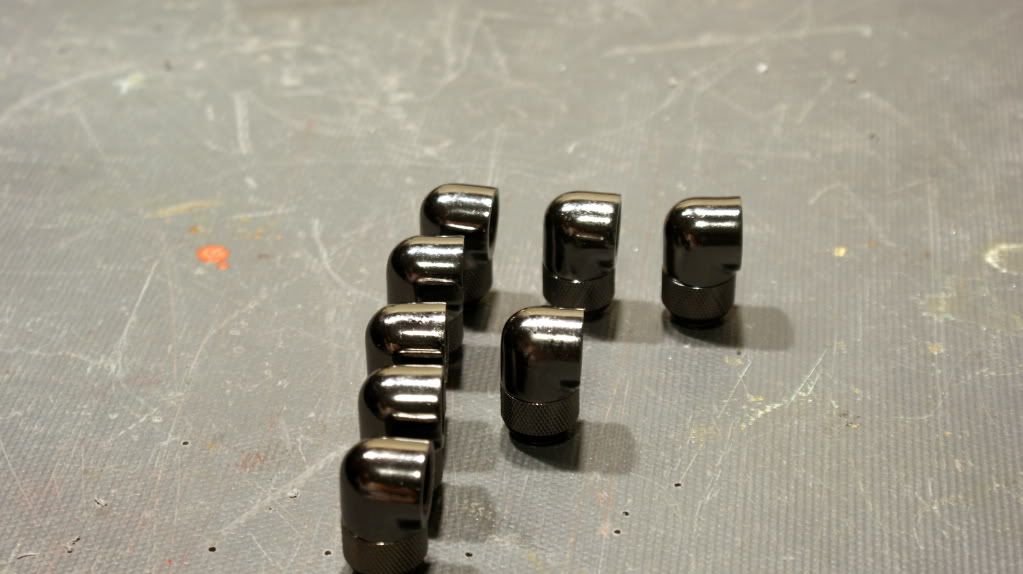
Gregor was able to send me a few things. EK-Multioption 250 Basic Res, 8x 90 Degree rotary fittings and a T-Shirt.
Now for the update. It is kinda big because I have not had time to write it up so here goes.
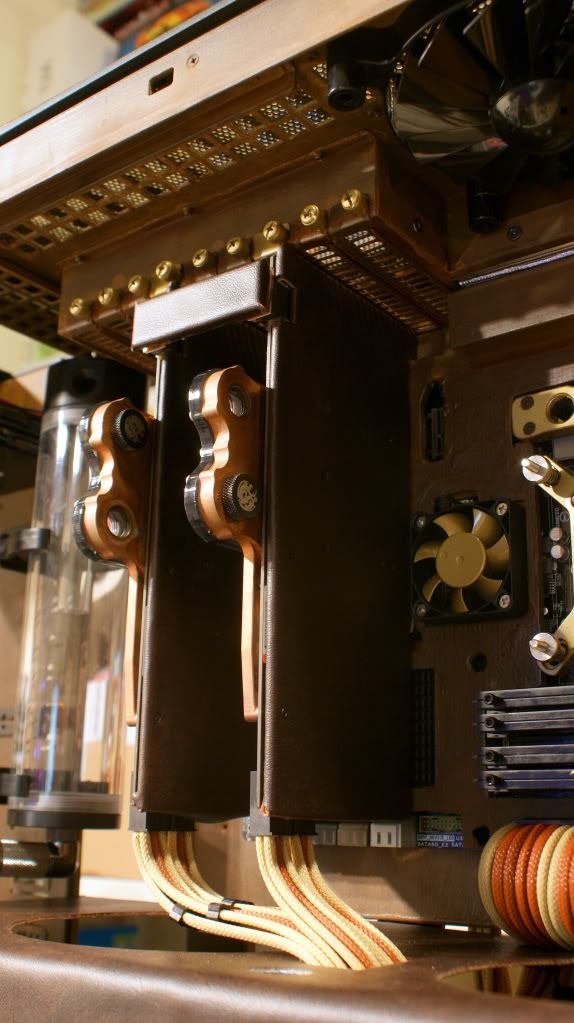
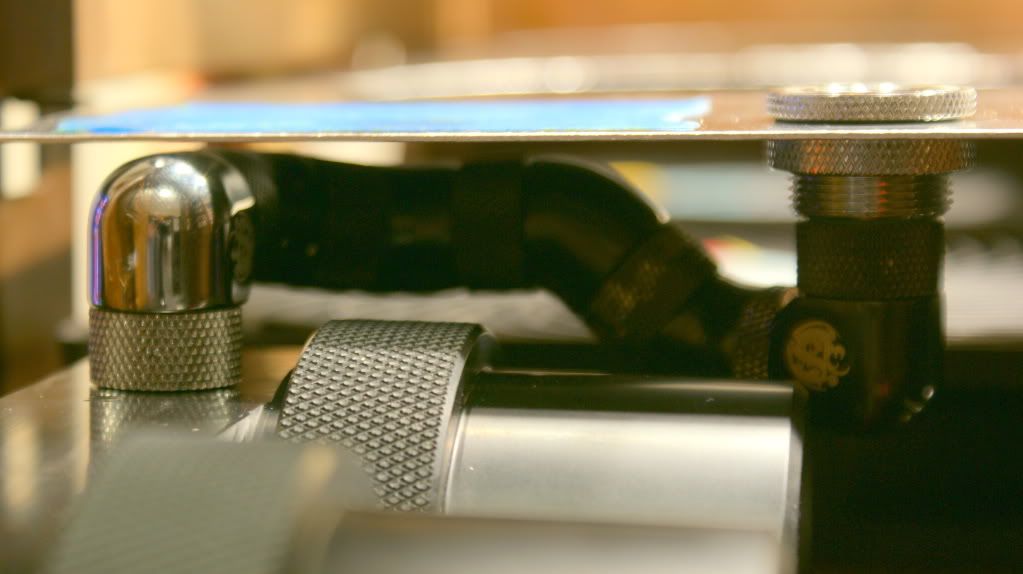
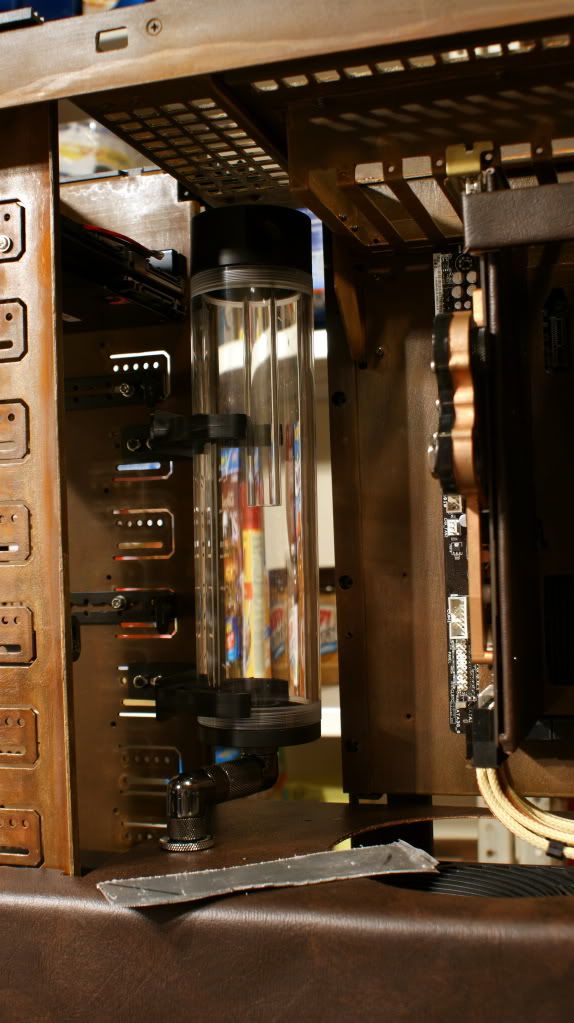
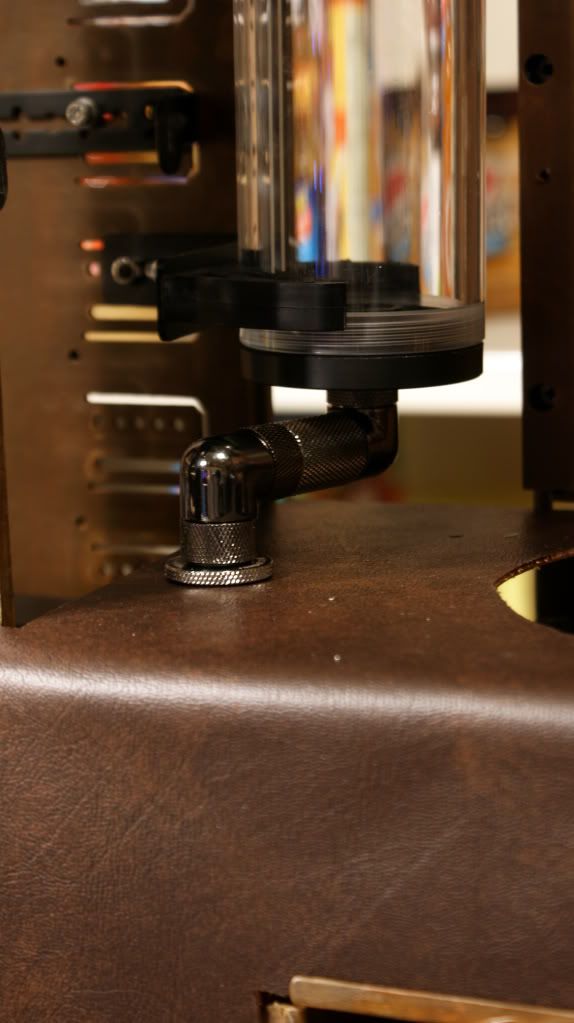
I had to figure out a way to get the water from the res into the dual pump top. A direct run would not work so here is what I had to fashion out of fittings I had laying around. Kinda ugly but it works and its out of sight.
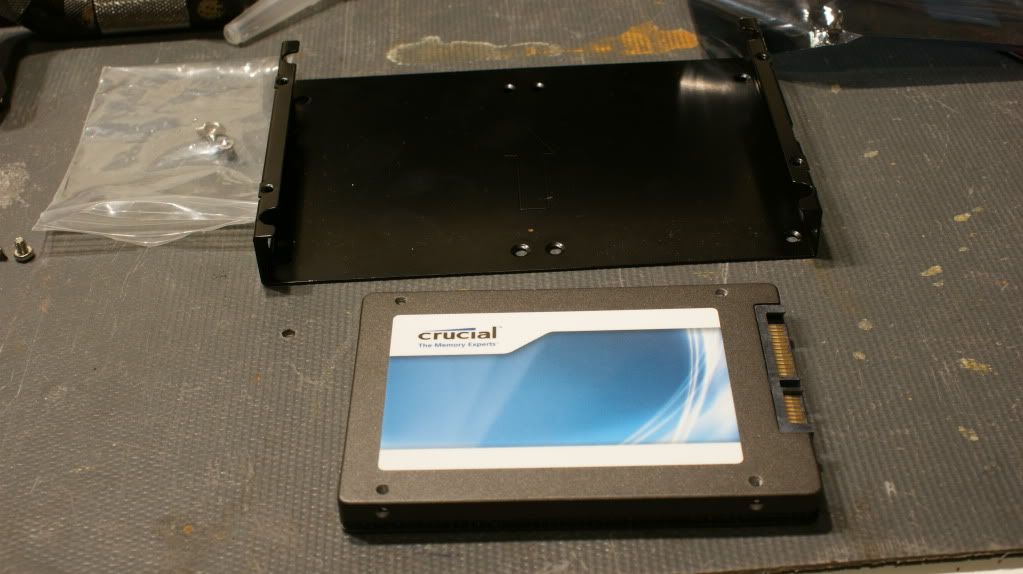
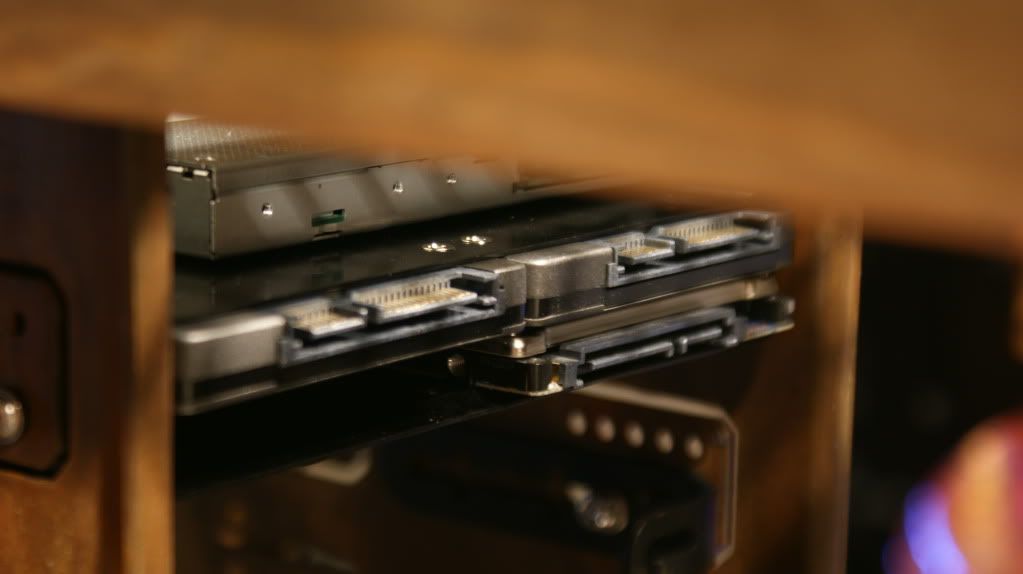
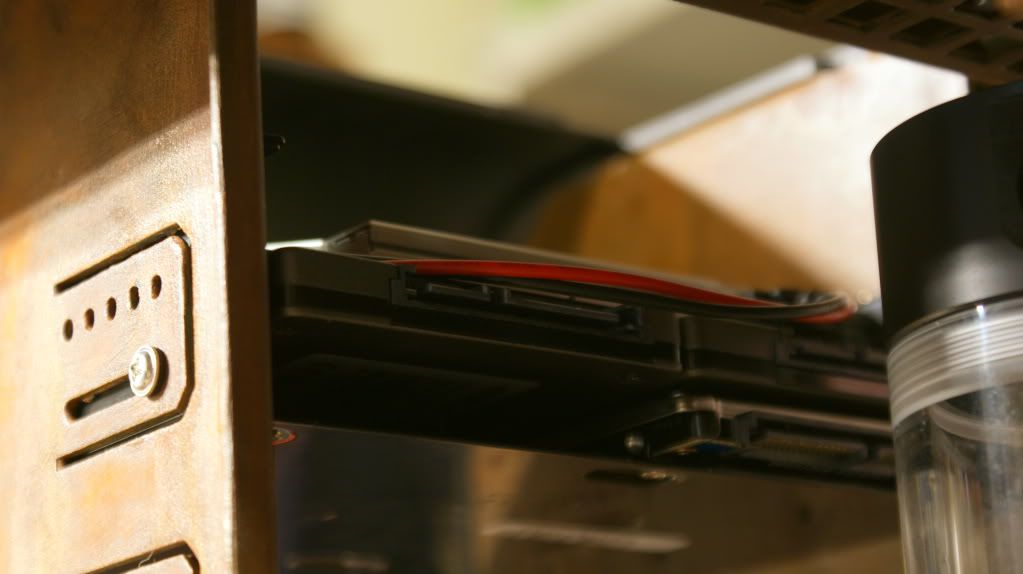
Got out my Curcial M4 128GB SSD and installed it on the Silverstone bay.
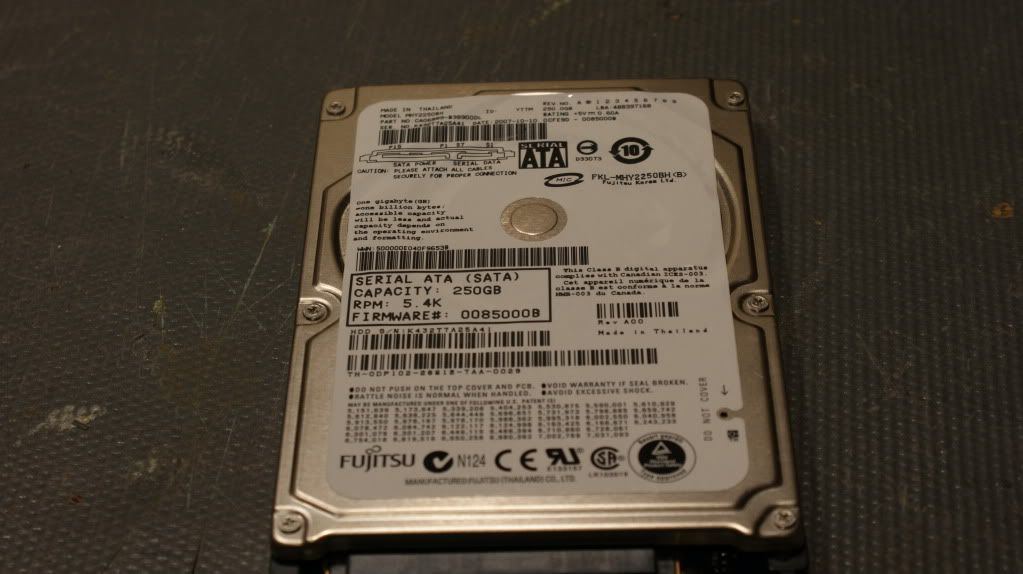
Found a 320GB HDD so I'll put that on there for now. I'm trying to get a 512GB SSD for games.
Now to figure out how to wire them all and make it look good...
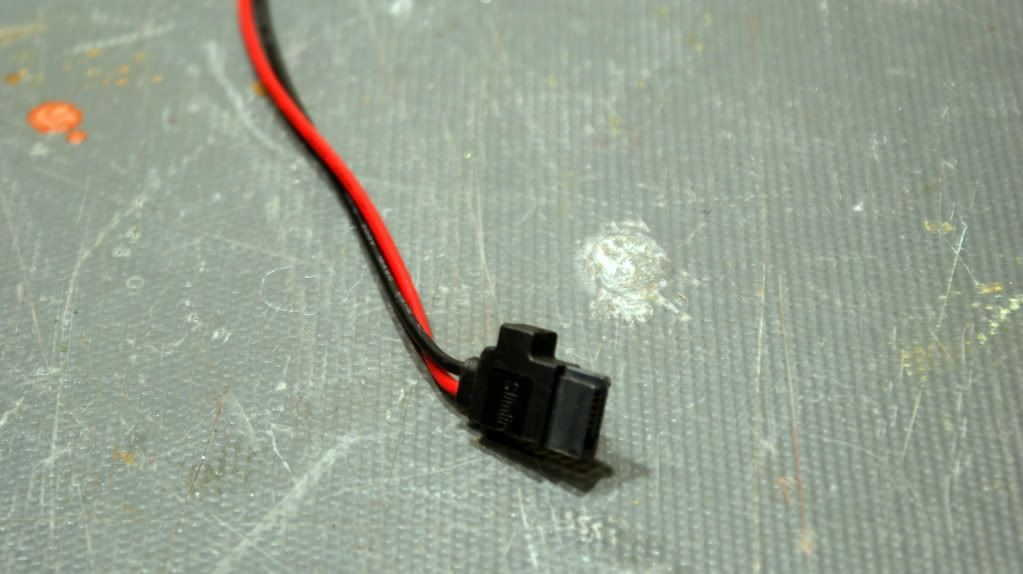
I also cut the Slim ODD cable so only the power cable is left. I have to use a longer SATA cable than what came with it.
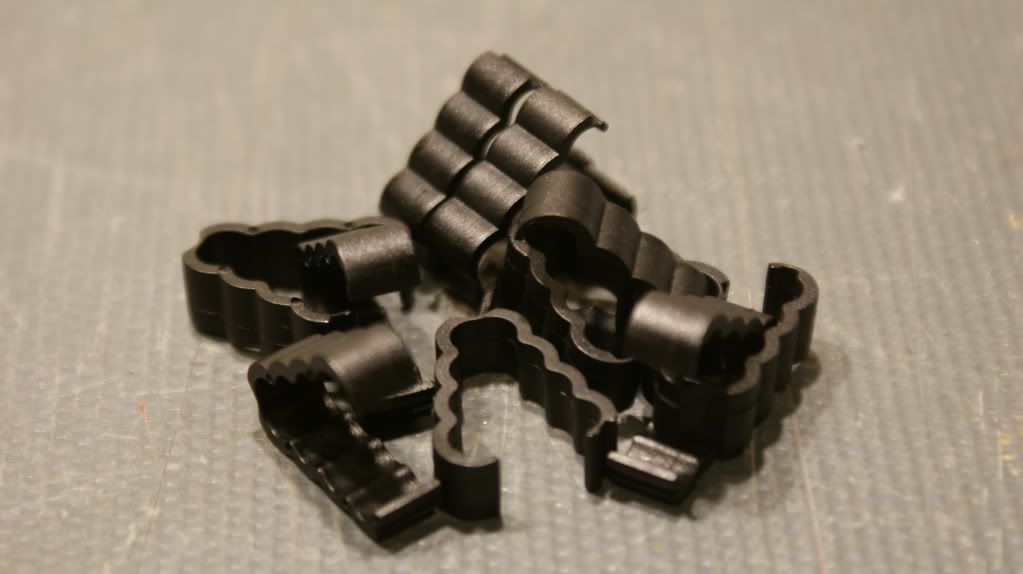
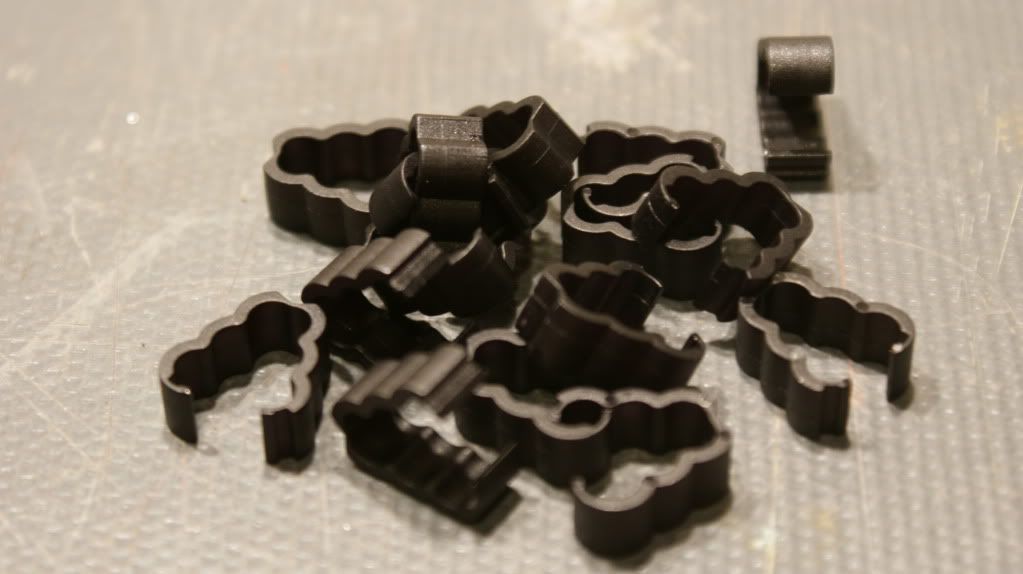
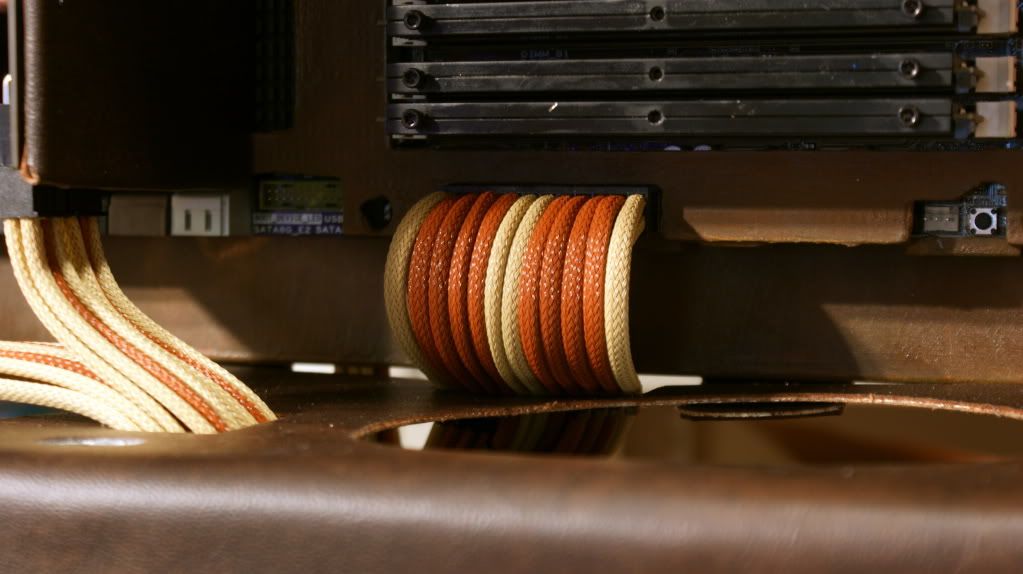
The 3-cable and 4-cable clips came in.
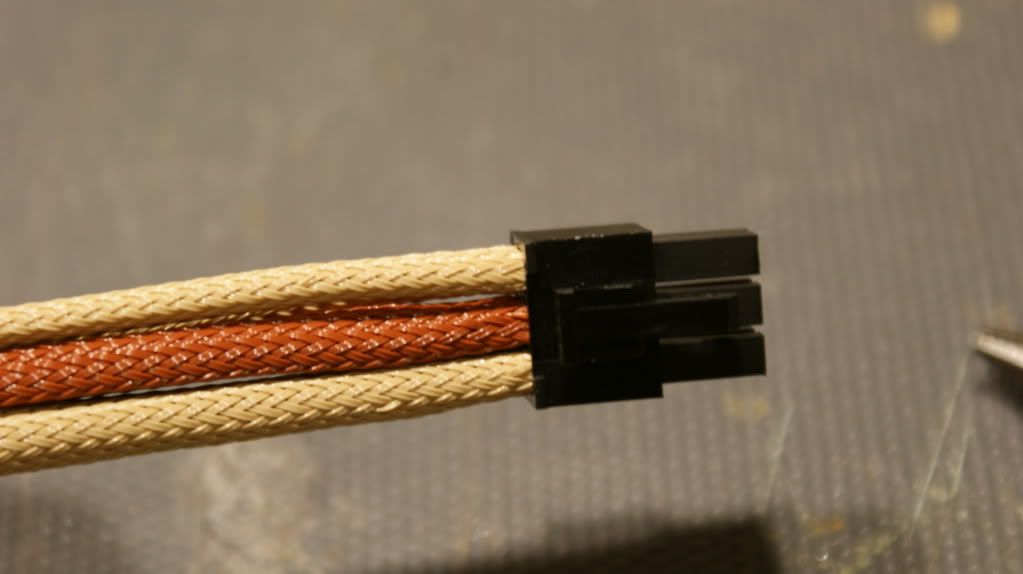
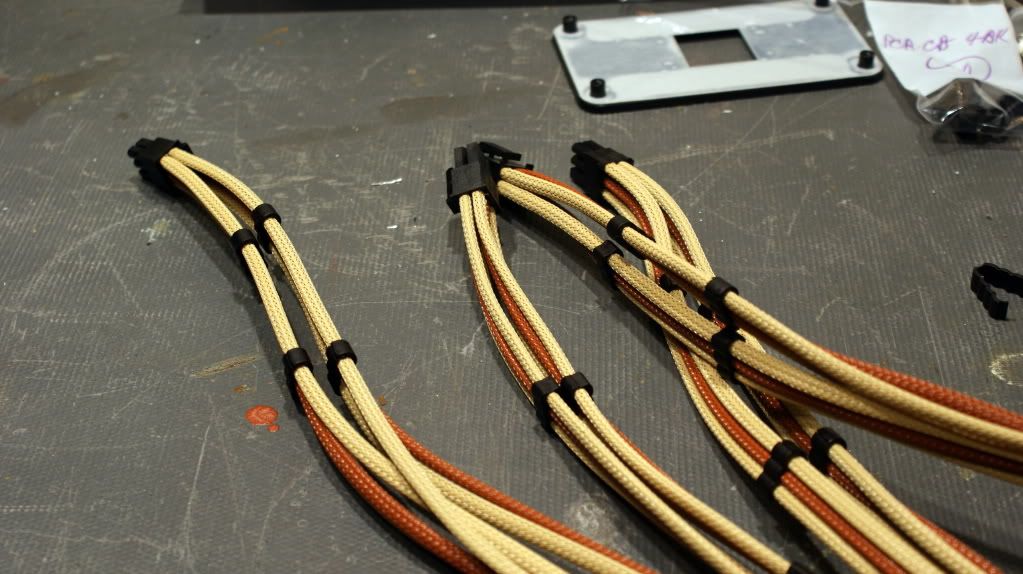
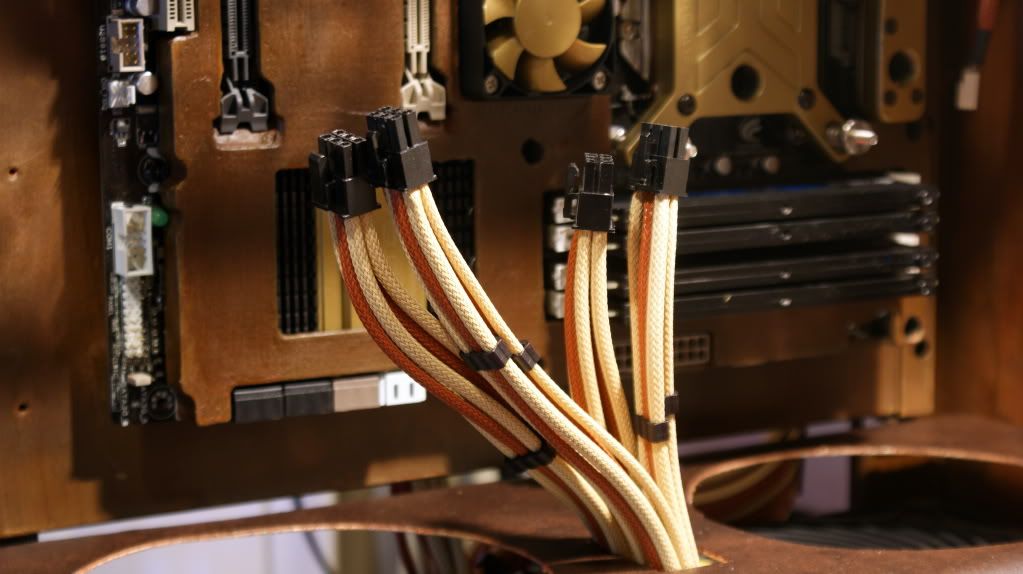
Added a bunch of them to the PCI-E cables and they look pretty good.
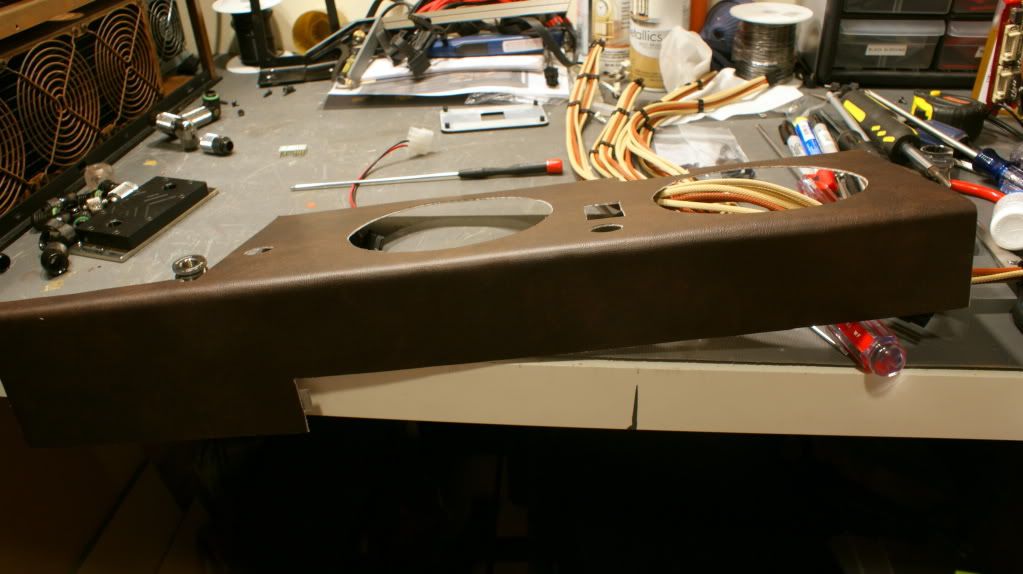
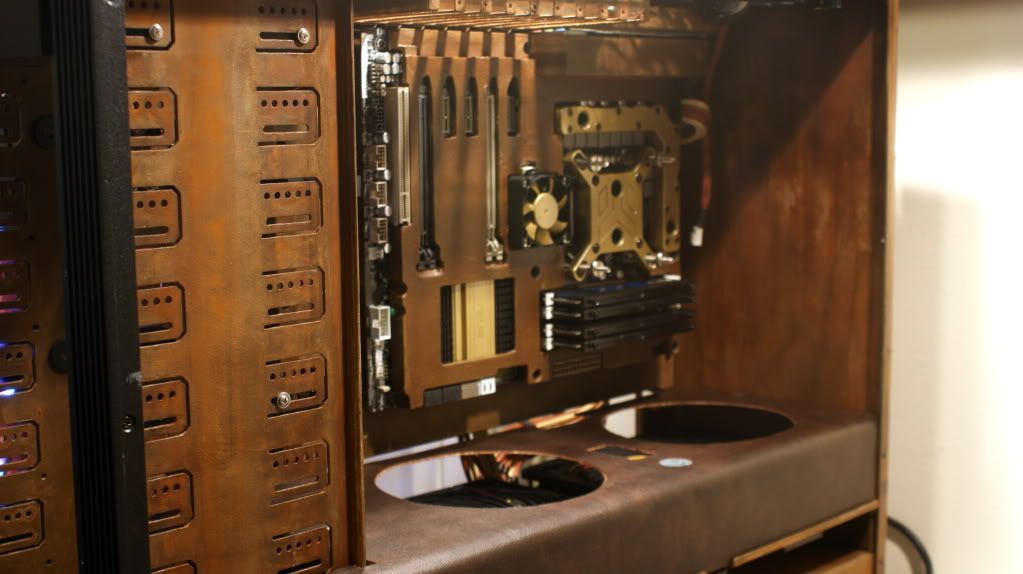
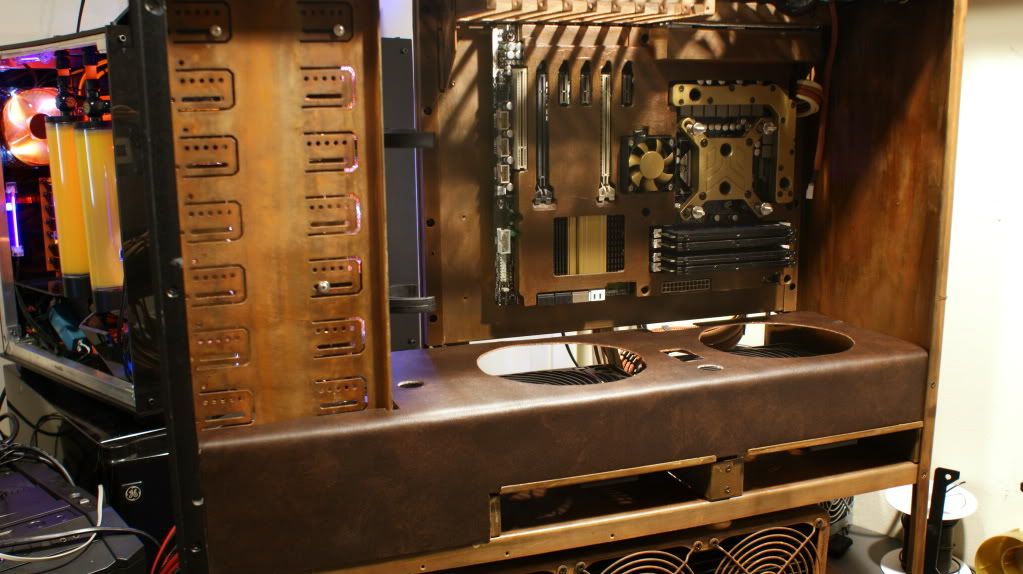
I finally got all the holes cut in the midplate so I put the leather on it.
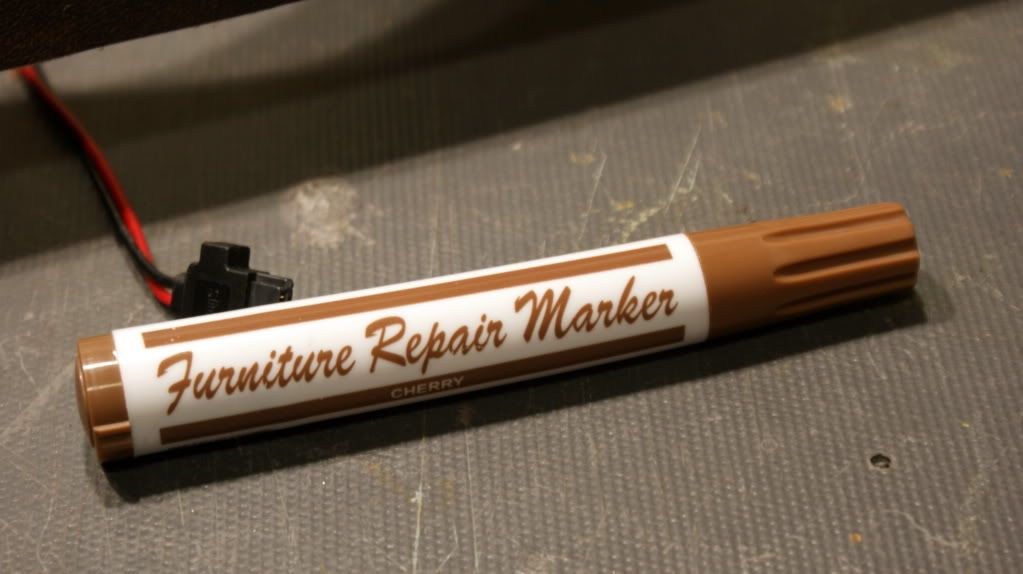
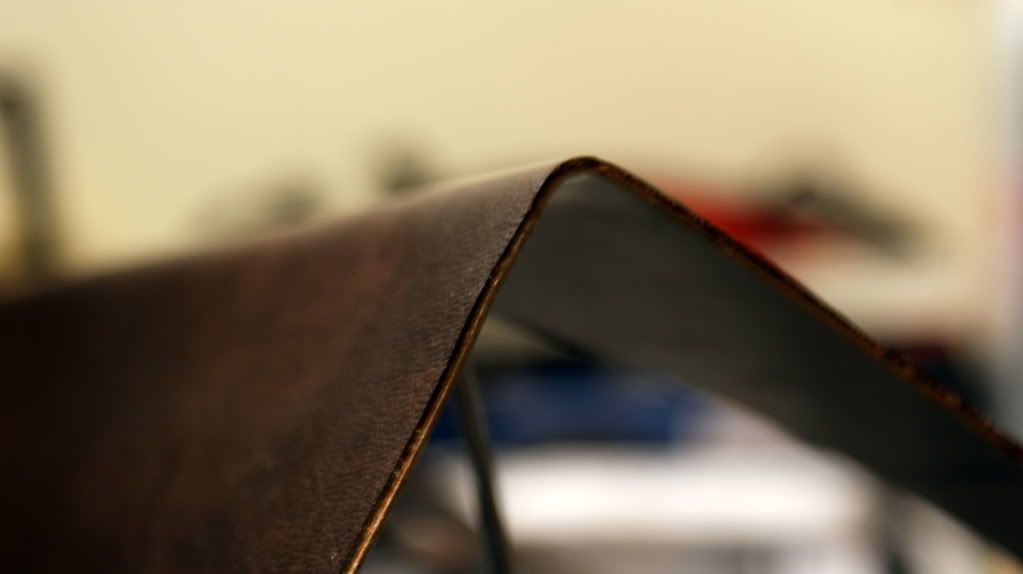
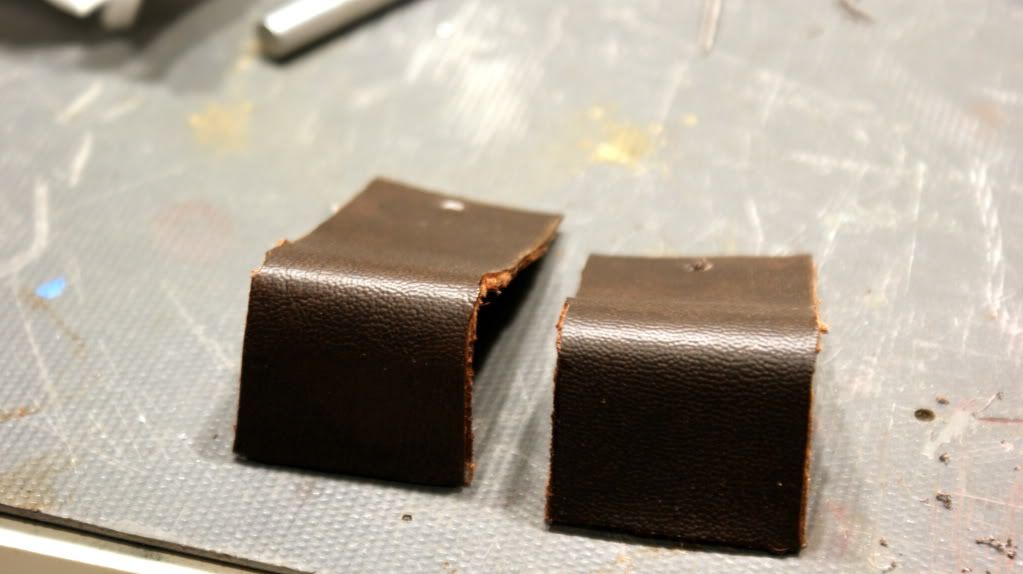
Then I used a furniture marker to color the edges since its fabric and the back of the leather is white.
I like it.
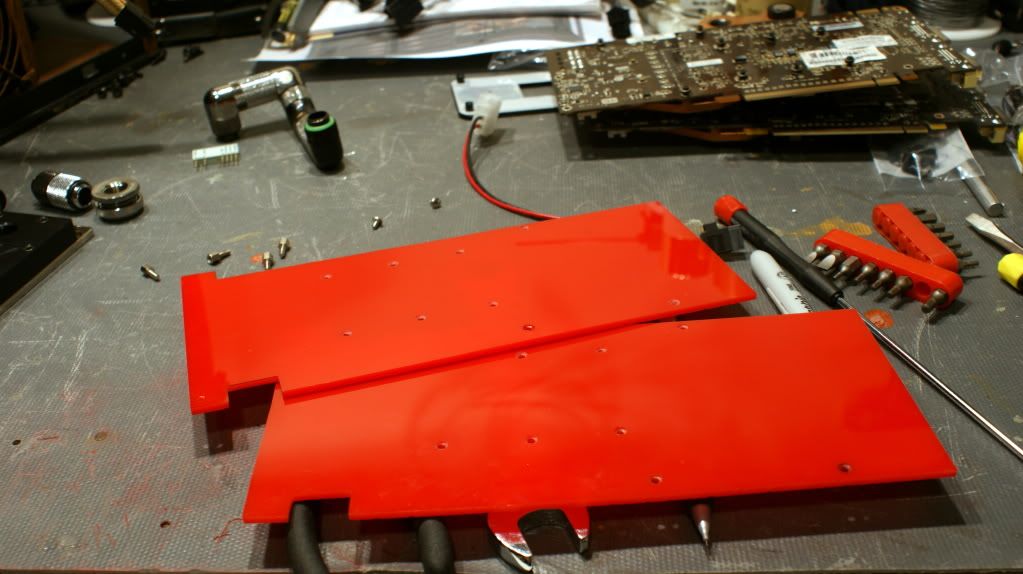
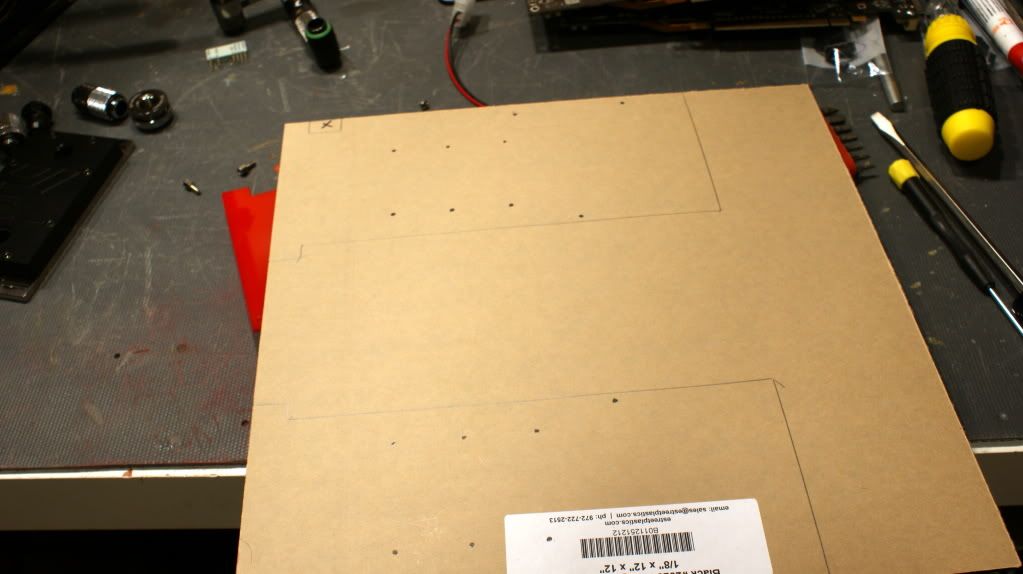
Now for a fun mod. Old GTX 560Ti backplates.
Traced
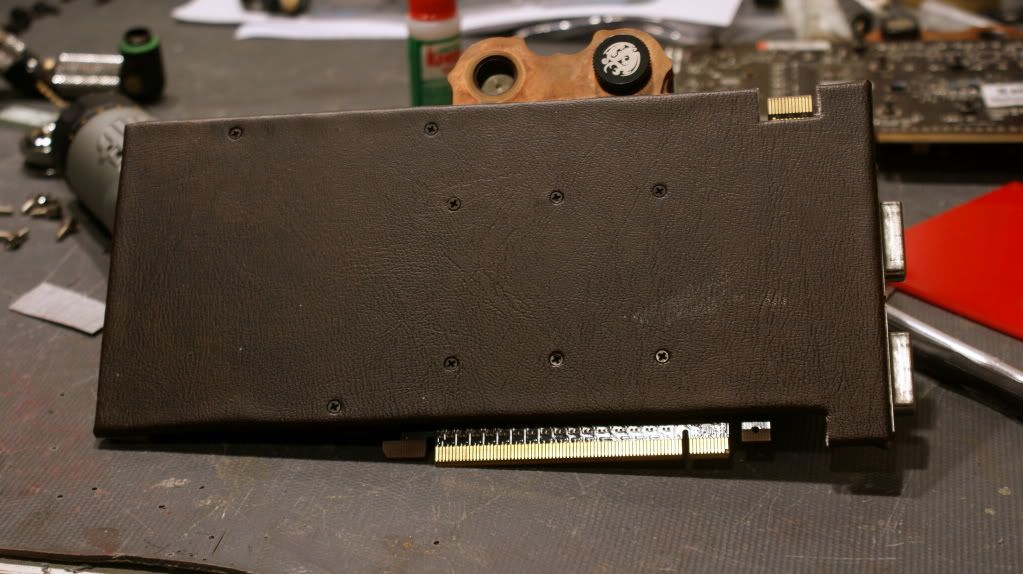
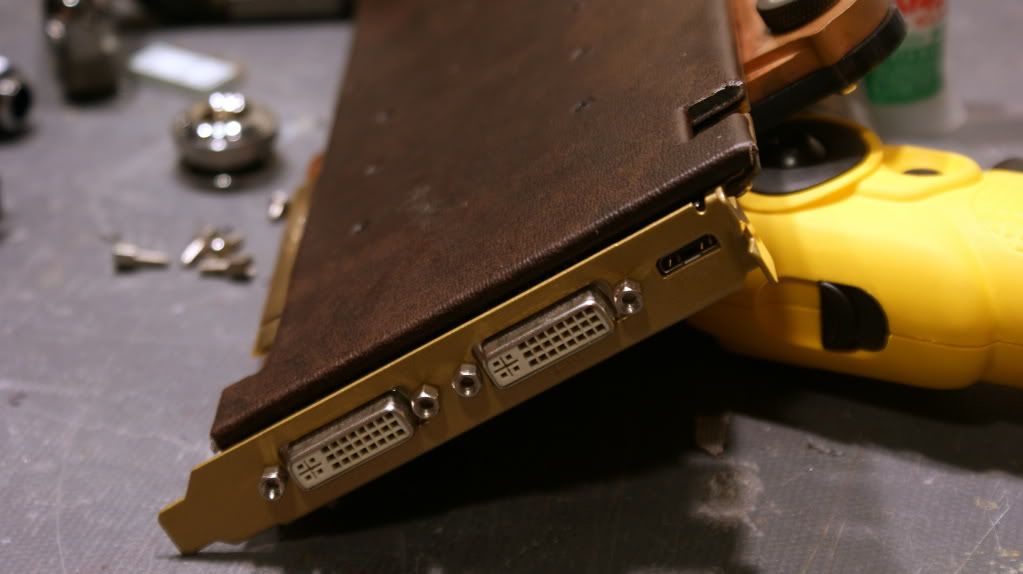
Cutting and drilling is boring so I skipped that part... and now we have... leather backplates!
And gold brackets
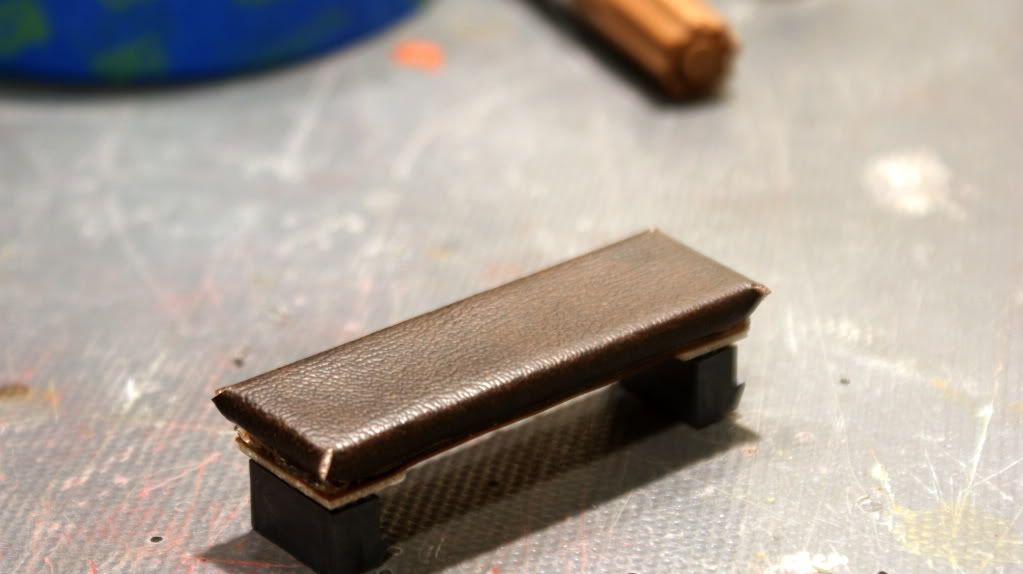
I also covered the SLI bridge with some leather.
Looking good IMO...
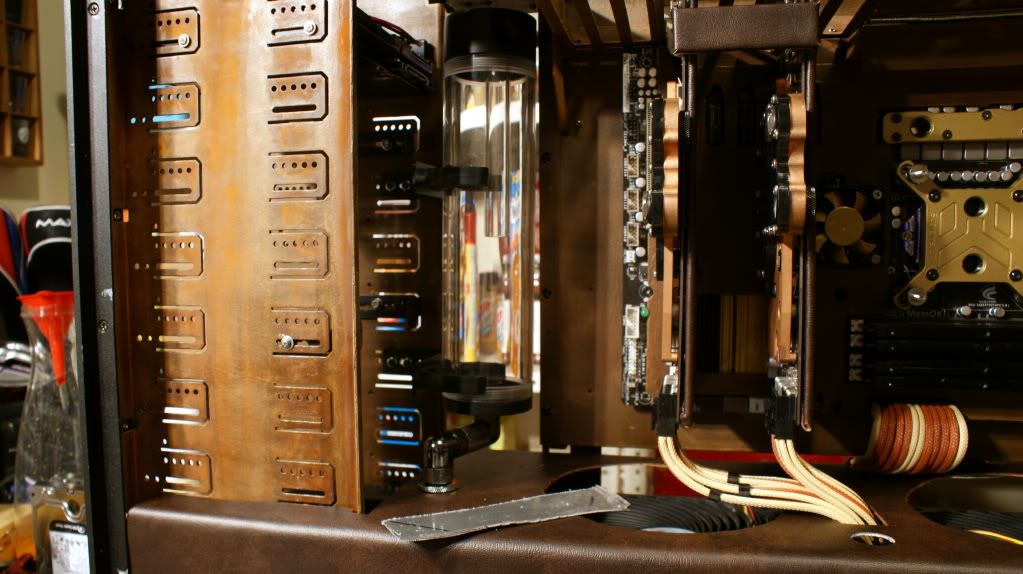
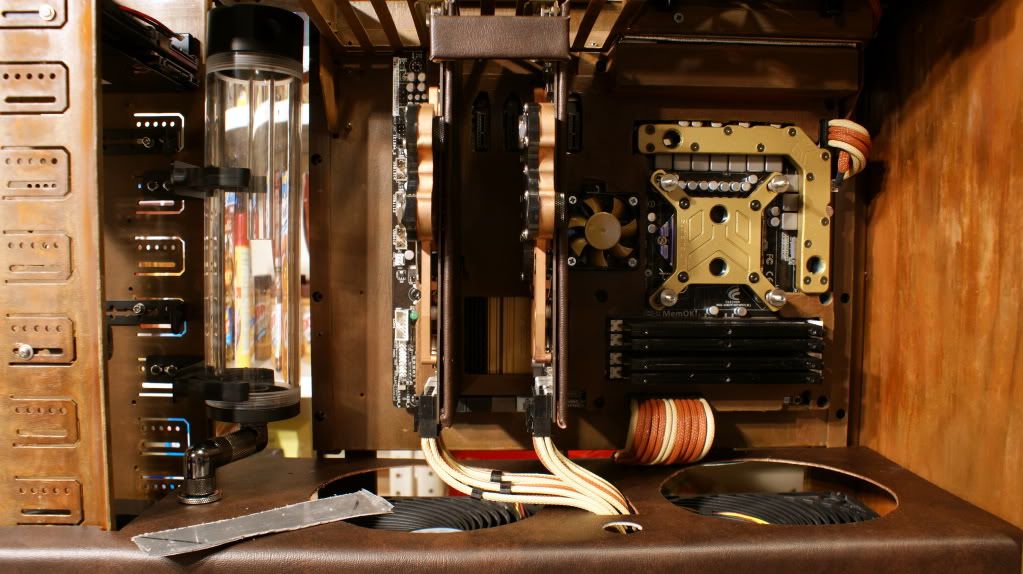
I put the res in and added some random fitting to see how it will all work.
I had to make some brackets for the midplate to keep it level. The 24-pin cable pulls it down a bit in the back. Pics later of how they are mounted. (Ya I forgot to take them...)
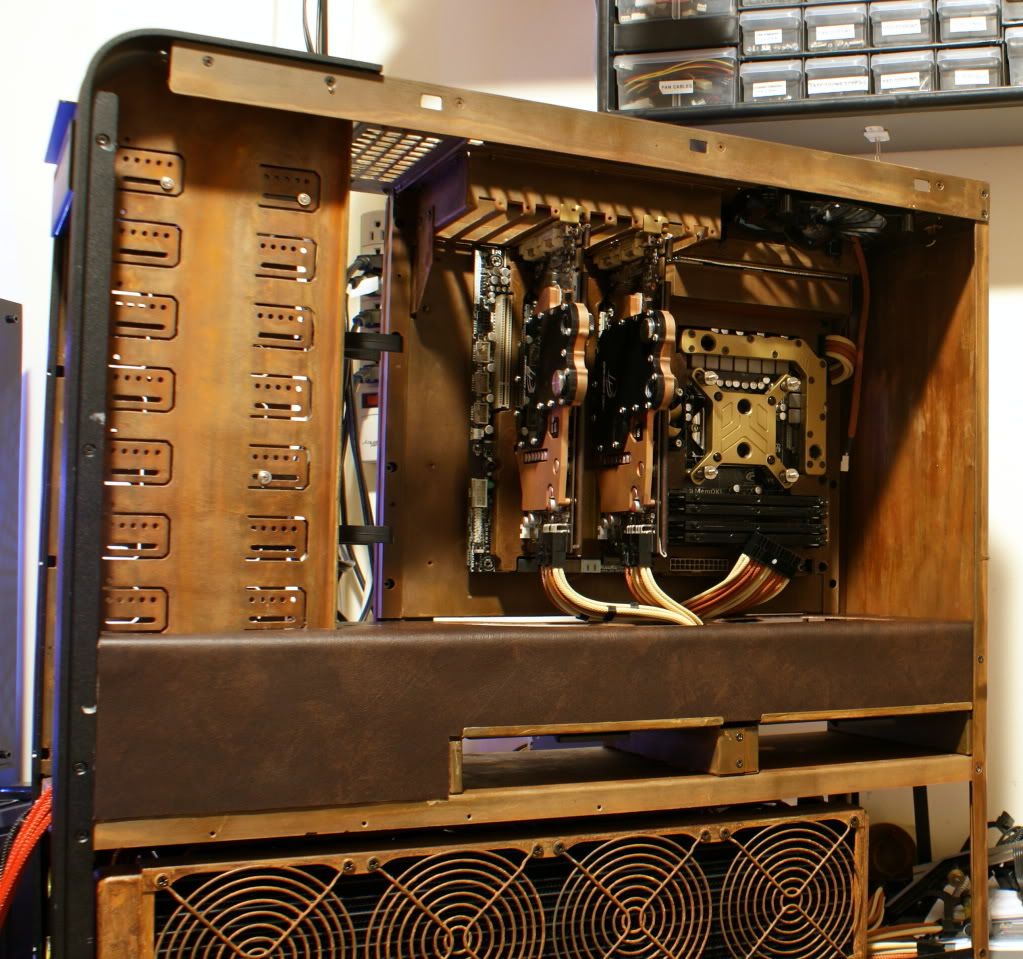
But here is how it looks from the front.
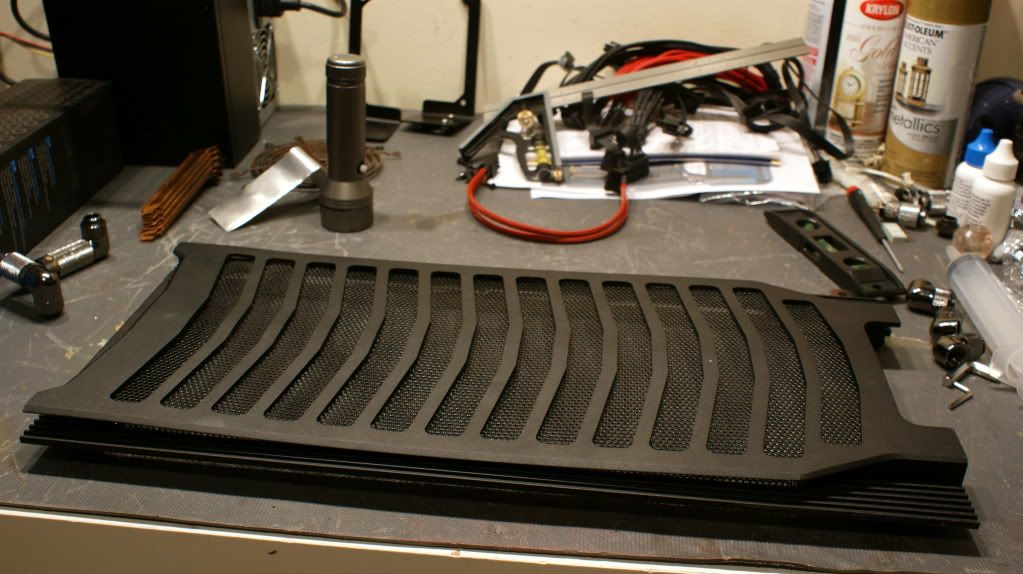
Top panel before...
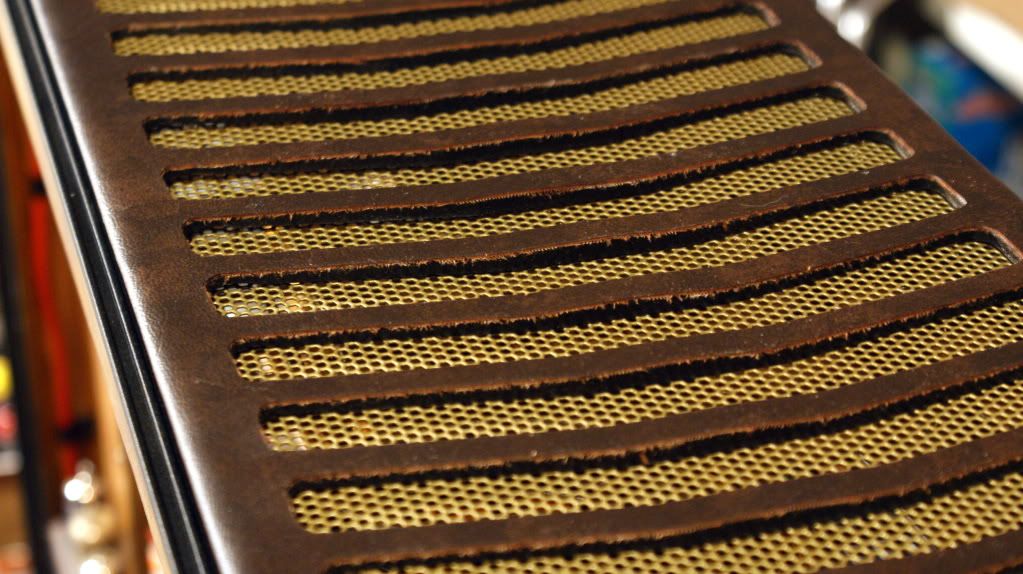
And after!
Paint the mesh gold and it looks great!
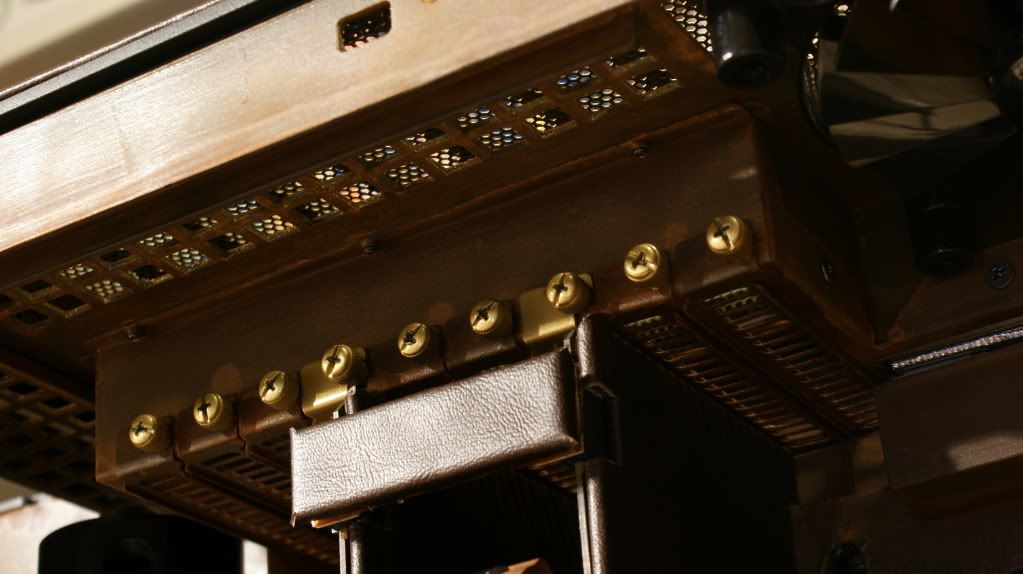
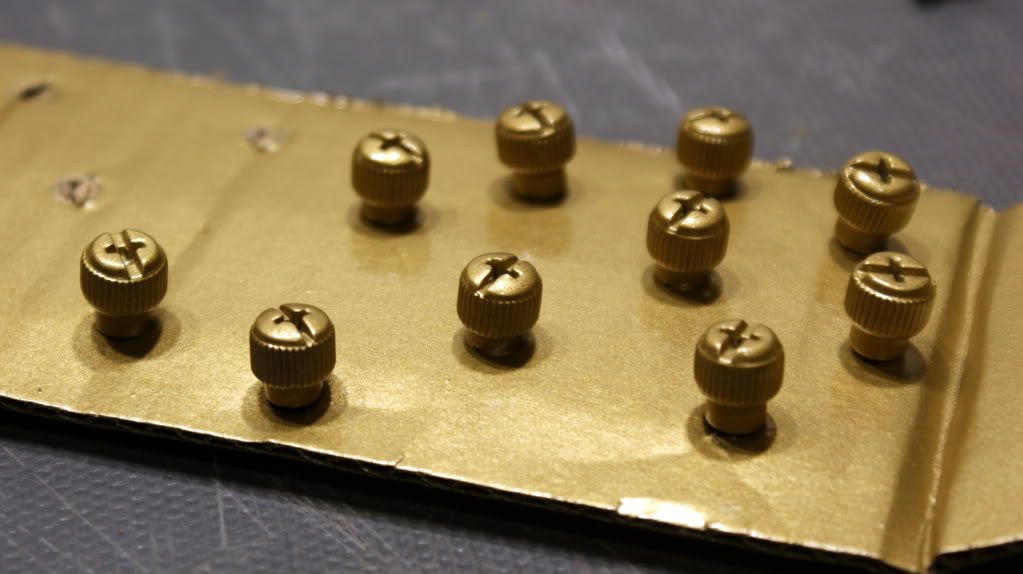
Painted all the thumb screws gold.
And installed.
Random shot...
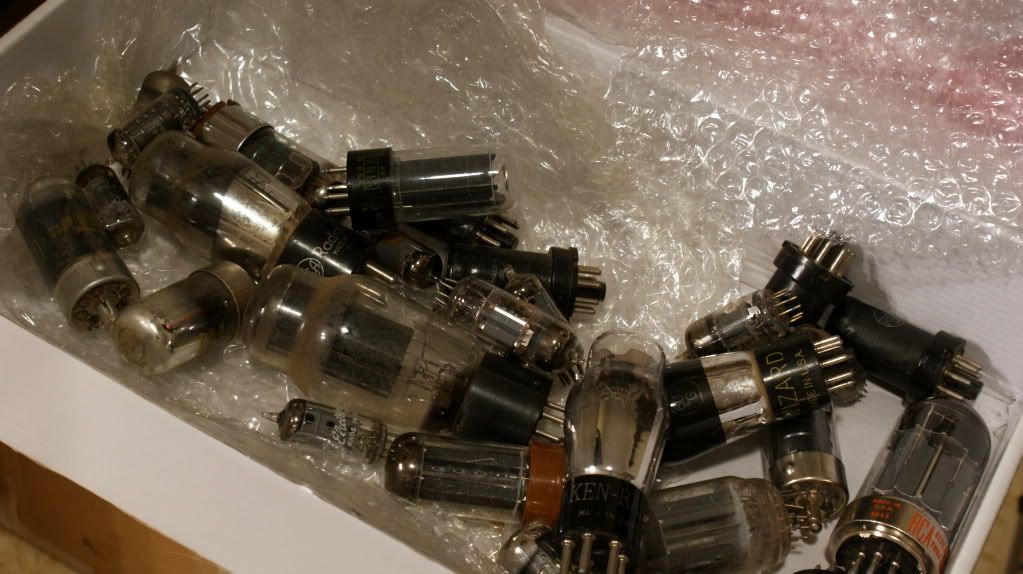
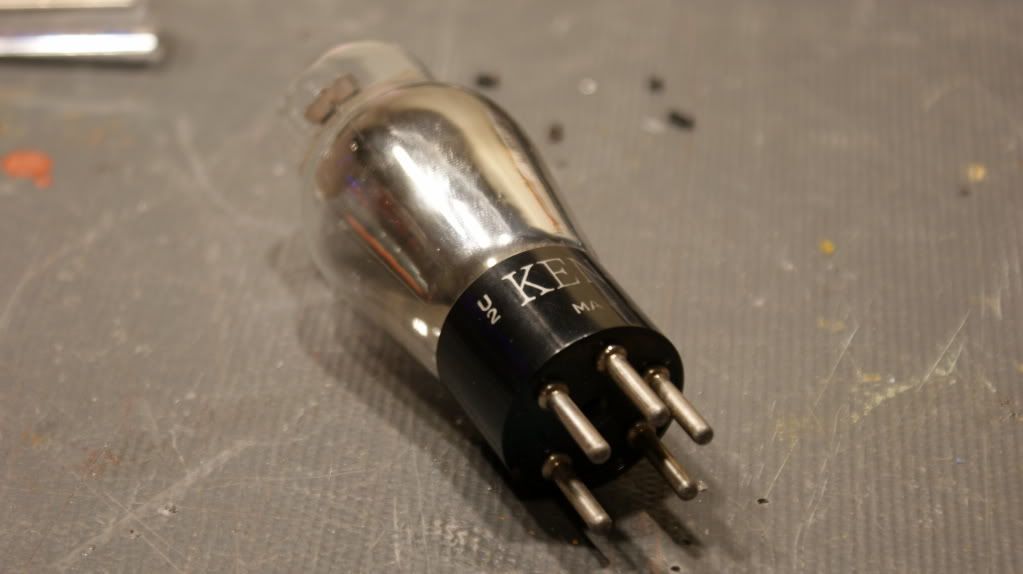
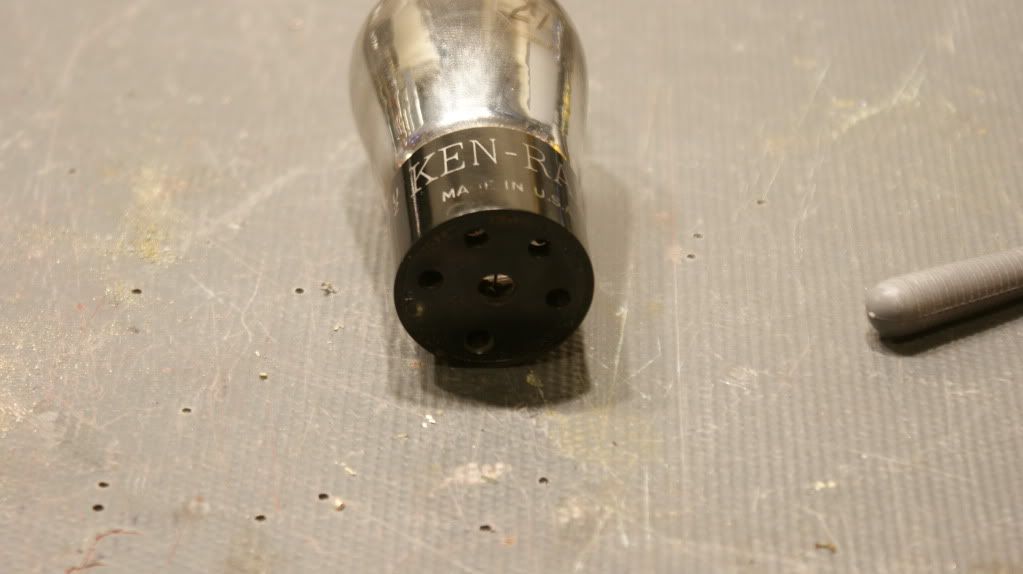
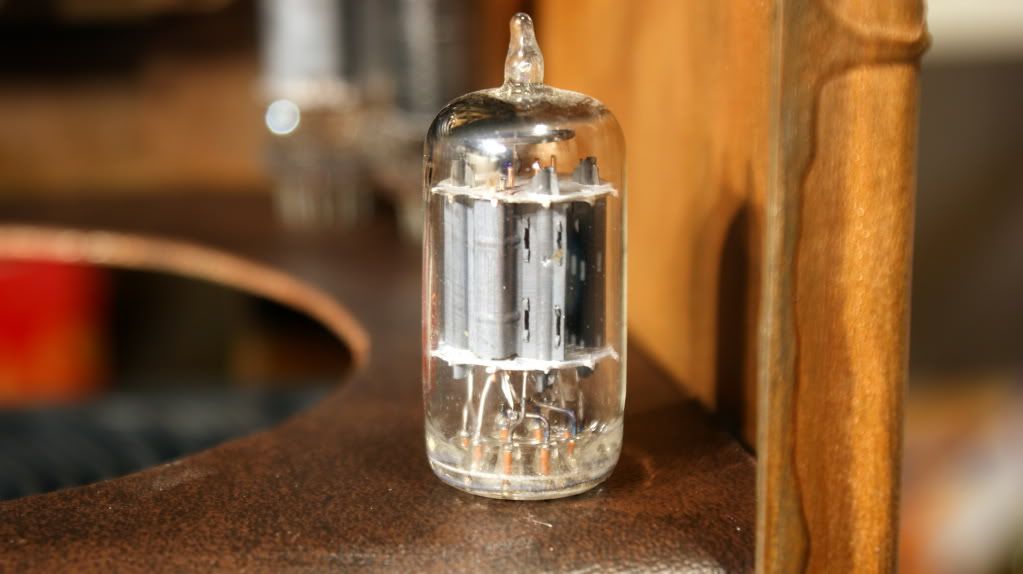
Vacuum tubes!!
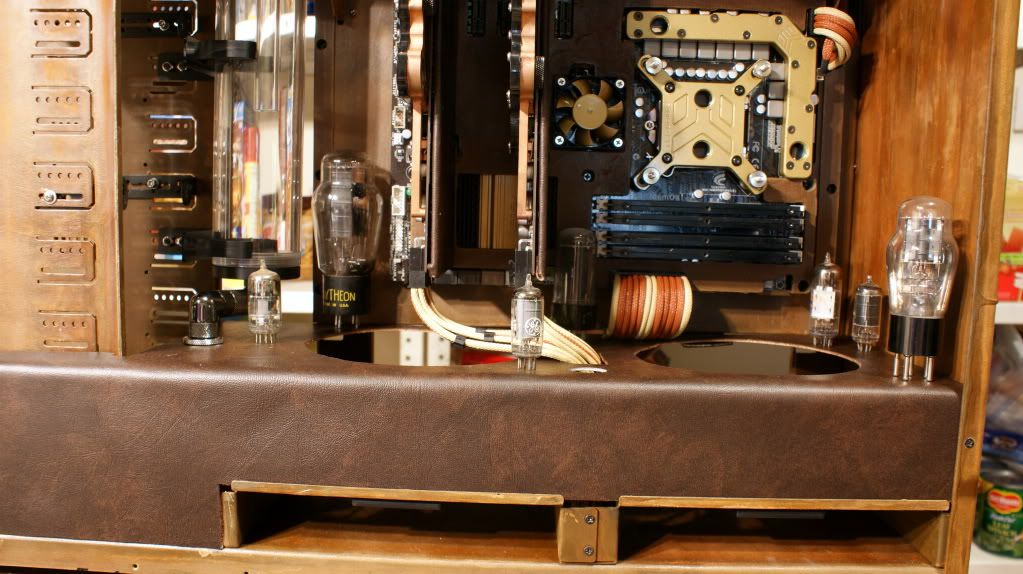
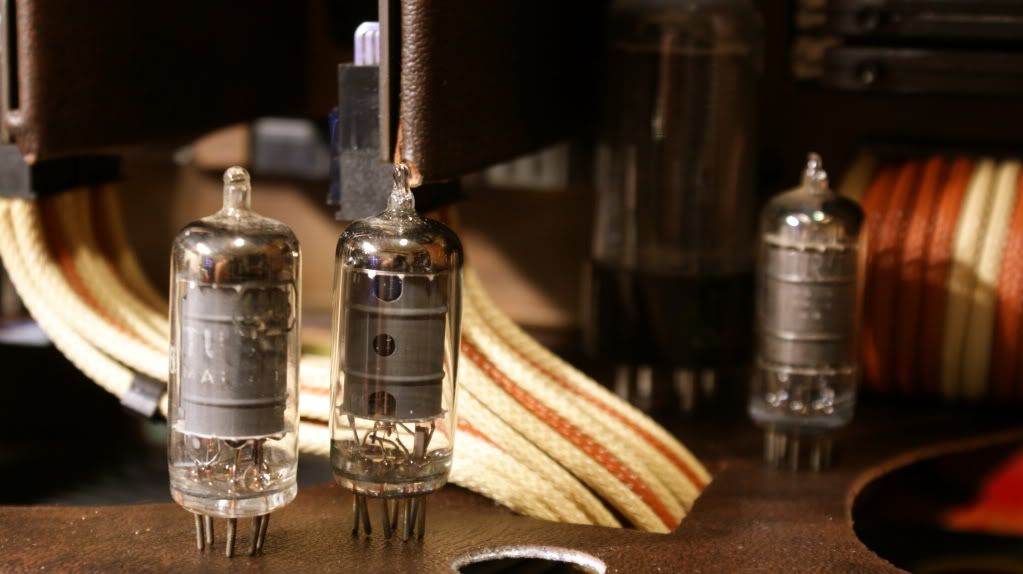
Playing around with how they will be sitting. (Not sure of final setup yet)
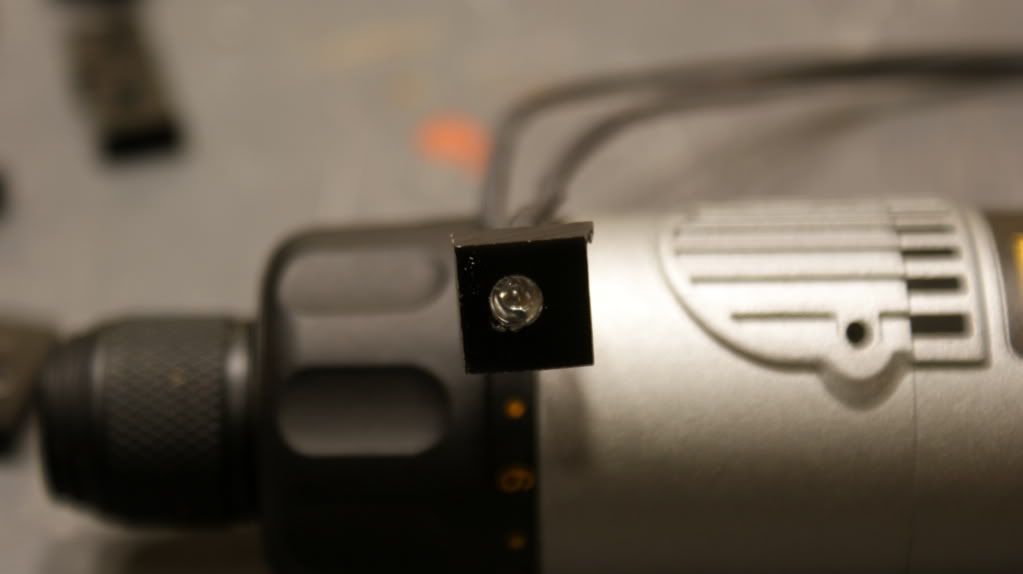
Cut the leds off the bottom so they sit flat on the midplate. I'll drill a hole under them for the LED.
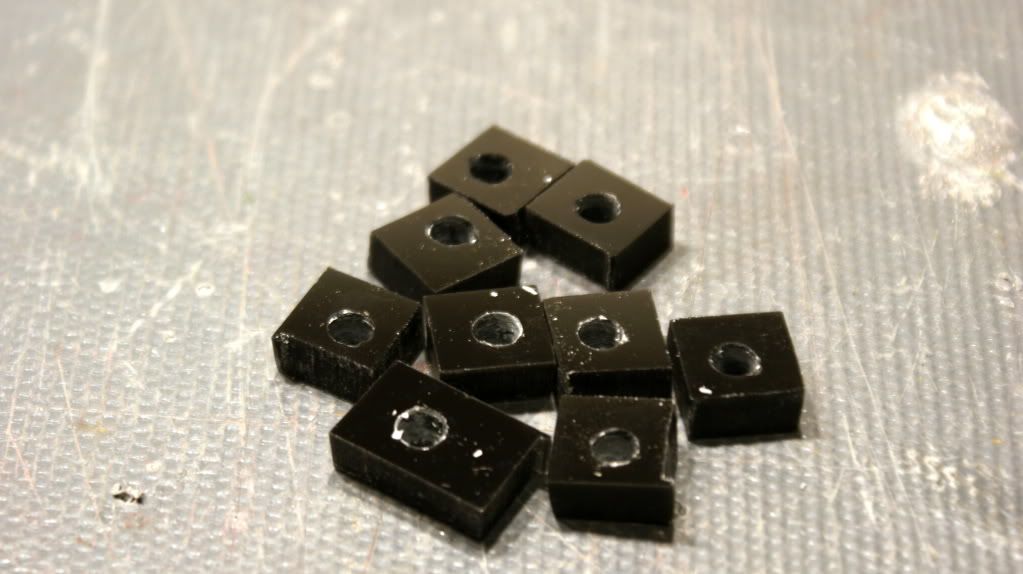
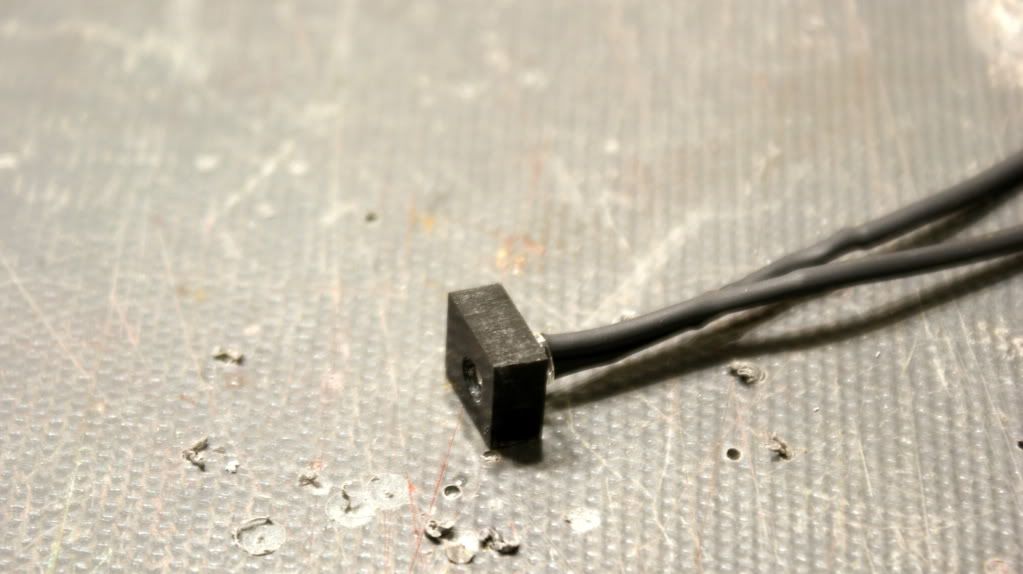
I cut some small pieces of acrylic to hold the LEDs under the mid plate.
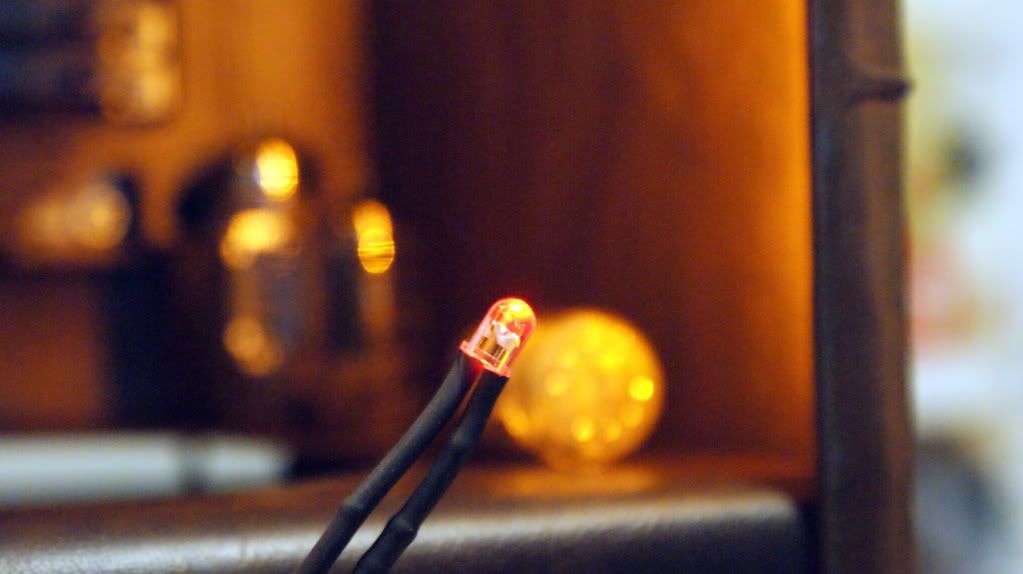
PROBLEM! I bought Yellow single LEDs instead of Amber so they don't match!!
I put in a order yesterday for some Amber ones and resistors.
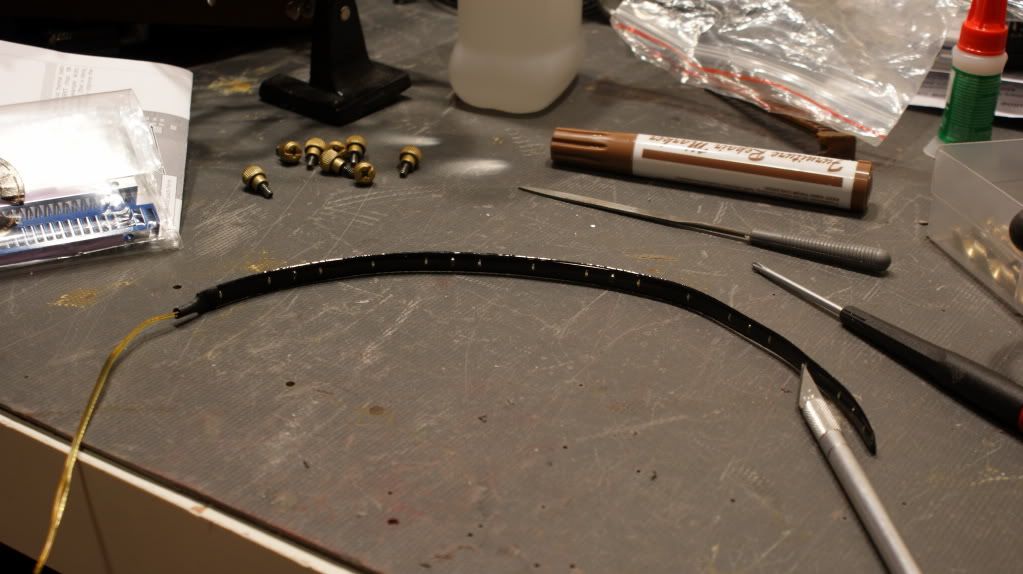
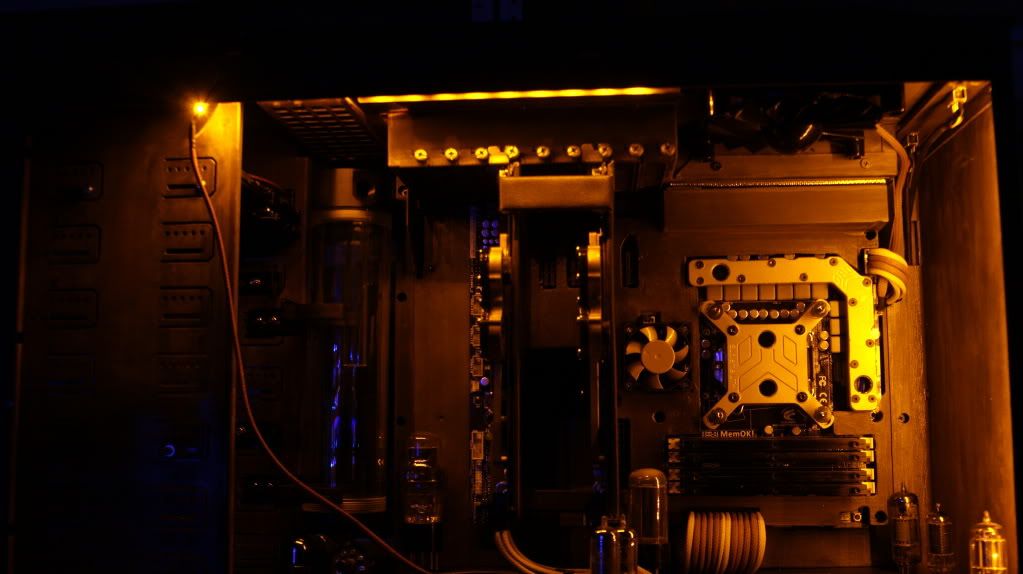
I think we need some lighting.
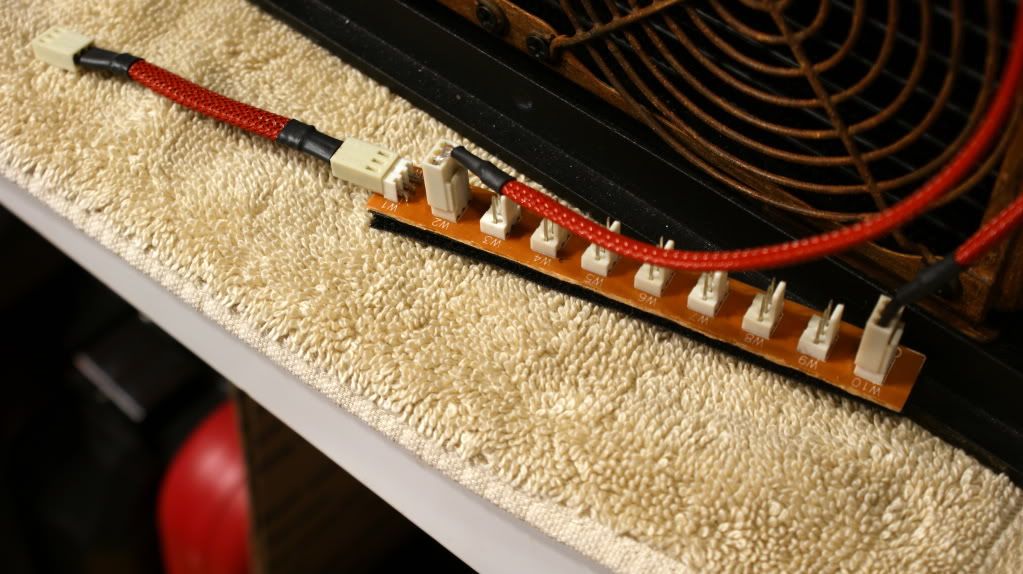
Using a fan bus to power the LEDs
I bought 2 of these new ones since I only have 1 of the above one. (They have to be the same since I'm OCD like that)
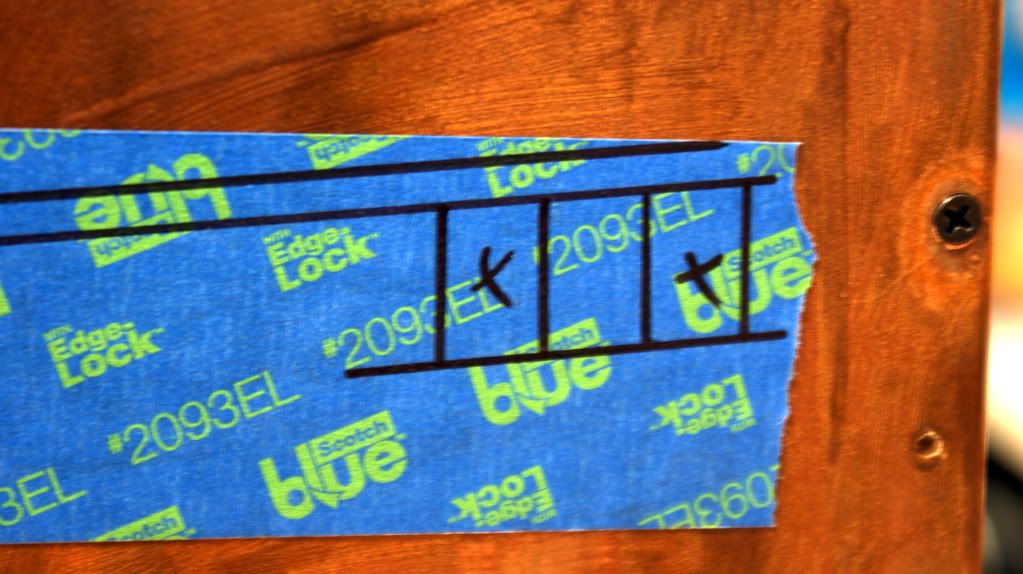
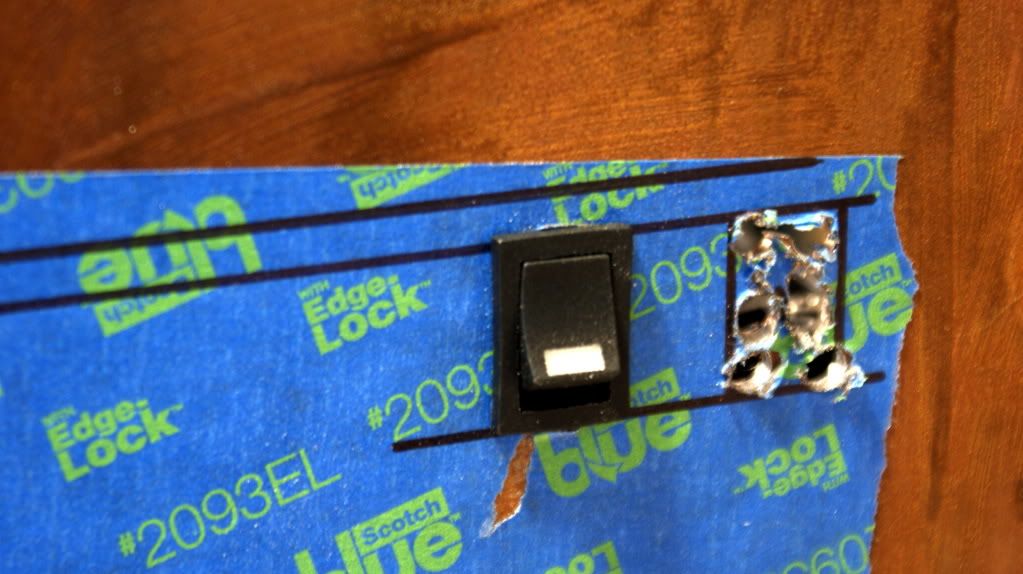
I'm not set on only having Amber lights so lets add some switches so I can have white too!
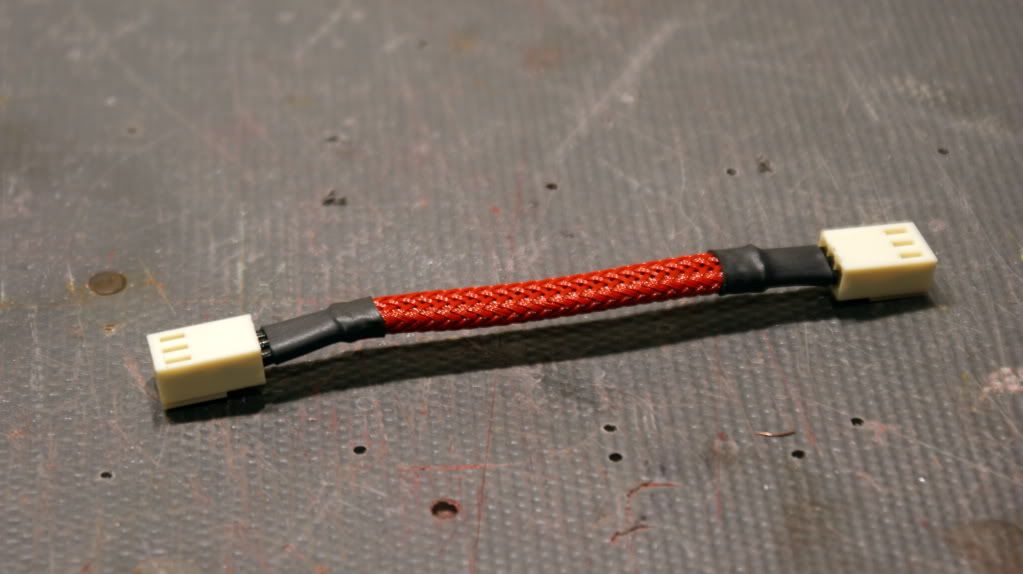
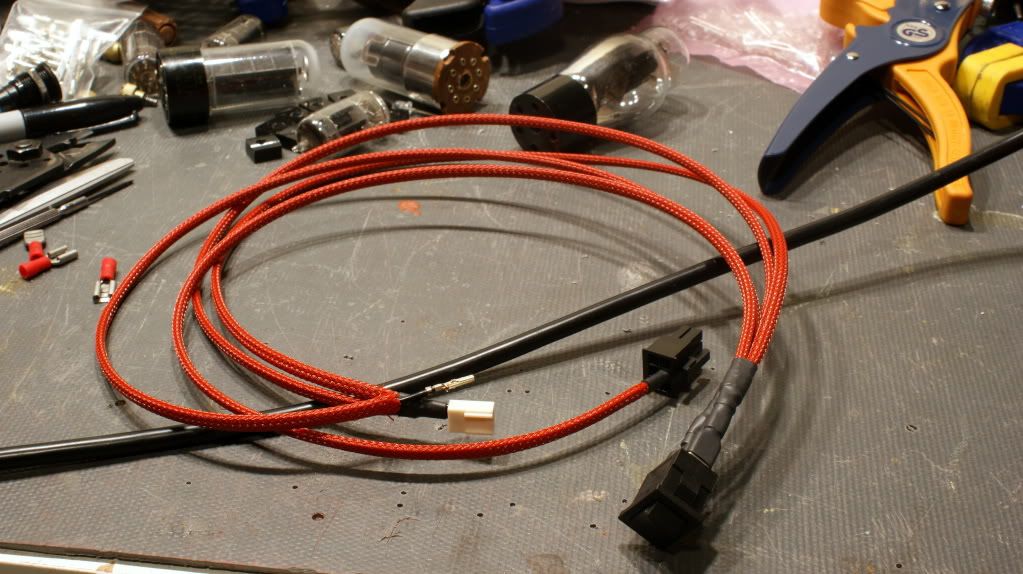
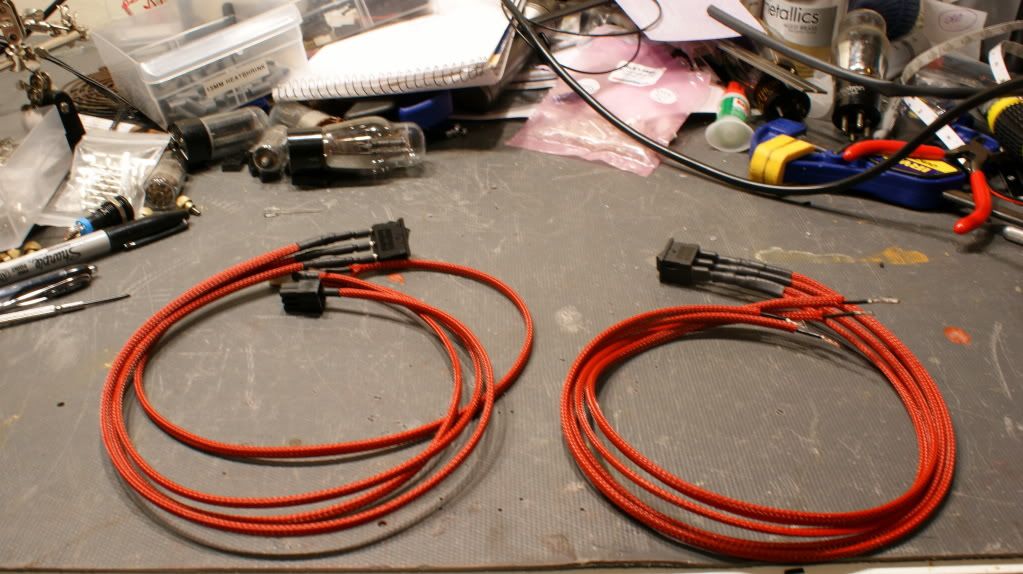
Start making cables.
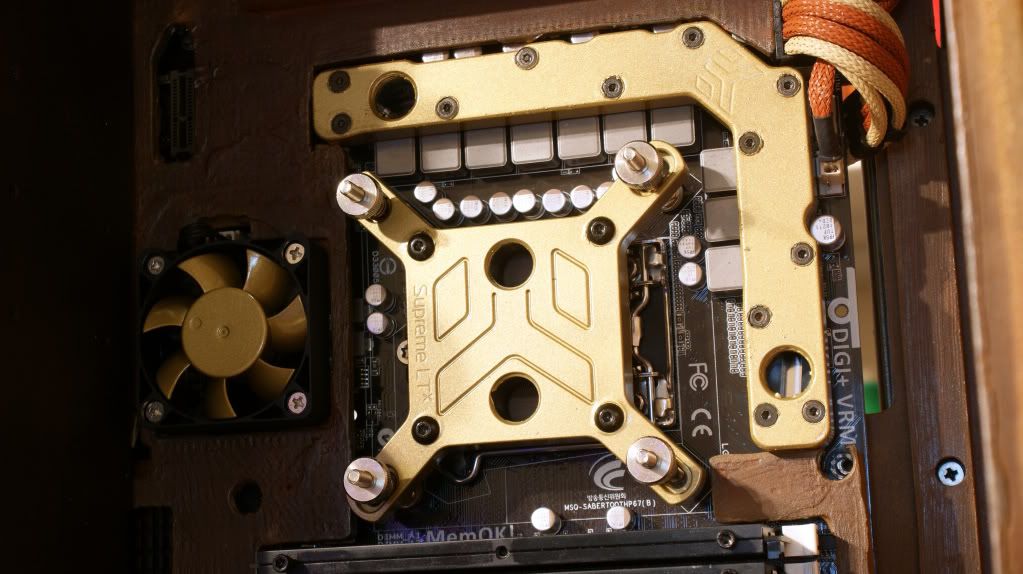
Finished. (More pics of this later)
Finally the rainy season is here! (It rains every... single... day...)
That's it for now! I have some more stuff coming this week so next weekend I will be busy.
Cheers till then,
Fuga
Man, you'd think I'd need a doctor's visit, as my jaw just keeps on rolling across the floor![]()
lol thanks AmEv
Not a big update but an exciting one.
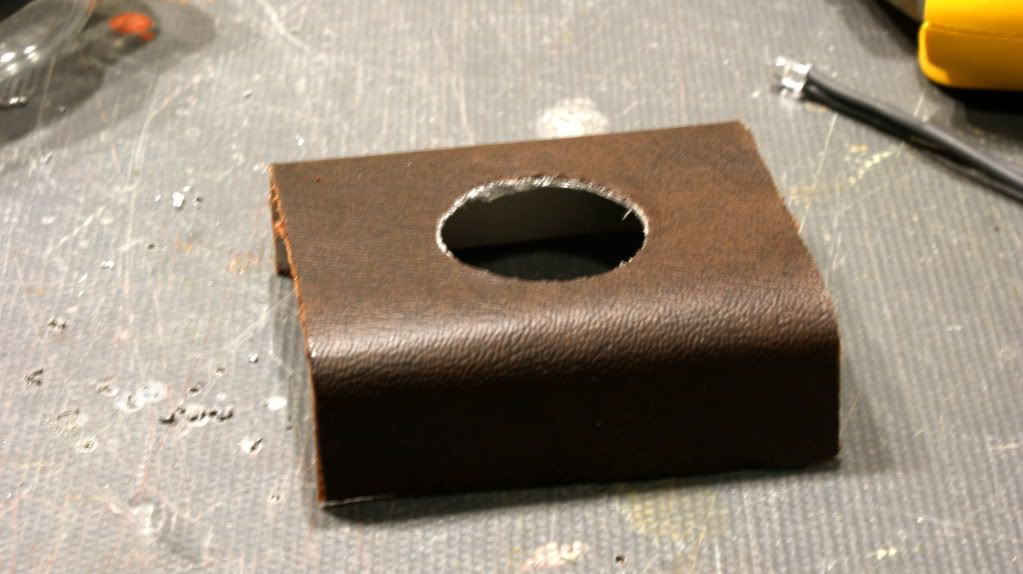
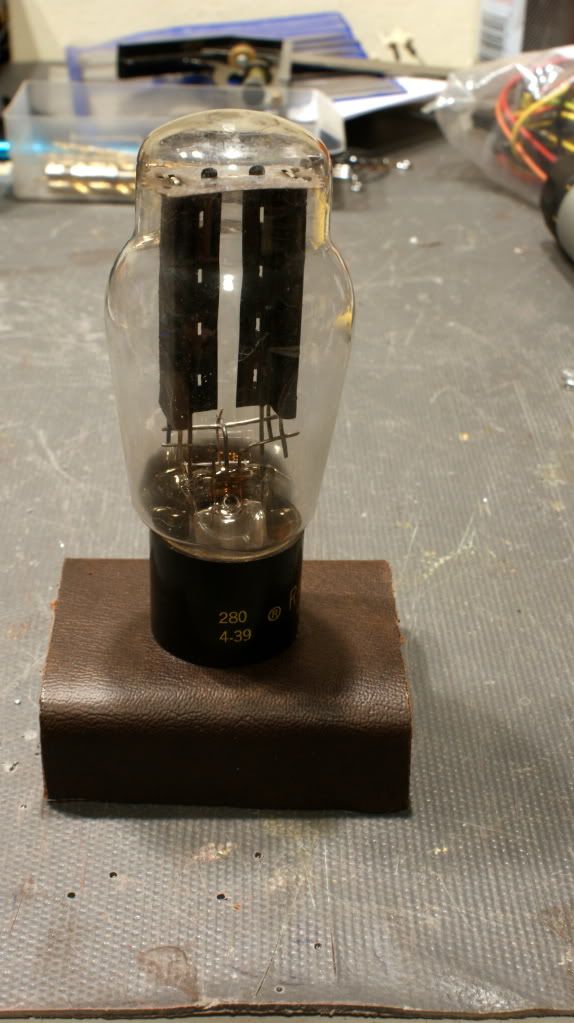
I wanted something to put behind the 2nd PSU bracket that looked cool so I made a stand.
Drilled a hole and covered it with leather.
And added a vacuum tube. I drilled out the bottom so I can put several LEDs in it to make it super bright.
Next up was to mod the EK-Multioption Basic 250 Res. I actually got some of this idea from B Negative.
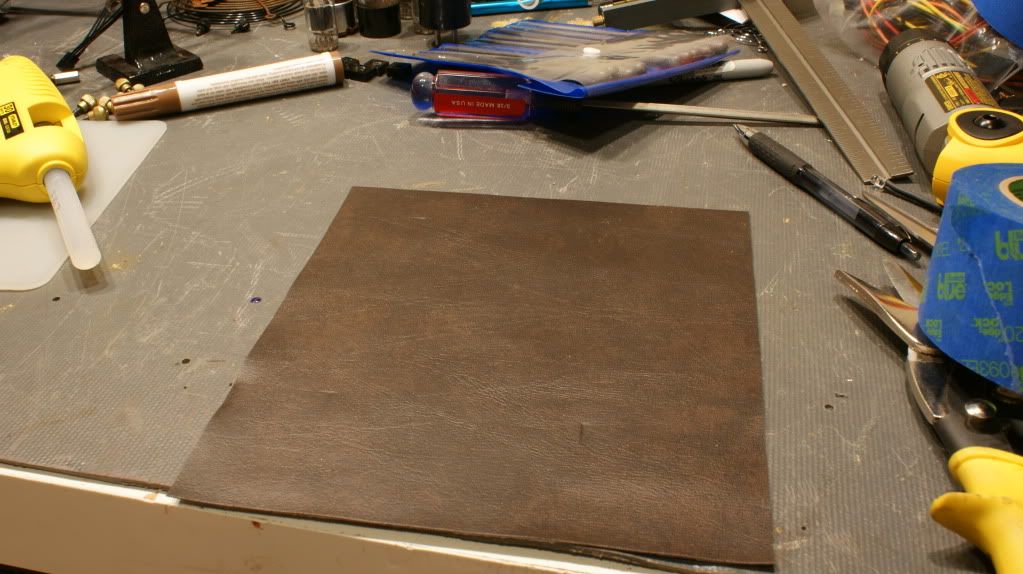
Cut some leather.
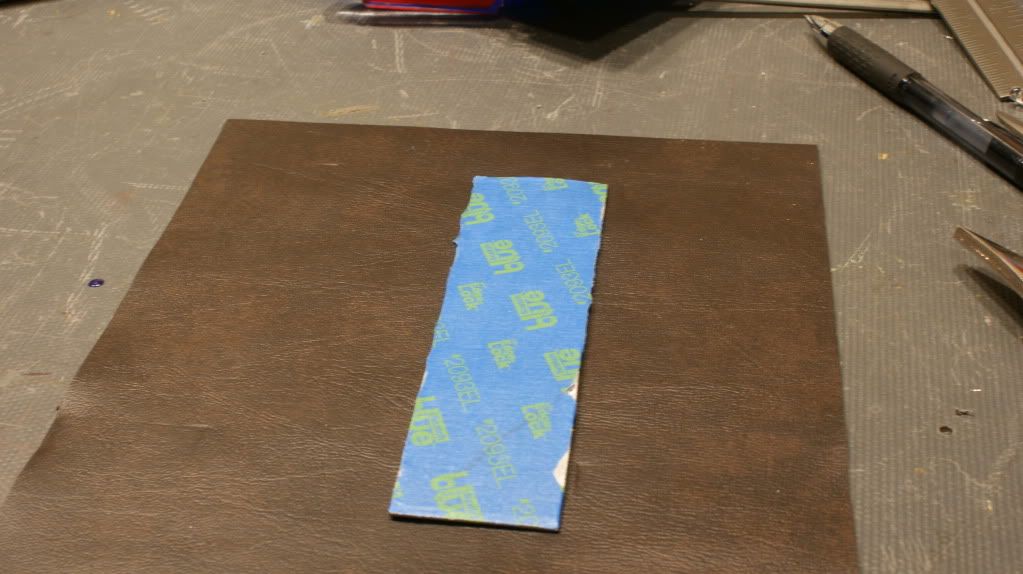
And tested how it looked. Hmm needs something
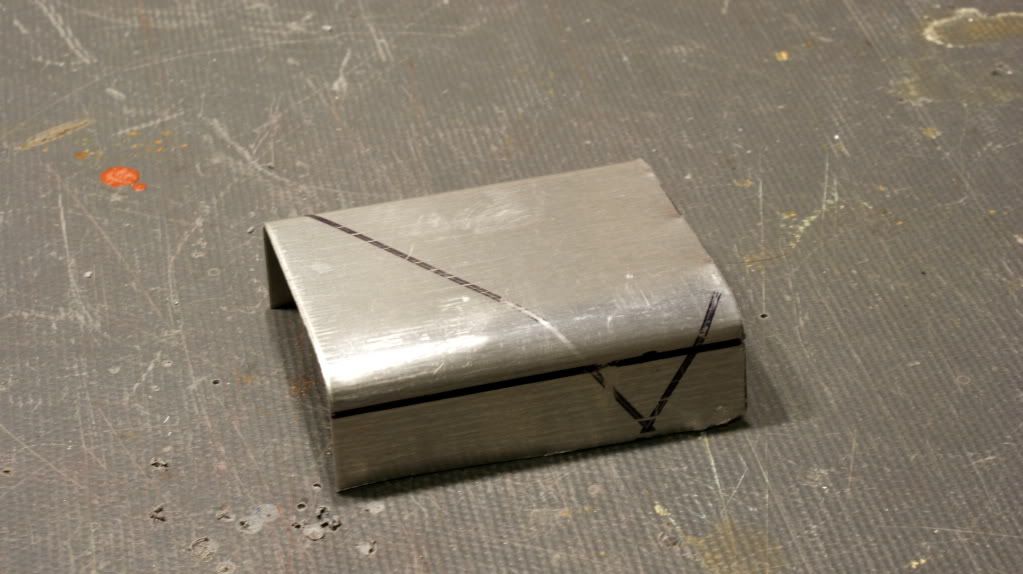
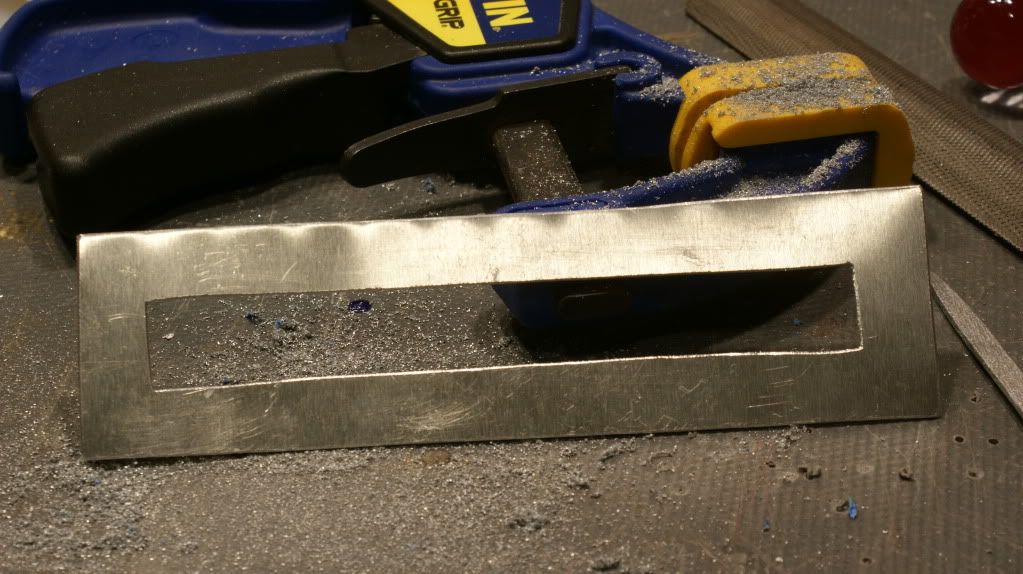
Got a piece of aluminium.
Cut it and filed the edges
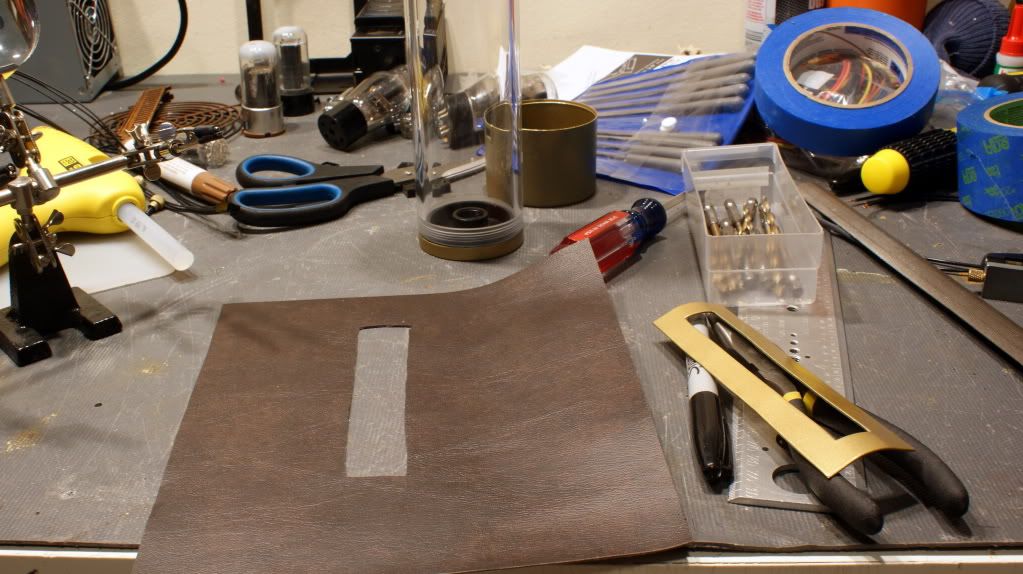
Painted it gold and cut a slot in the leather.
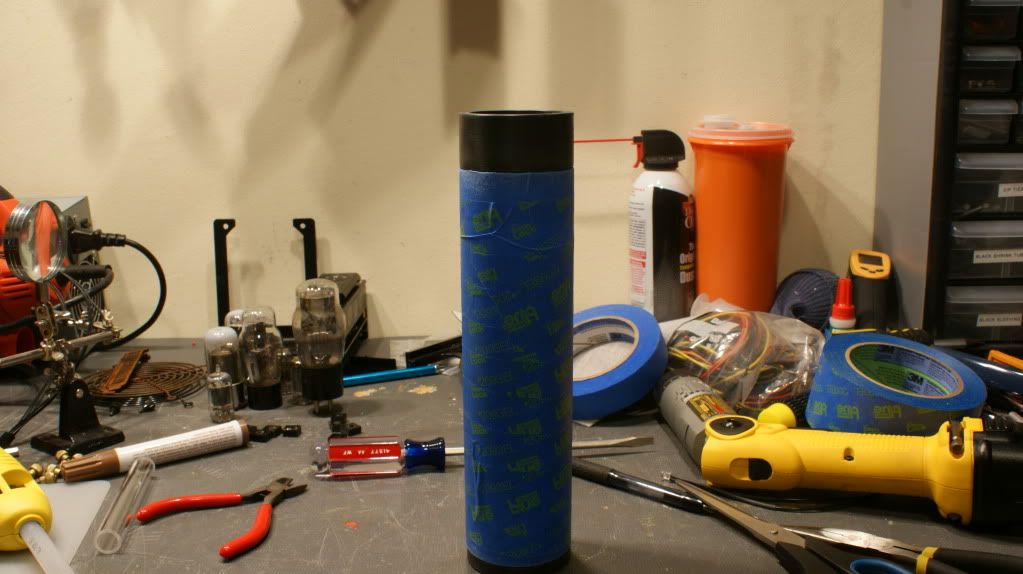
Taped off the res
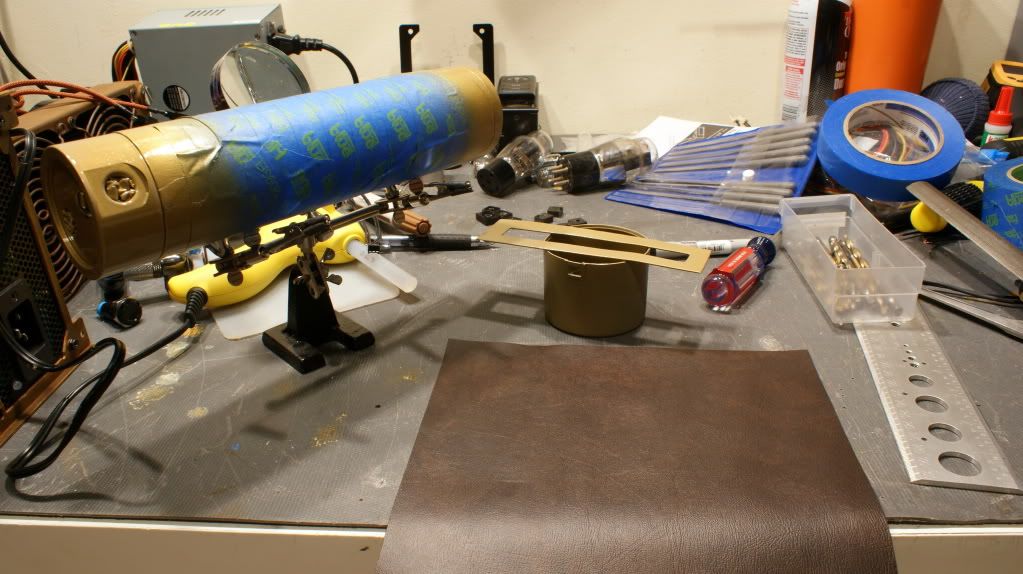
Pained the end caps gold too
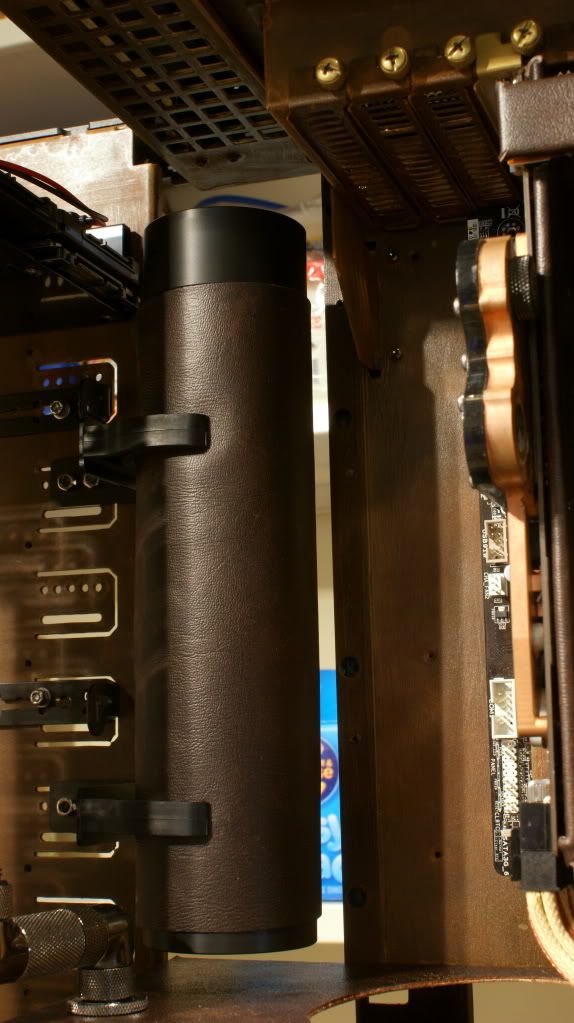
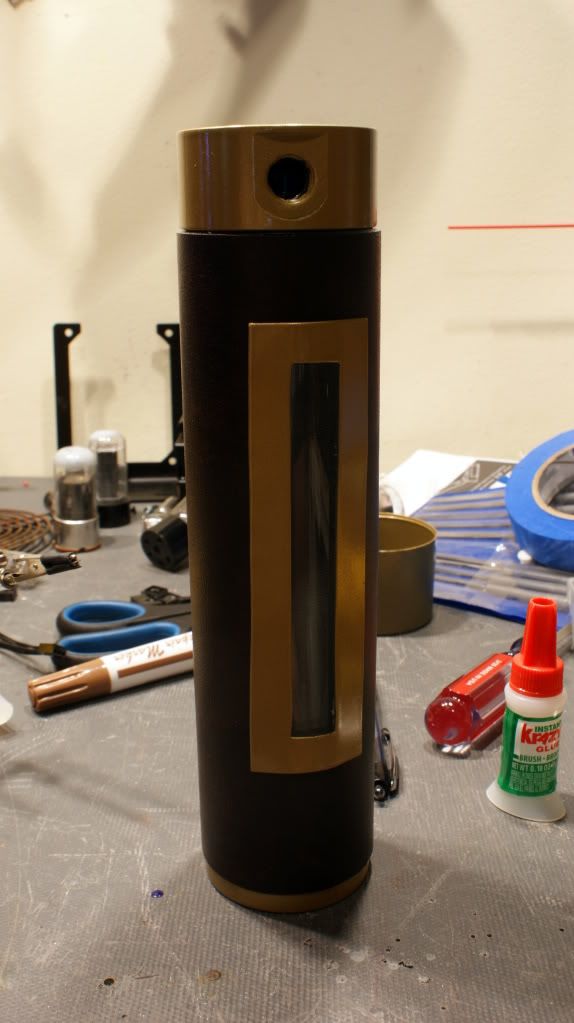
Put it all together and what do you get??
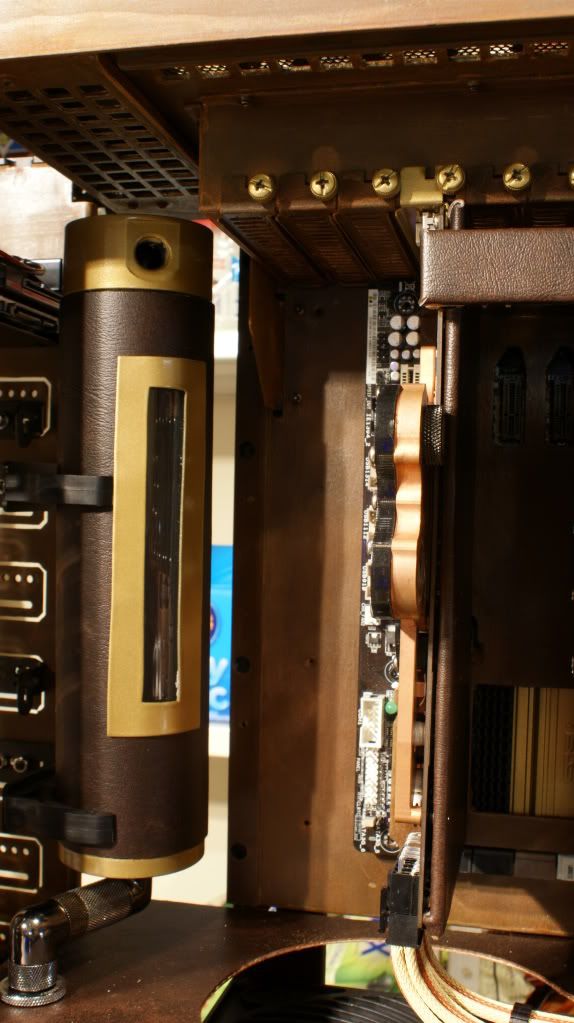
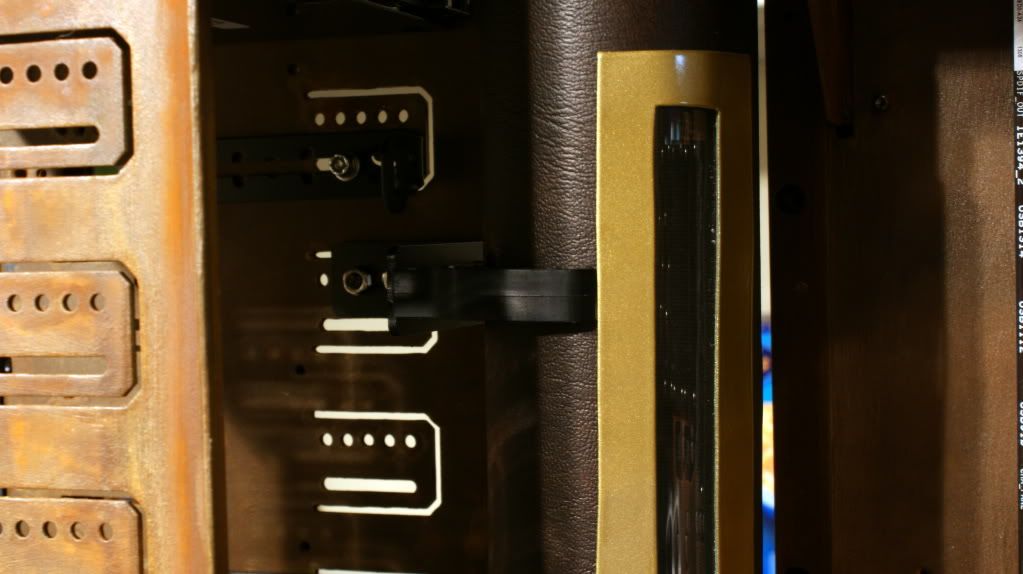
Not to toot my own horn but it looks freaking awesome. There will be 2 LED stop fittings in the top to illuminate the water inside.
Minor thing but I need move the top clamp up...
Thanks it! I changed up some things in an old build to get some more fittings for this one. I'll hopefully have some pipe next week so I can get the water going. Also my laser cut parts should be here the end of next week!
Cheers till next time,
Fuga
This build is looking epic Fugs! I absolutely love the colors you are mixing here and those tubes are a very nice touch. This is going to be your masterpiece!
"At the midpoint on the journey of life, I found myself in a dark forest, for the clear path was lost..." -Dante Alighieri