Hi guys,
Quick update on some work I got done today in between and during eating far too much egg shaped chocolate. Chocolate and perspex dust doesn't taste very nice FTW
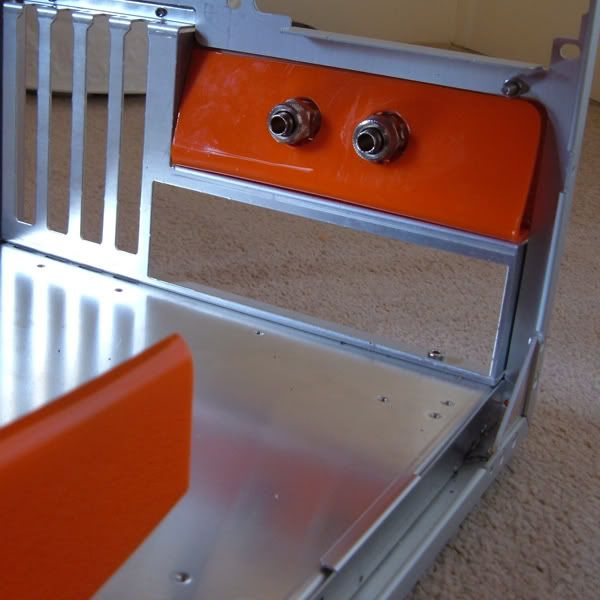
I started by making a cover for the rear of the case where the tubing passes though. You can see in the picture below it was a little untidy to say the least:
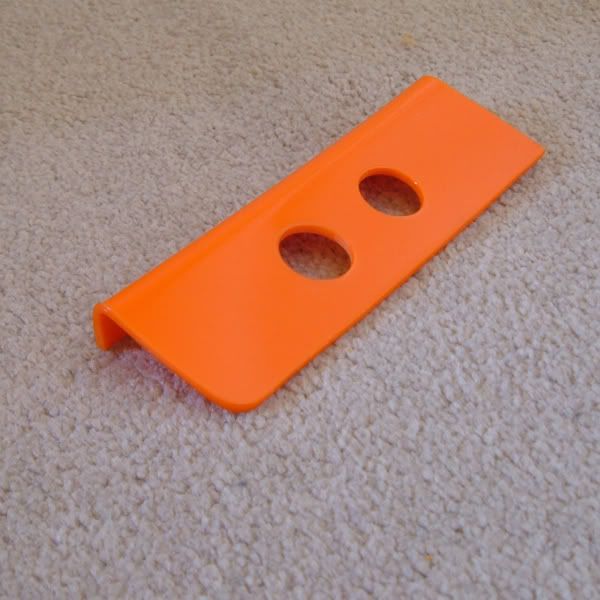
Here is the cover cut and bent:
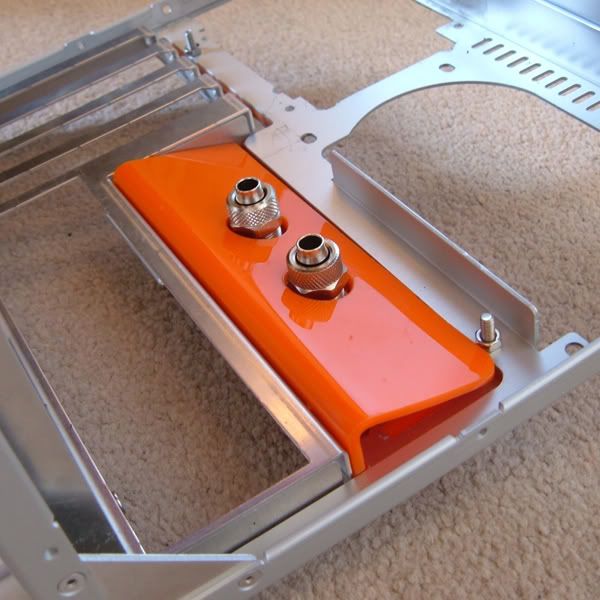
And here it is fitted to the case, much better:
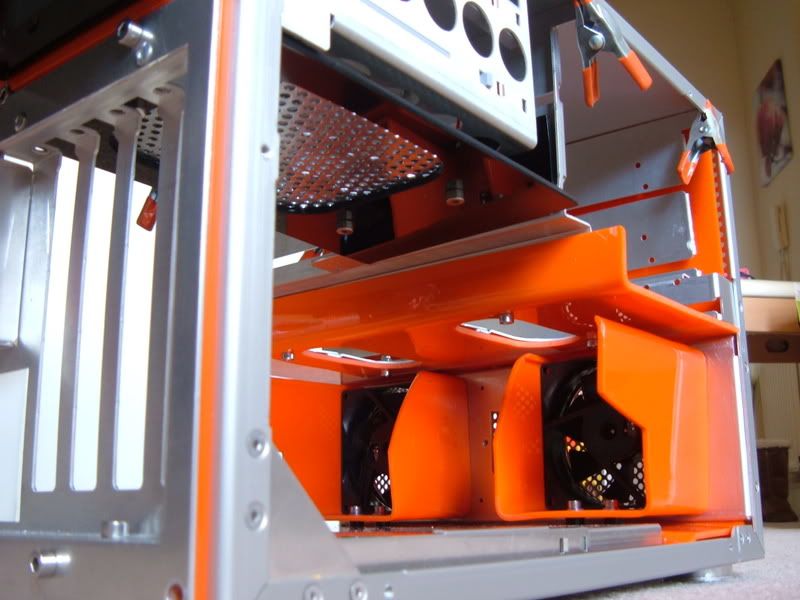
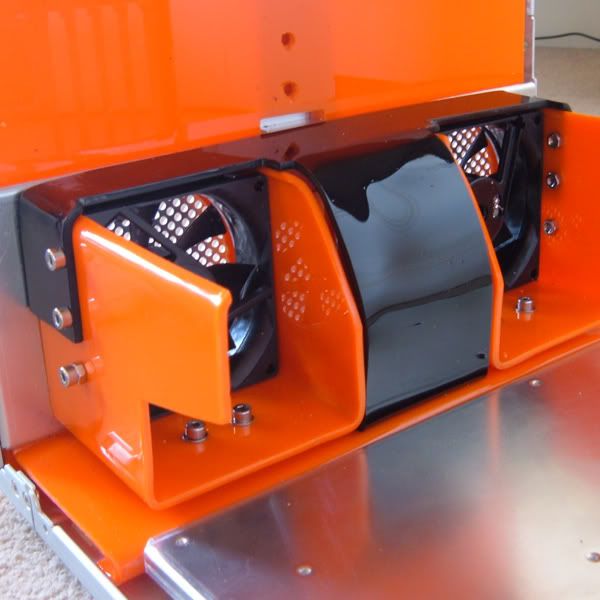
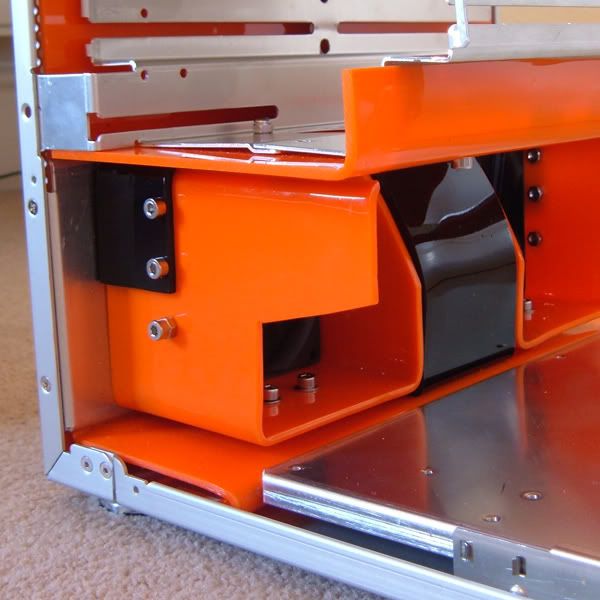
Next I moved onto the ducts in the front of the case. I changed the design of them slightly since my last update. Here is how they looked this morning:
No major change, just trimmed the inner edges down a little.
Also you can just make out 4 bolts with plastic spacers that hold them in place.
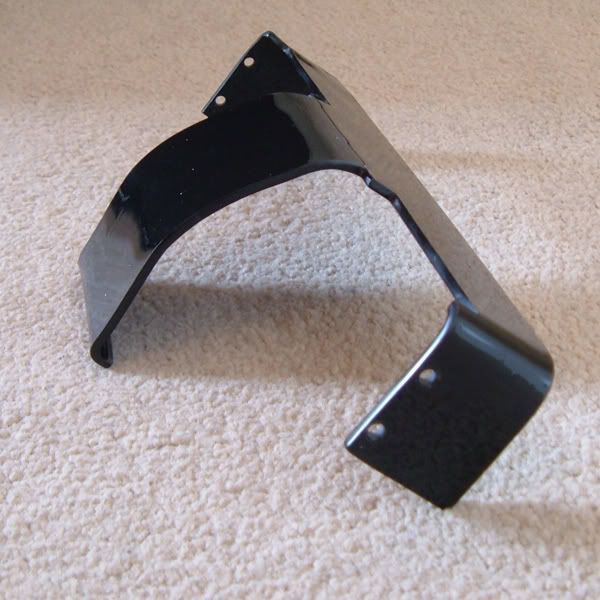
I spent the rest of the day, well around 5 hours cutting, bending and sanding this black piece of acrylic:
But what is it I hear you cry?
Its a bracket to hold the ducts firmly in place. Although they are held down by the 4 bolts on the bottom they needed 'squeezing' together to keep them pressed up against the fans.
Also I wanted to cover the gap in between them to better hide all the wires that will end up in that area.
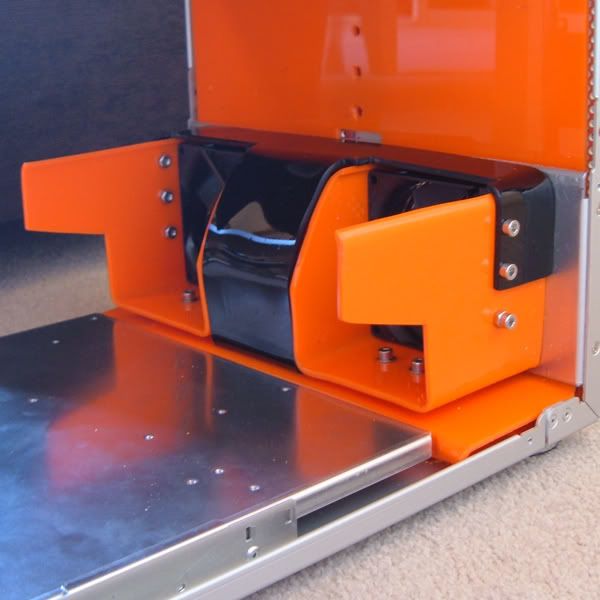
The piece slots down over the ducks and is held in place with 4 bolts like this:
The gap between the ducts is then covered by the curved piece that hangs down:
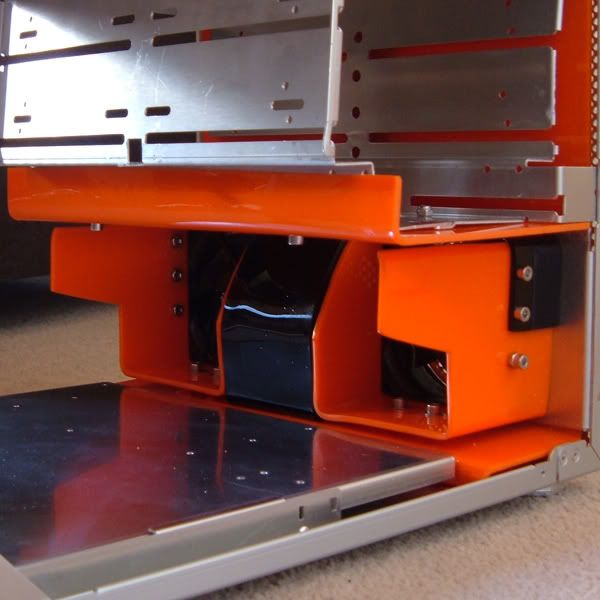
Here it is with the drive bays mounted above:
The bolt in each duct that appears to serve no purpose is just there to fill a hole I drilled to start working on some adjustable vents. I am planning on making a siding vent a bit like the ones in car heaters. Only this one will be moved by a motor or a servo.
So I can divert more or less air through the holes above the ducts into the rad that will be above it. Not really necessary but should look quite cool
That's it for today, thanks for reading!
Xperiment


 Reply With Quote