It sounds like you were trying to run the hole saw through the plexi too quickly. Especially with a hole saw that big, you have to take it slow. High RPMs, but drill through slowly.


It sounds like you were trying to run the hole saw through the plexi too quickly. Especially with a hole saw that big, you have to take it slow. High RPMs, but drill through slowly.
TBCS 5TB Club :: coilgun :: bench PSU :: mightyMite :: Zeus :: E15 Magna EVThat we enjoy great advantages from the inventions of others, we should be glad of an opportunity to serve others by any invention of ours, and this we should do freely and generously.
--Benjamin Franklin

I wasn't going fast at all. Max RPMs are 3100. I've used a hole saw before and I know to just keep tapping down when using the press. But it didn't matter. It would stop almost as soon as it hit the plexi.
Hmmm, weird. That's a 4.5A motor on the drill press, right? That should have been able to blow through it, no problem.
TBCS 5TB Club :: coilgun :: bench PSU :: mightyMite :: Zeus :: E15 Magna EVThat we enjoy great advantages from the inventions of others, we should be glad of an opportunity to serve others by any invention of ours, and this we should do freely and generously.
--Benjamin Franklin
Something is wrong... Does it matter that its running on a power source of 50Hz and not 60Hz?
IDK, it might. I have the same power motor in my Craftsman hand drill and I know it would eat right through that. I do find it odd that the center bit on the hole saw snapped though. Something's definitely strange there.
TBCS 5TB Club :: coilgun :: bench PSU :: mightyMite :: Zeus :: E15 Magna EVThat we enjoy great advantages from the inventions of others, we should be glad of an opportunity to serve others by any invention of ours, and this we should do freely and generously.
--Benjamin Franklin

It is a big surface area for a drill press to be cutting?
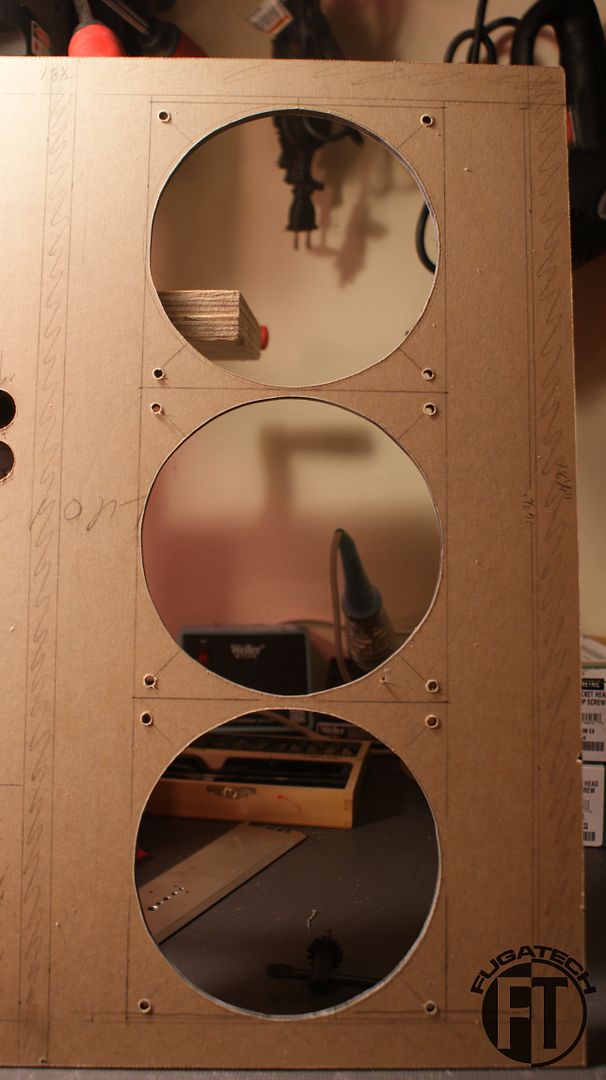
I have to get over breaking the back panel and work on the front. Since the hole saw isn't working out I'll have to do it all by hand. I will be going uber slow to make sure I get the best cut I can. There will be some flaws but that is to be expected when doing things by hand. So here we go.
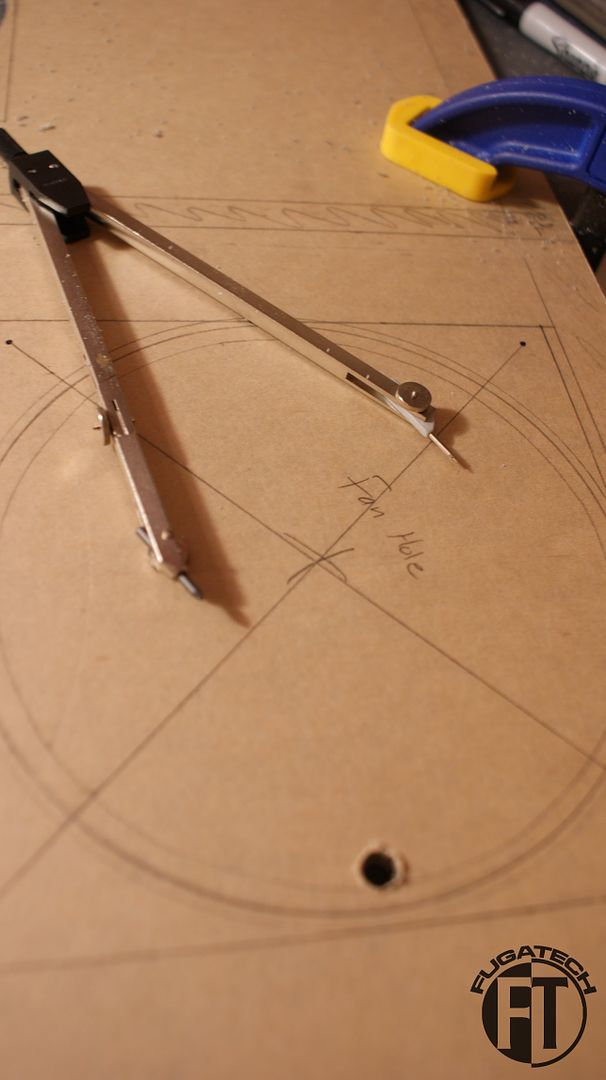
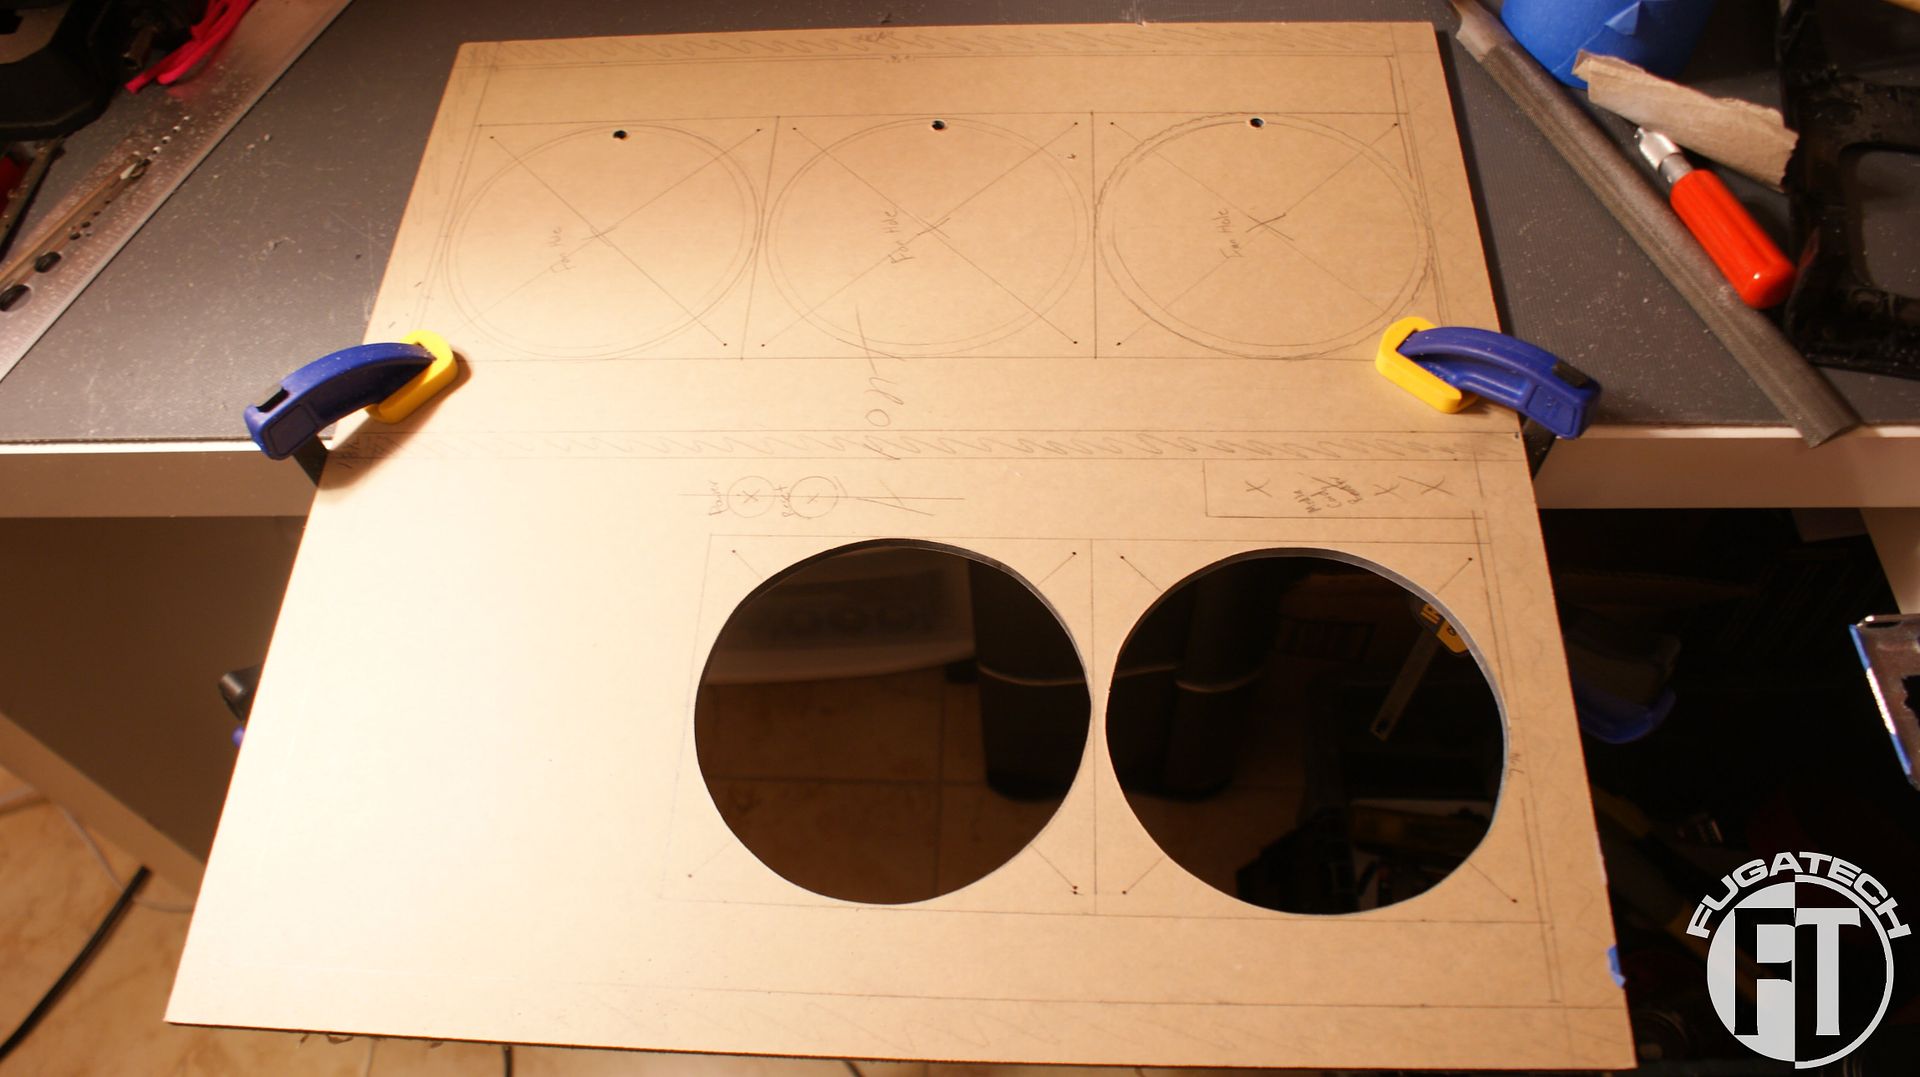
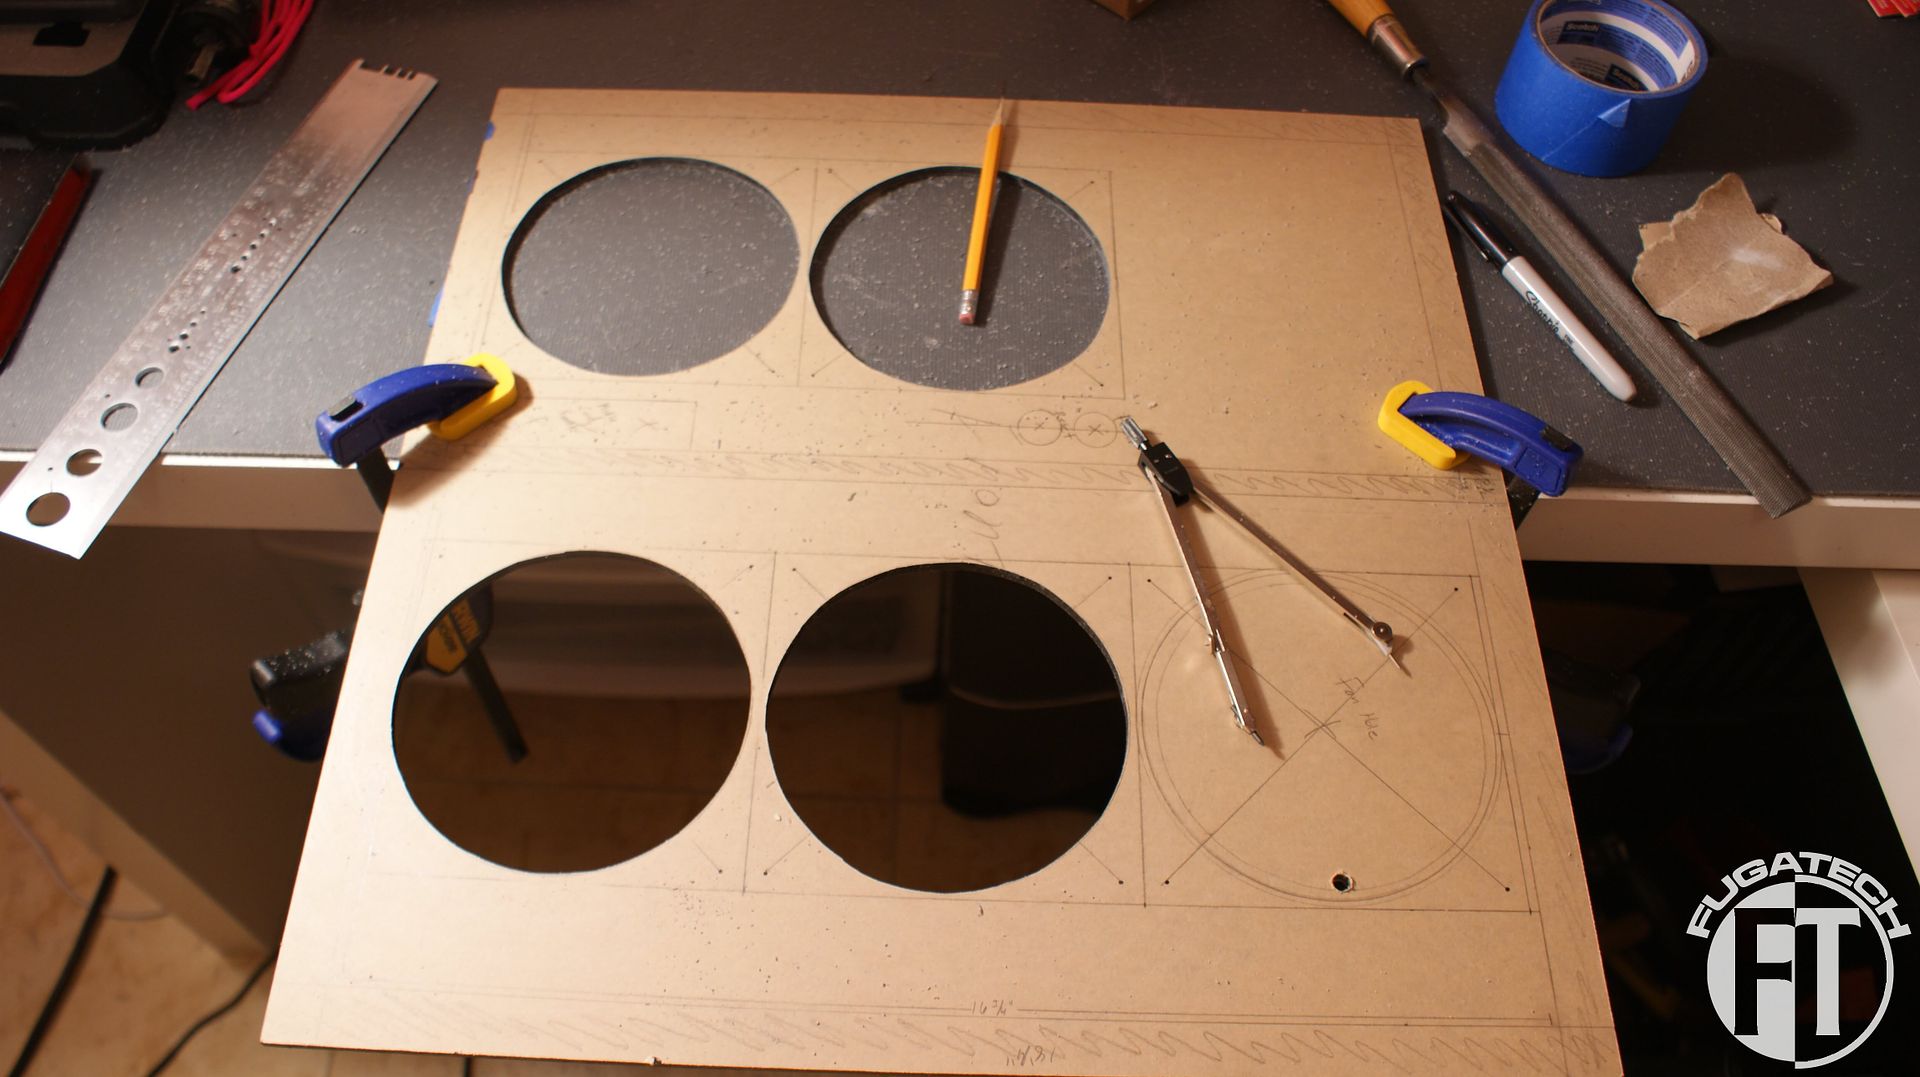
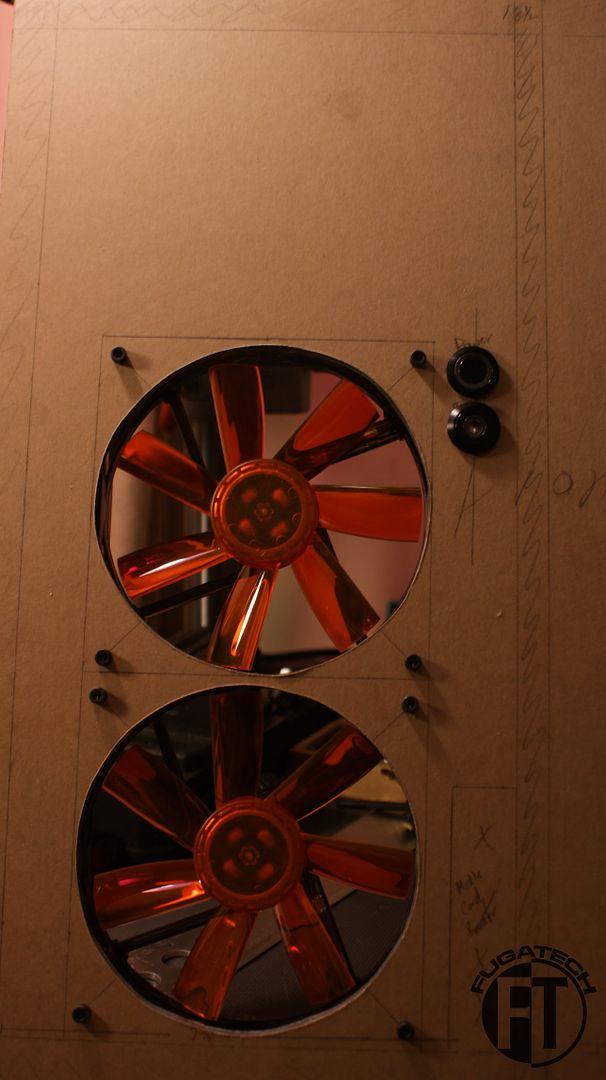
The first holes that I made were 4 1/2". Well I needed a 5 1/2" hole for the 140mm fans. After remeasuring for the 5 1/2" holes, I noticed that 3 of them would not fit on the HDD side. So I down sized it by about 1/4" and they all fit perfectly. I used a compass to draw the circles.
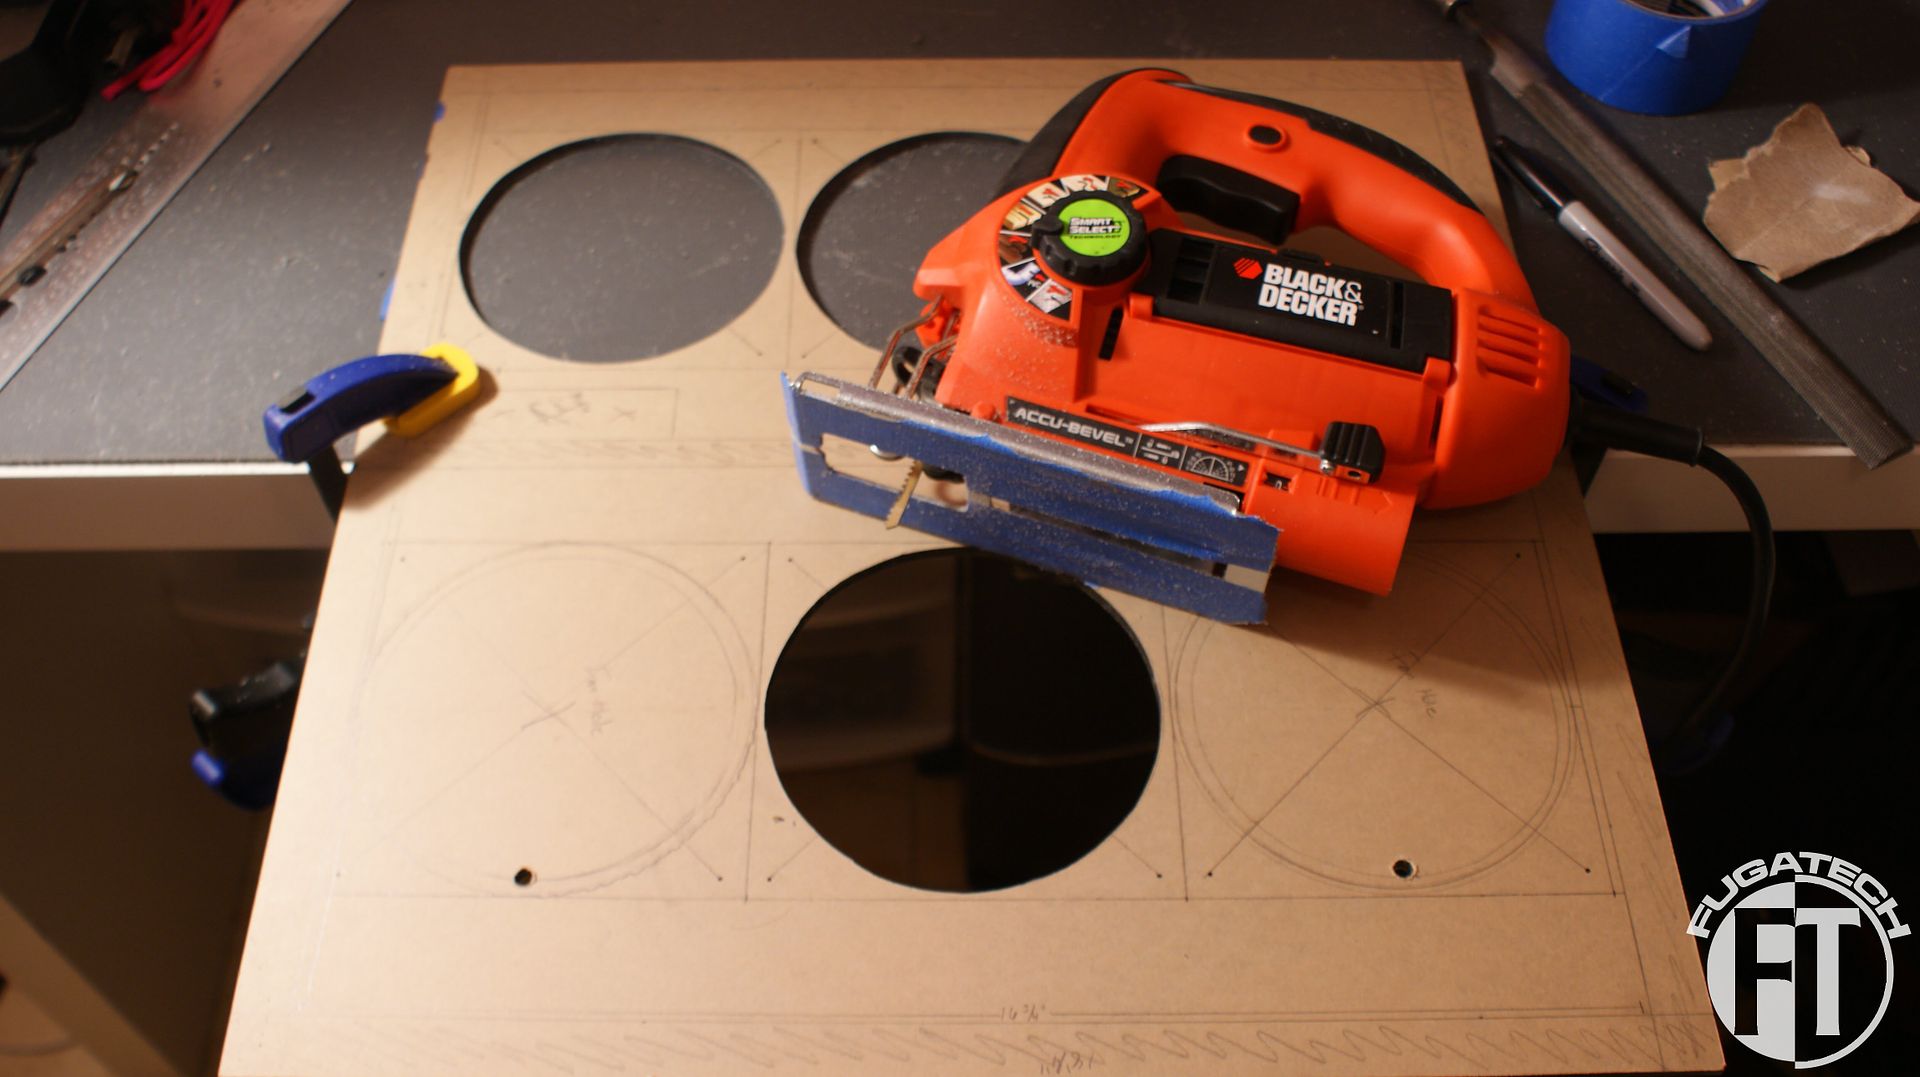
I then started out cutting the 2 fan holes on the mobo side of the case.
Next was the center one of the HDD side.
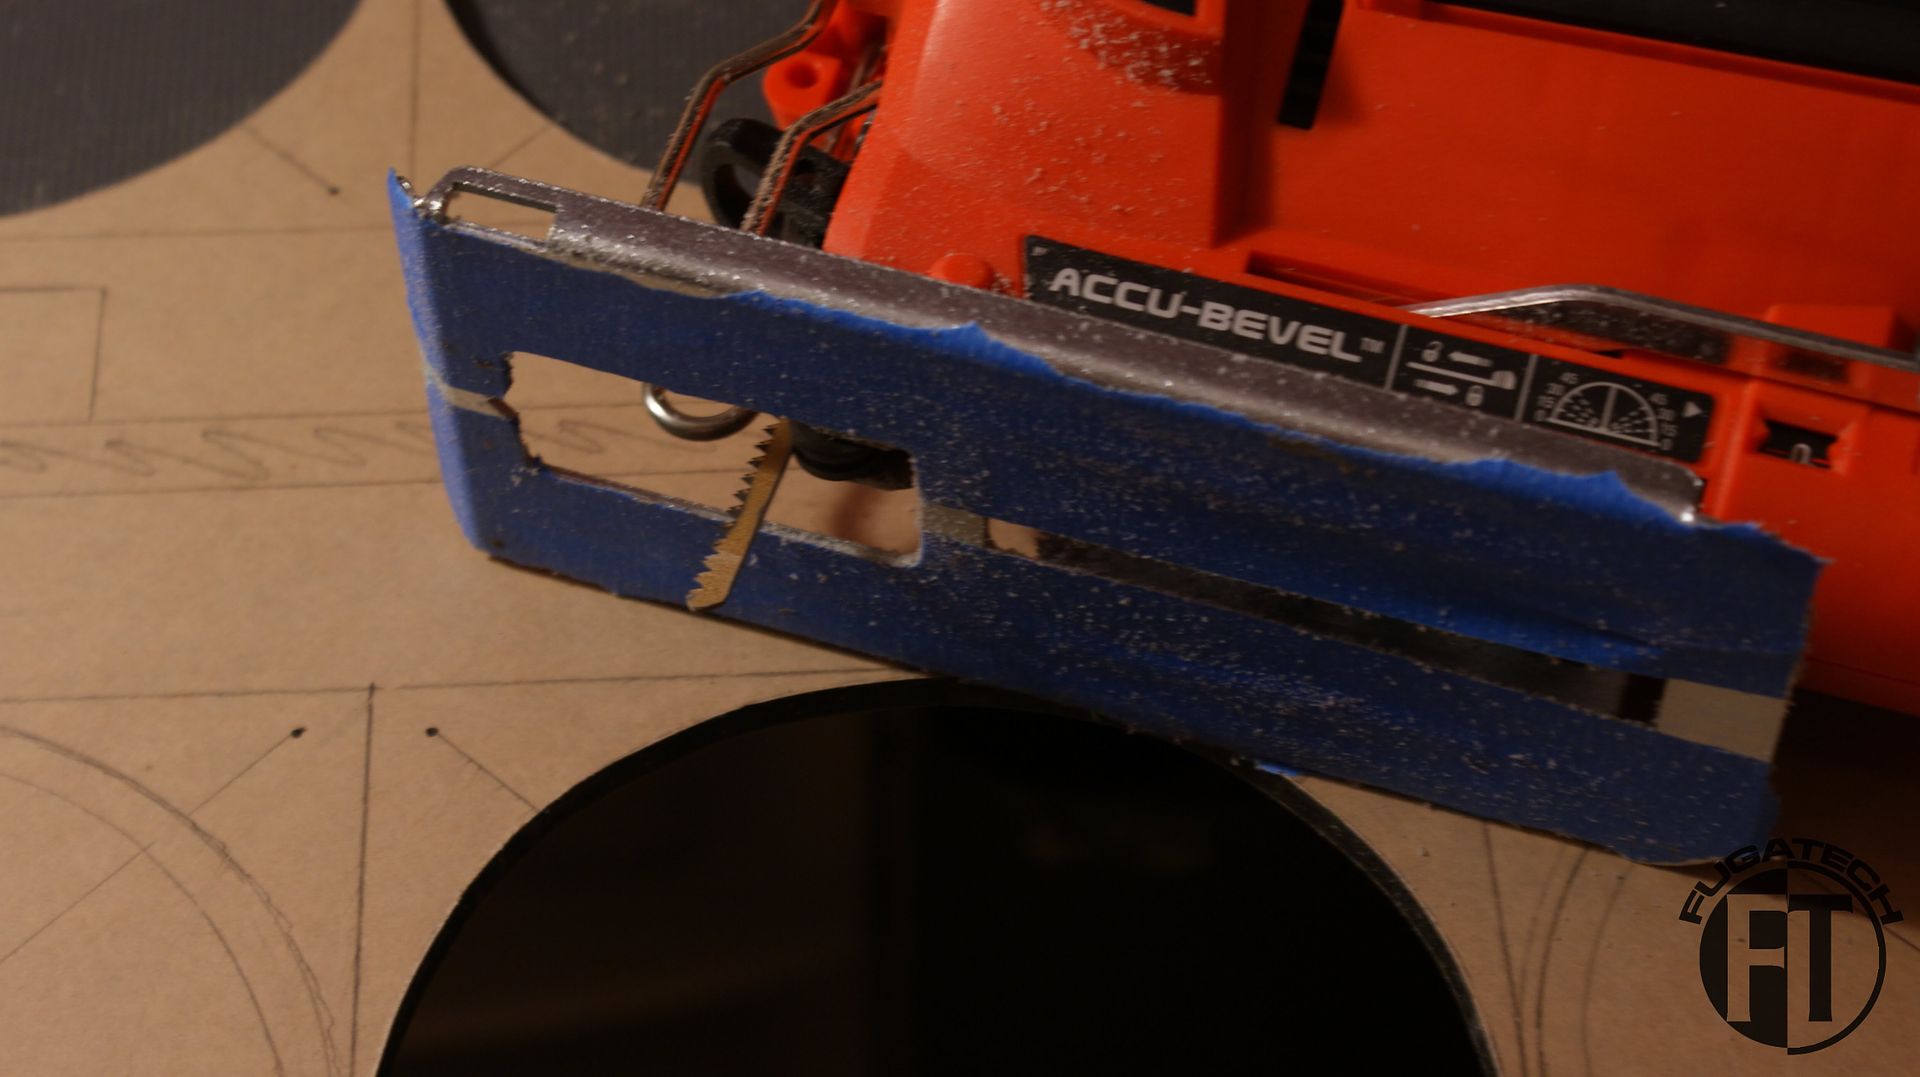
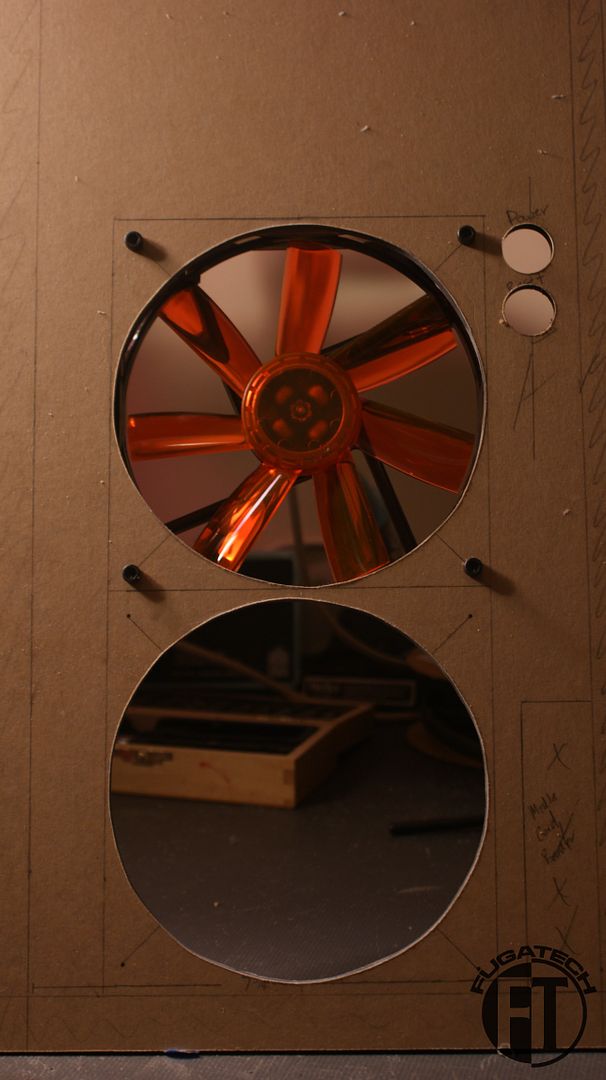
I heard from someone that you should tape the bottom of your jigsaw so that you don't scratch the plexi and so it glides better. Well it worked like a charm for me.
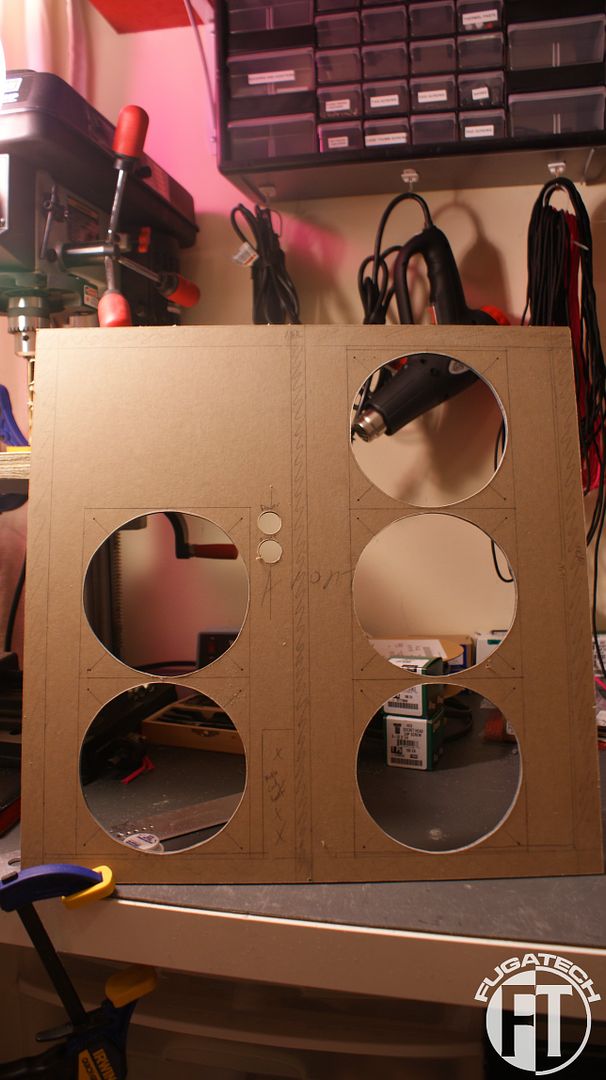
One to go.
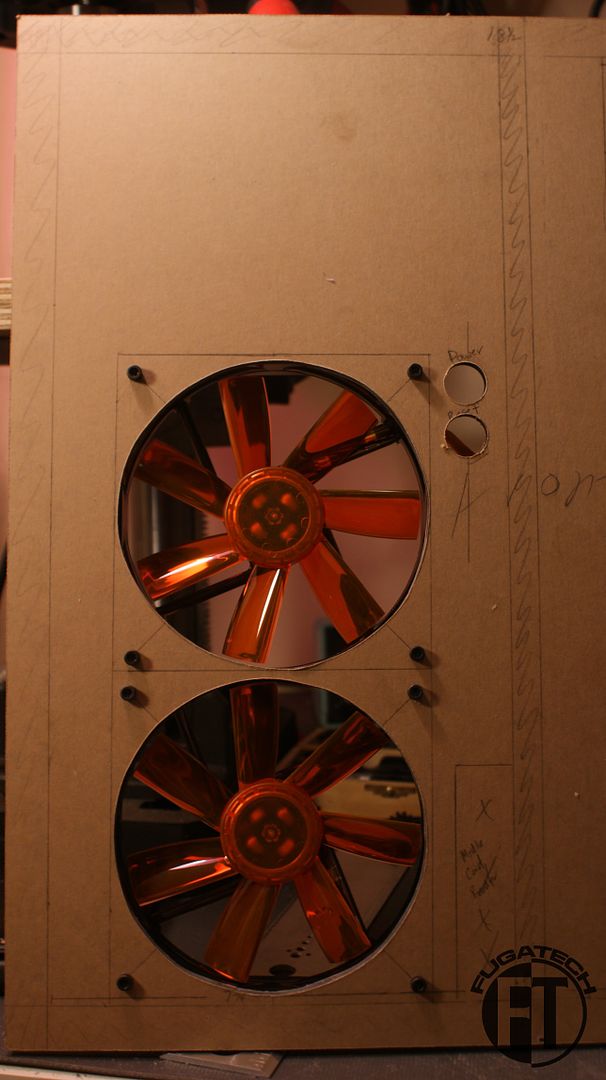
All done.
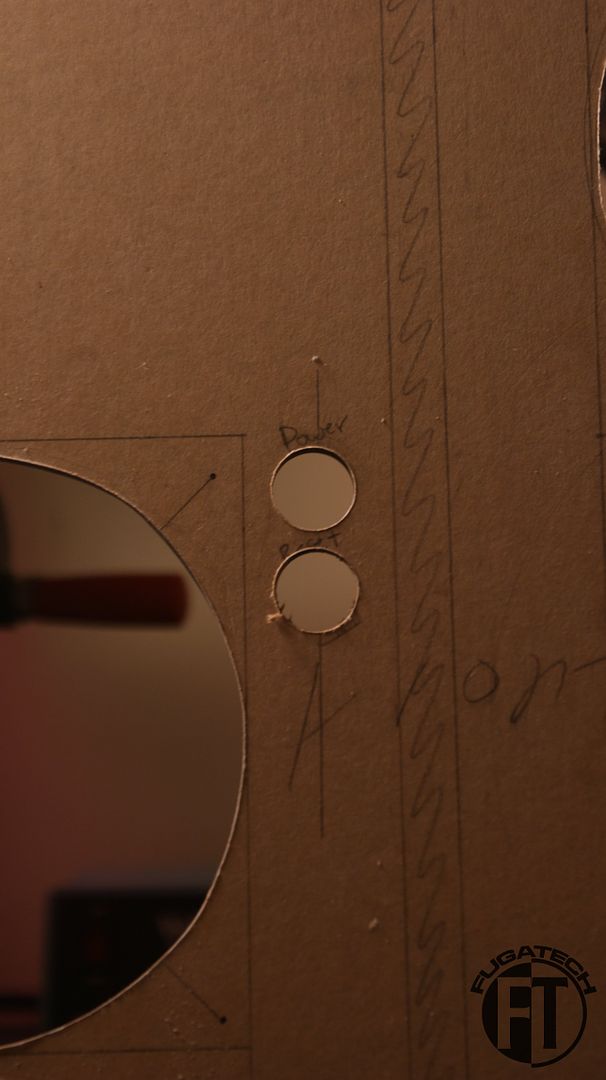
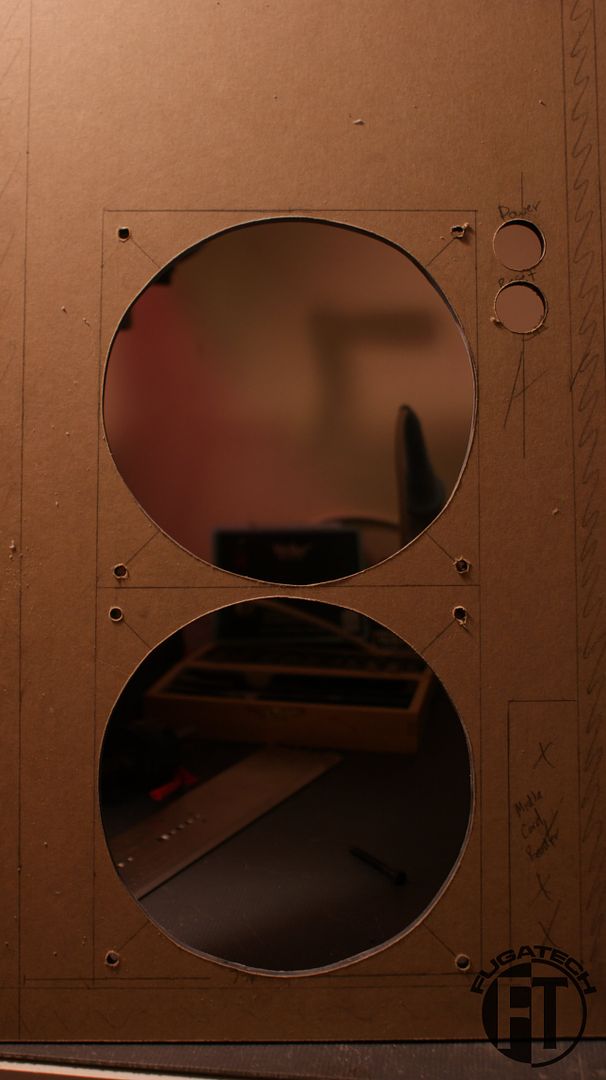
I also drilled out the Power and Reset switch holes.
Next I have to drill the holes for the screws.
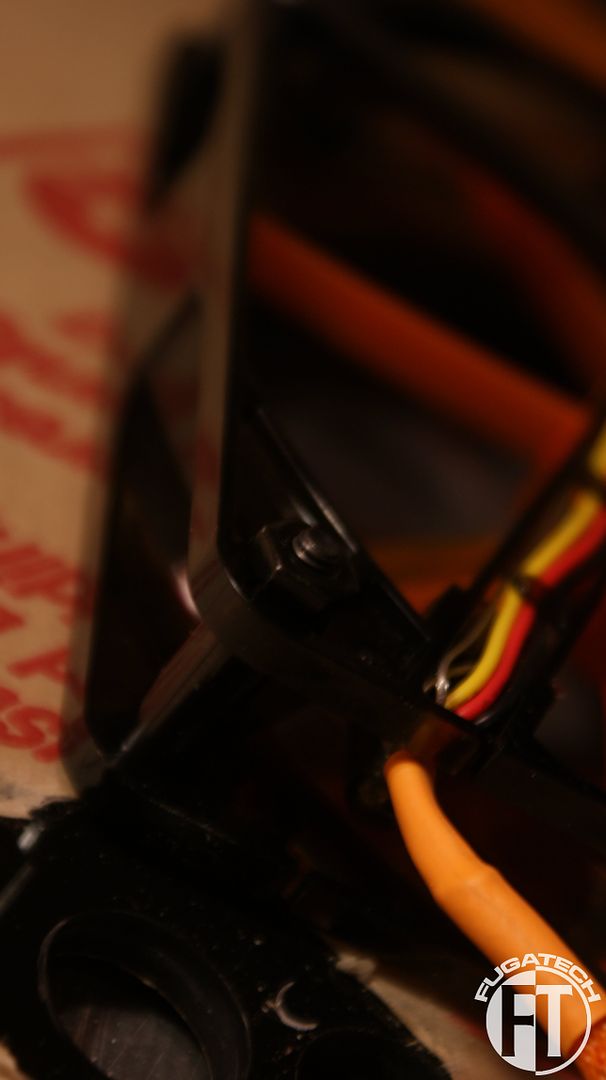
Now to test fit some of the fans.
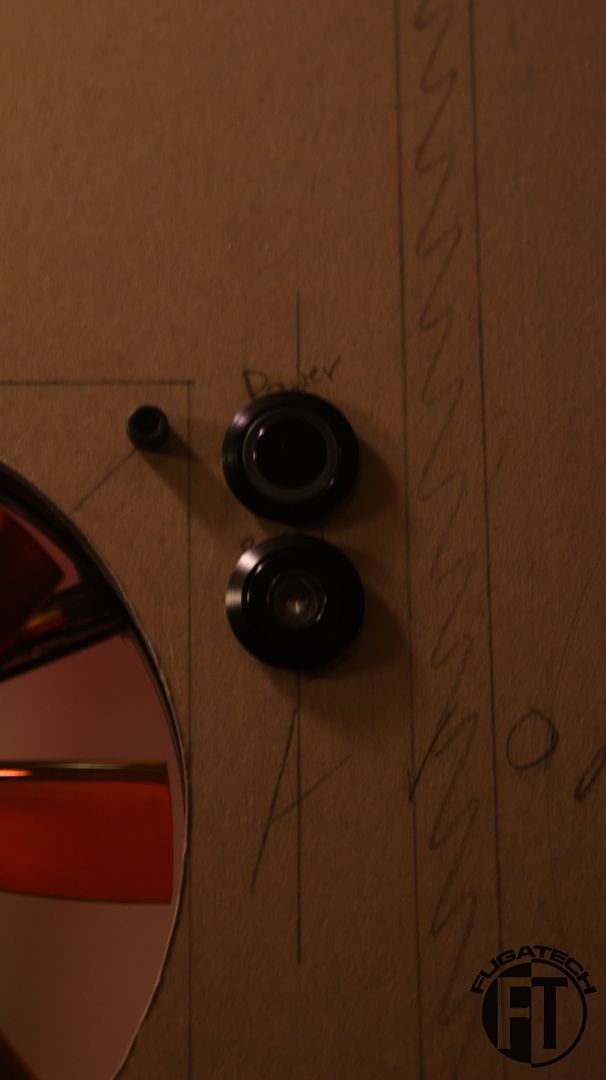
And the switches.
Looks good. They stick out a smidge so I'll have to sand the holes a bit more or something.
I'm using 8-32 x 1 1/2" Socket Head Cap Screws with 8-32 Hex nuts.
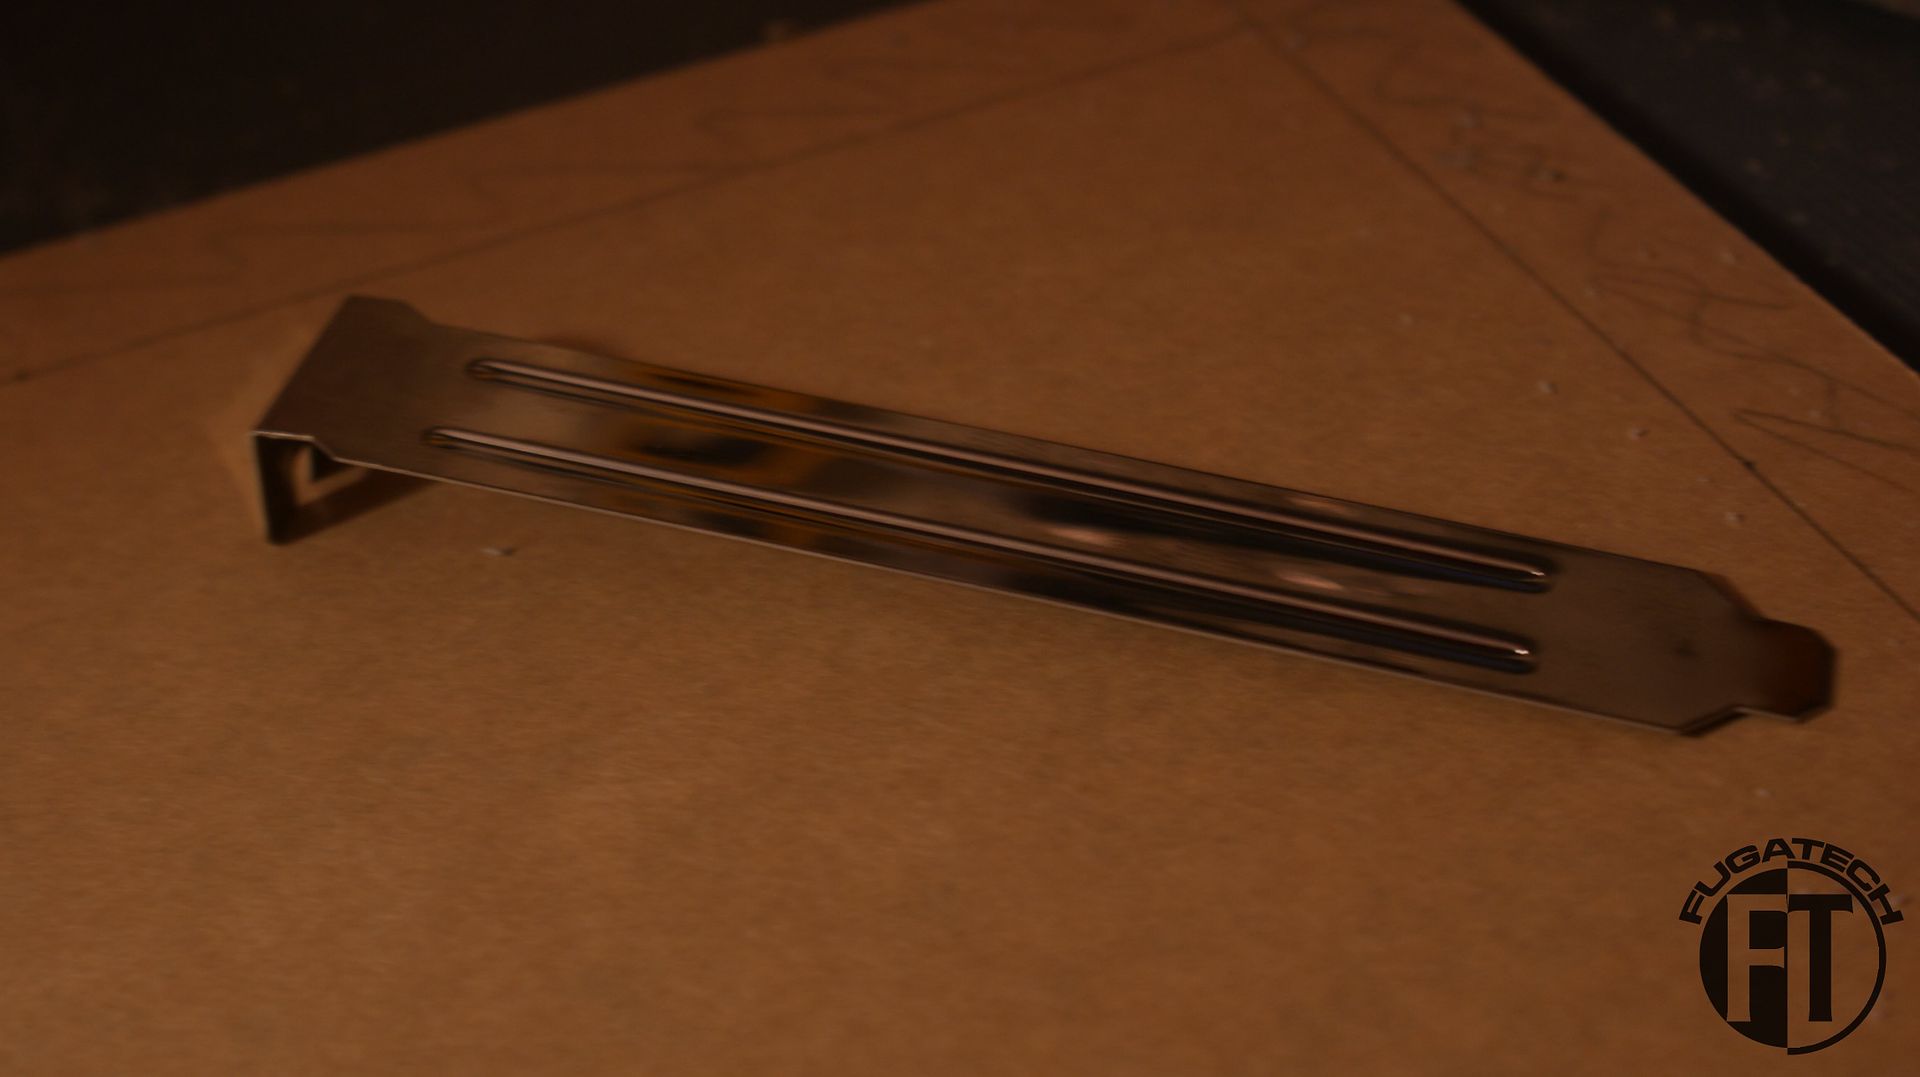
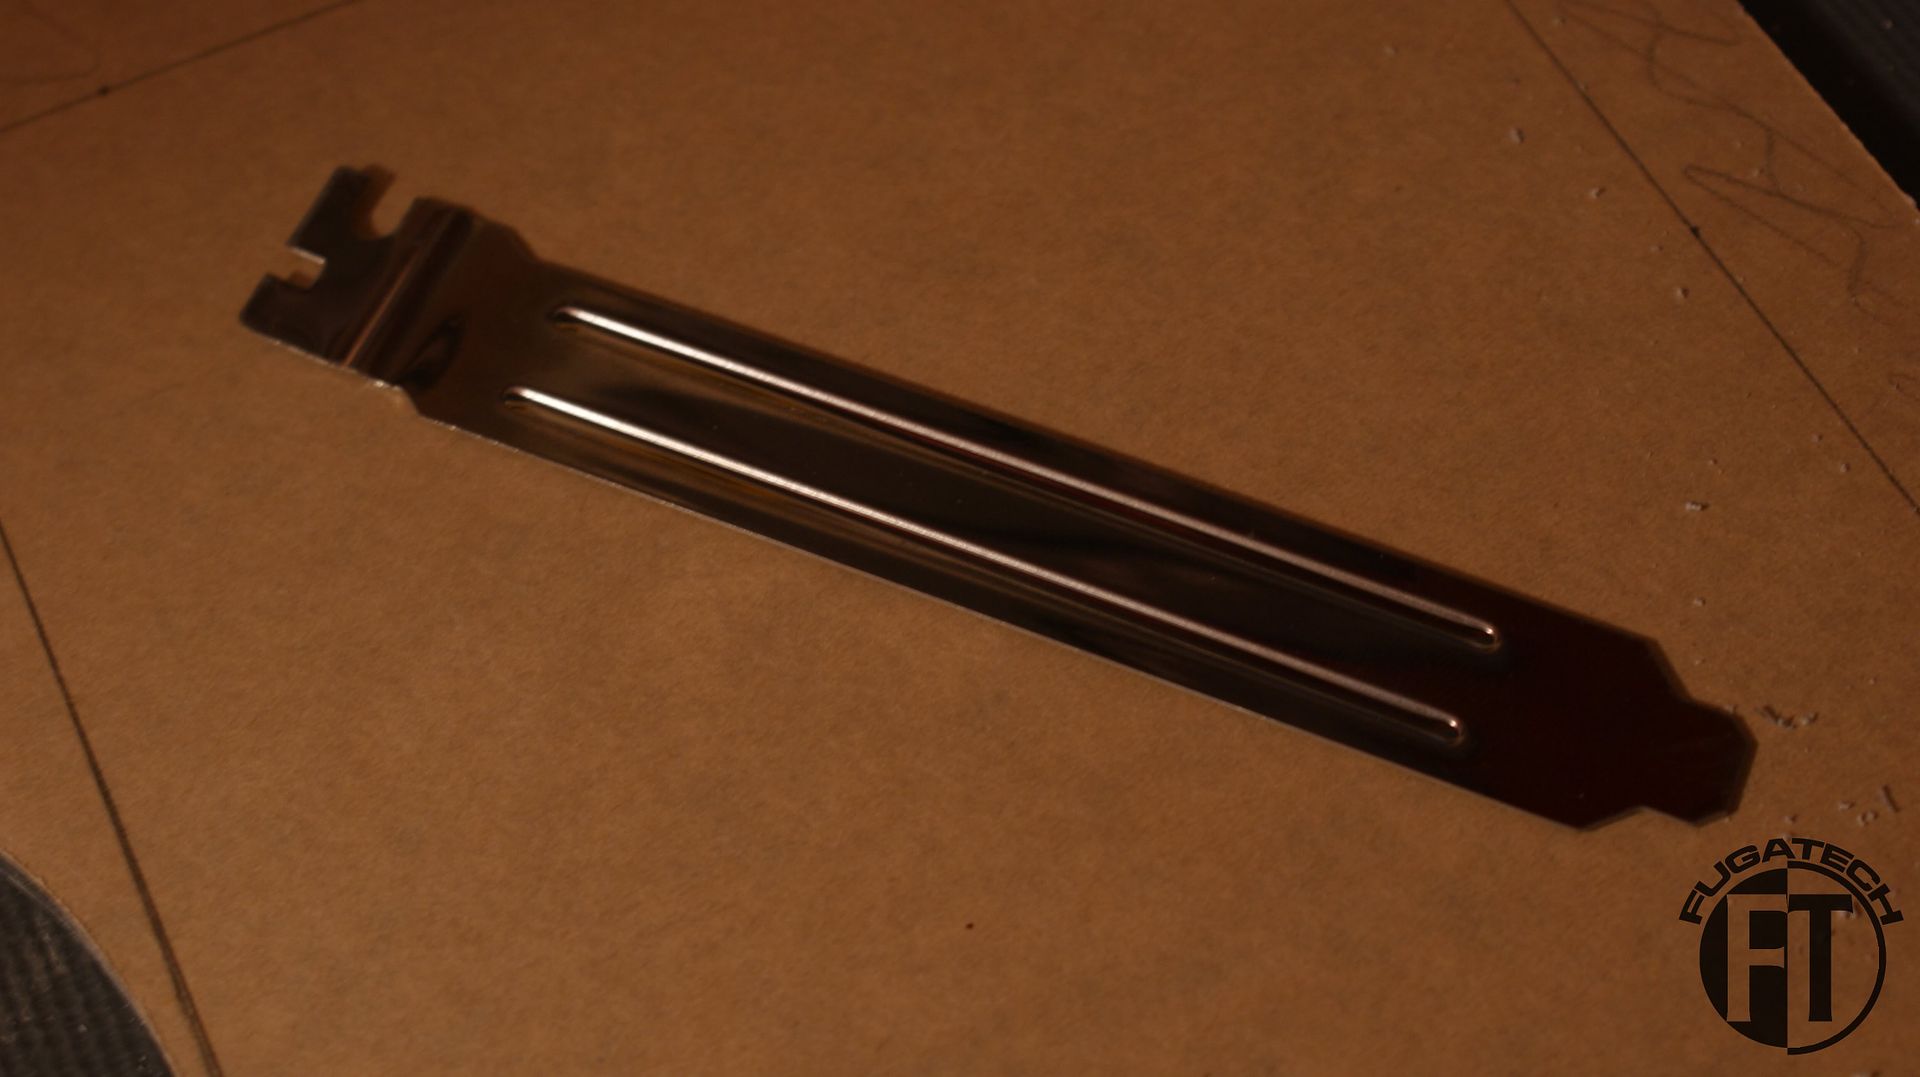
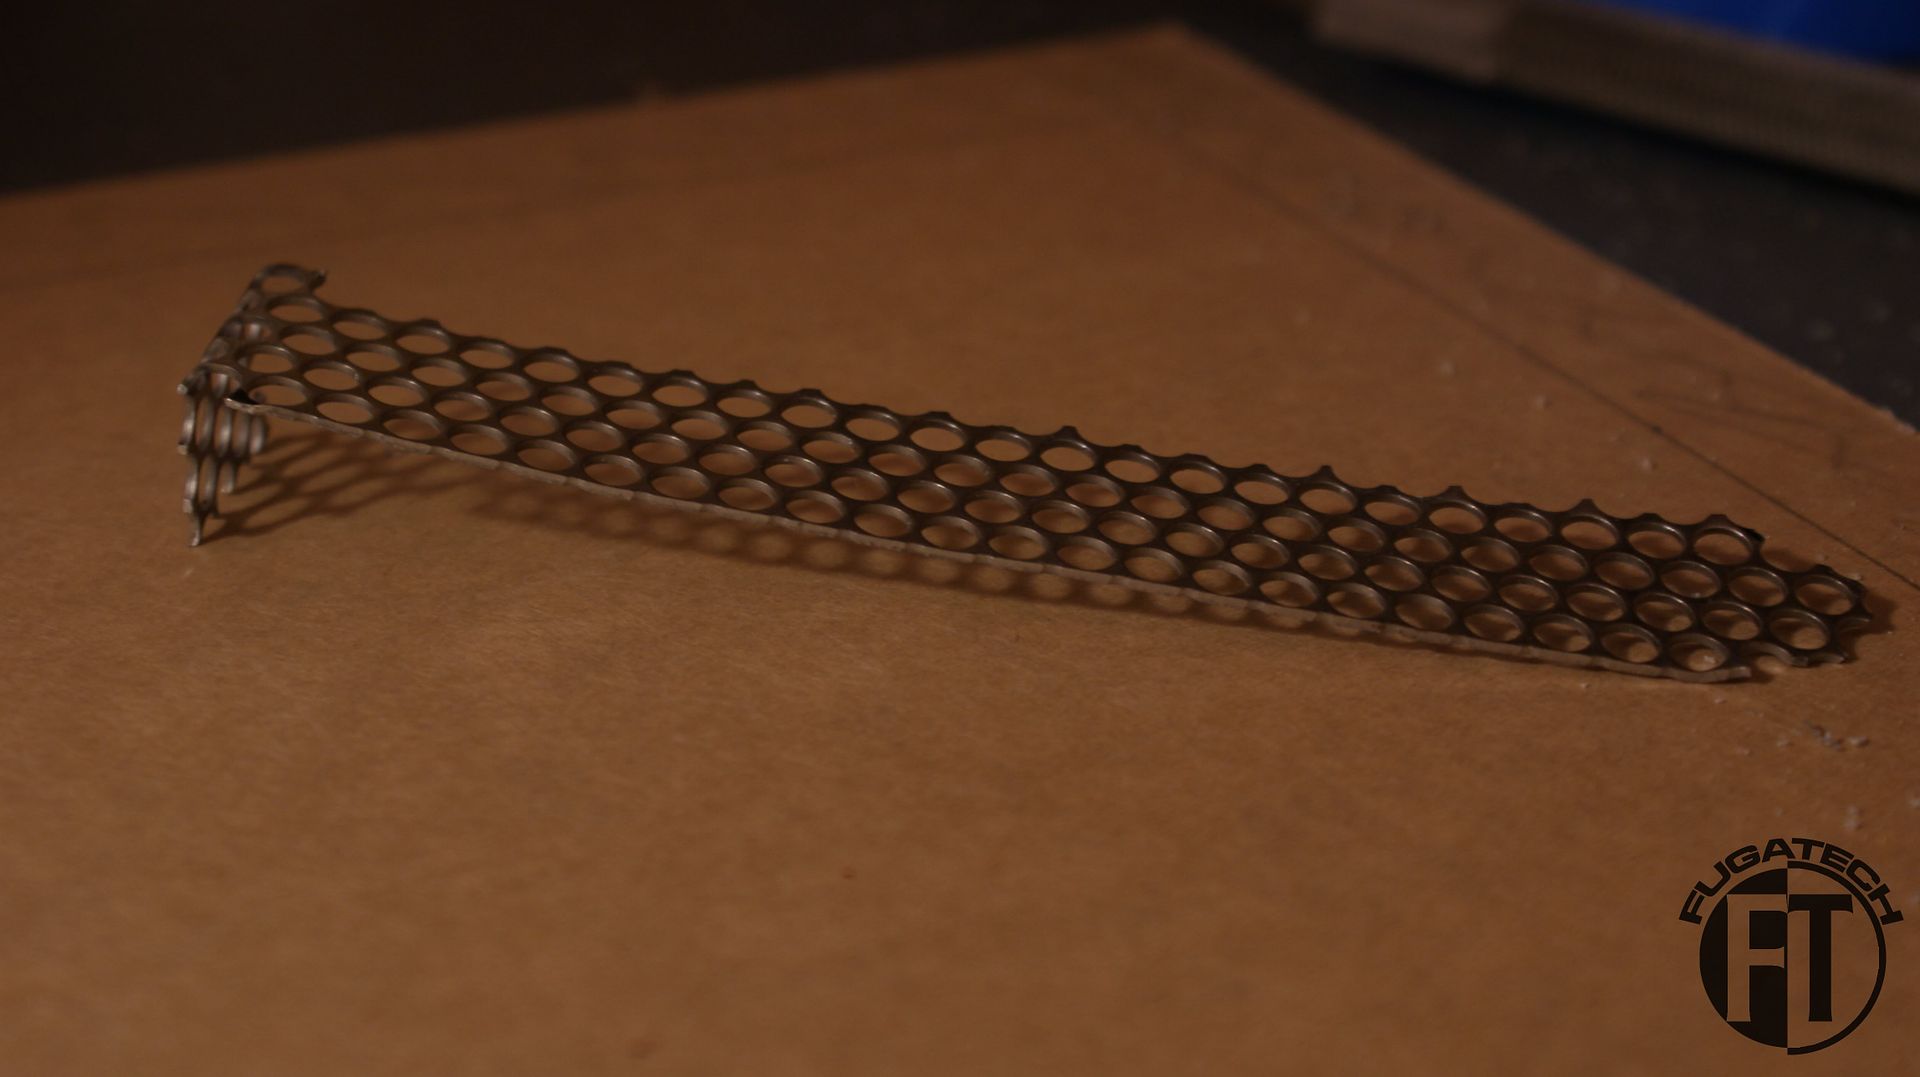
I also did a little brainstorming on the I/O covers. I didn't like the ones that came with the mobo tray so I thought I would try my skill at making my own from some MNPCTECH Modders Mesh.
Stock cover.
I straightened it out as much as I could.
And after a bit of cutting and bending.... I got this. And it fits perfectly.
How does it look?
I finally got in touch with Delvie's Plastics to order some more plexi since I broke the back panel. I also needed the hexagons laser cut and I needed a few sheets of orange for the 2 side panel windows.
I bought some Orange paint while I was home on vacation. Do you guys think a Orange mobo tray and I/O back plate would look good Orange? Or should I just paint the I/O covers Orange? I appreciate the feedback.
Cheers till next time.


looking good
Arctic Cat * Maximum Security * Cribbage Board * Rockin Case * Armor Redux
Tempest SXR * Power House * Red Comet * ICHIWZ * Acrylic Headphone Hook
Continuing sponsorship support from PCBoard.ca
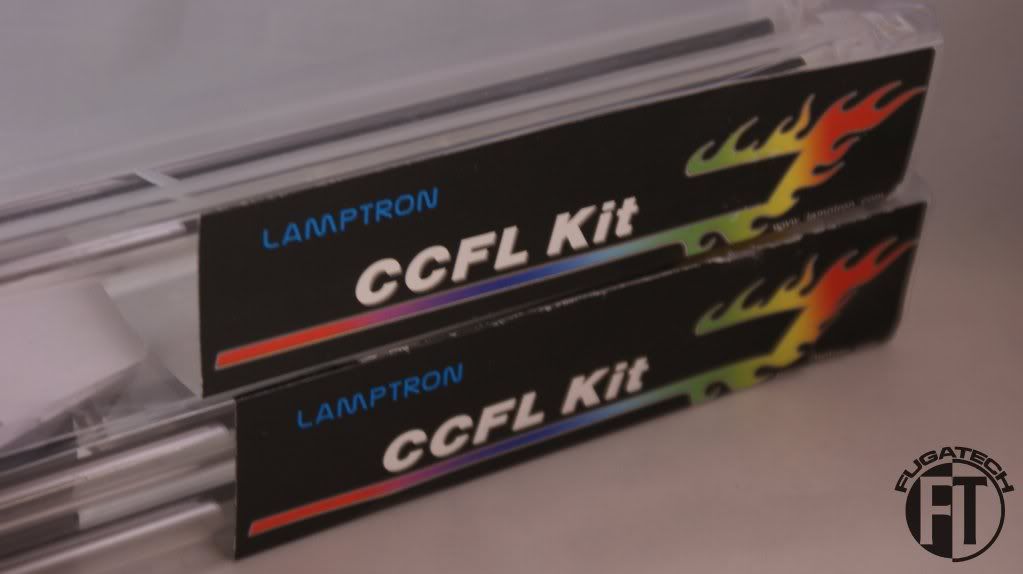
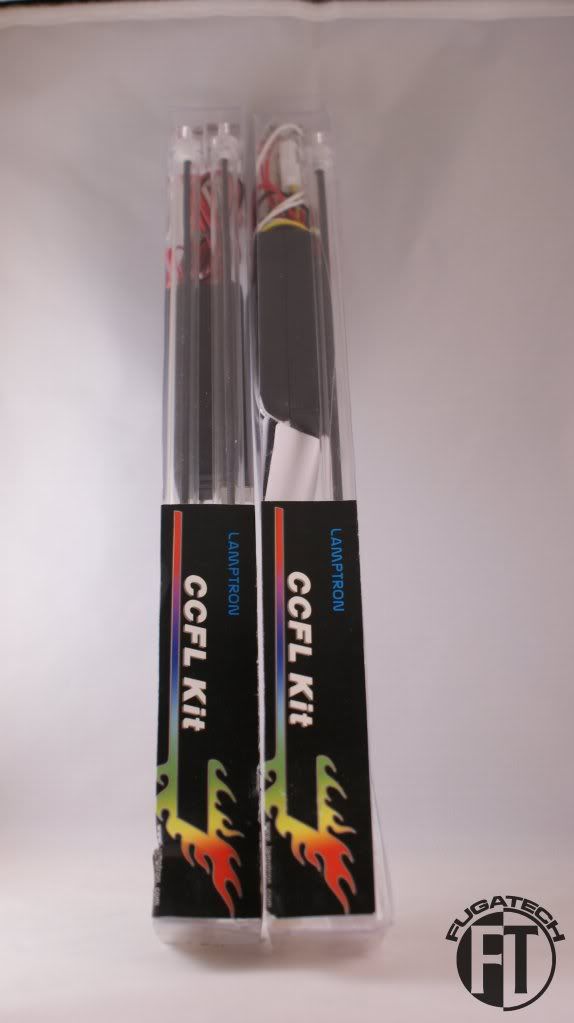
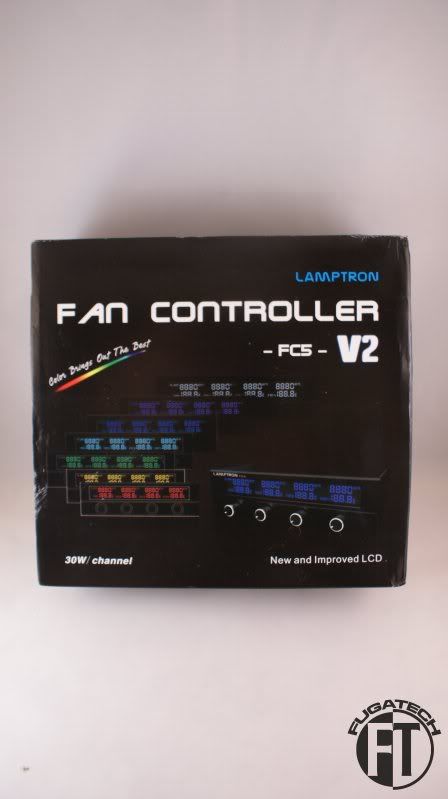
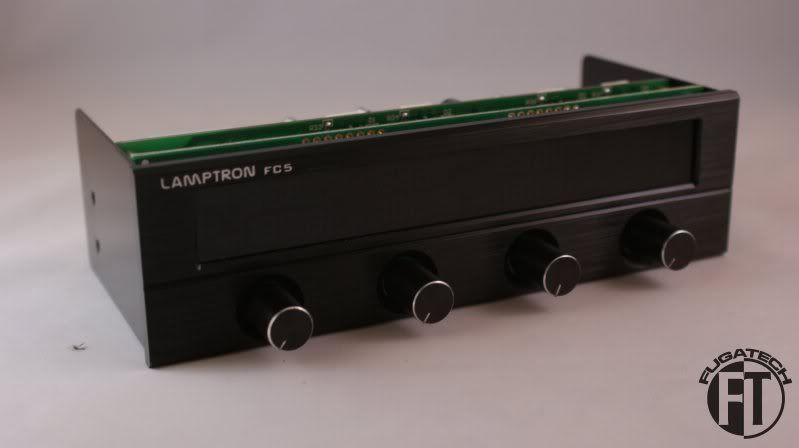
Lamptron hooked me up with a few things.
2x 12" UV Cold Cathode Kits
FC5v2 4 channel Fan Controller
You can check out the review I did for Lamptron on the FC5v2 here.
Thanks again to Lamptron for helping out with this mod!
Cheers till next time.
sweet stuff from lamptron.
30W a channel is pretty dank!
 Posting Permissions

 Reply With Quote