Only some small improvements and the matting have to be done. And of course the fittings for water in/out. But I think the most critical part of work is done
Here are the videos I made:
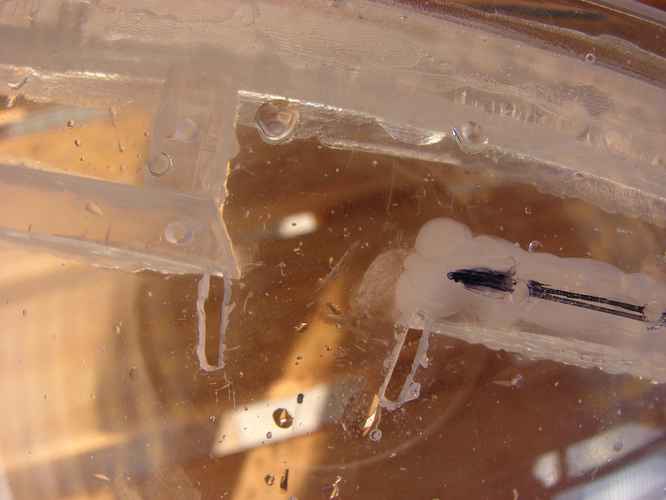
As you can see, the water does not flow right downwards over the logo But I hope to get this fixed in the next glueing session this afternoon.
Hey, thanx guys for your rep and for still following my thread!
To answer your questions: The water level in the visor can be chosen freely. In the video the water flows straight through because it's no closed loop with the pump. I'm not sure how much water will be in the final system. I think something about 50% capacity.
Back to the work:
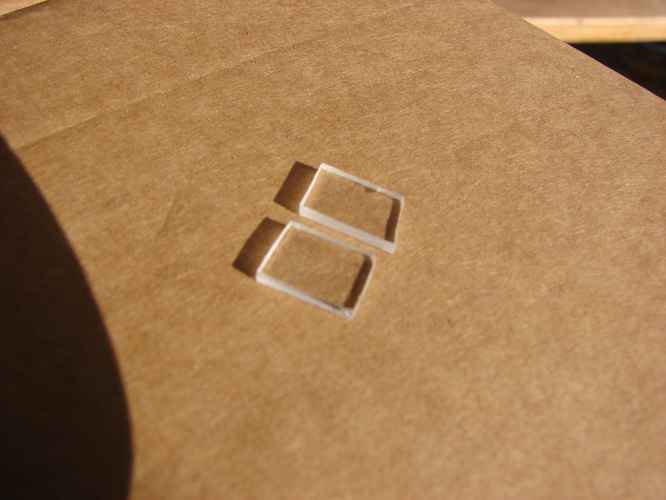
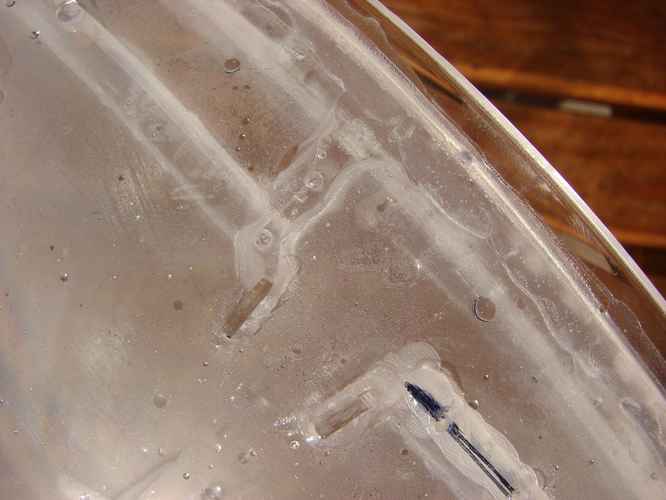
To correct the water direction I installed two small pieces of plexi in the visor. Drilled some holes and filed them:
These are the pieces, formed to fit the radius:
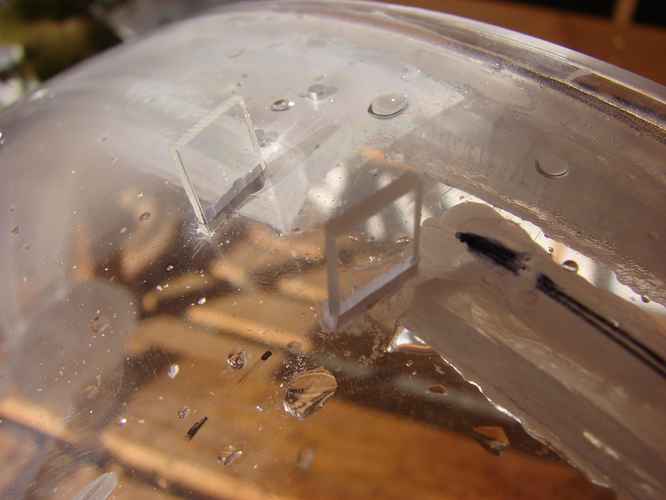
Half inserted...
...and glued in:
Tadaaaa, the result: The water now flows perfectly around my logo.
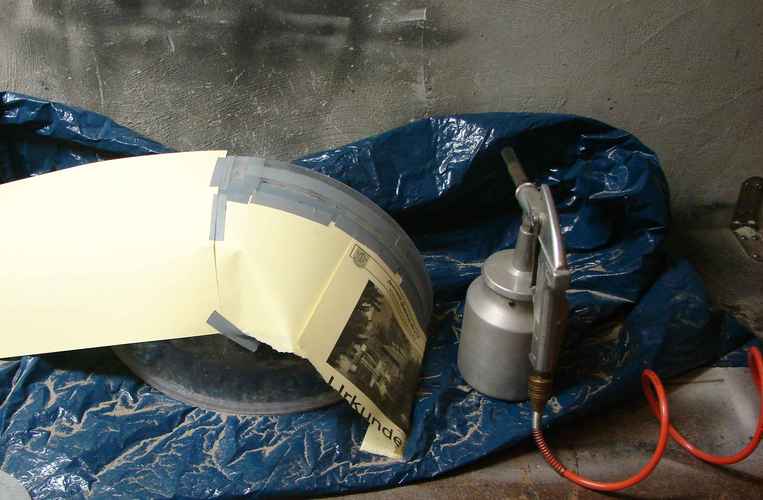
After that I went on sanding the outer sphere to matten the spaces where the ugly glue was visible:
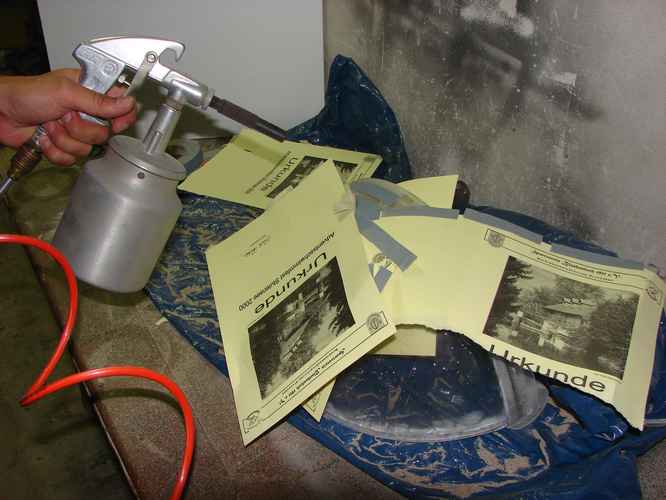
Sandblasting rocks! Why didn't I tried this before??
The pic ist not as perfect as the result The white dots you can see is condensed water.
One can realize fine patterns with real sharp lines and I think I will use this technique on some other parts. It's much faster than carving and makes fun.
You seriously made me have to go to the bathroom. I know it was probably the water draining into the sink or whatnot, but all that running water/tinkling sound made me have to go...:p


Yeah!
But I hope to get this fixed in the next glueing session this afternoon.


 Posting Permissions


 Reply With Quote